

Overview
Streamline your scheduling process by syncing your Airtable calendar with an external calendar and sharing seamlessly. Enhance user experience and simplify navigation by incorporating relevant details. This guide walks you through a smooth process, empowering you to efficiently synchronize your Airtable calendar and share it externally, optimizing productivity and clarity in managing your schedules.
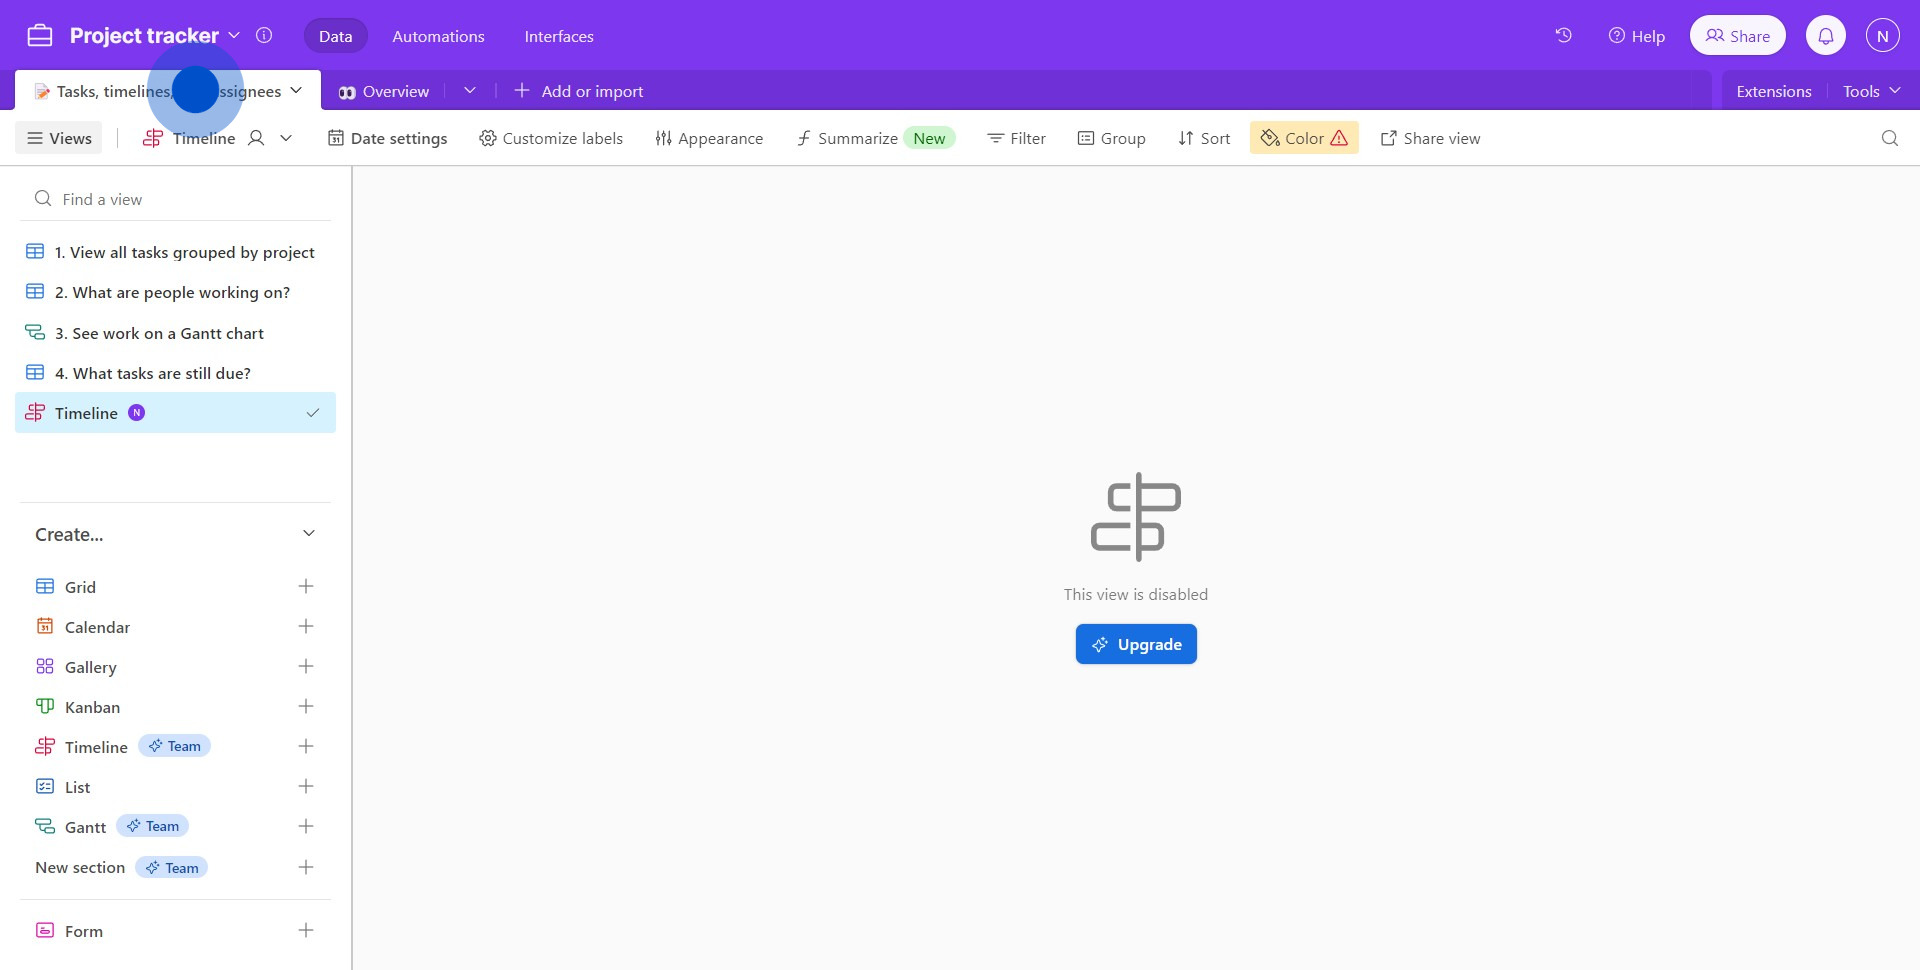
1. Start by clicking on the tasks and timelines tab.
2. Find and click the icon to add a calendar.
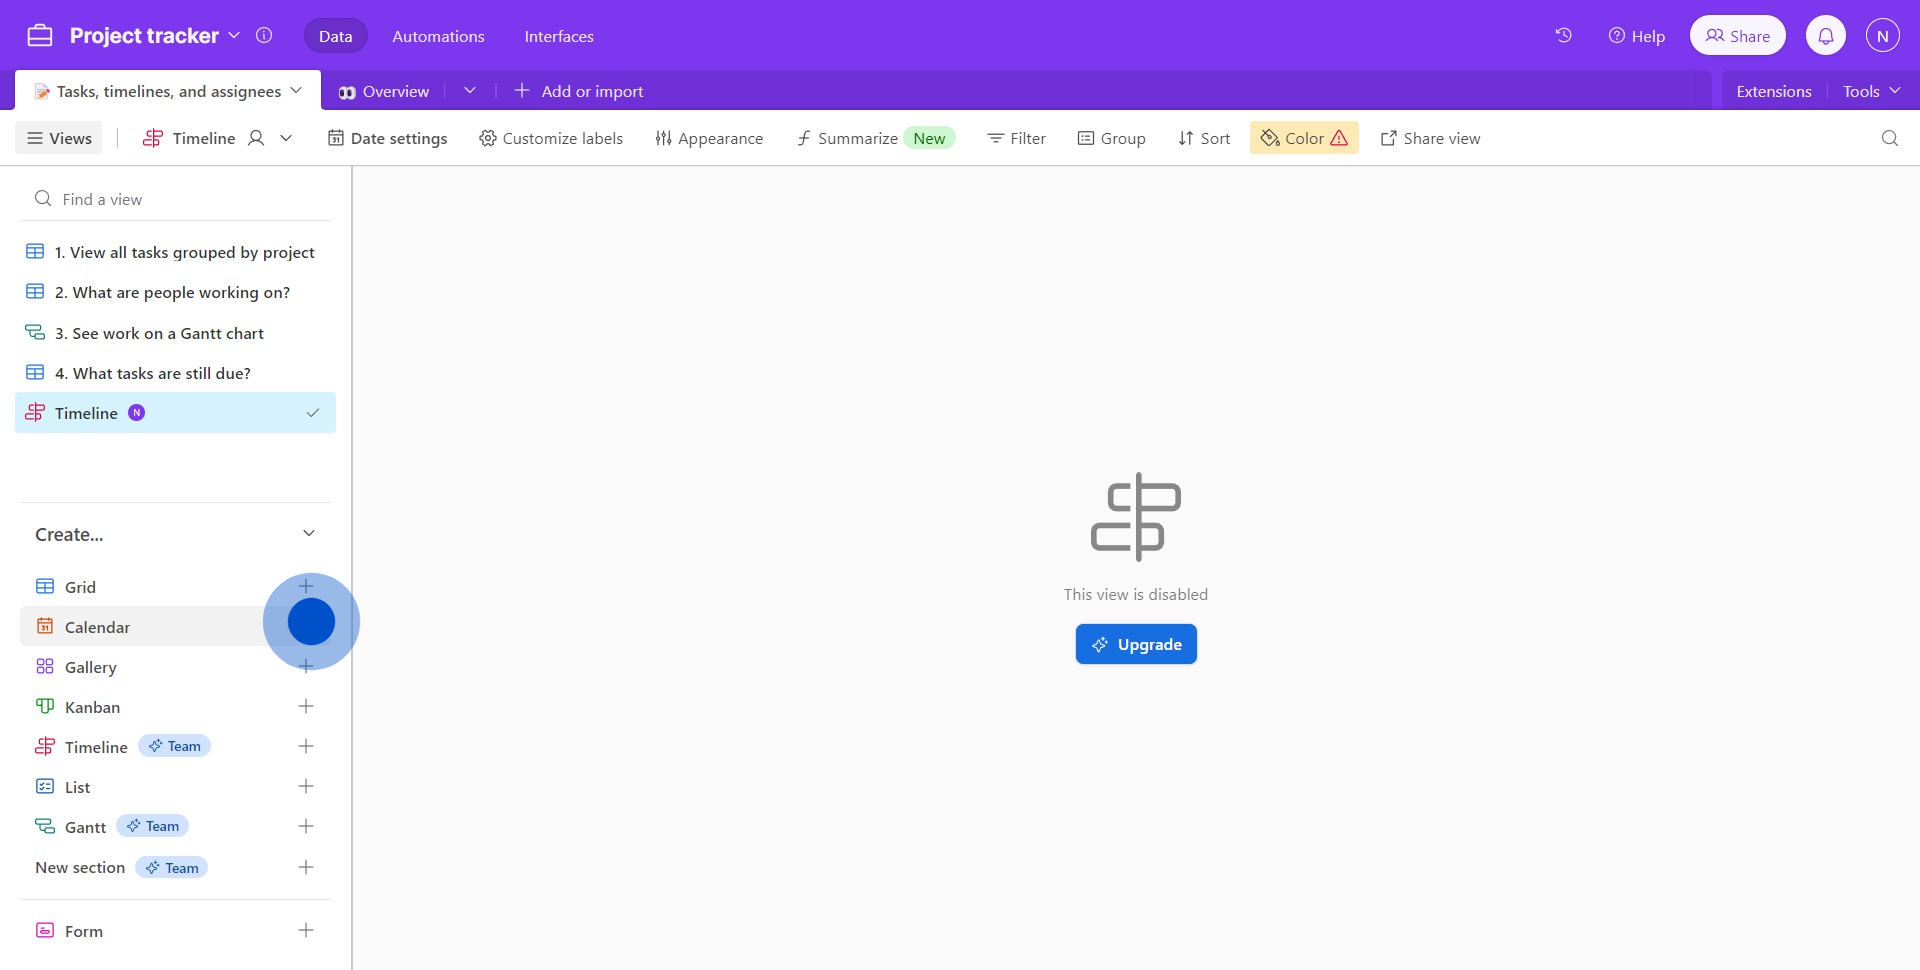
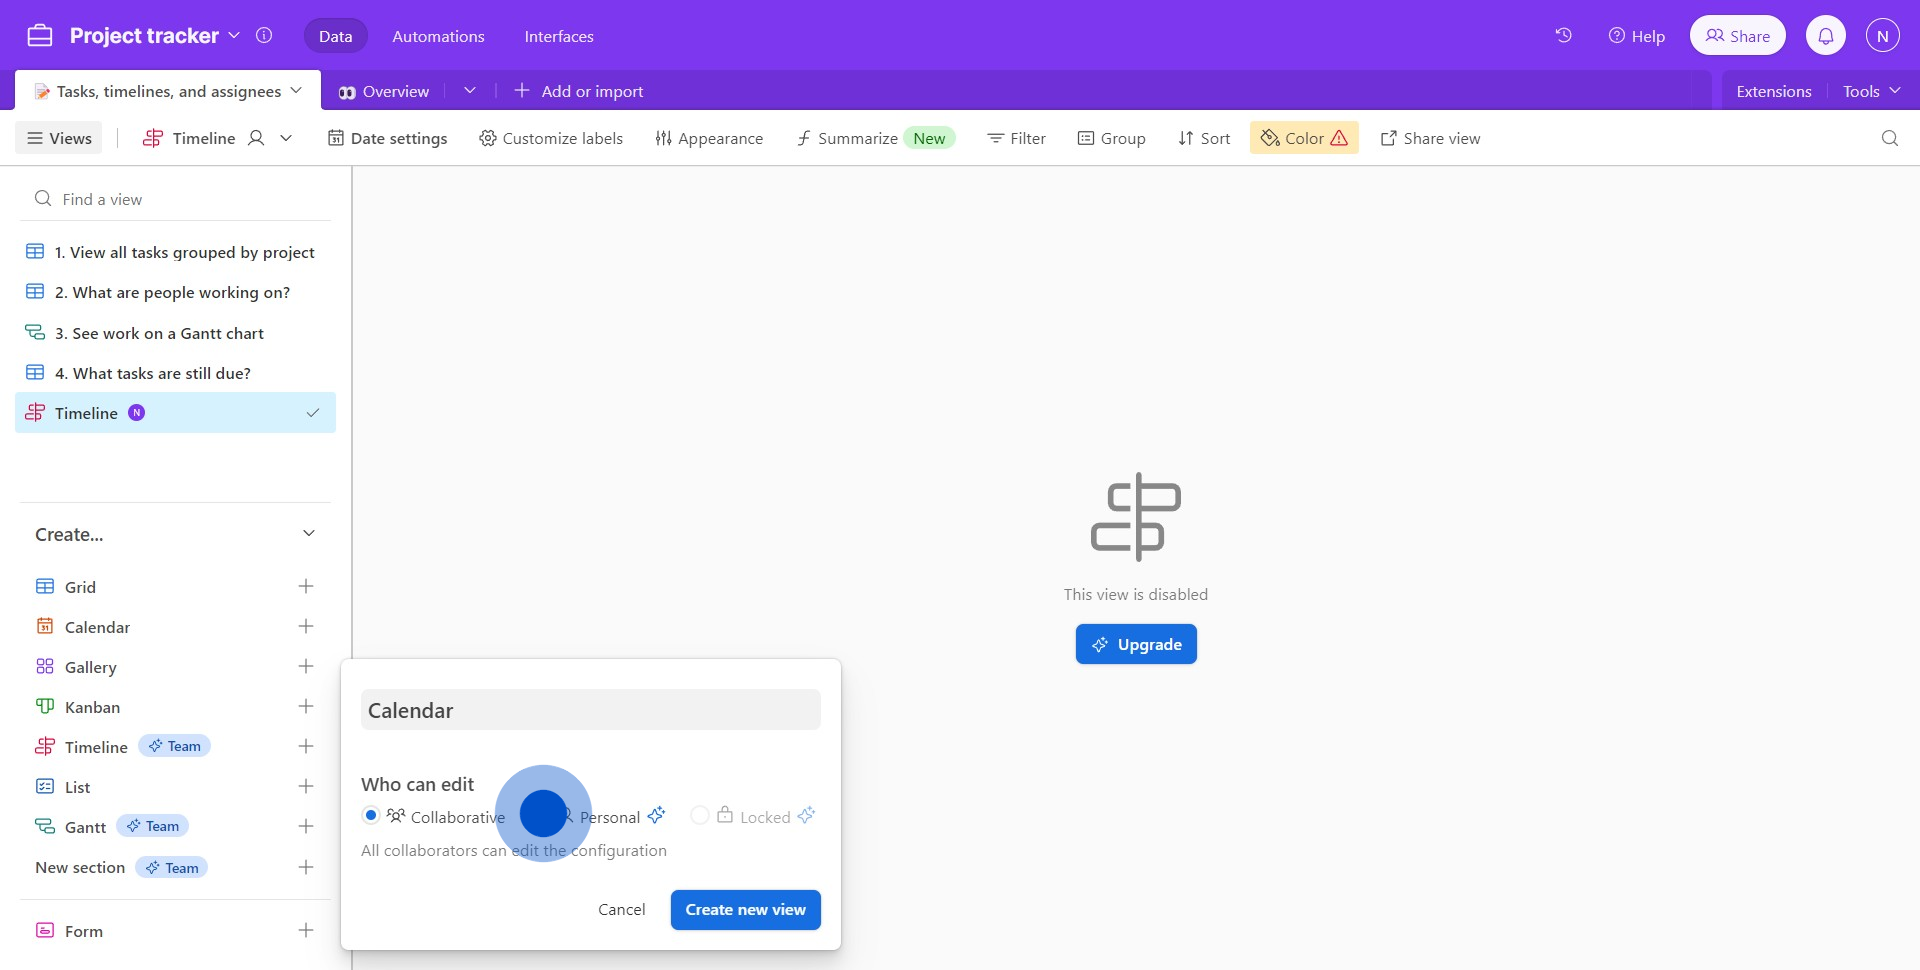
3. Choose the option that fits your needs.
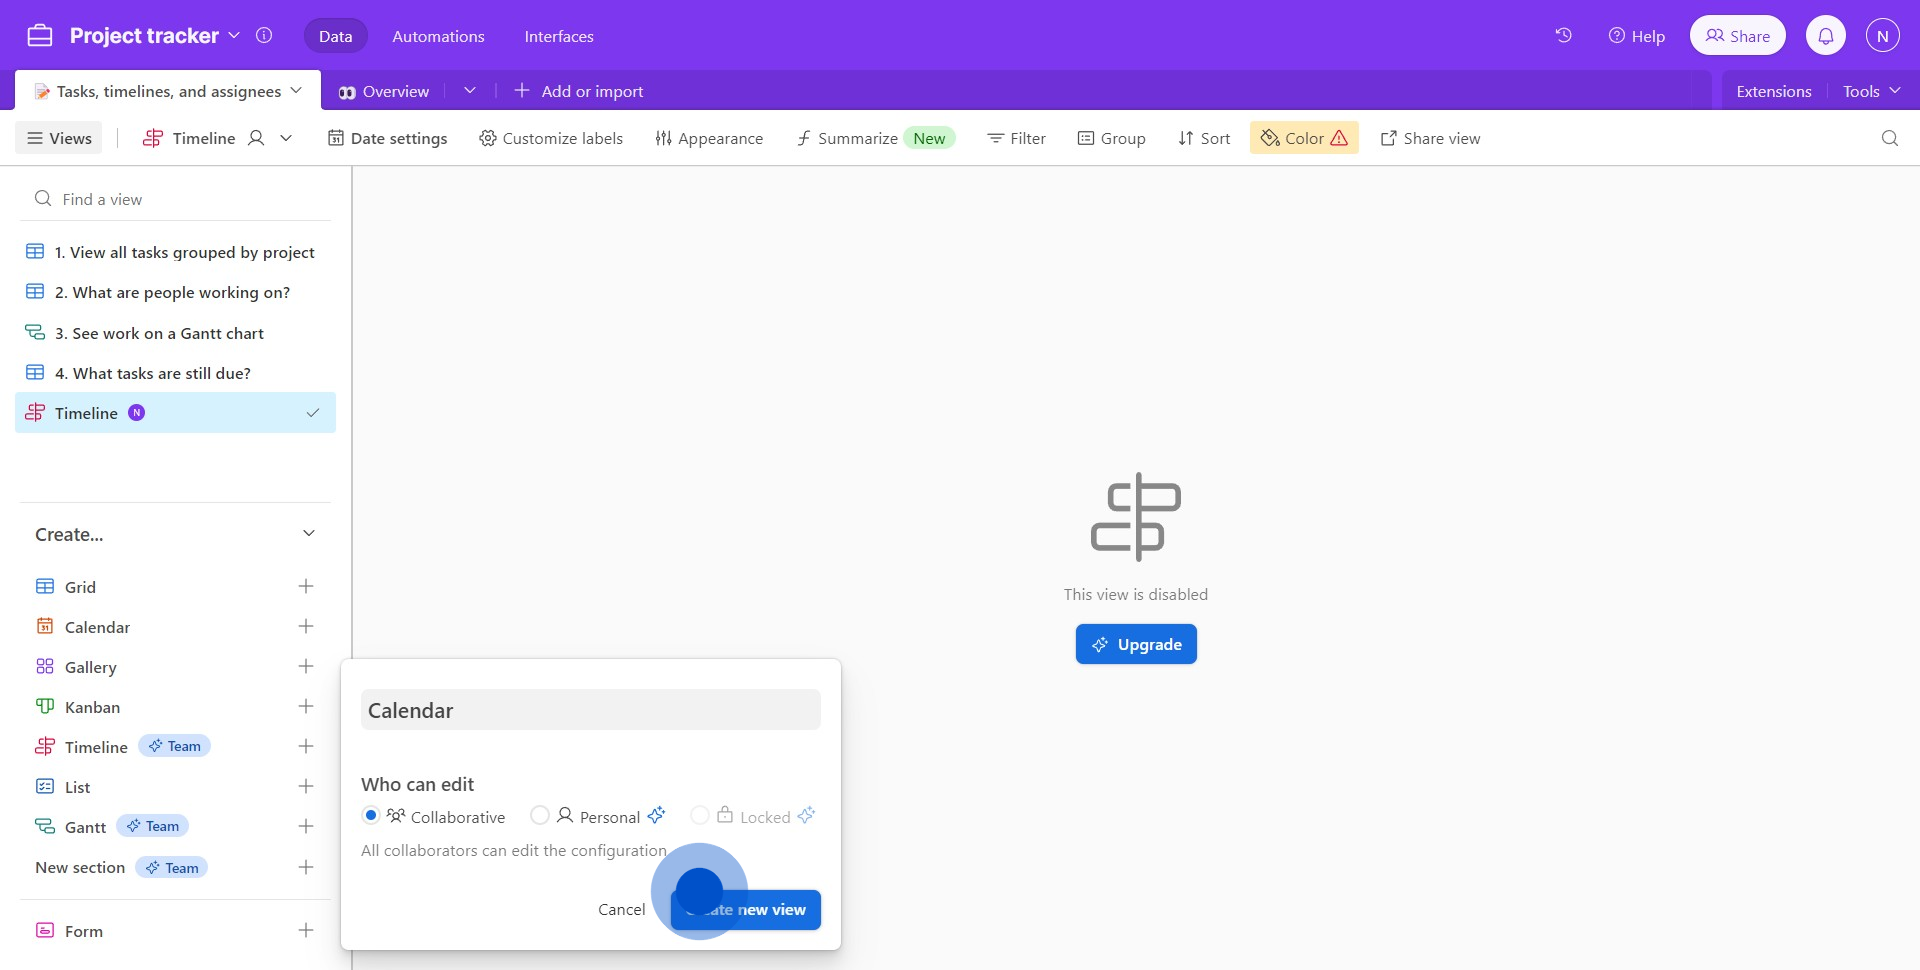
4. Proceed to create a new view by clicking the according button.
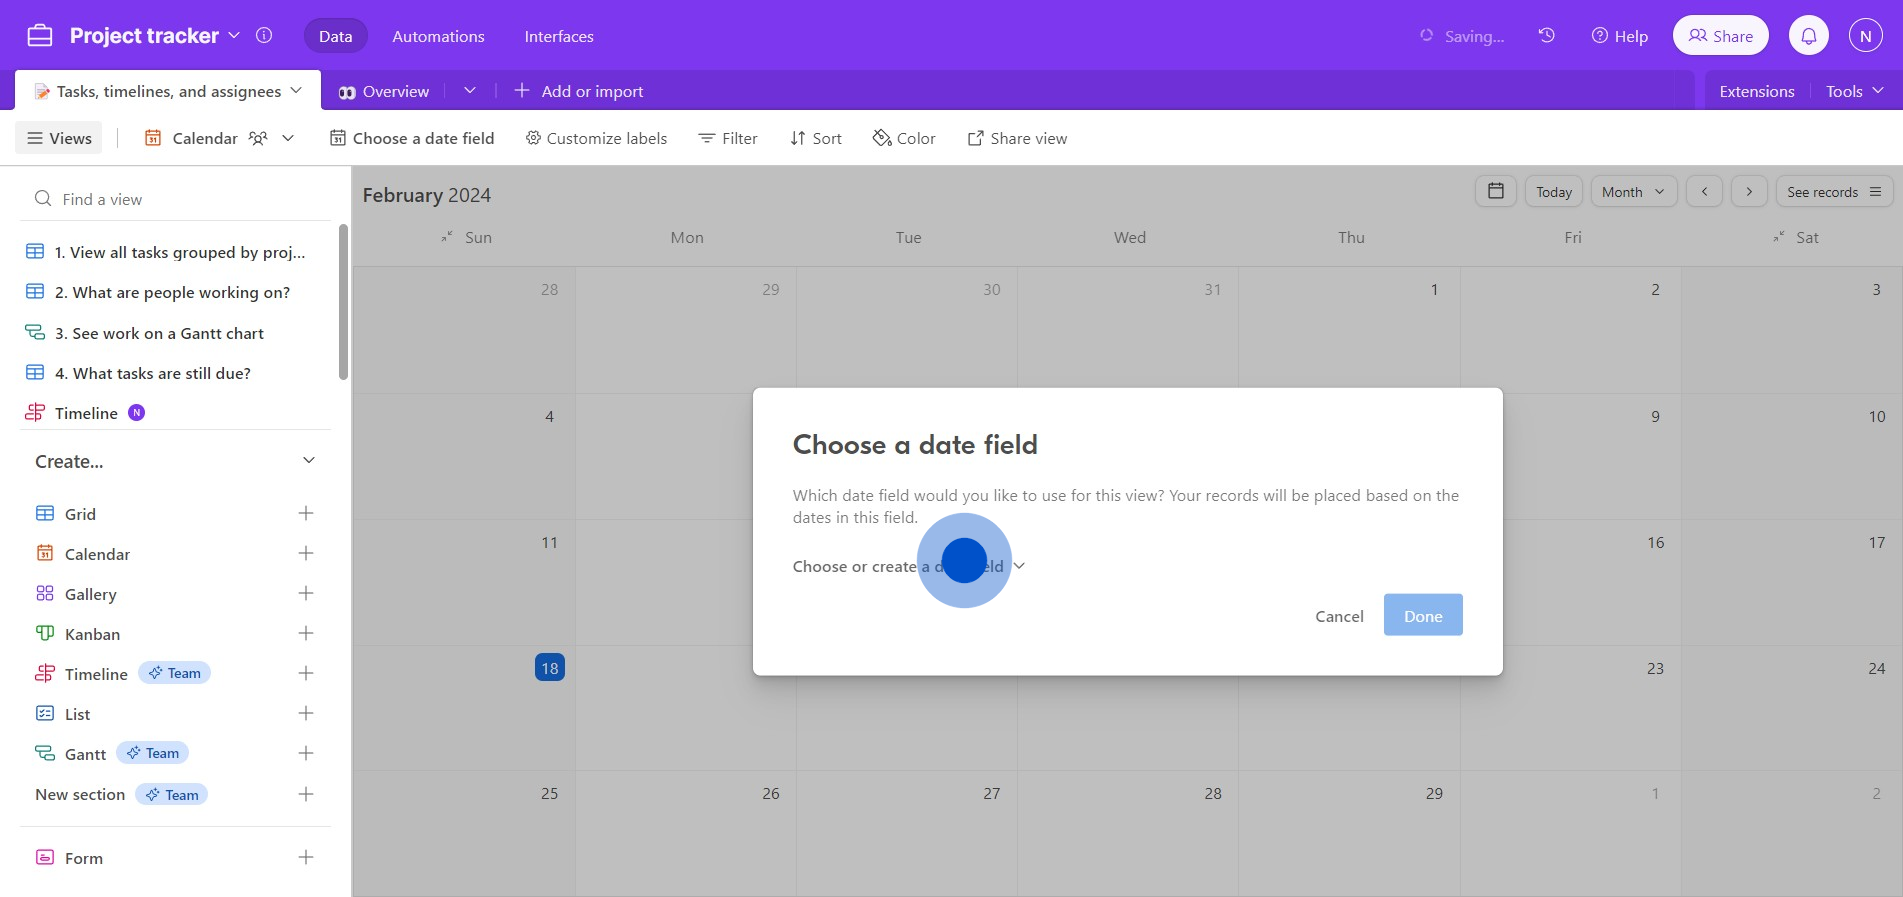
5. Next, select or create a date field as needed.
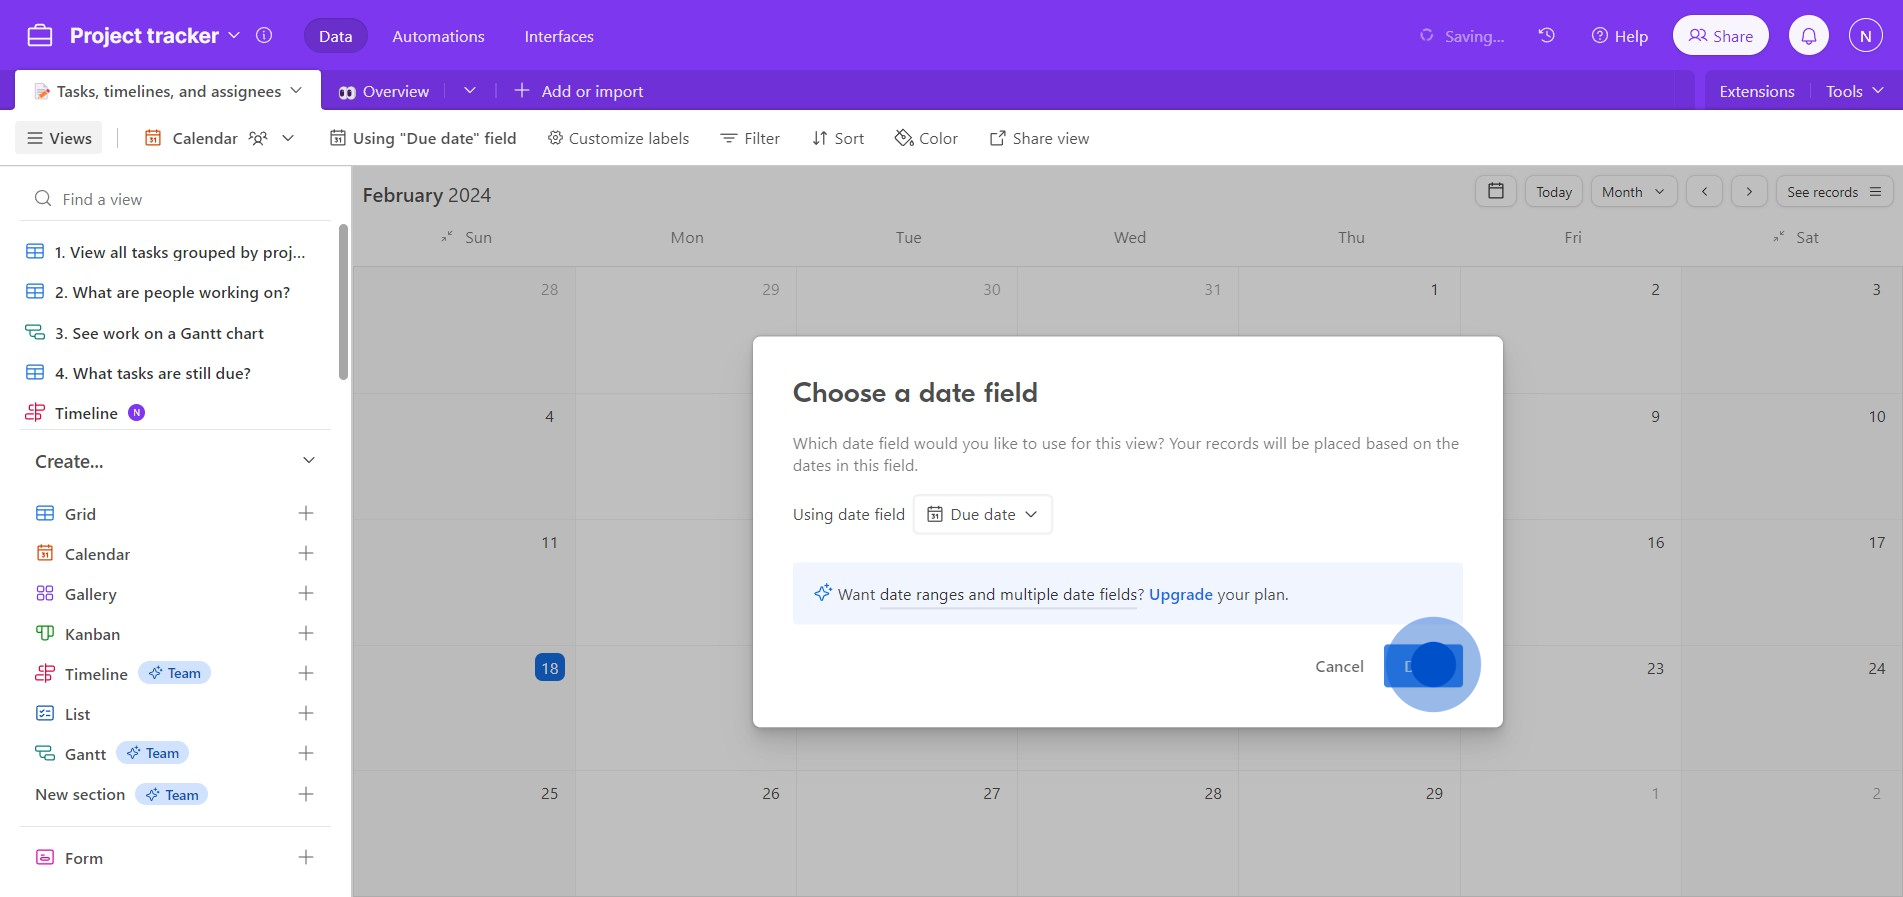
6. Confirm your selection by clicking 'Done'.
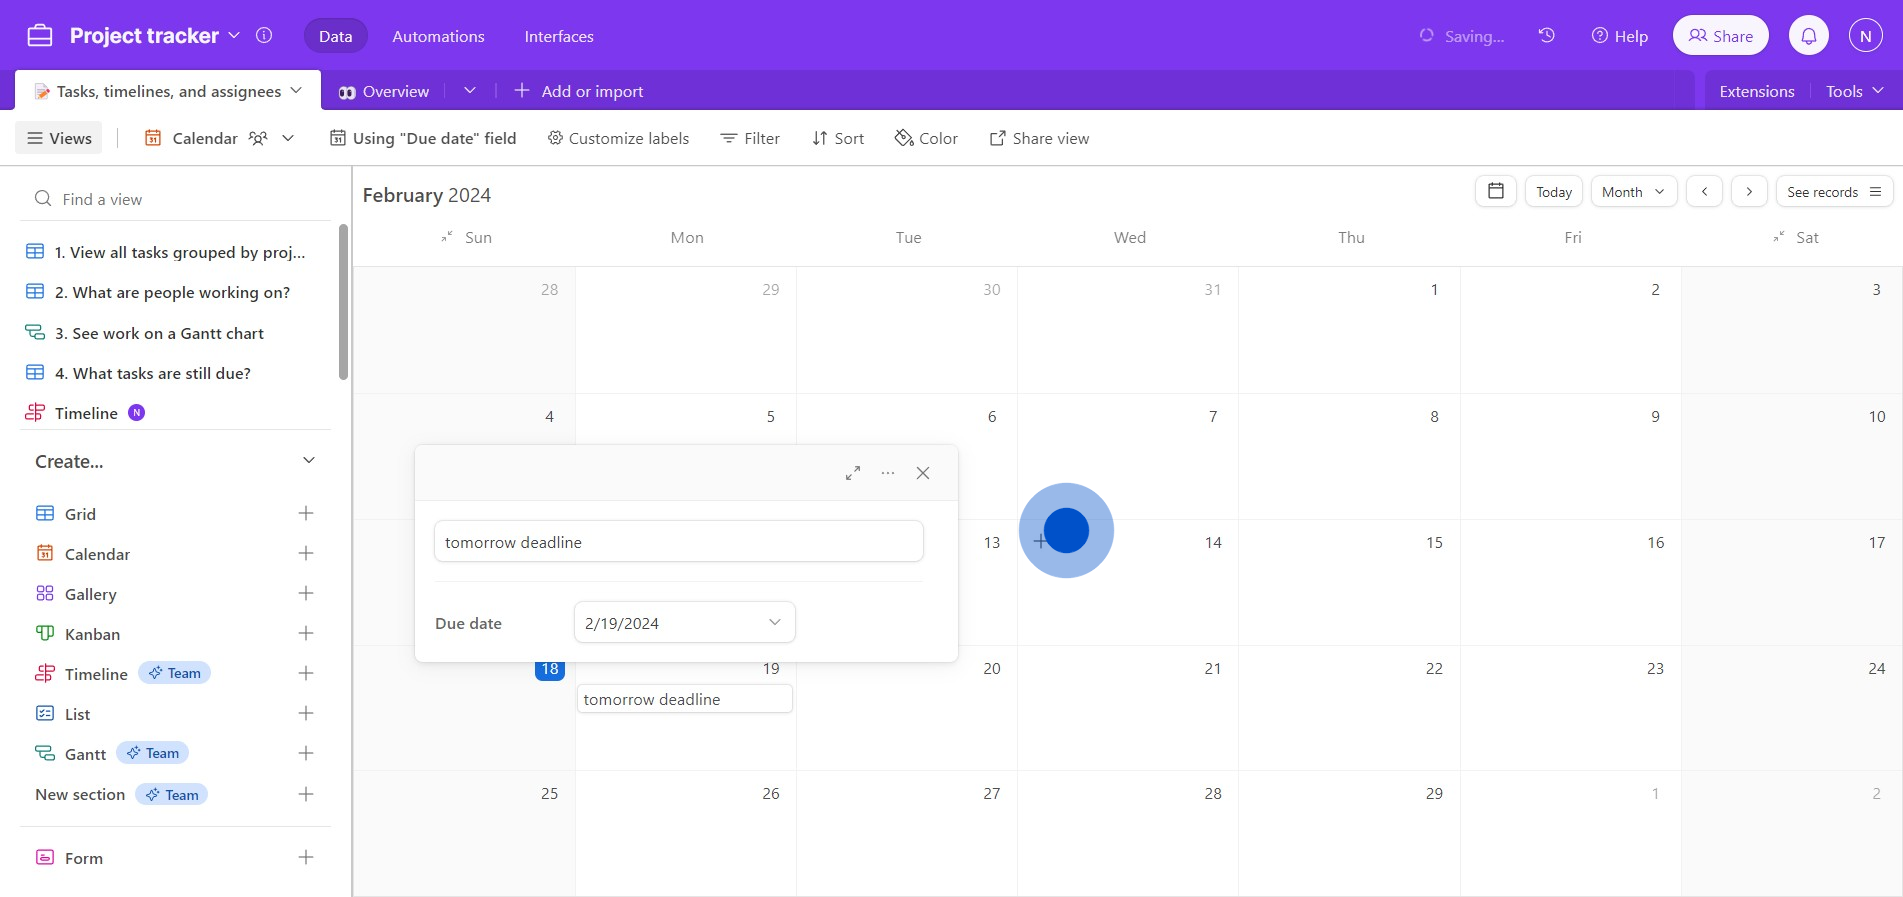
7. Fill in the necessary details for your calendar event.
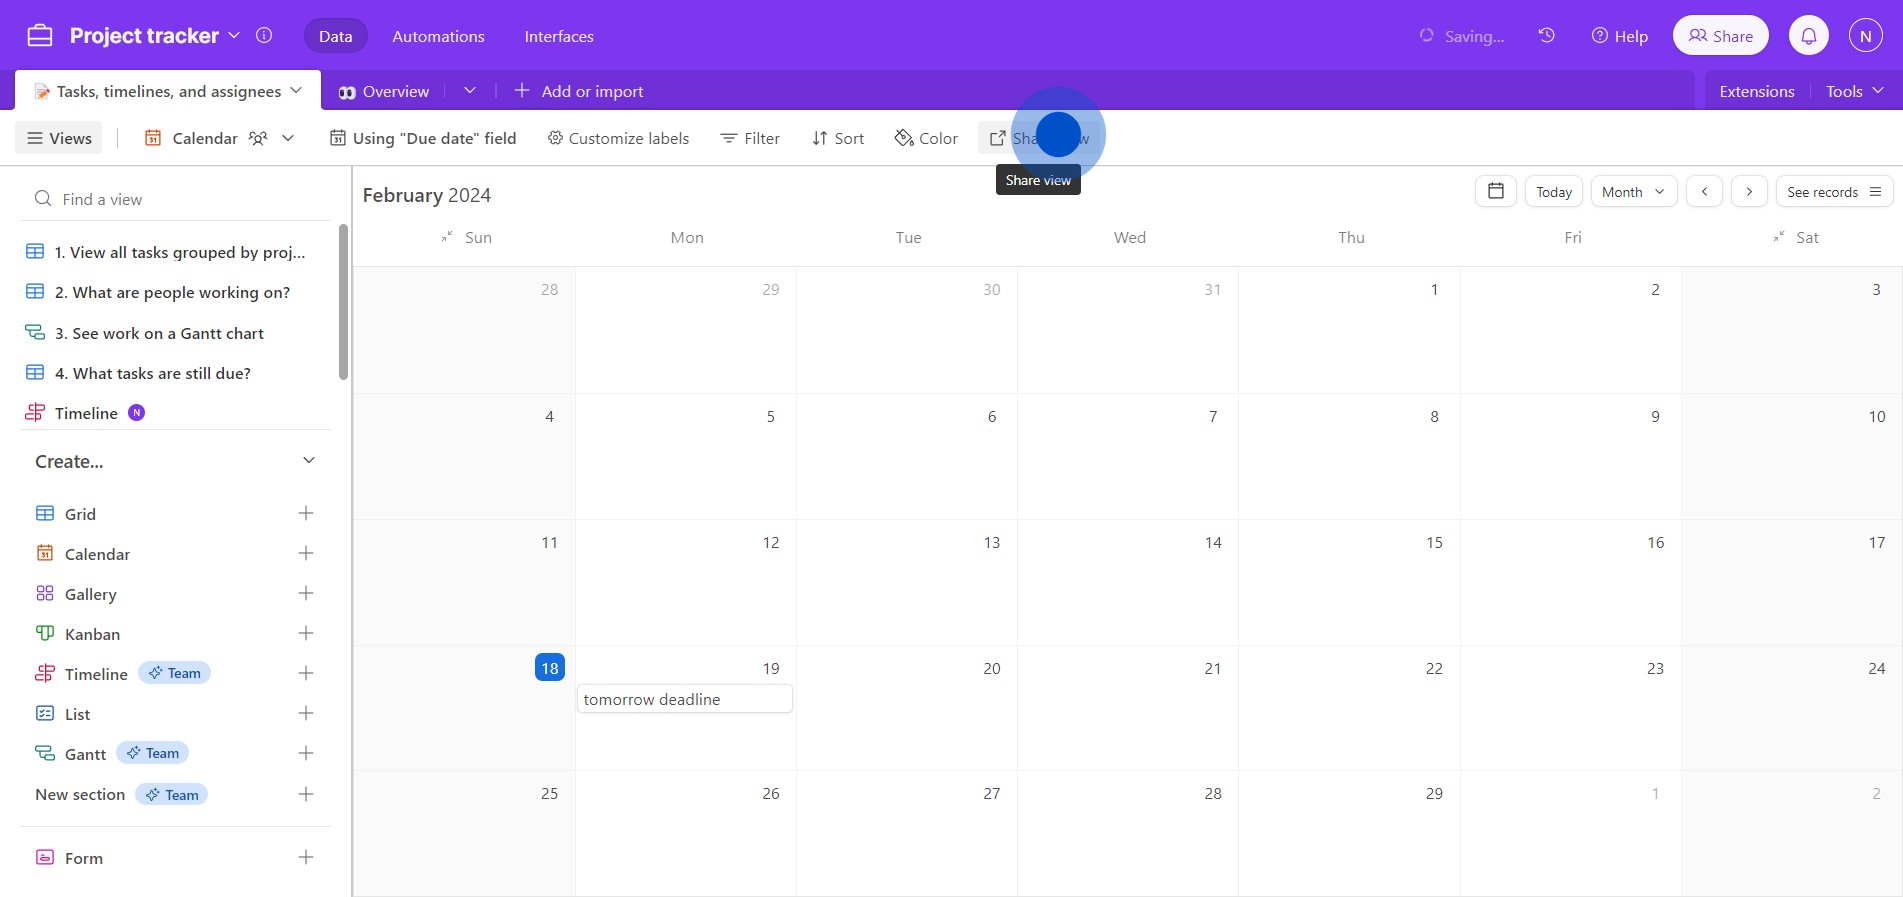
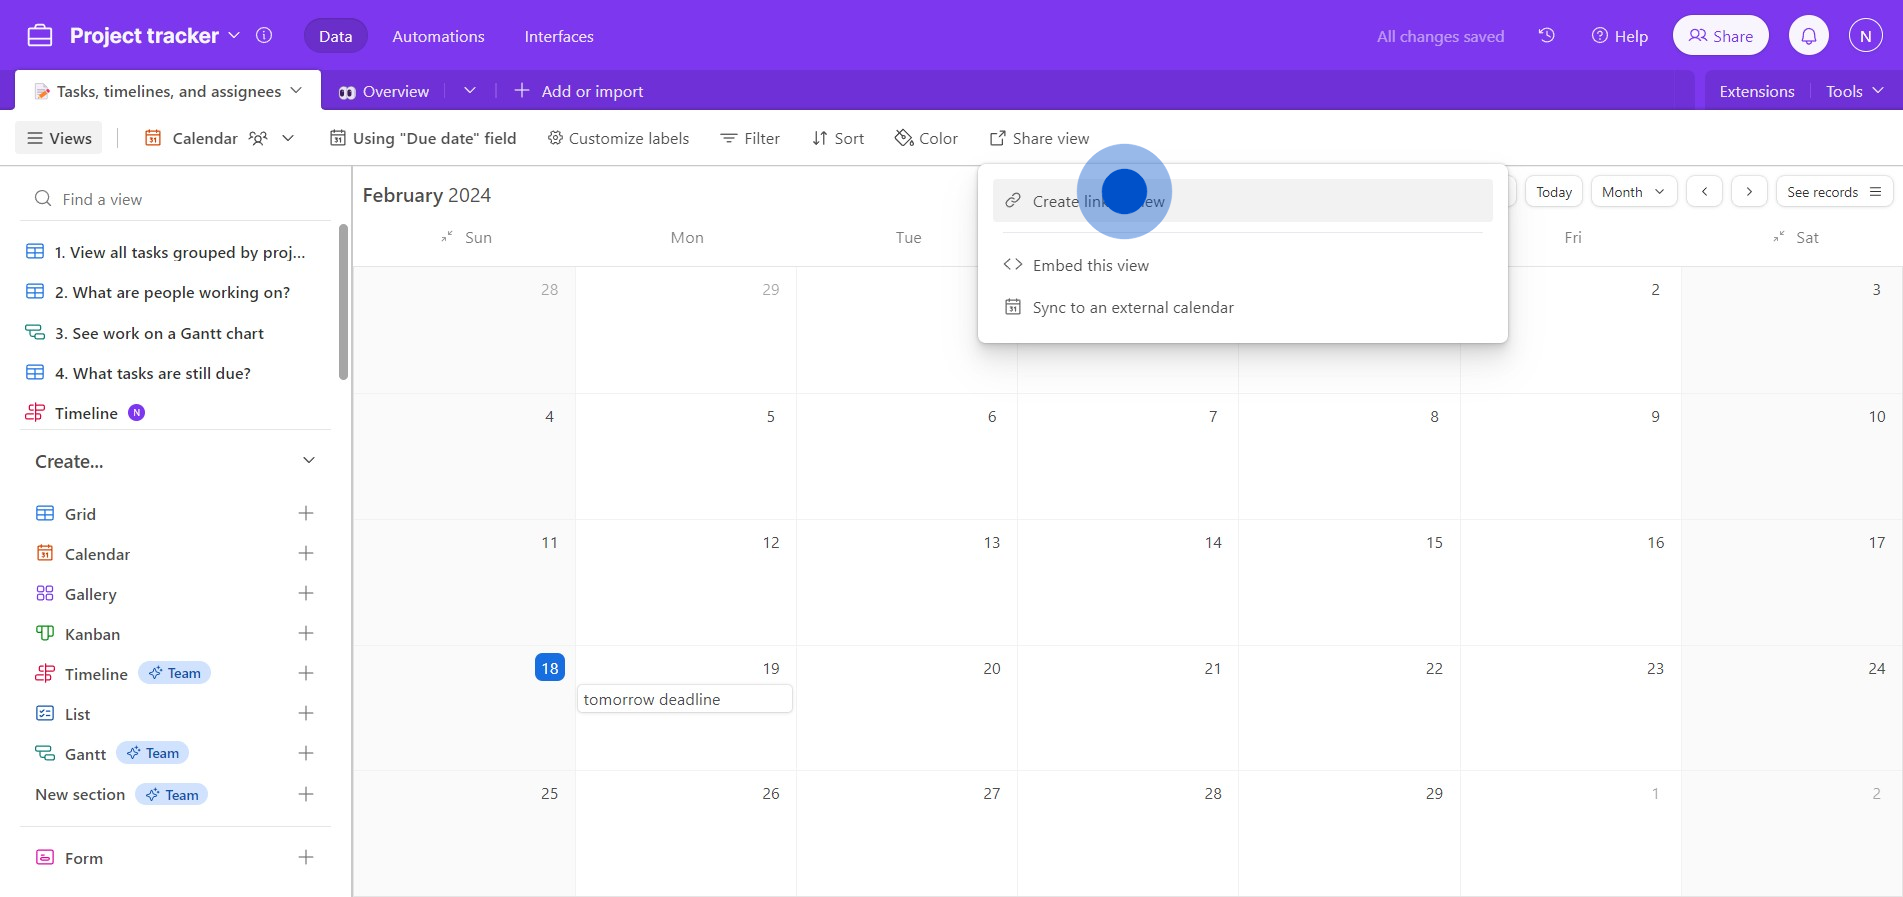
8. Now, make your view accessible by clicking 'Share view'.
9. Create a link for easy access to your view.
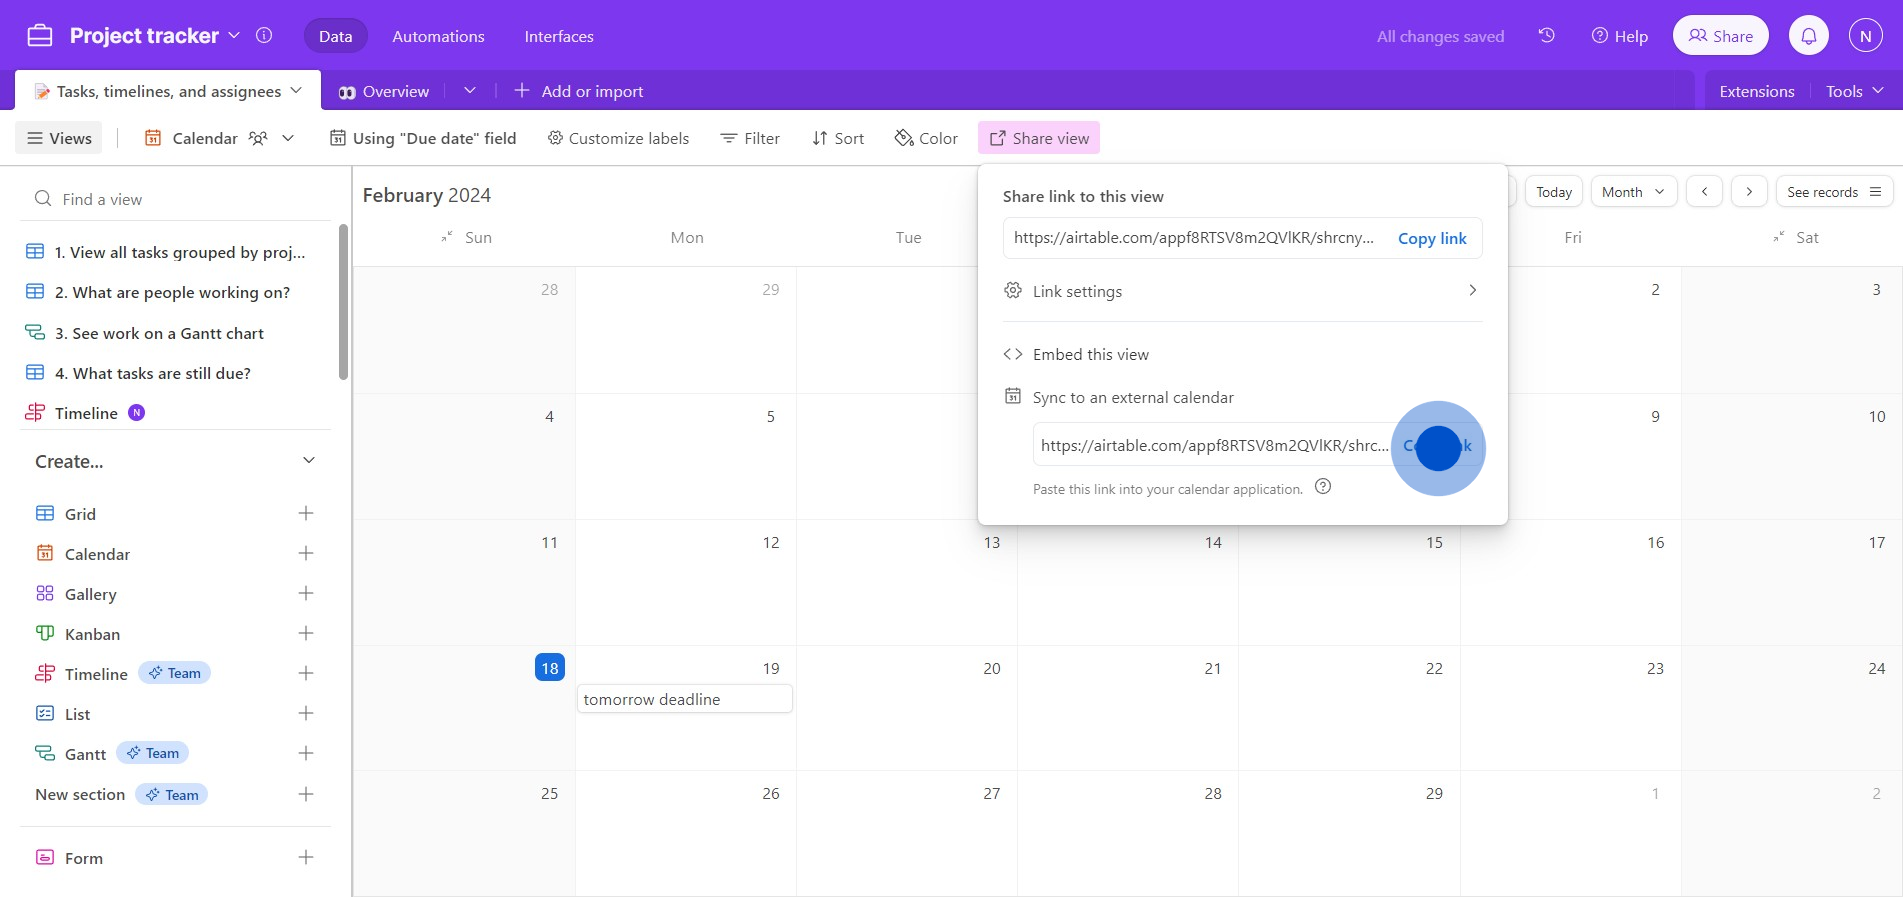
10. Lastly, copy the link again to synchronize with your external calendar.
Create your own step-by-step demo
Scale up your training and product adoption with beautiful AI-powered interactive demos and guides. Create your first Supademo in seconds for free.
