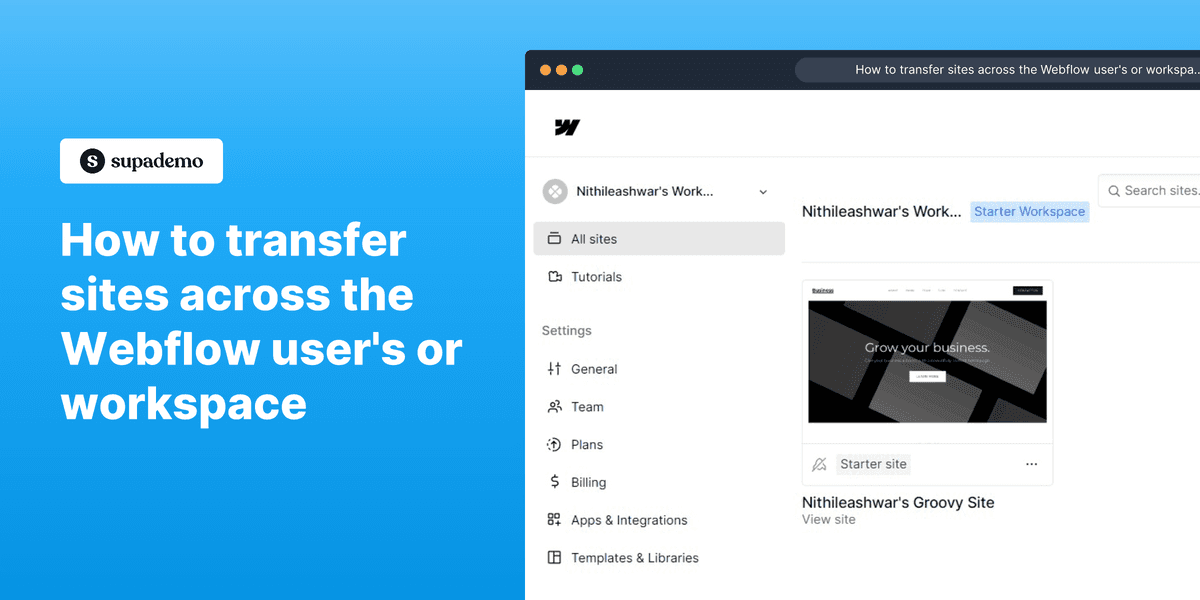
How to transfer sites across Webflow accounts
Overview:
Enhance your Webflow user experience with a comprehensive guide on transferring sites across the platform. Streamline the process of moving websites seamlessly, optimizing efficiency and clarity. This guide provides step-by-step instructions for a smooth transfer, empowering users to manage their Webflow sites with ease and precision.
Who is Webflow best suited for?
Webflow is best suited for a wide range of professionals, including Web Designers, Developers, and Digital Marketers. For example, Web Designers can use Webflow for creating visually engaging and responsive websites without needing extensive coding, Developers can leverage it for building complex, custom websites with a user-friendly interface, and Digital Marketers can use it for designing landing pages and optimizing web content, all benefiting from Webflow’s robust design and development capabilities.
How to transfer sites across Webflow accounts
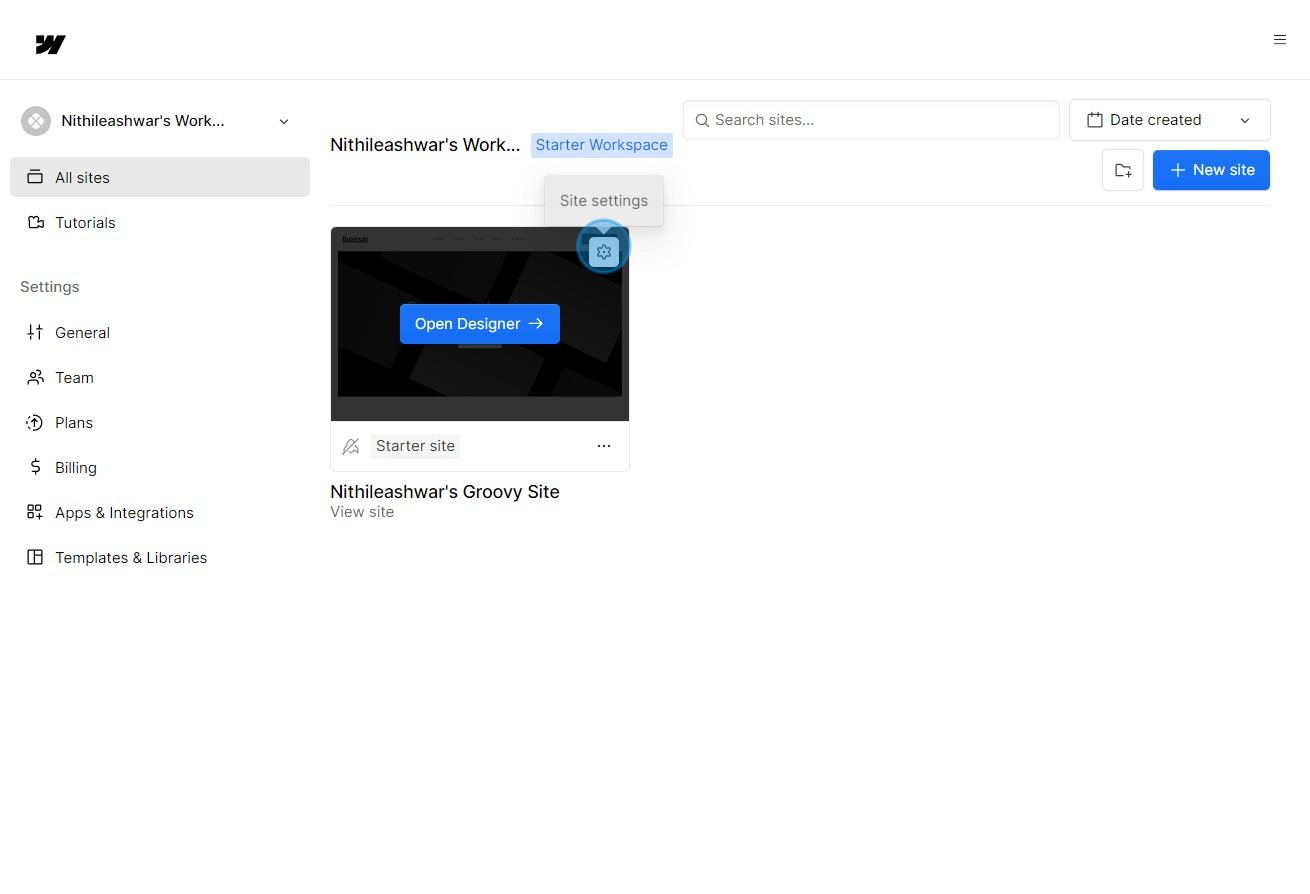
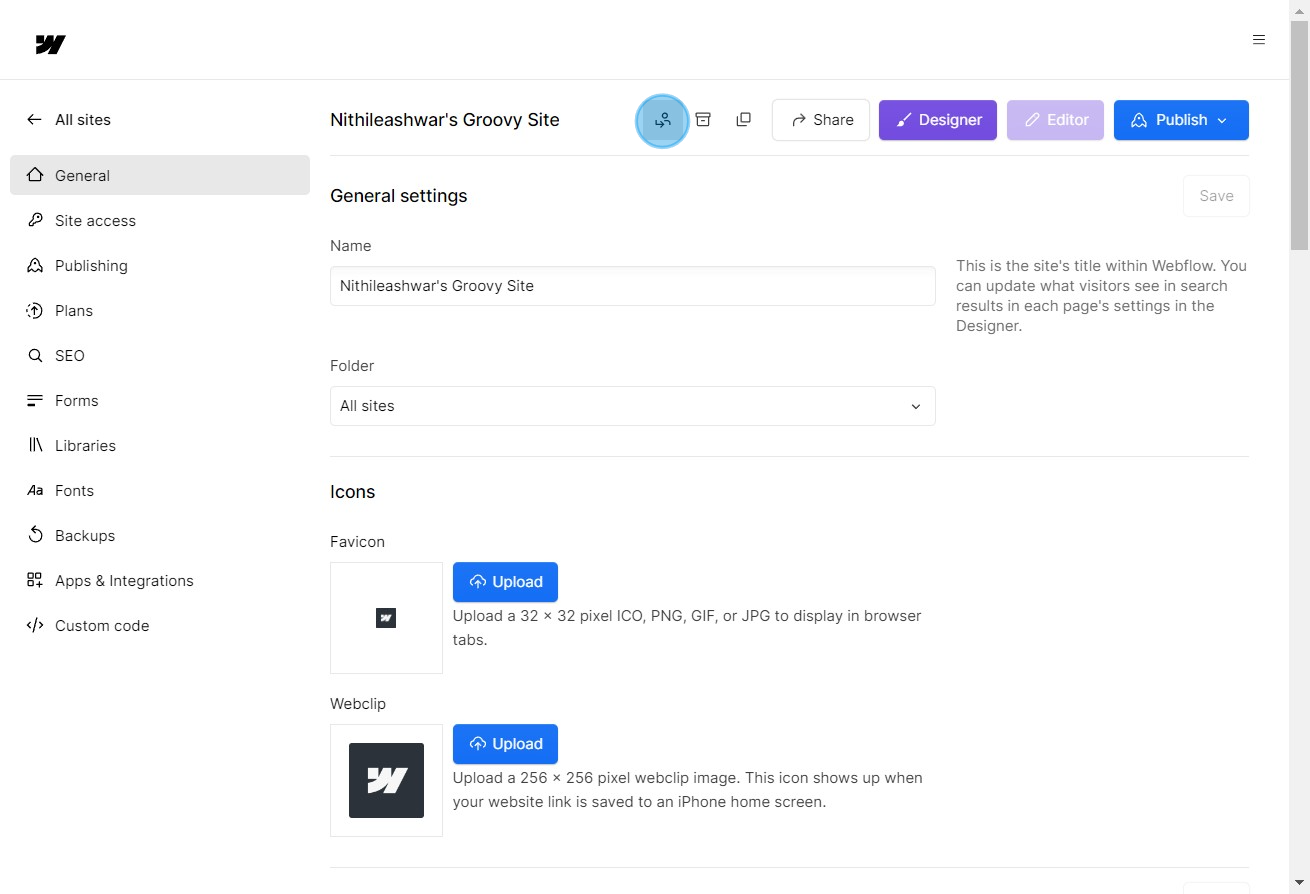
1. Select 'All Sites' to view your current workspace.

2. Press the settings icon for more options.
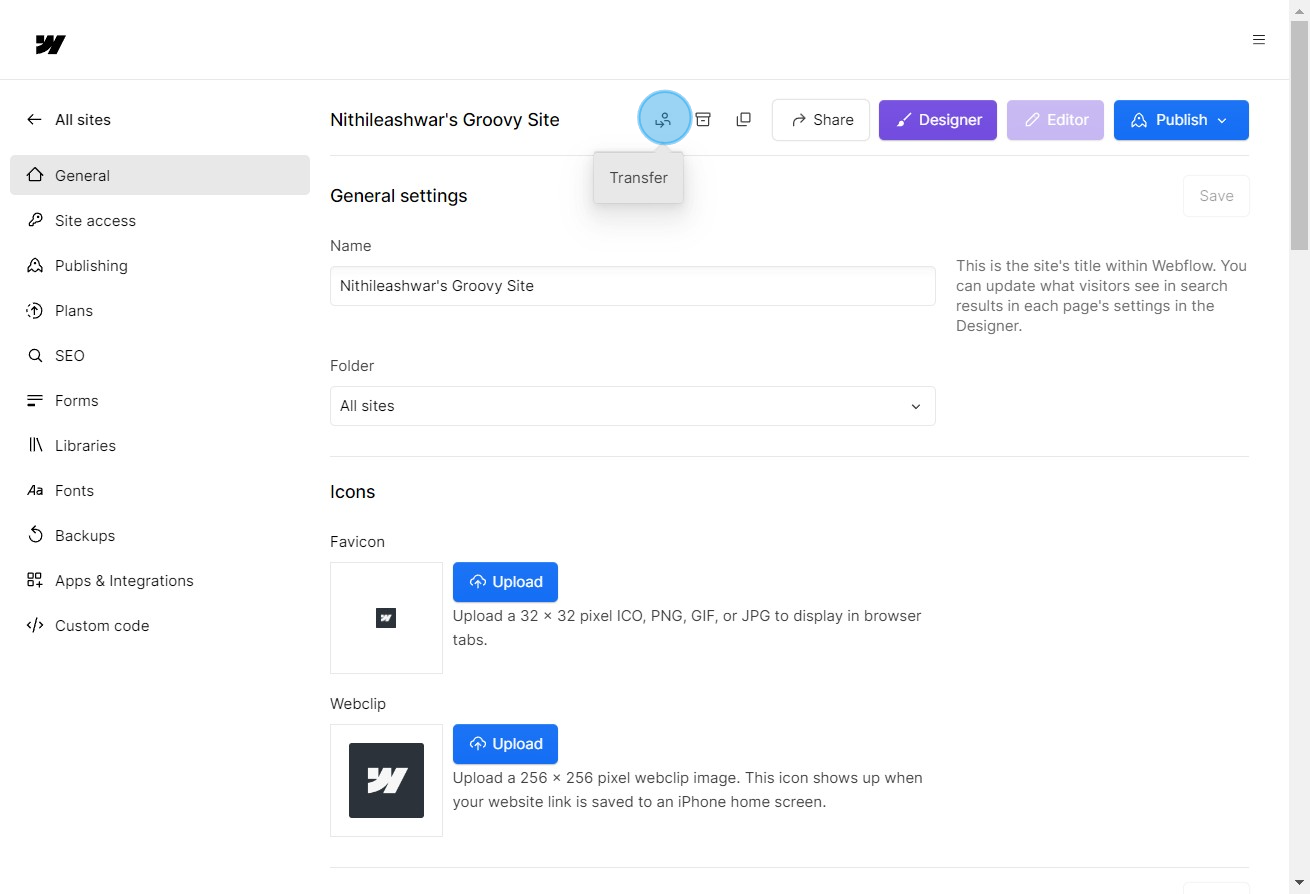
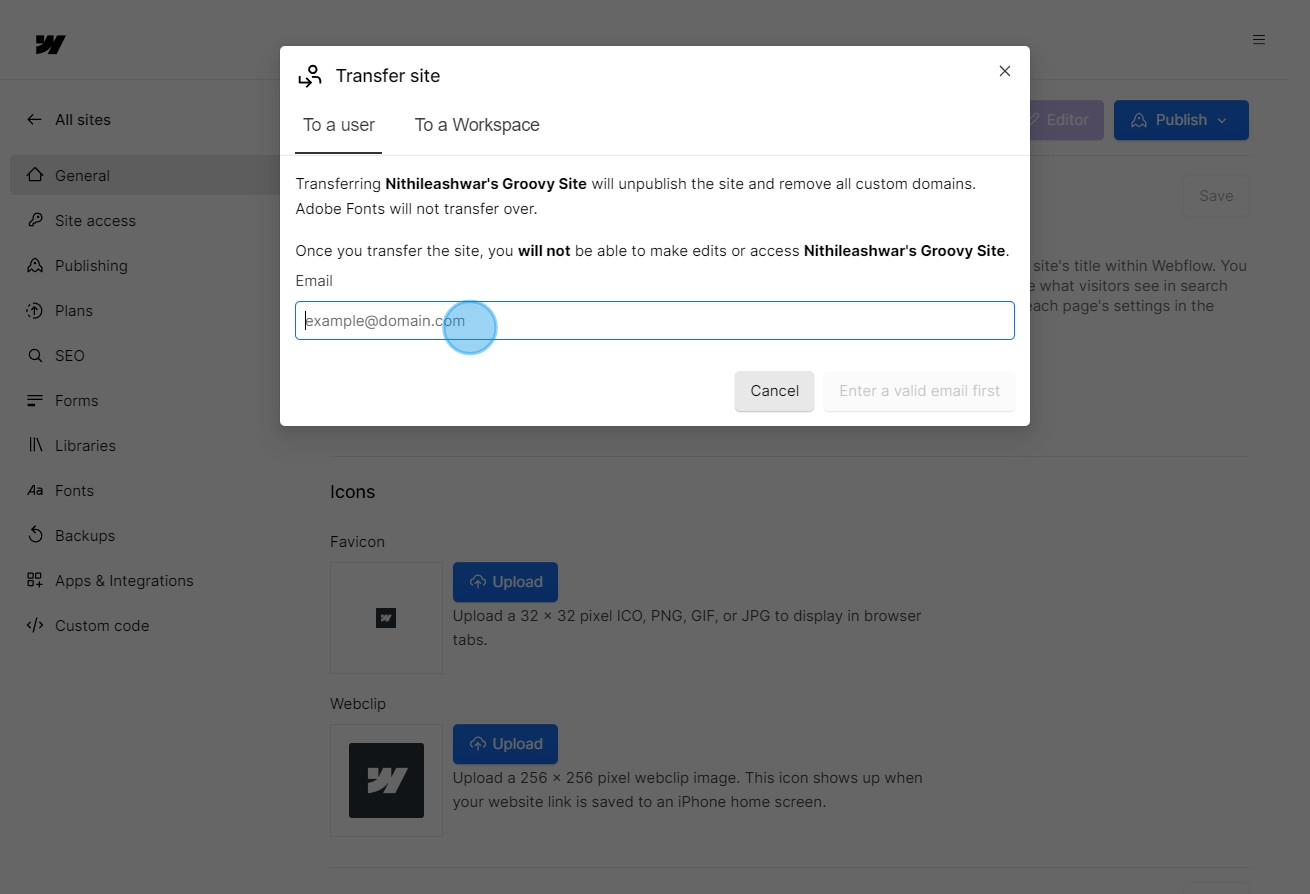
3. Select the described area to initiate site transfer.
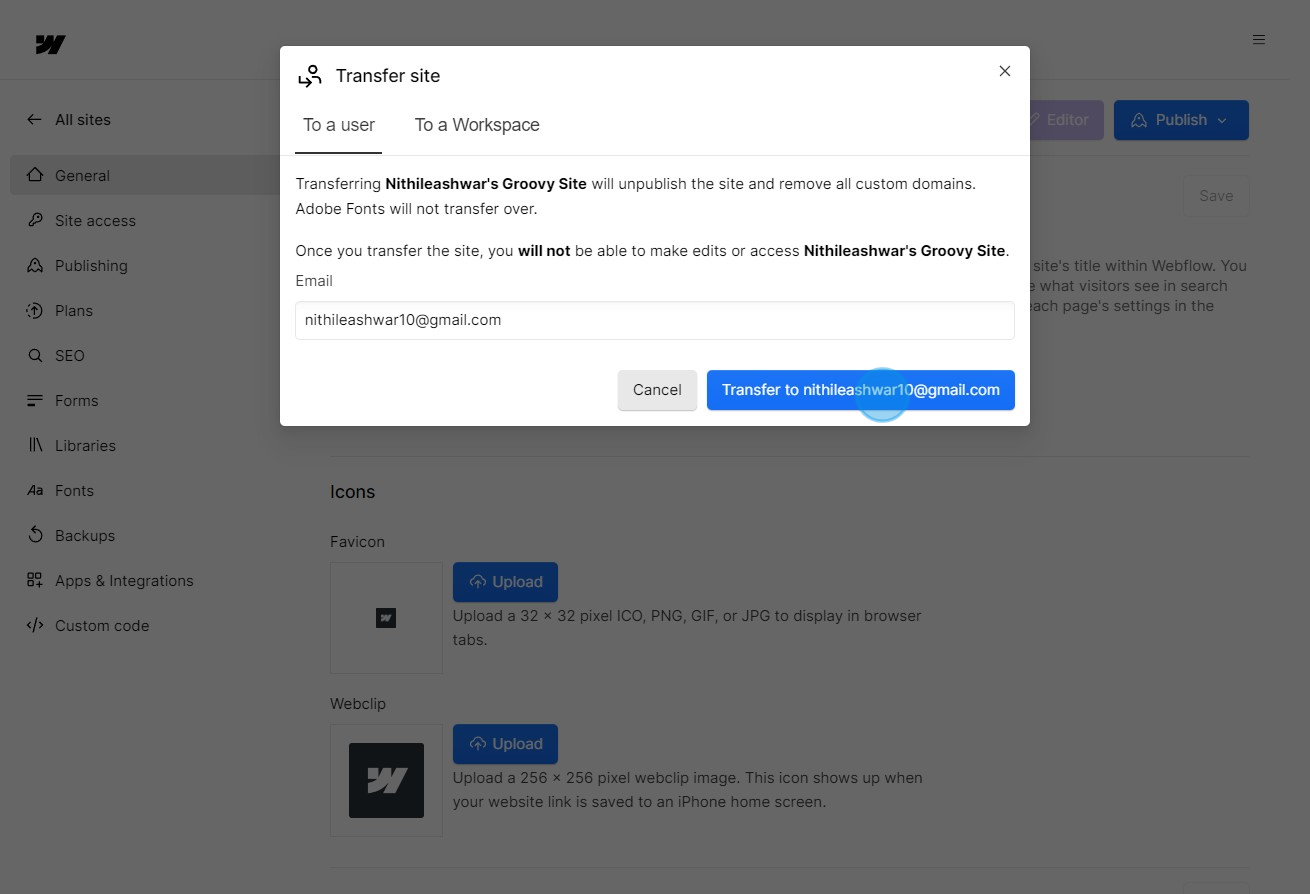
4. Input the recipient's Webflow email to proceed with the transfer.
5. Confirm the transfer to the entered email.
6. Click here for instructions on transferring to another workspace.
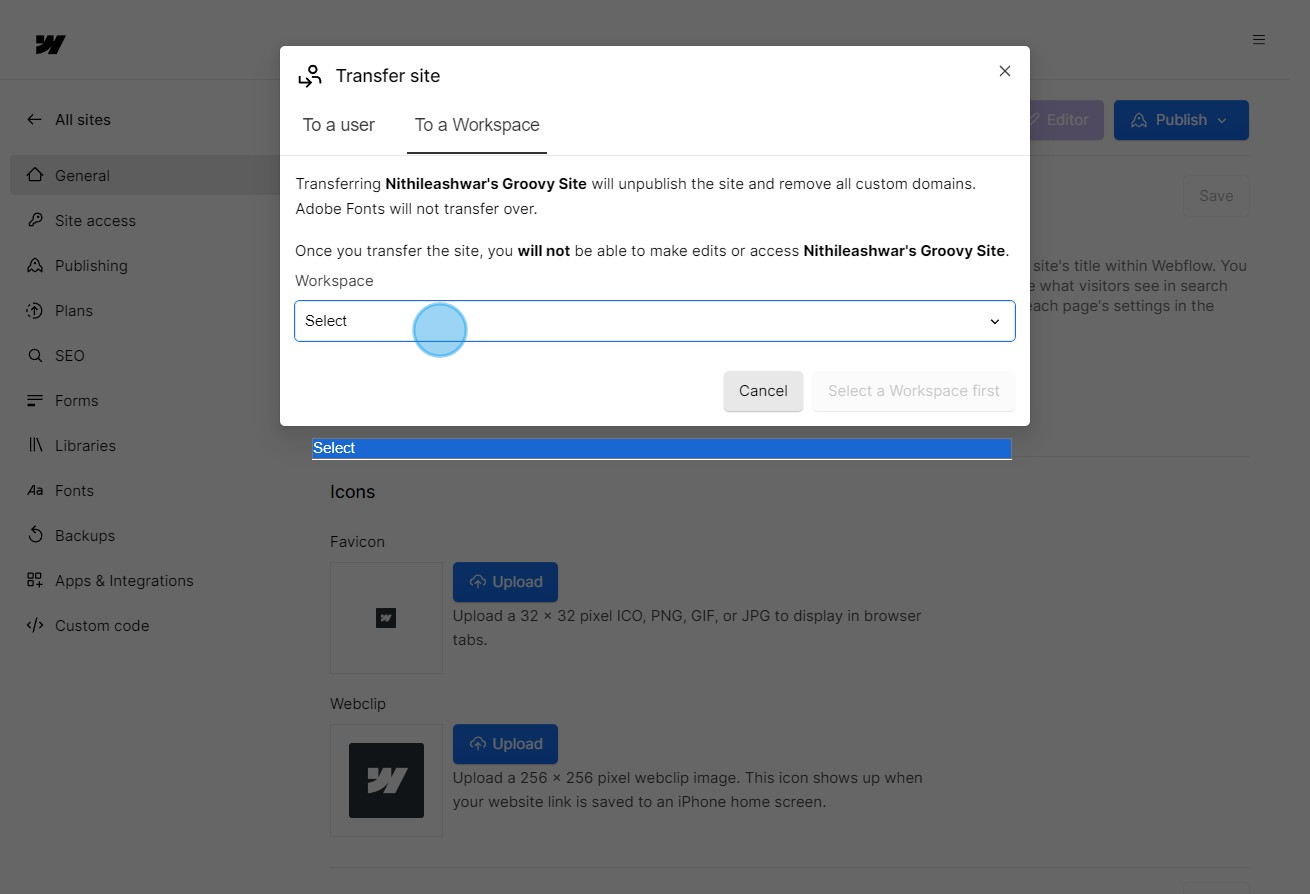
7. Select the 'To a Workspace' button if transferring to another workplace.
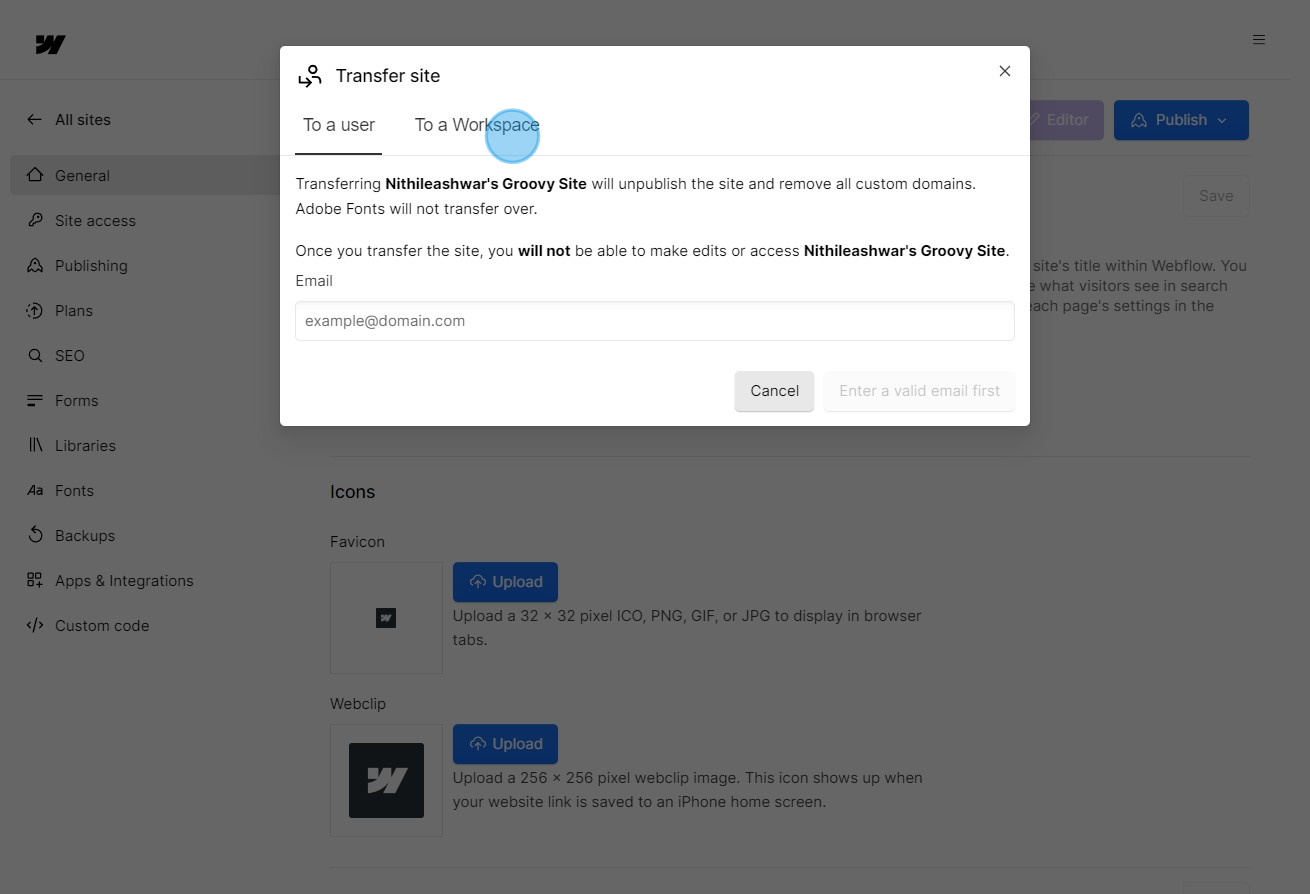
8. Choose your desired webflow workspace from your dropdown.
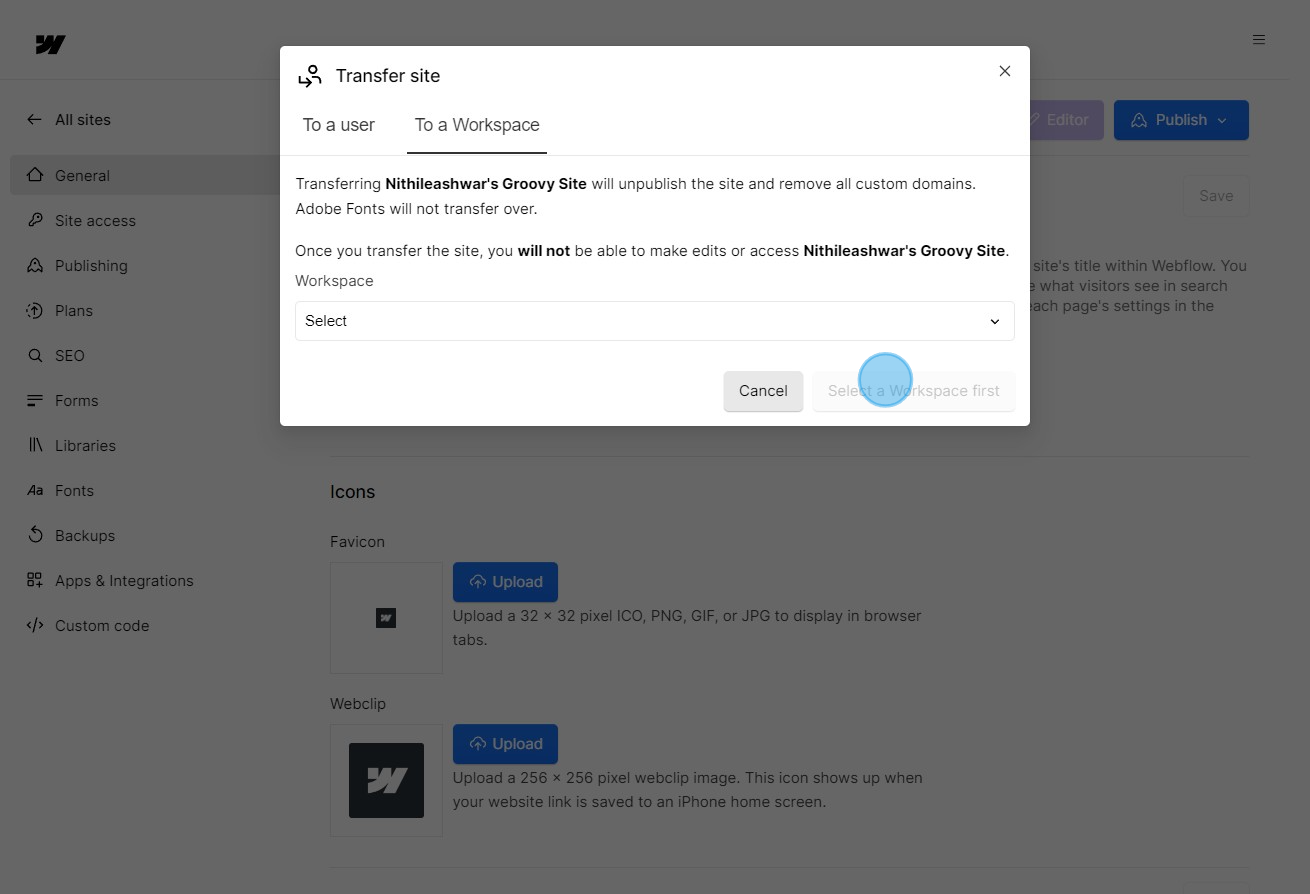
9. If ready, confirm the transfer or select 'Cancel' to stop.
Common FAQs on Webflow
Commonly asked questions about this topic.
How do I create a website using Webflow?
To create a website in Webflow, start by signing up and logging into your Webflow account. Click on “New Project” from your dashboard to start a new website. You can choose to start with a blank canvas or select a pre-designed template from Webflow’s library. Use Webflow’s visual editor to design your site by adding and arranging elements like text, images, buttons, and forms. Customize the styles, layouts, and interactions using the built-in design tools. Once you’re satisfied with your design, you can publish your site to a Webflow subdomain or connect your own domain for a more professional look.
How can I manage and update content on my Webflow site?
To manage and update content on your Webflow site, use the Webflow CMS (Content Management System) feature. Set up CMS Collections to organize and manage content types, such as blog posts, products, or team members. You can create custom fields for each collection and design dynamic pages that pull in content from these collections. To update content, go to the CMS section, edit the entries, and publish changes. Webflow’s Editor mode also allows you to make content updates directly on the live site without needing to access the design tools. This mode is especially useful for content editors who need to make frequent updates without altering the design.
How do I optimize my Webflow site for SEO?
To optimize your Webflow site for SEO, start by ensuring that each page has a unique and descriptive title and meta description. In Webflow’s Designer, go to the page settings and fill out the SEO fields with relevant keywords and information. Use Webflow’s built-in tools to add alt text to images and ensure that all your content is accessible to search engines. Implement proper heading structure (H1, H2, etc.) to improve content hierarchy and readability. Additionally, set up 301 redirects for any broken or outdated links and use Webflow’s SEO audit tools to identify and fix potential issues. Regularly review your site’s performance and adjust your SEO strategy based on analytics and search engine guideline
Create your own step-by-step demo
Scale up your training and product adoption with beautiful AI-powered interactive demos and guides. Create your first Supademo in seconds for free.
Nithil Shanmugam
Nithil is a startup-obsessed operator focused on growth, sales and marketing. He's passionate about wearing different hats across startups to deliver real value.