How to type with voice on Google docs

Nithil Shanmugam
Nithil Shanmugam·
How to type with voice on Google docs

Overview

Enhance your document creation process in Google Docs by utilizing the voice typing feature. Streamline your workflow and improve user experience by speaking instead of typing, allowing for efficient content creation. This guide provides a seamless process for enabling and using voice typing in Google Docs, offering an intuitive and hands-free approach to enhance efficiency and clarity in your document editing experience.

Who is Google Docs best suited for?

Google Docs is best suited for a wide range of professionals, including Writers, Collaborators, and Educators. For example, Writers can use Google Docs for drafting and revising content, Collaborators can leverage it for real-time feedback and document sharing, and Educators can use it for creating and distributing lesson plans and assignments, all benefiting from Google Docs’ cloud-based accessibility and seamless collaboration features.

How to type with voice on Google docs

Interactive demo powered by Supademo

1. Locate and open the desired document.

1 Click here

2. Find 'Tools' in the menu and click on it.

2 Click on "Tools"

3. In the dropdown, select 'Voice Typing'.

3 Click on "Voice typing"

4. Click on the microphone icon to start voice typing.

4 Click here

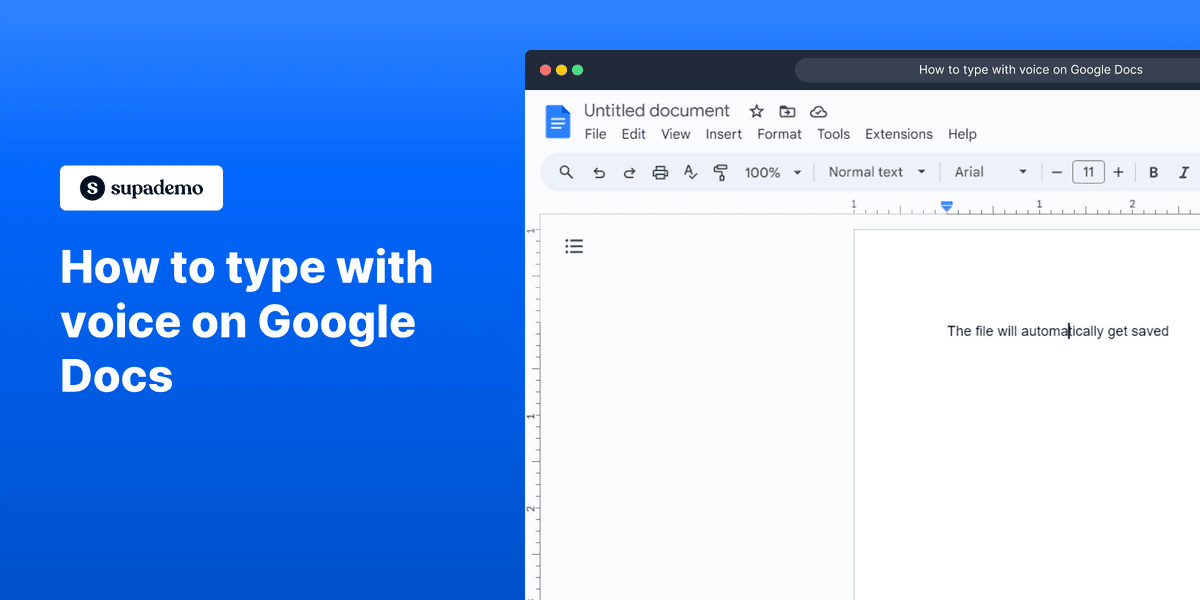
5. Speak clearly, the words will be transcribed automatically

5 Click here

Common FAQs on Google Docs

Commonly asked questions about this topic.

How do I collaborate with others on a Google Docs document?

To collaborate with others on a Google Docs document, click the “Share” button in the top-right corner of the document. Enter the email addresses of the people you want to collaborate with and set their permissions to either “Viewer,” “Commenter,” or “Editor.” Click “Send” to share the document. Collaborators can then view, comment on, or edit the document in real-time, depending on their permission level. You can see their changes as they happen and communicate through comments or suggestions directly within the document. Google Docs also features a built-in chat function for real-time discussions while working on the document.

How can I use Google Docs to track changes and manage versions?

Google Docs automatically tracks changes and maintains version history for your document. To view the version history, go to “File” > “Version history” > “See version history.” This will open a sidebar showing a list of past versions along with the date and time of changes. You can click on any version to see the document as it was at that time. If needed, you can restore a previous version or name specific versions for easier reference. Google Docs also allows you to suggest edits, which can be reviewed and accepted or rejected by the document owner, helping to manage changes and maintain a clear record of revisions.

How do I use formatting and styling options in Google Docs?

Google Docs provides a range of formatting and styling options to enhance your document. To format text, use the toolbar at the top of the page to apply styles such as bold, italics, underline, and strikethrough. You can also adjust font size, color, and typeface. For paragraph formatting, you can set alignment, line spacing, and indentation. Use the “Styles” dropdown to apply predefined heading styles for organizing your document into sections. You can insert and format tables, images, and hyperlinks to further enhance your document. To access additional formatting options, explore the “Format” menu, which includes options for paragraph styles, bullet points, and text alignment.

Create your own step-by-step demo

Scale up your training and product adoption with beautiful AI-powered interactive demos and guides. Create your first Supademo in seconds for free.

Nithil Shanmugam

Nithil Shanmugam

Nithil is a startup-obsessed operator focused on growth, sales and marketing. He's passionate about wearing different hats across startups to deliver real value.

More from the blog

How to Add Products to Shopify

How to Add Products to Shopify

Learn step-by-step how to add products to your Shopify store effortlessly, including tips on product details, images, pricing, and inventory management to boost your online sales.

Vimal Kumar
Vimal KumarDec 17, 2025
How to Deactivate Your Shopify Store

How to Deactivate Your Shopify Store

Learn step-by-step how to deactivate your Shopify store easily, including important considerations and tips to pause or close your shop without losing data.

Vimal Kumar
Vimal KumarDec 17, 2025
How to Remove 'Powered by Shopify'

How to Remove 'Powered by Shopify'

Learn how to easily remove the 'Powered by Shopify' text from your online store with step-by-step instructions and tips to customize your Shopify storefront.

Vimal Kumar
Vimal KumarDec 17, 2025
How to Create a Shopify Account

How to Create a Shopify Account

Learn step-by-step how to create a Shopify account quickly and easily, set up your online store, and start selling your products in no time.

Vimal Kumar
Vimal KumarDec 17, 2025
How to Create a Stripe Account

How to Create a Stripe Account

Learn how to create a Stripe account quickly and easily with our step-by-step guide, perfect for beginners looking to start accepting online payments.

Vimal Kumar
Vimal KumarDec 17, 2025
How to Contact Stripe Support

How to Contact Stripe Support

Learn the easiest ways to contact Stripe support for quick assistance with your payment processing, account issues, and technical questions.

Vimal Kumar
Vimal KumarDec 16, 2025