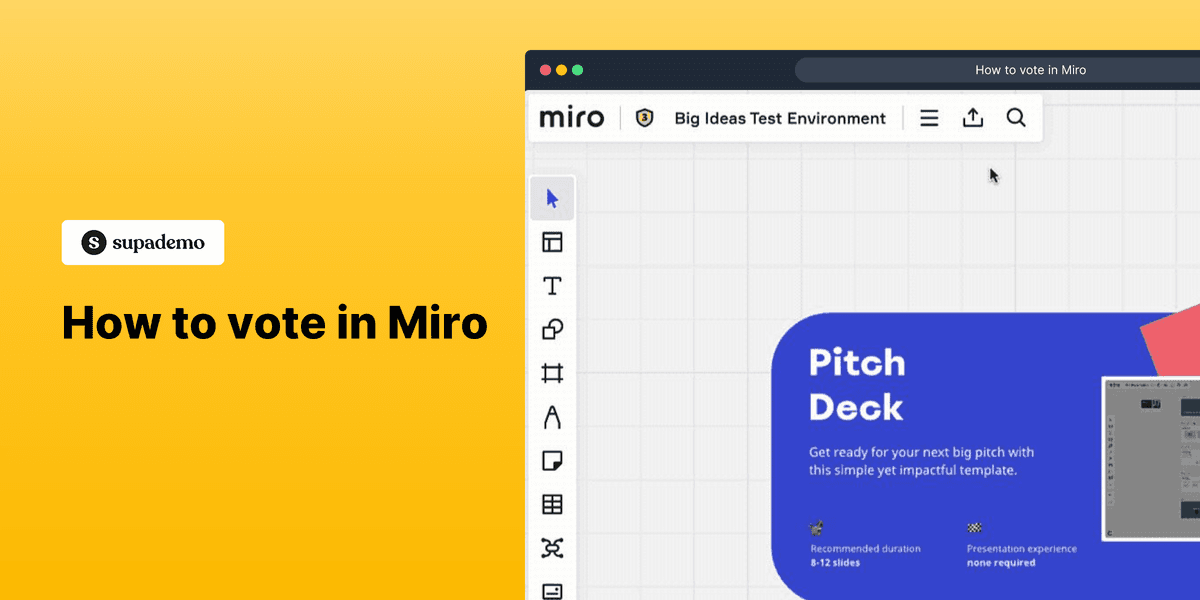
1. Open your Miro board.
2. Click on the 'Voting' button in the toolbar.
3. Set up the voting session parameters.
4. Click 'Start voting' to begin.
5. Congratulations!
Participants can cast their votes on the Miro board.
6. Enjoyed the guided demo?
This interactive demo/guided walkthrough on How to vote in Miro was created using Supademo.
How to vote in Miro : Step-by-Step Guide
Begin by navigating to your Miro workspace where your board is set up. This is the central hub where you’ll run the voting session, so get familiar with the layout before moving forward.

Look for the 'Voting' option along the toolbar at the top of your screen. This button is your gateway to creating an interactive voting session, allowing everyone on your board to share their input effortlessly.

Once you've opened the voting panel, take a moment to customize the session settings. Adjust the parameters to define how many votes each participant gets and set any other preferences that suit your group’s decision-making style.

After configuring the voting options, click on 'Start voting' to officially launch the session. This will activate the voting interface, enabling all participants to begin casting their votes in real time.

Your voting session is now live! Participants can interact directly on the Miro board to submit their votes, making the process collaborative and transparent. Keep an eye on how the votes unfold as your team engages.

We hope this walkthrough has made running a voting session on Miro straightforward and enjoyable. If you found this guide helpful, feel free to explore more features to keep enhancing your collaborative workflow.

Create your own interactive demos in < 5 mins with Supademo
You can create your own interactive product demo in minutes using Supademo. Drive growth, scale enablement, and supercharge product-led onboarding with Supademo. Sign up for free here with no credit card required.
FAQs
Commonly asked questions about this topic.
What is the Voting feature in Miro?
The Voting feature in Miro allows teams to collect feedback or make decisions collaboratively by letting participants cast votes on board elements in real time. It simplifies prioritization and consensus building during workshops and brainstorming sessions.
How do I start a voting session on Miro?
To start a voting session, open your Miro board, click the 'Voting' button in the toolbar, configure session settings like the number of votes per participant, and then click 'Start voting' to launch the session.
Can participants vote anonymously on Miro?
Currently, votes in Miro are tied to users logged into the board. While votes aren’t openly displayed by user, absolute anonymity isn’t guaranteed as participation is linked to board user accounts.
Is it possible to limit the number of votes per participant?
Yes, when setting up a voting session, you can specify how many votes each participant receives. This helps balance influence and encourage focused participation.
Can I vote on different objects in a single session?
Yes, participants can distribute their allocated votes across multiple board objects, enabling flexible decision-making and prioritization during the voting session.
How do I end a voting session in Miro?
Once voting is complete, the session organizer can end the voting by clicking the 'End voting' button. This locks the votes and displays the final results on the board.
Are votes counted automatically in Miro?
Yes, Miro automatically tallies votes during a voting session and presents a summary, helping teams immediately see which ideas or elements have the most support.
Can I restrict voting to certain users?
Voting permissions usually depend on board sharing settings. You can restrict who can join or edit the board, indirectly controlling who can participate in voting sessions.
What types of objects can be voted on in Miro?
Participants can vote on sticky notes, shapes, images, text, and other interactive elements on the board. This versatility supports various collaborative workflows.
Do I need a paid Miro plan to use voting?
Voting is available in Miro’s Team and Business plans. Some features may have limitations on free plans, so check Miro’s pricing page for the latest details.

Vimal Kumar
Product Operations Associate
Vimal Kumar helps build and grow Supademo’s team and GTM efforts, with a focus on figuring out growth levers and improving product traction.


