How to add due and start date to a ticket in Jira

Overview:
Streamline your ticket management in Jira by incorporating due and start dates for enhanced organization. Elevate user efficiency and simplify task tracking by attaching relevant dates to tickets, facilitating easy identification and prioritization. This guide offers a straightforward process to seamlessly add due and start dates to tickets within Jira, empowering you to optimize your task management strategies for increased efficiency and clarity in the project management workflow.
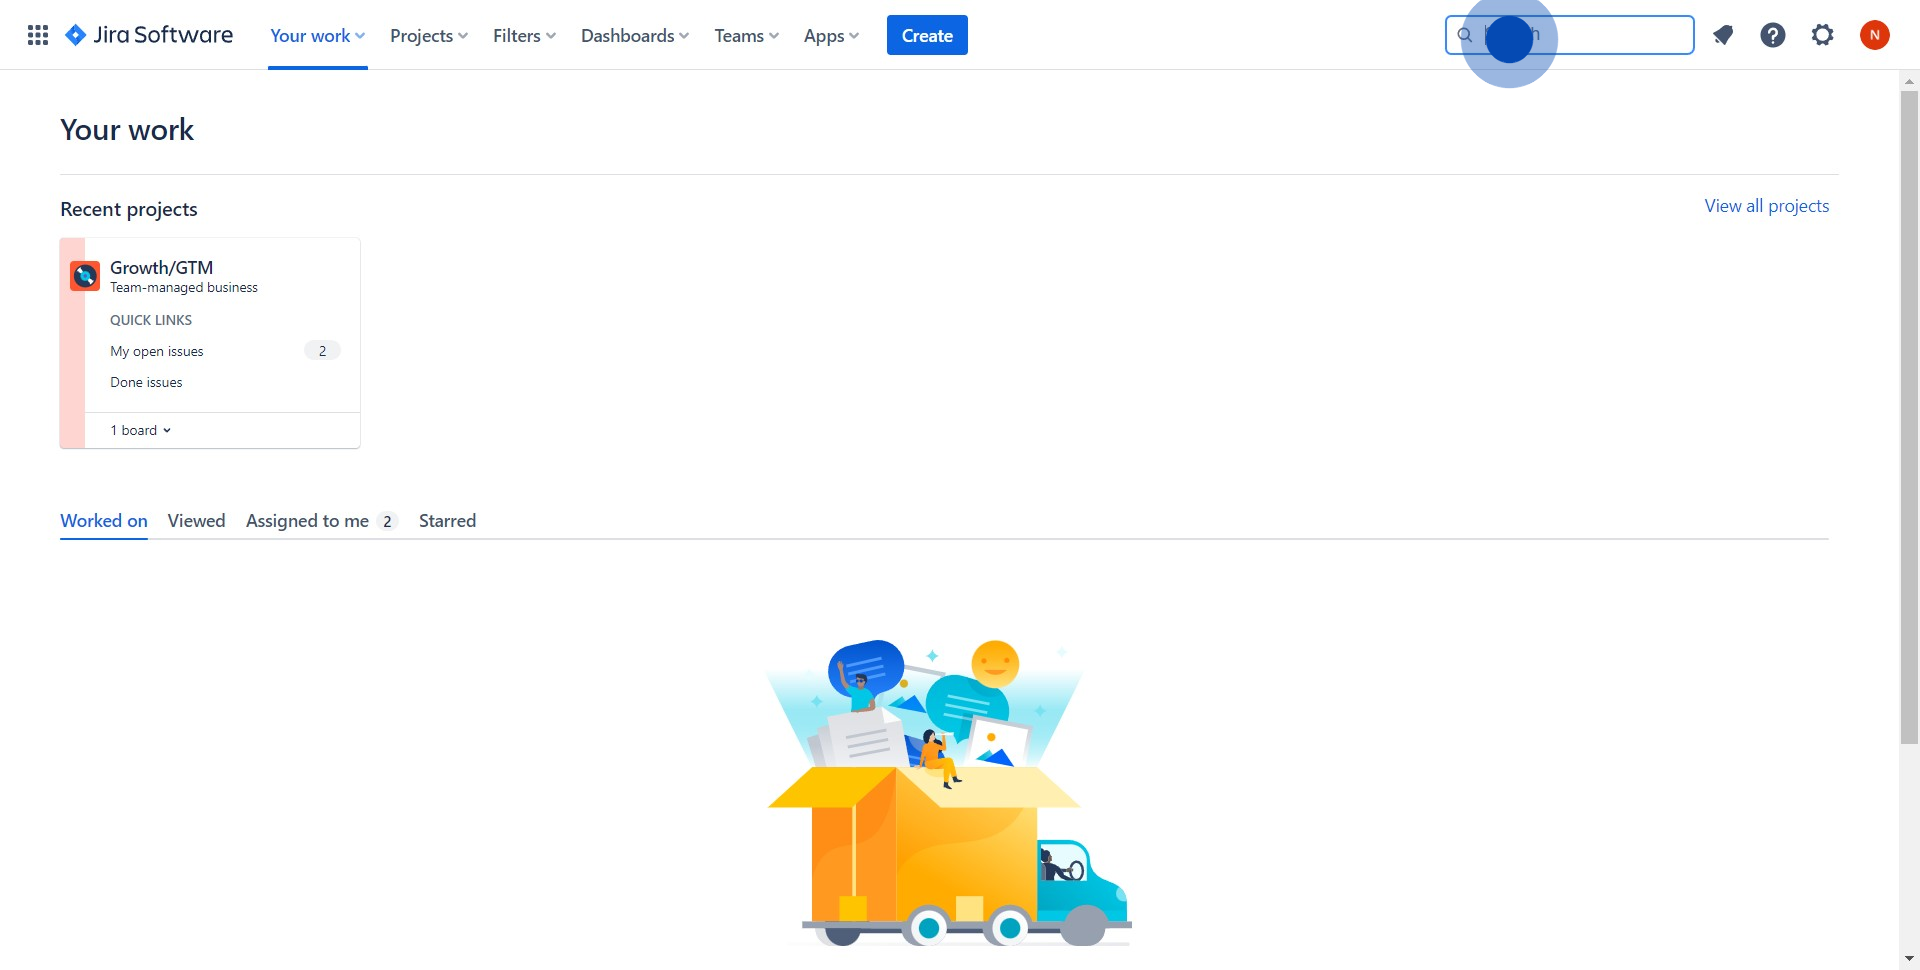
1. Input your desired ticket name into the search bar.
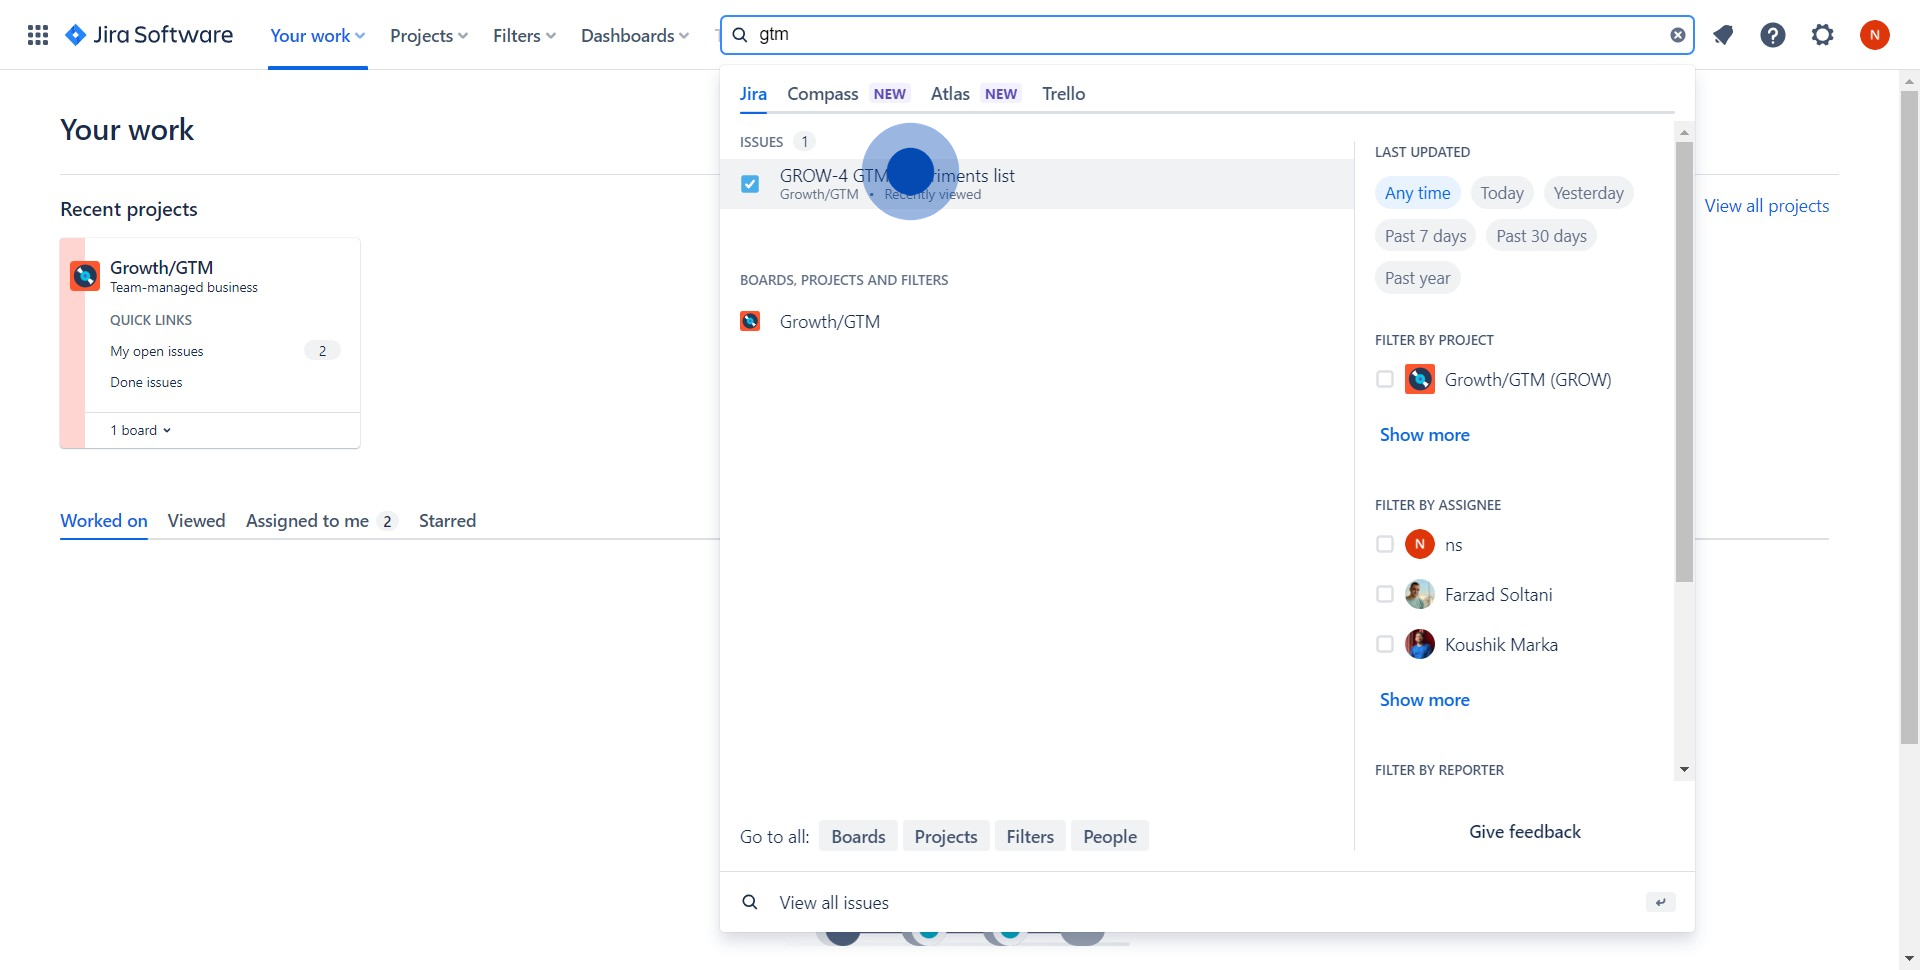
2. Identify and click on your preferred ticket from the search results.
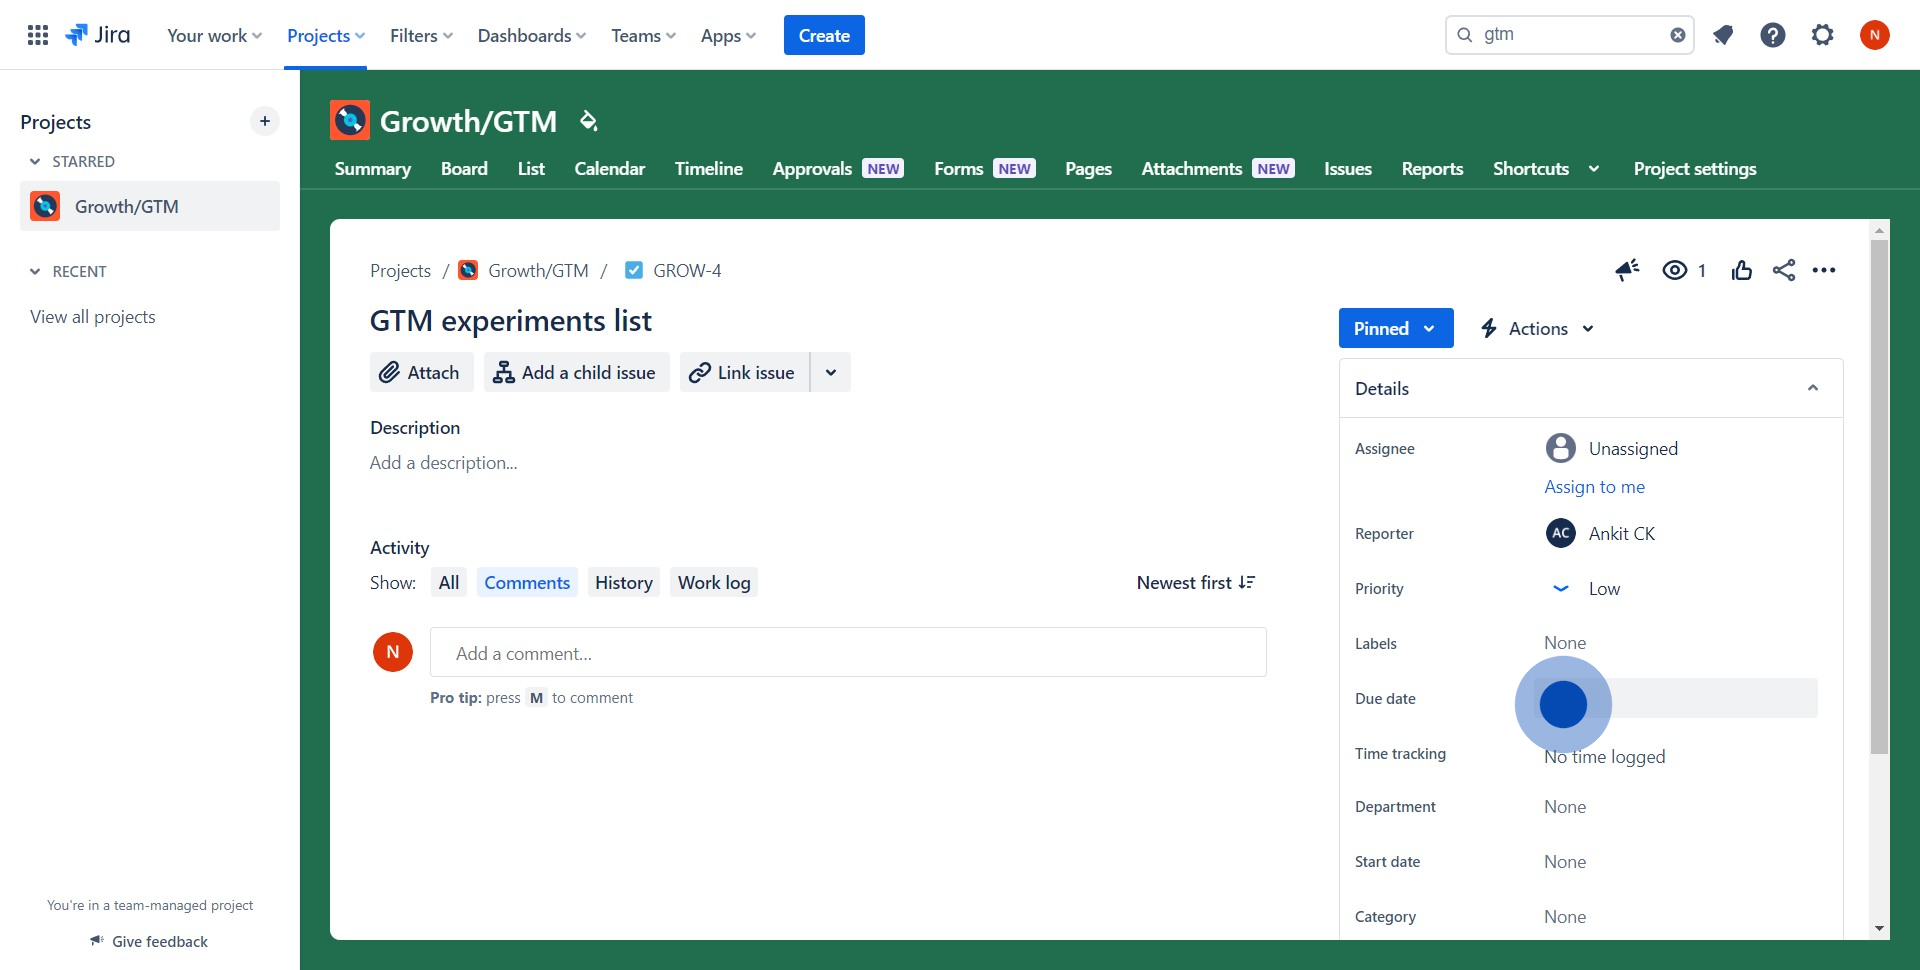
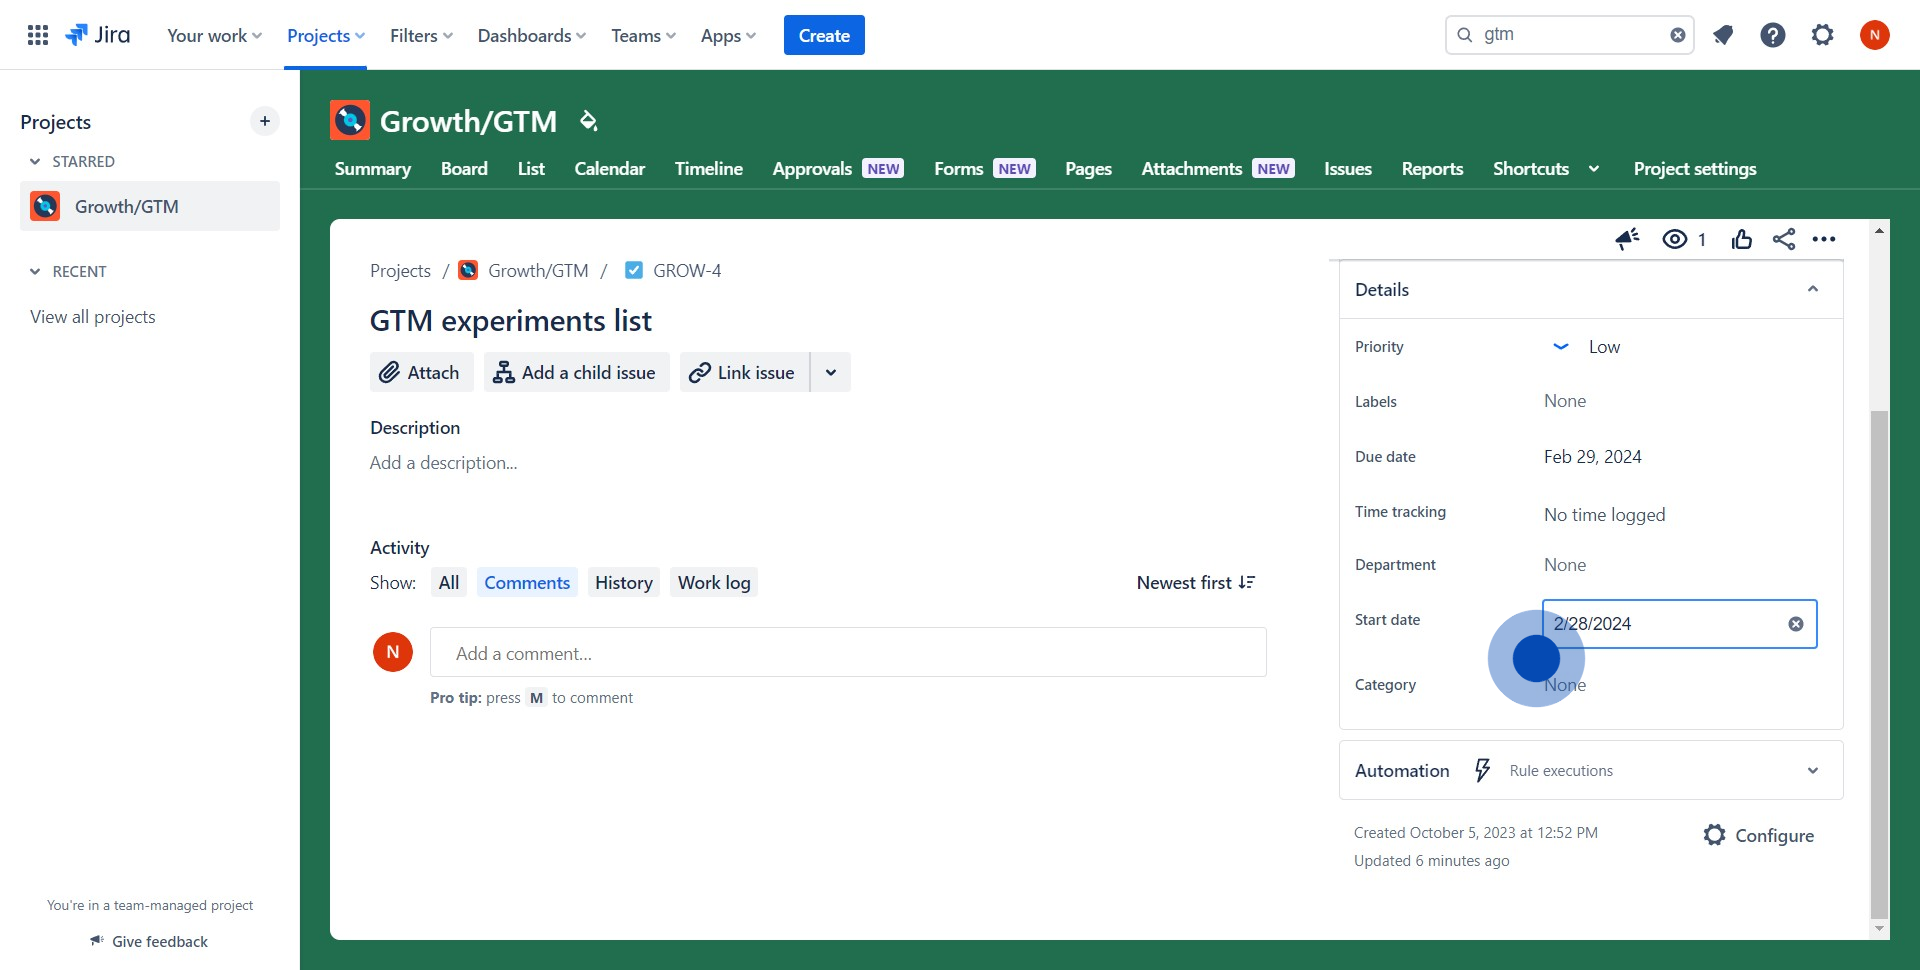
3. Find the option to include a 'Due date' on the ticket.
4. Next, add a 'Start date' for your ticket. Repeat the process for the 'Due date'
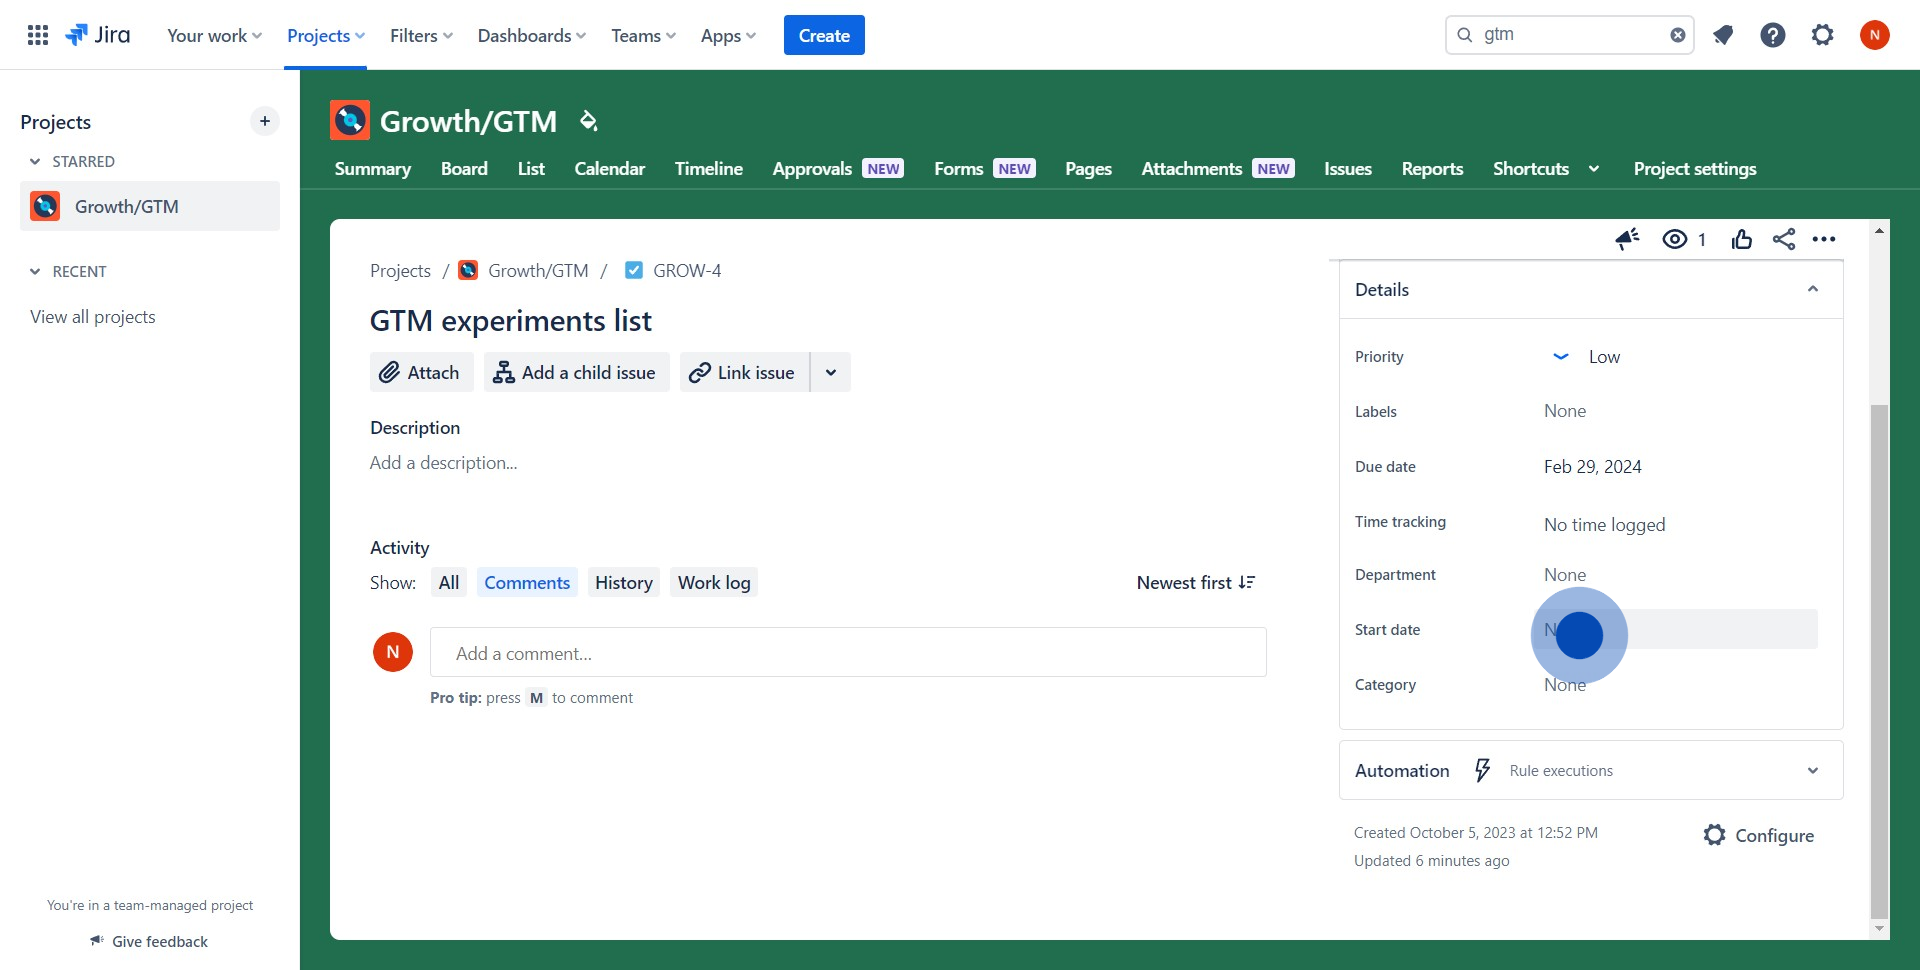
5. Well done! You've now added both a start and due date to your ticket.
Create your own interactive demo
Scale up your training and product adoption with beautiful AI-powered interactive demos and guides. Create your first Supademo in seconds for free.
Nithil Shanmugam
Nithil is a startup-obsessed operator focused on growth, sales and marketing. He's passionate about wearing different hats across startups to deliver real value.