
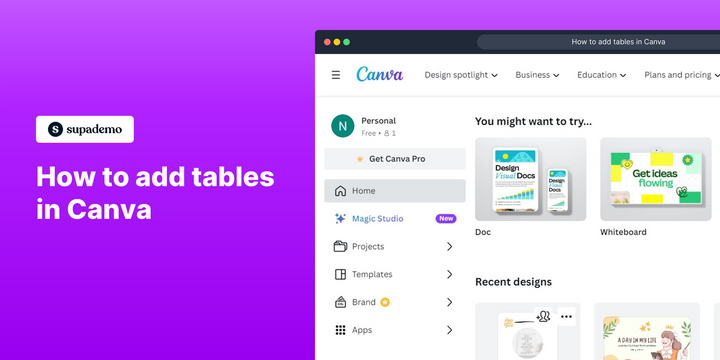
How to add tables in Canva
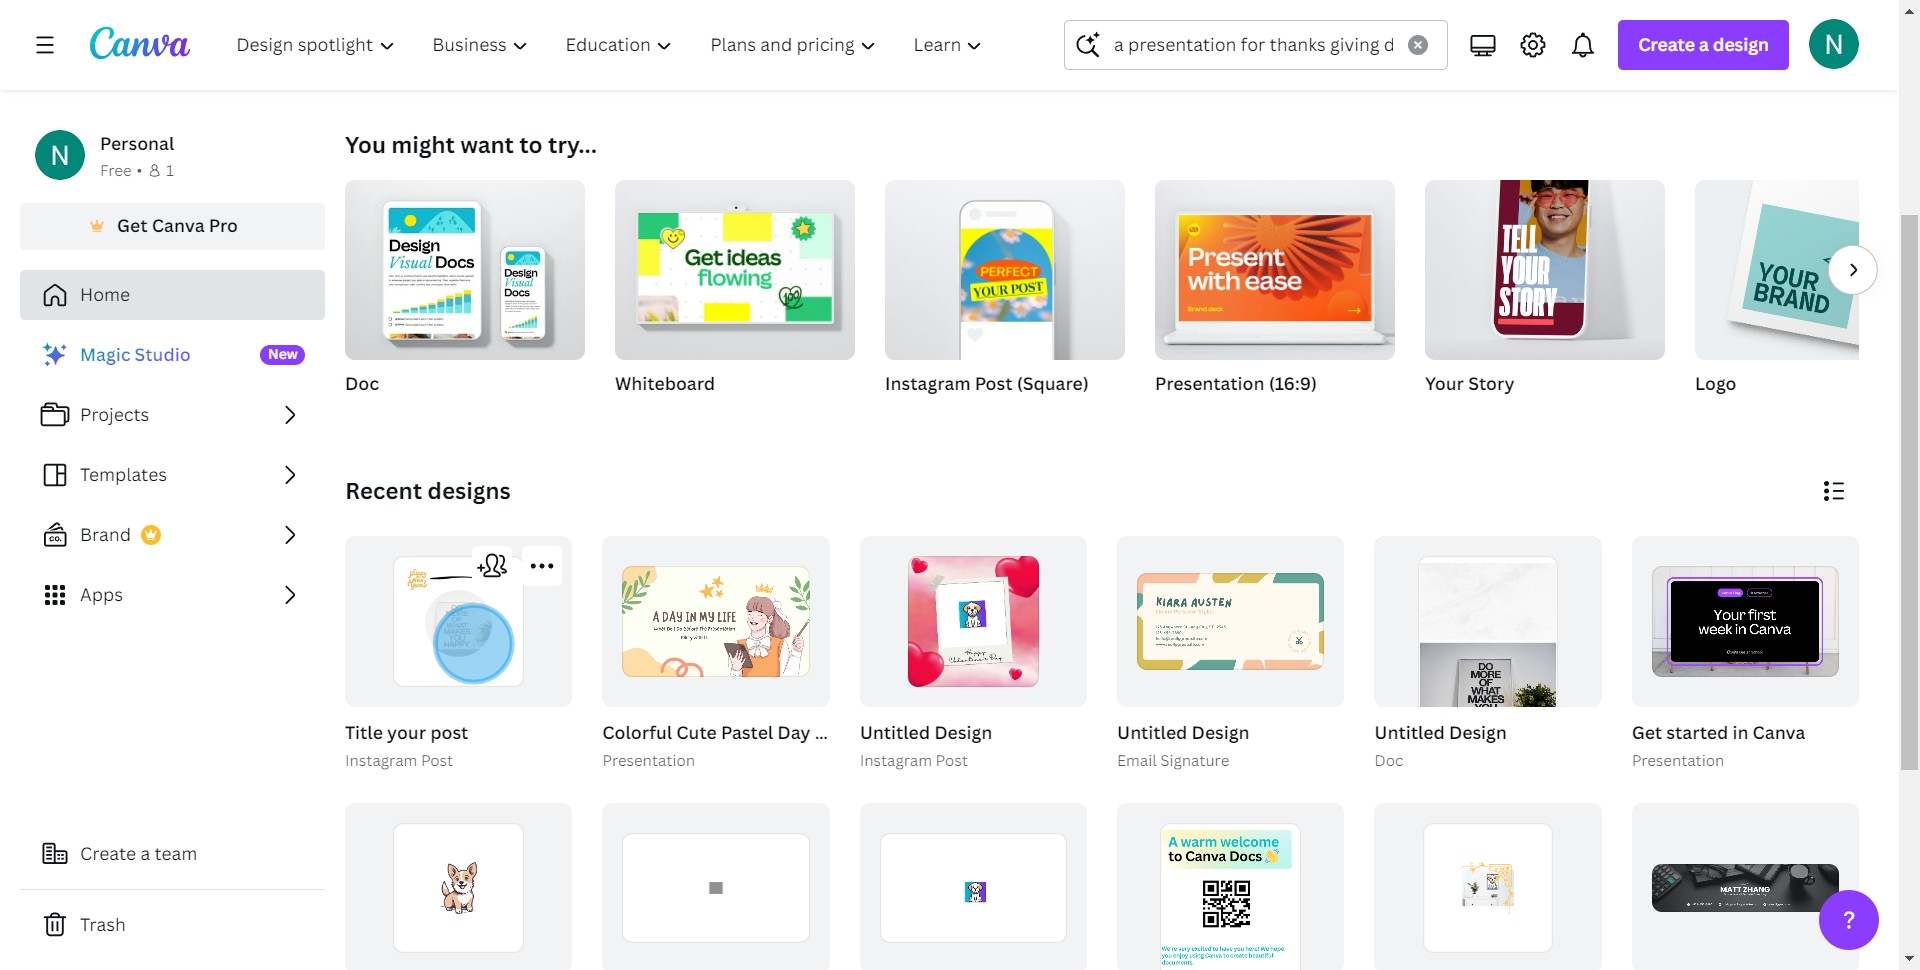
1. Choose the design document from your list.
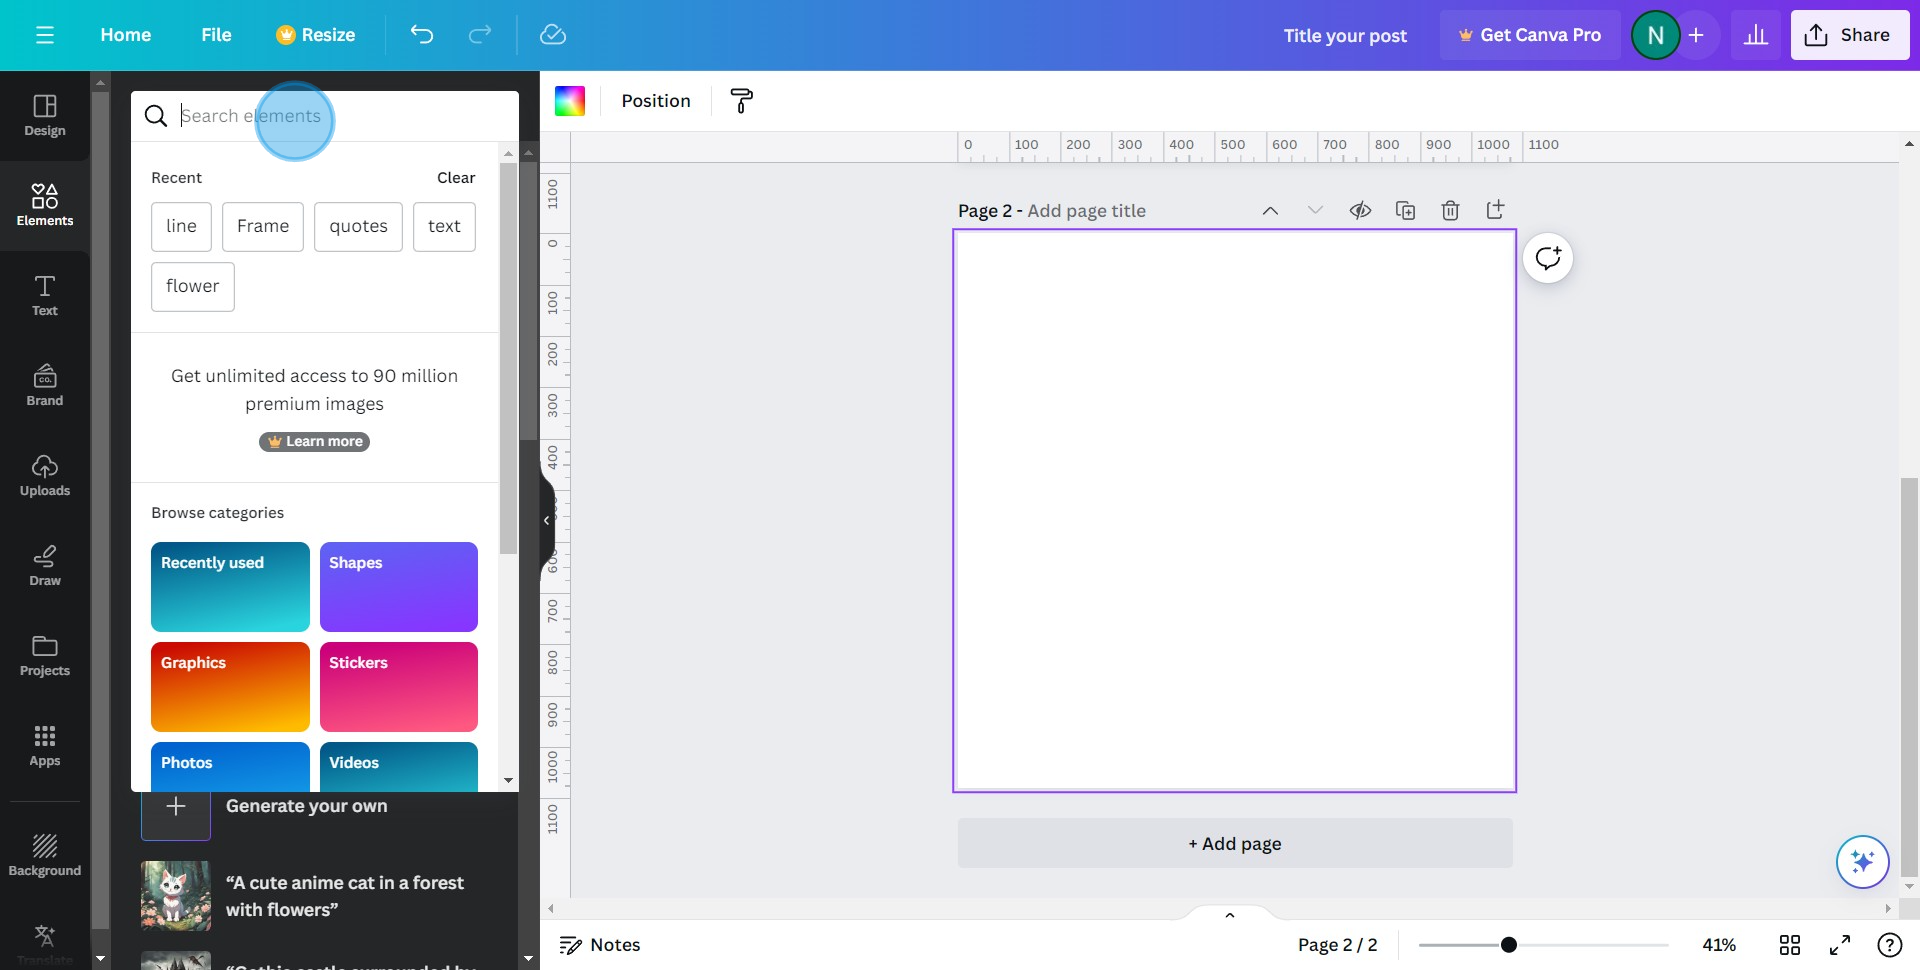
2. Navigate and click on the 'Elements' tab.
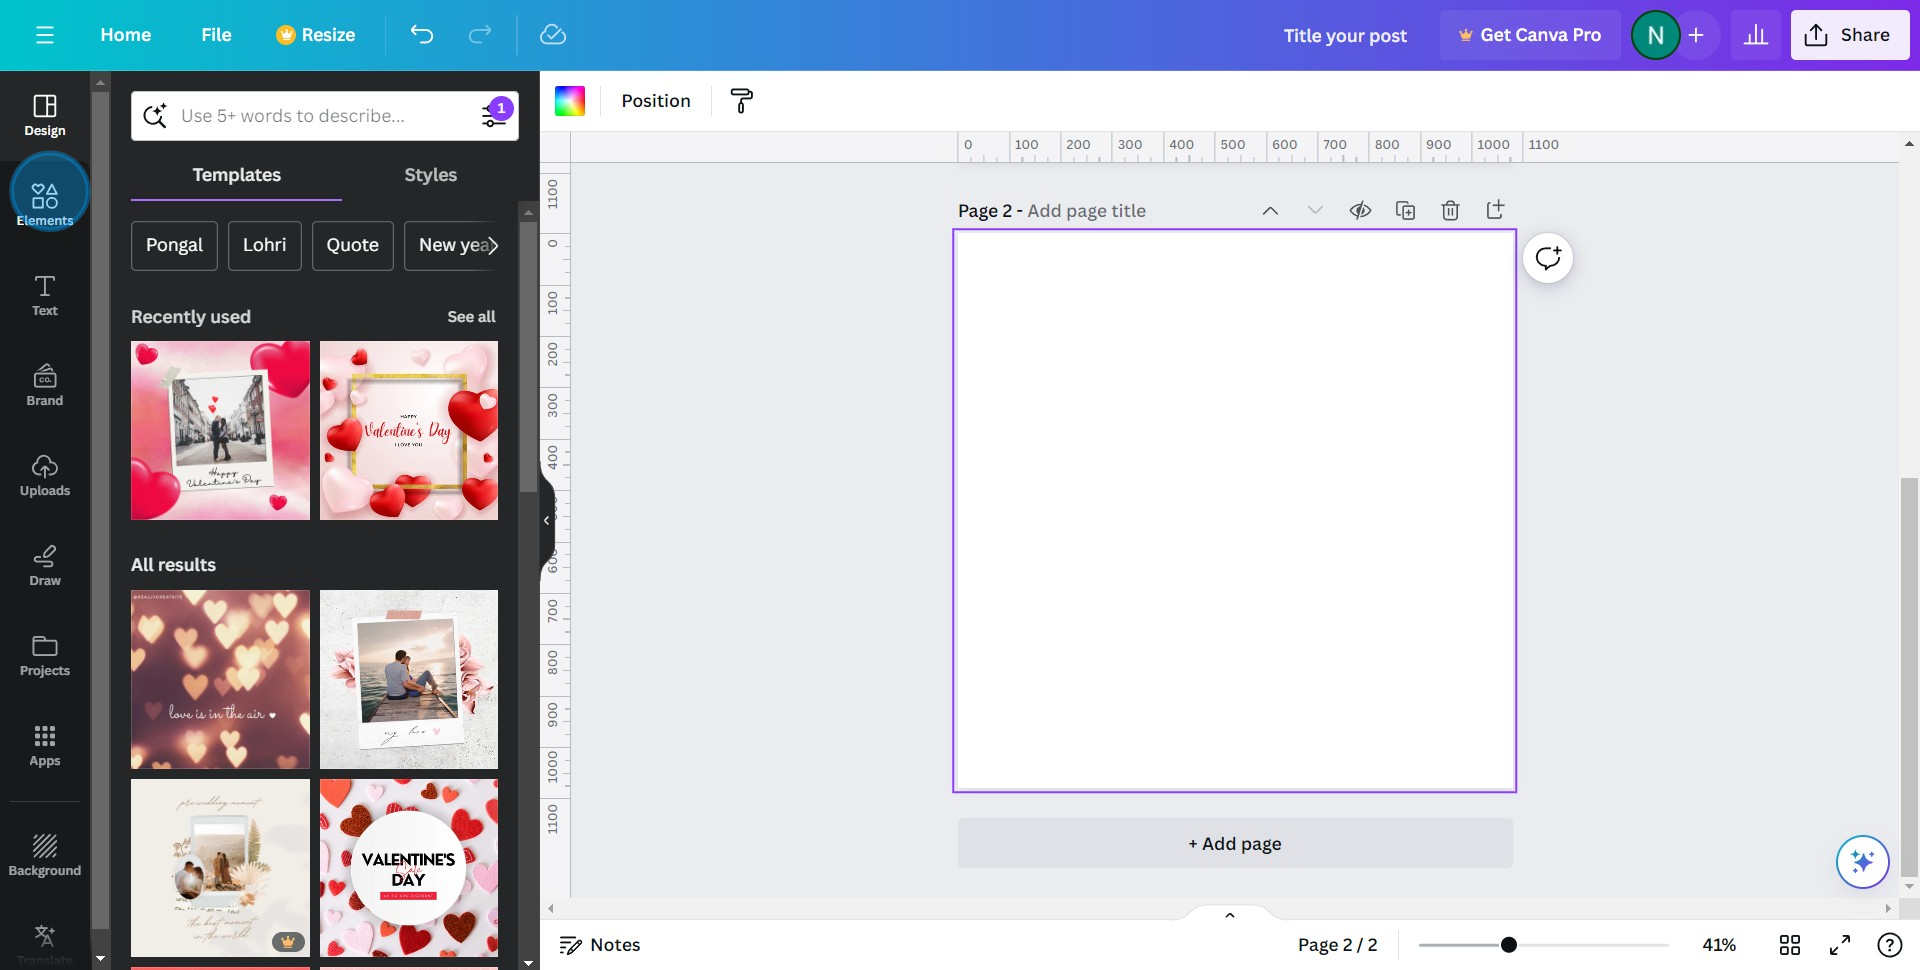
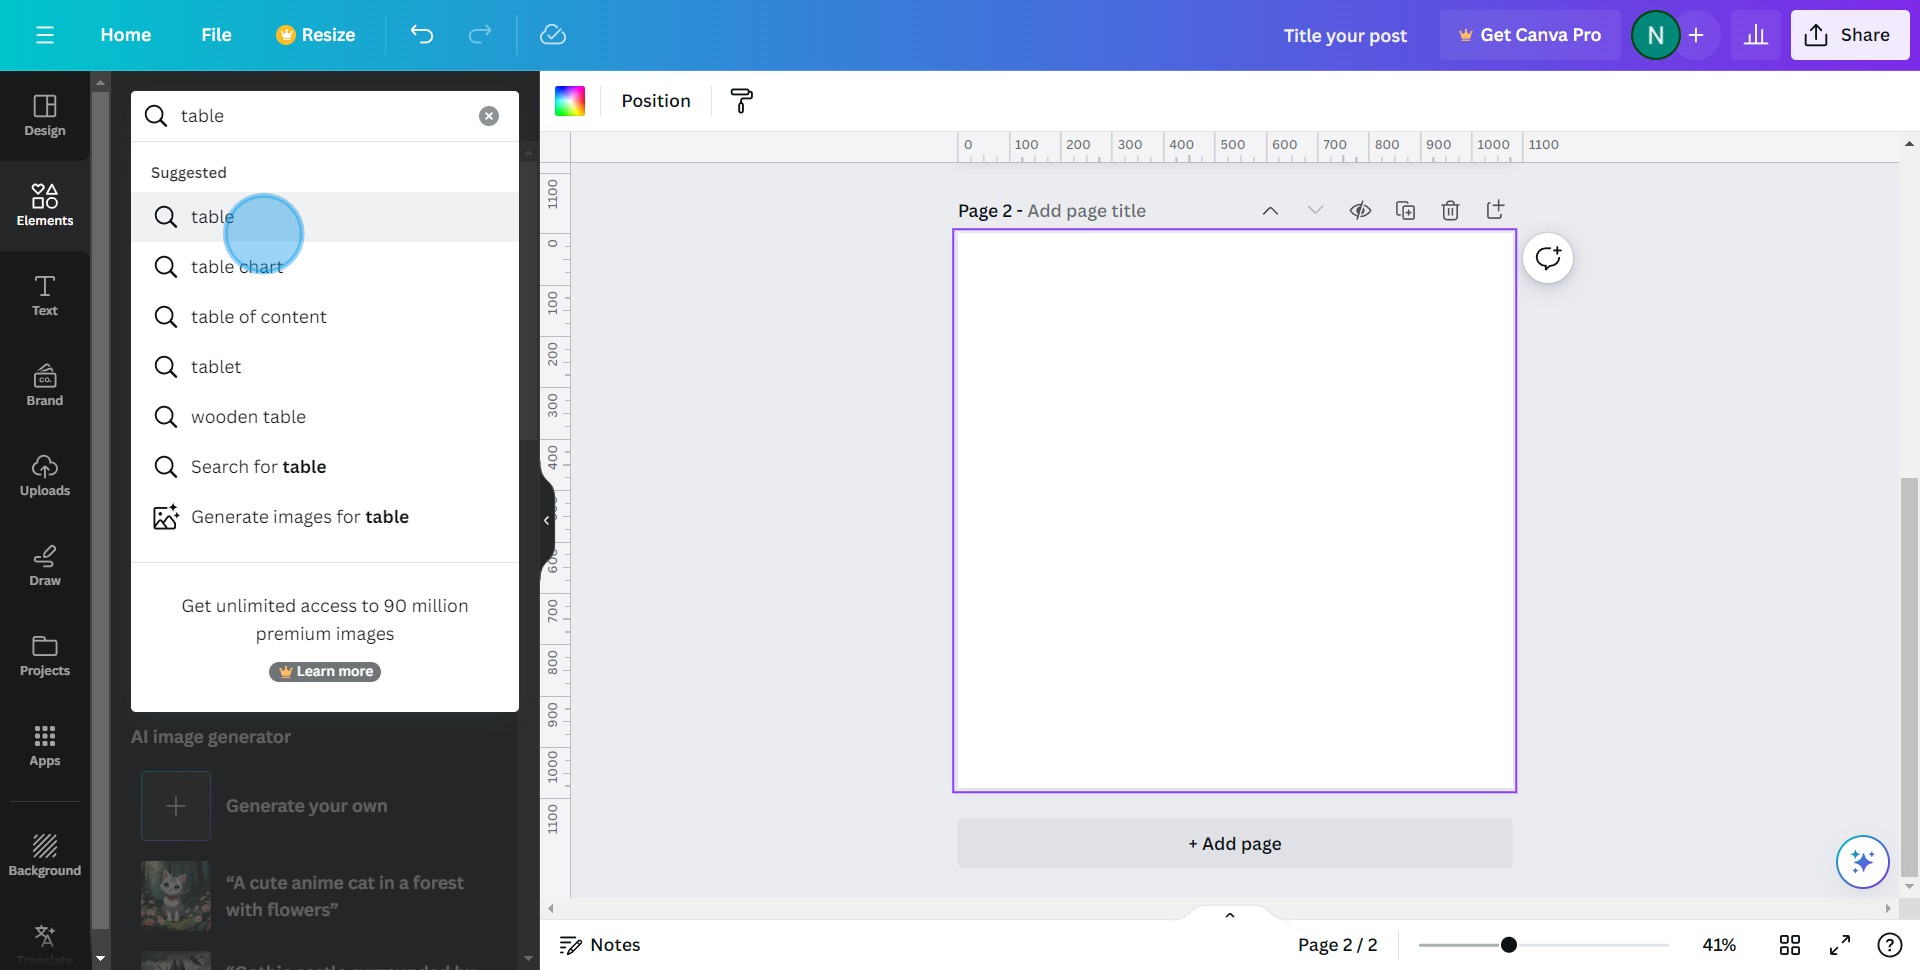
3. Use the search bar to find 'Table.'
4. Click on the 'Table' in the search results.
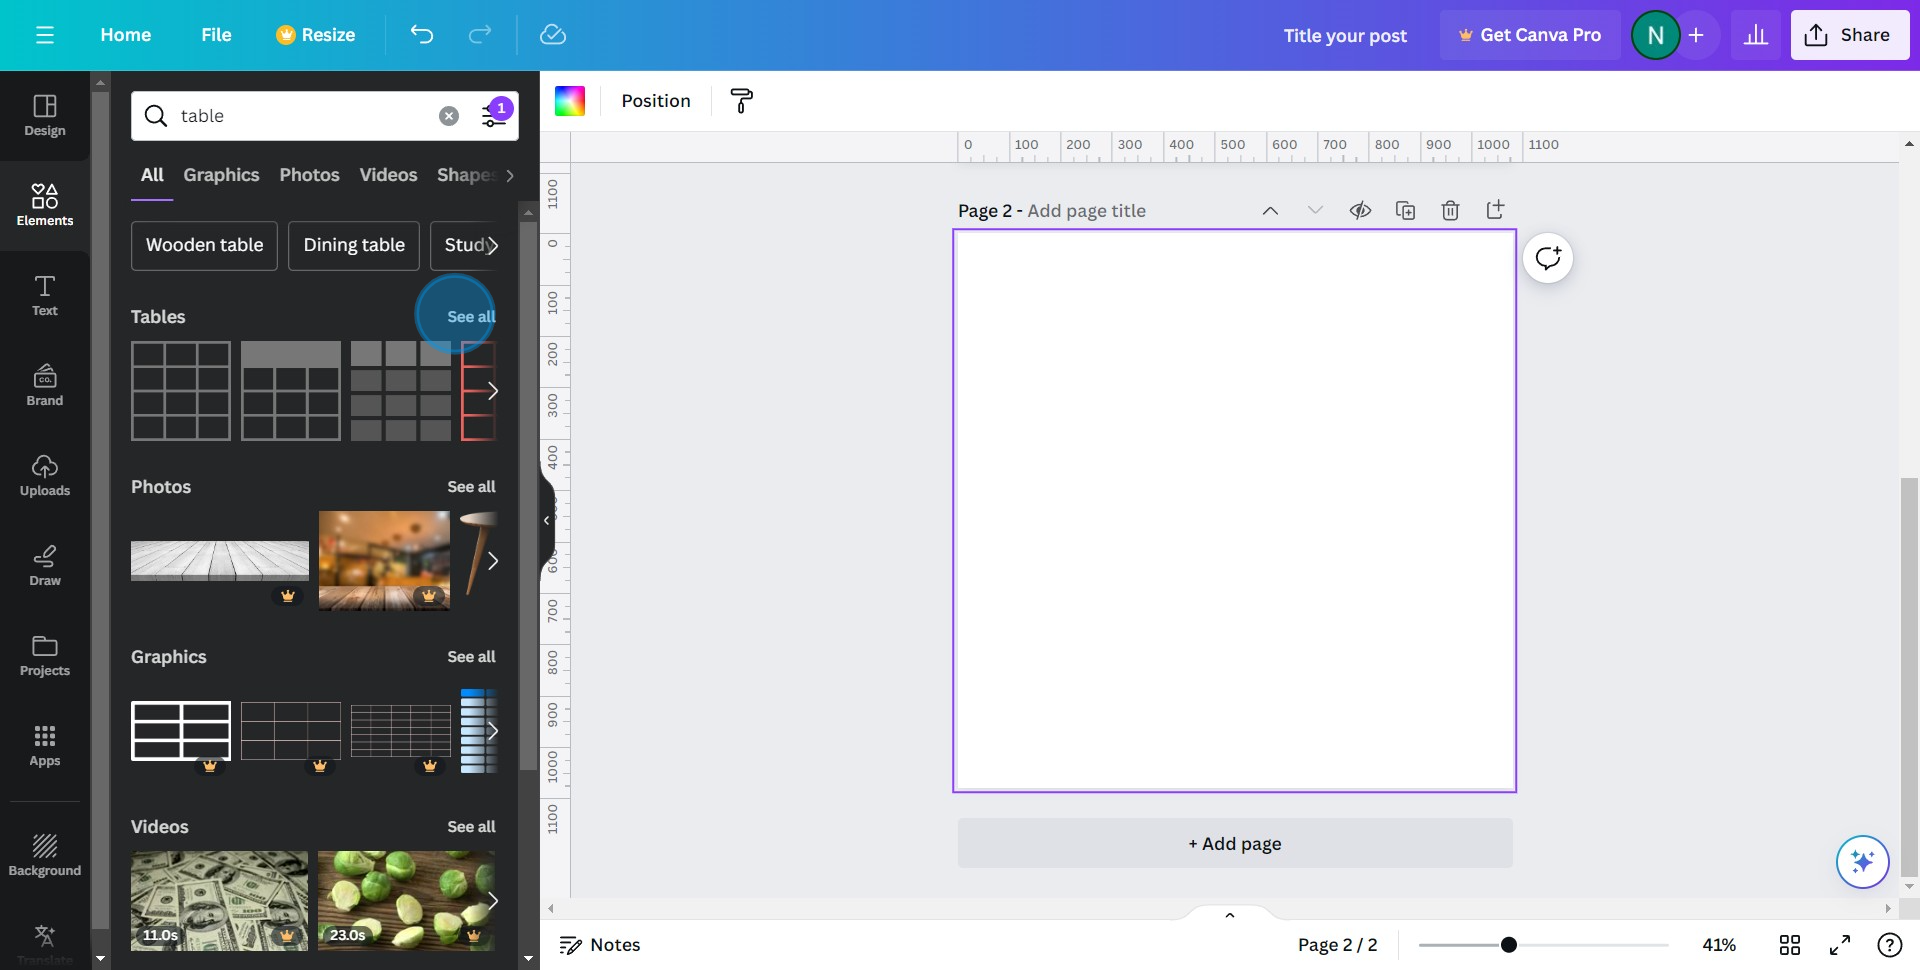
5. Navigate and click on 'See all' for more options.
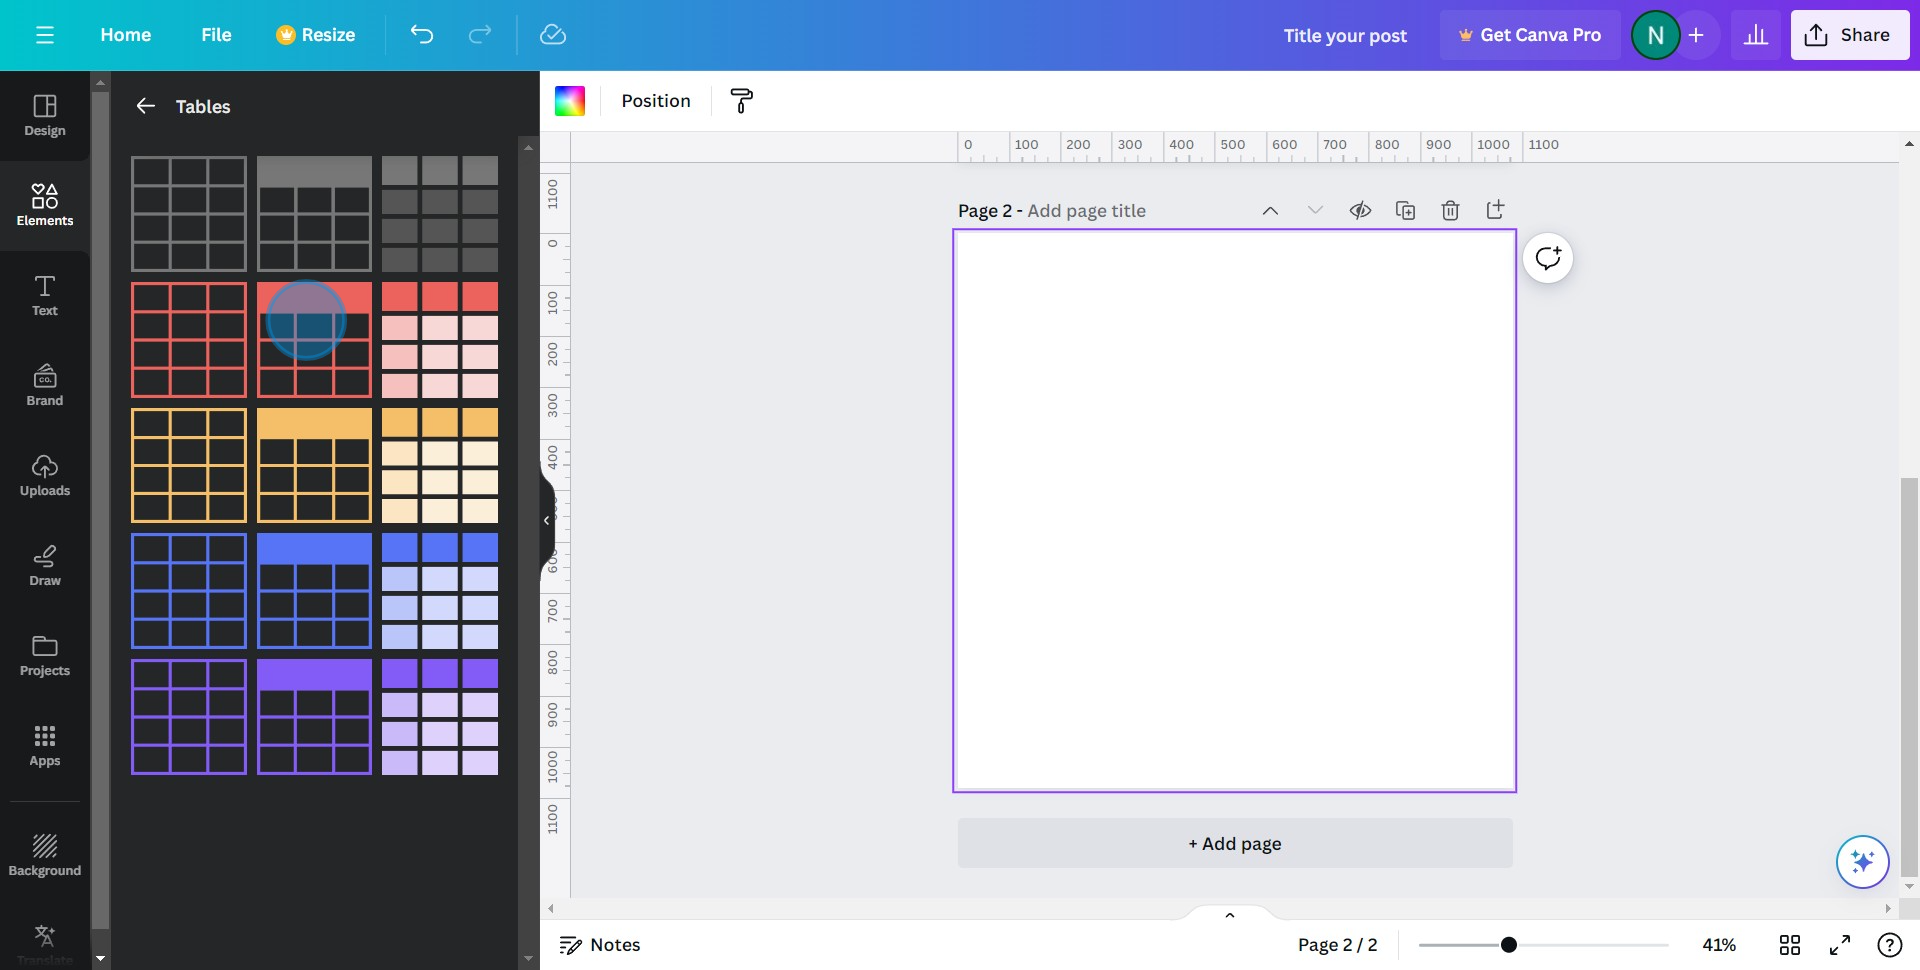
6. Select the table you want and drag it to your design layout.
Overview:
Enhance your design capabilities in Canva by incorporating tables seamlessly into your projects. Elevate your visual presentations and streamline information display by following this user-friendly guide. Learn the step-by-step process to effortlessly add and customize tables, providing a practical solution for improved organization and clarity within your Canva designs. Optimize your creative workflow and master the art of effective table integration with this comprehensive guide.
Who is Canva best suited for?
Canva is best suited for a wide range of professionals, including Marketers, Educators, and Content Creators. For example, Marketers can use Canva for creating engaging advertisements and social media graphics, Educators can leverage it for designing visually appealing lesson plans and teaching aids, and Content Creators can use it for producing eye-catching thumbnails and promotional materials, all benefiting from Canva’s easy-to-use design tools and diverse template options.
Common FAQs on Canva
How do I download my designs from Canva?
To download your designs, open the design you want to download and click on the “Share” button in the upper right corner. Select the “Download” option from the dropdown menu. Choose the file type (e.g., PNG, JPG, PDF) and any additional settings such as quality or pages to include. Click the “Download” button to save the design to your computer.
How do I share my Canva designs with others for collaboration?
To share your Canva designs, open the design you want to share and click on the “Share” button in the upper right corner. Enter the email addresses of the people you want to invite, or generate a shareable link. You can set permissions to allow others to view or edit the design. This way, team members can collaborate in real-time and make contributions to the design.
Can I use Canva to create a logo?
Yes, you can use Canva to create a logo. Start by searching for “Logo” in the Canva template library to find a variety of customizable templates. Choose a template that suits your brand, and use Canva’s design tools to add text, icons, and other elements. Customize the colors, fonts, and layout to match your brand identity. Once your logo is complete, you can download it in high resolution.
Create your own step-by-step demo
Scale up your training and product adoption with beautiful AI-powered interactive demos and guides. Create your first Supademo in seconds for free.
