

Overview:
Efficiently manage your projects in Airtable by creating a project tracker that organizes and categorizes tasks. Elevate your project management experience, streamline navigation, and enhance clarity by implementing relevant tags. This guide offers a seamless step-by-step process for creating and utilizing a project tracker in Airtable, empowering you to optimize efficiency and stay organized throughout your project lifecycle.
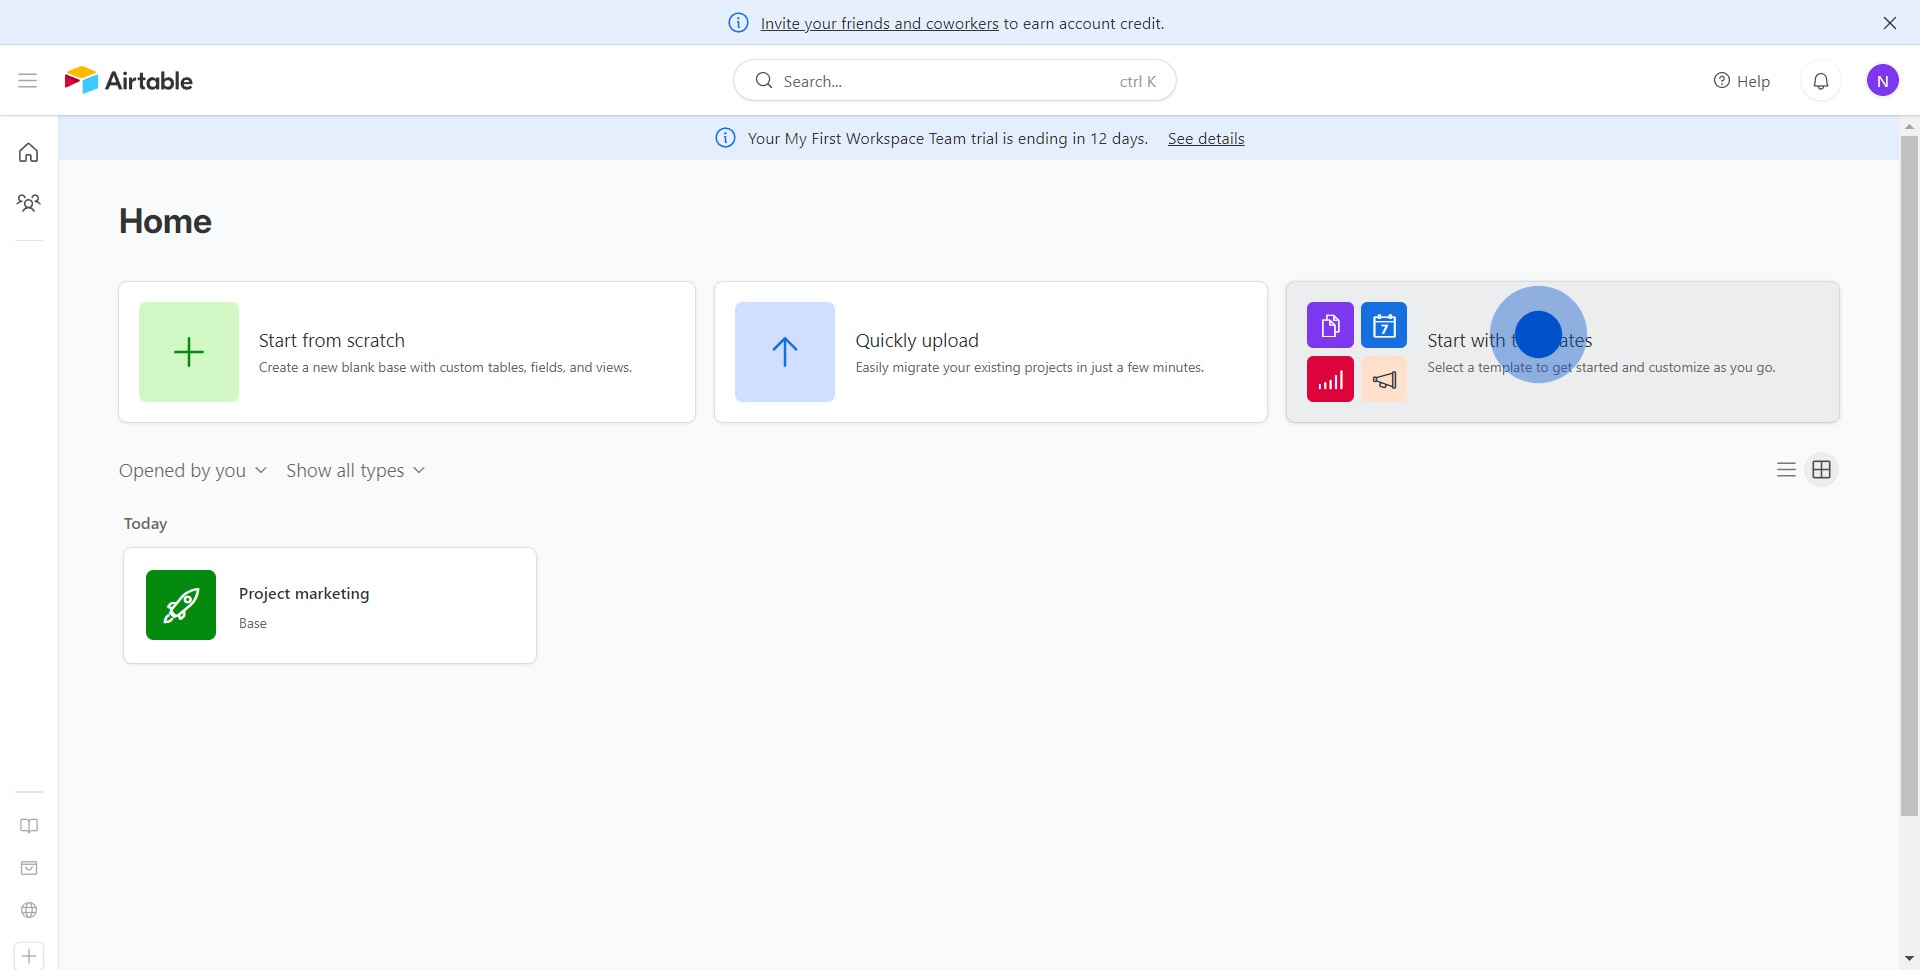
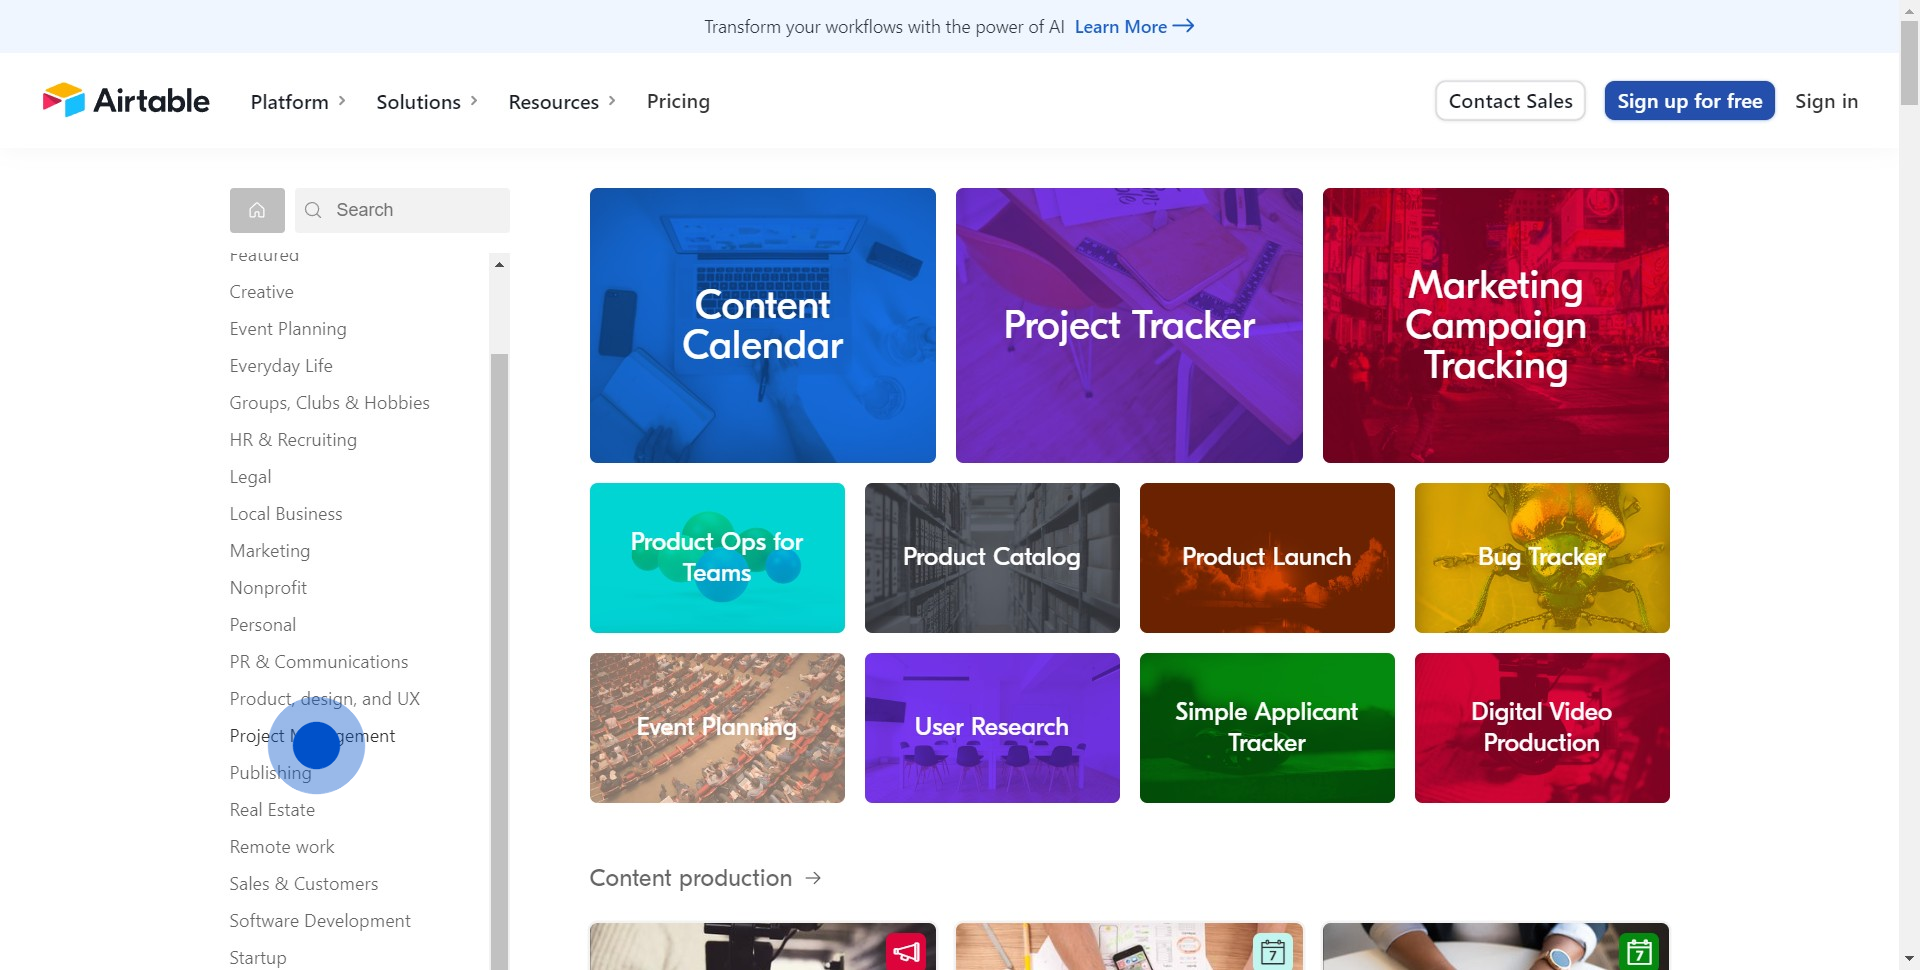
1. Begin with, find and select 'Start with templates'.
2. Now, navigate to 'Project Management'.
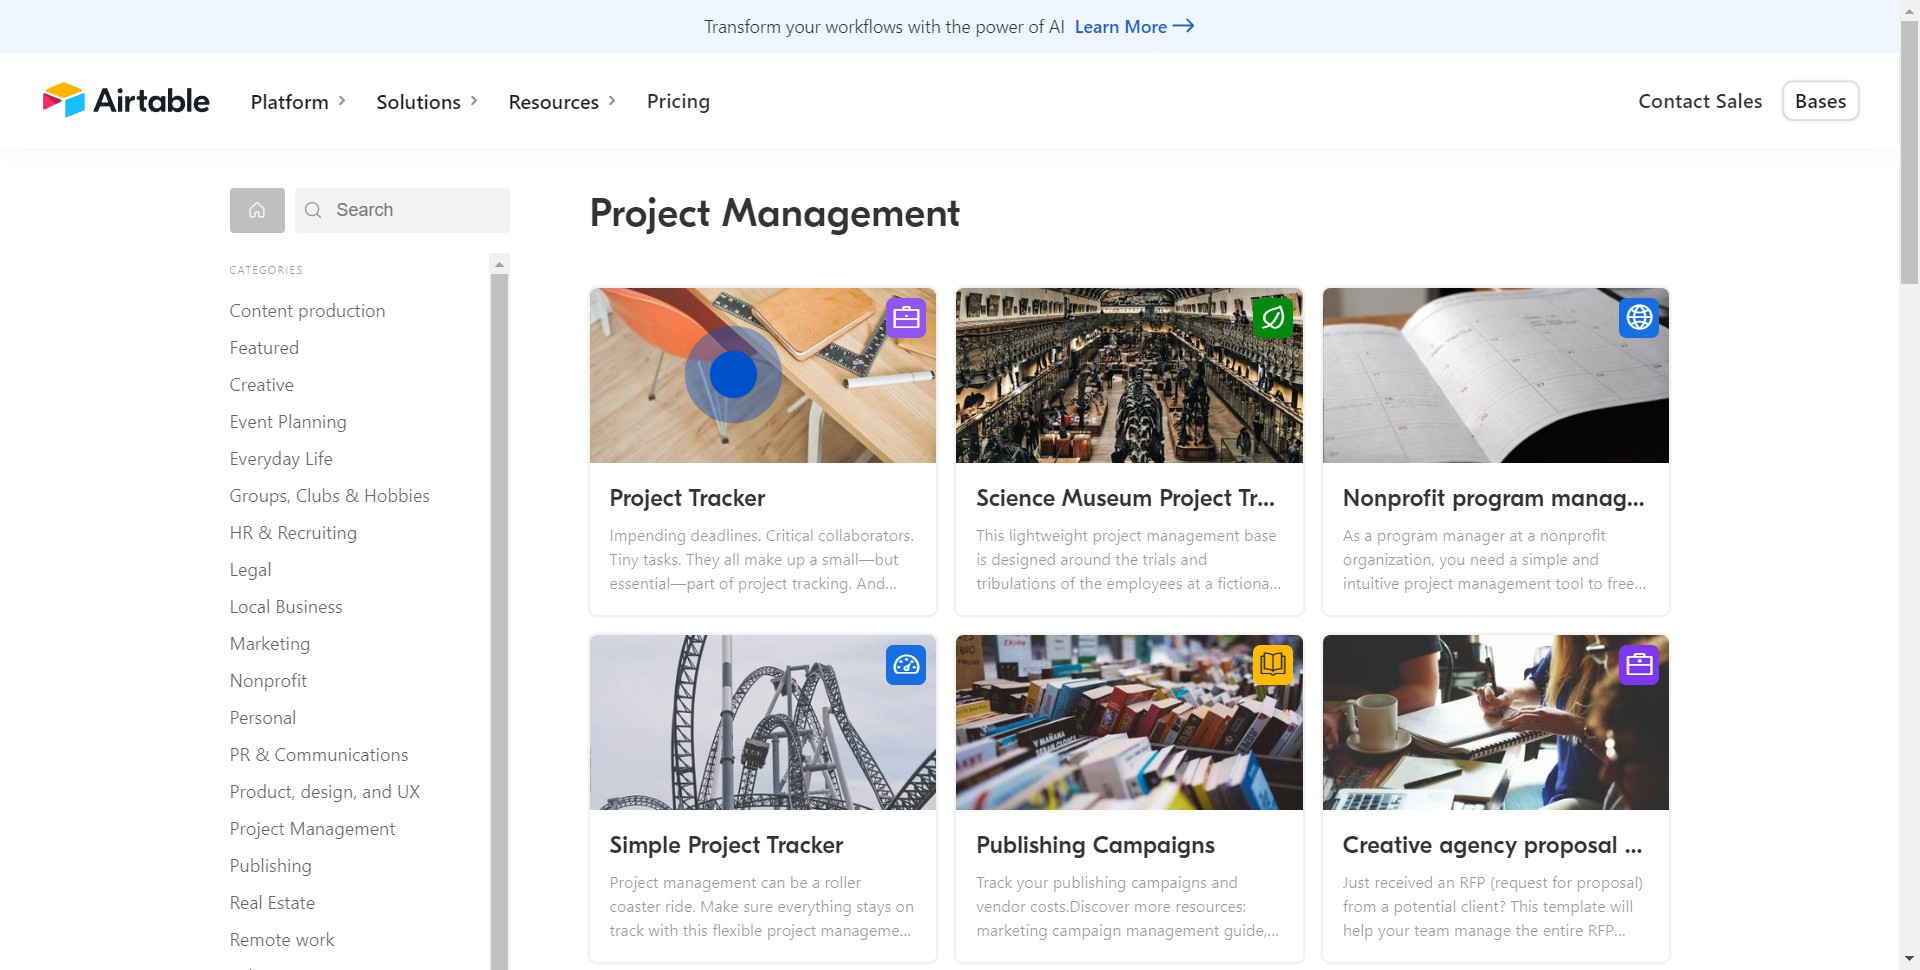
3. Look for 'Project Tracker', and proceed by clicking on it.
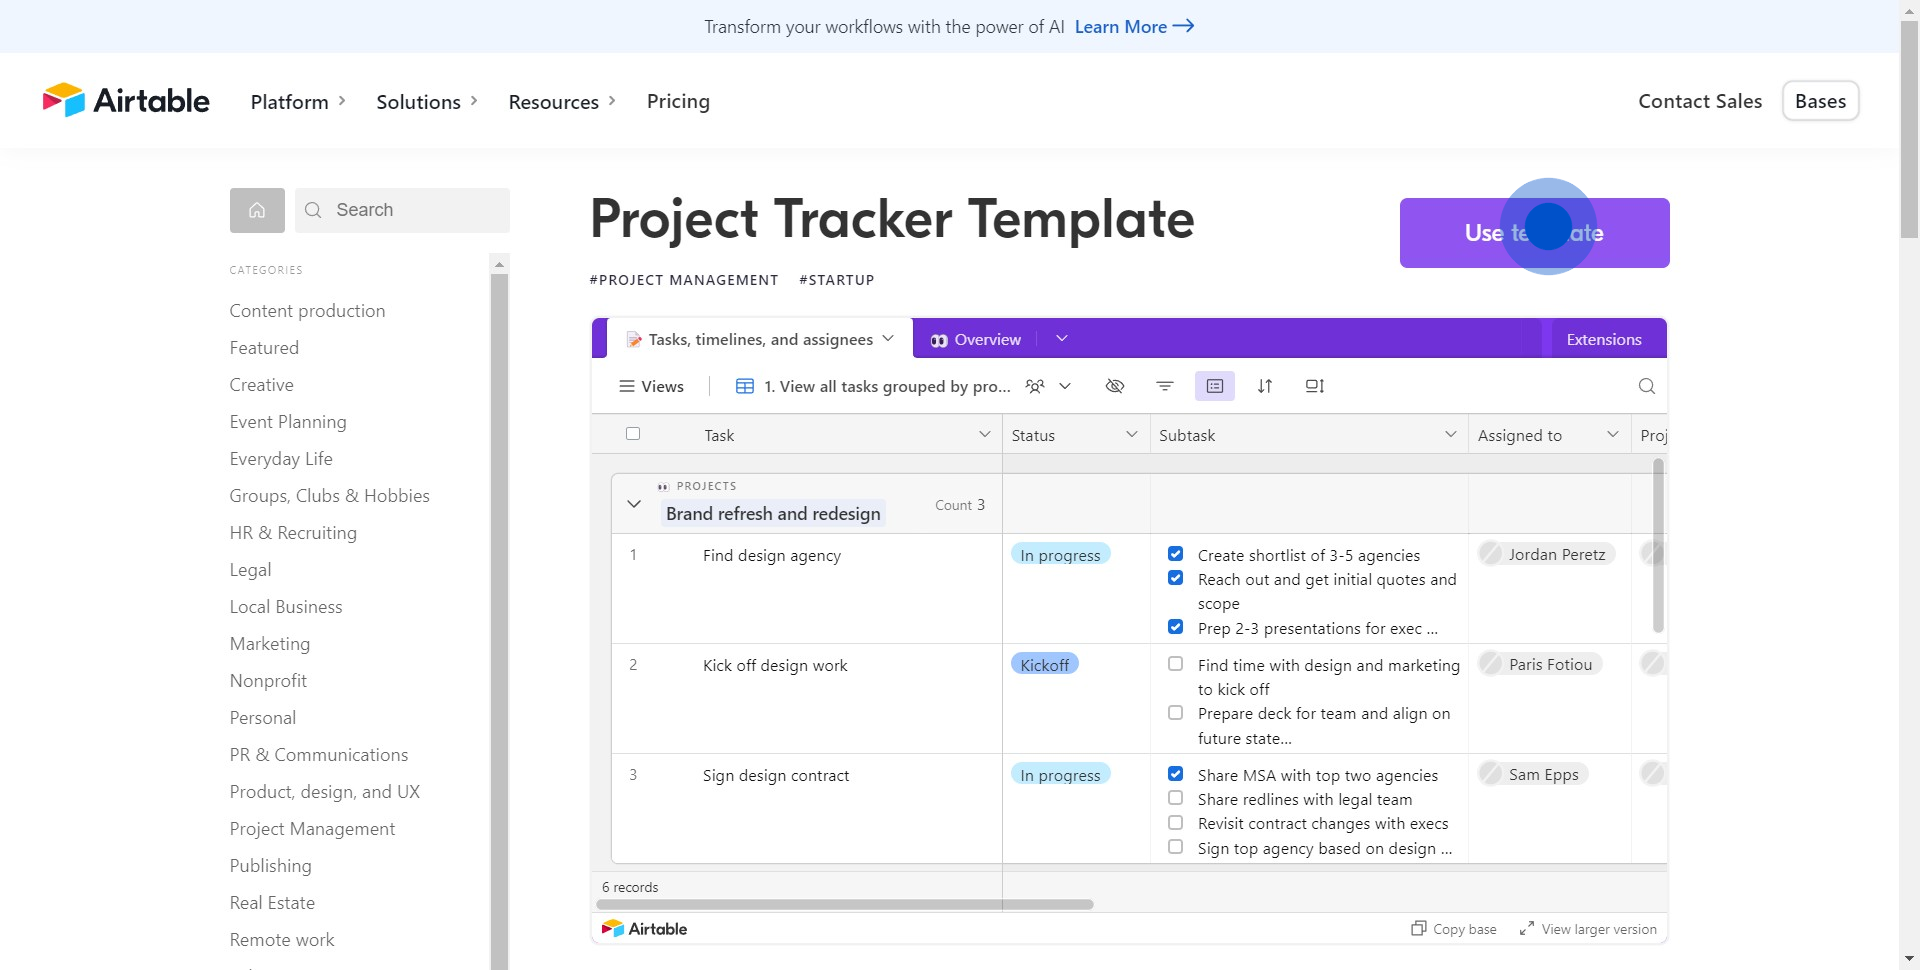
4. Click 'Use template' to begin your project.
5. Select your workspace where this project will reside.
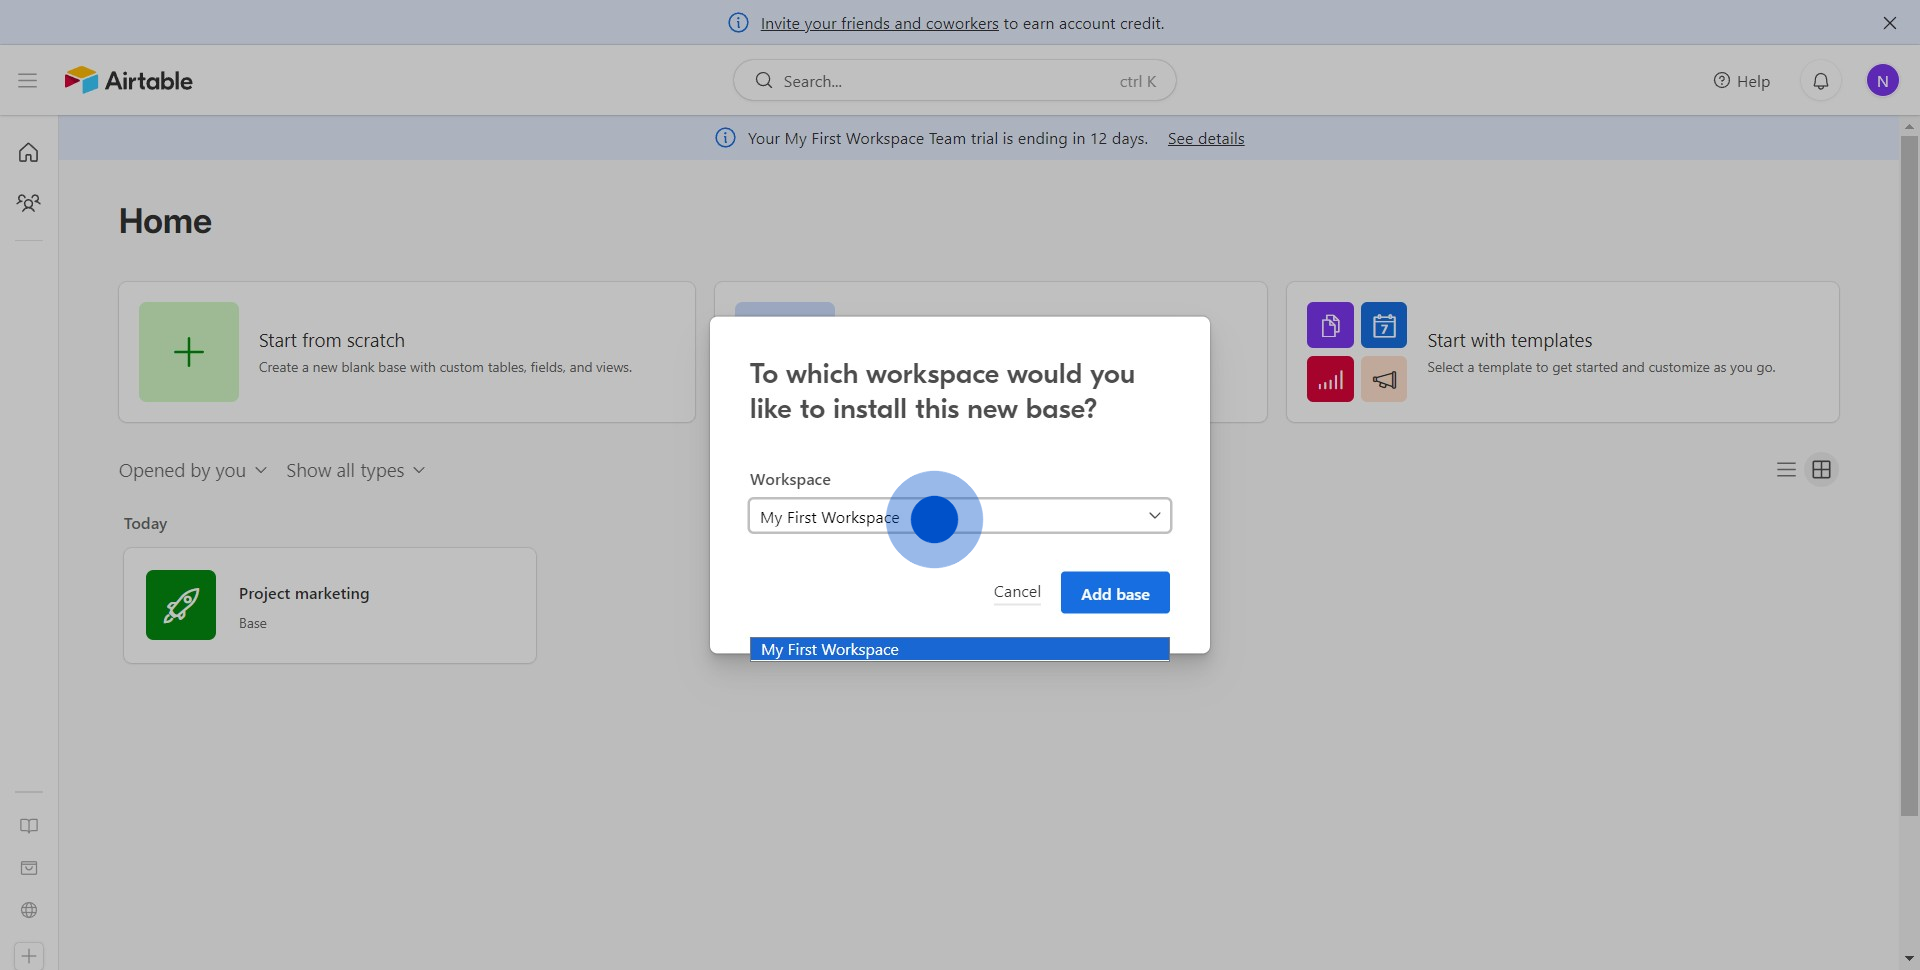
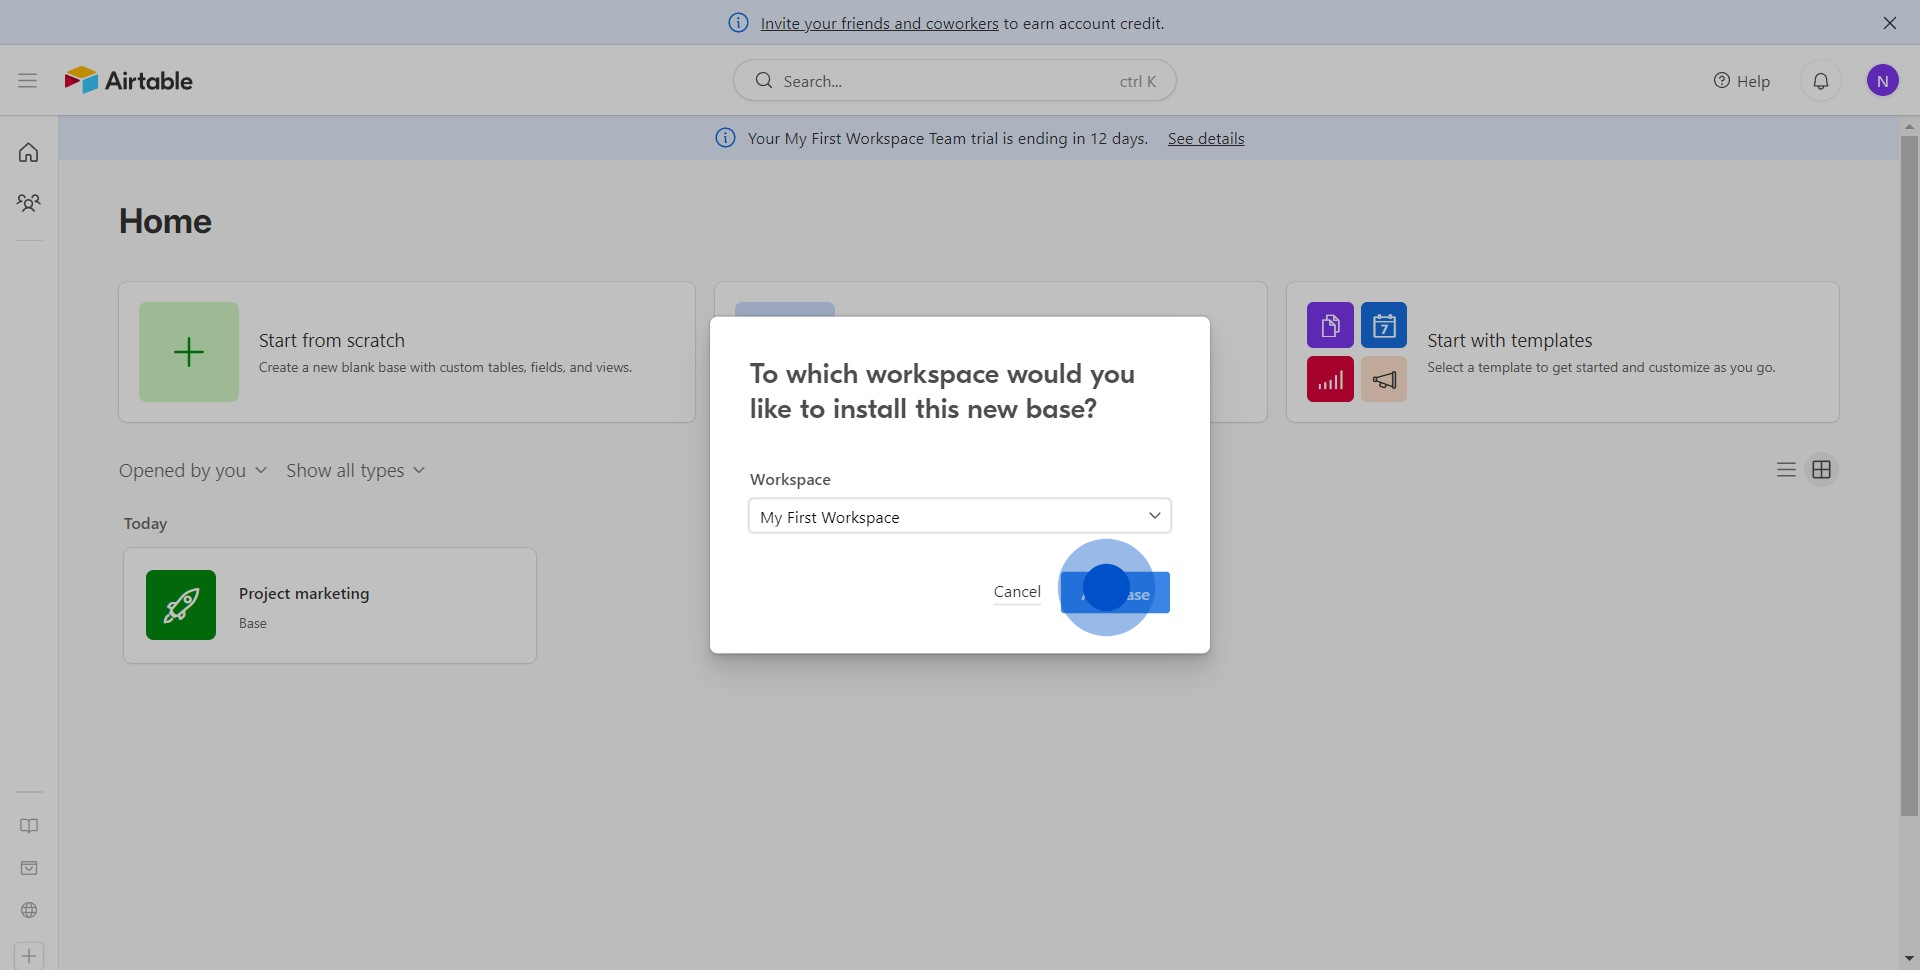
6. Confirm by clicking 'Add base'.
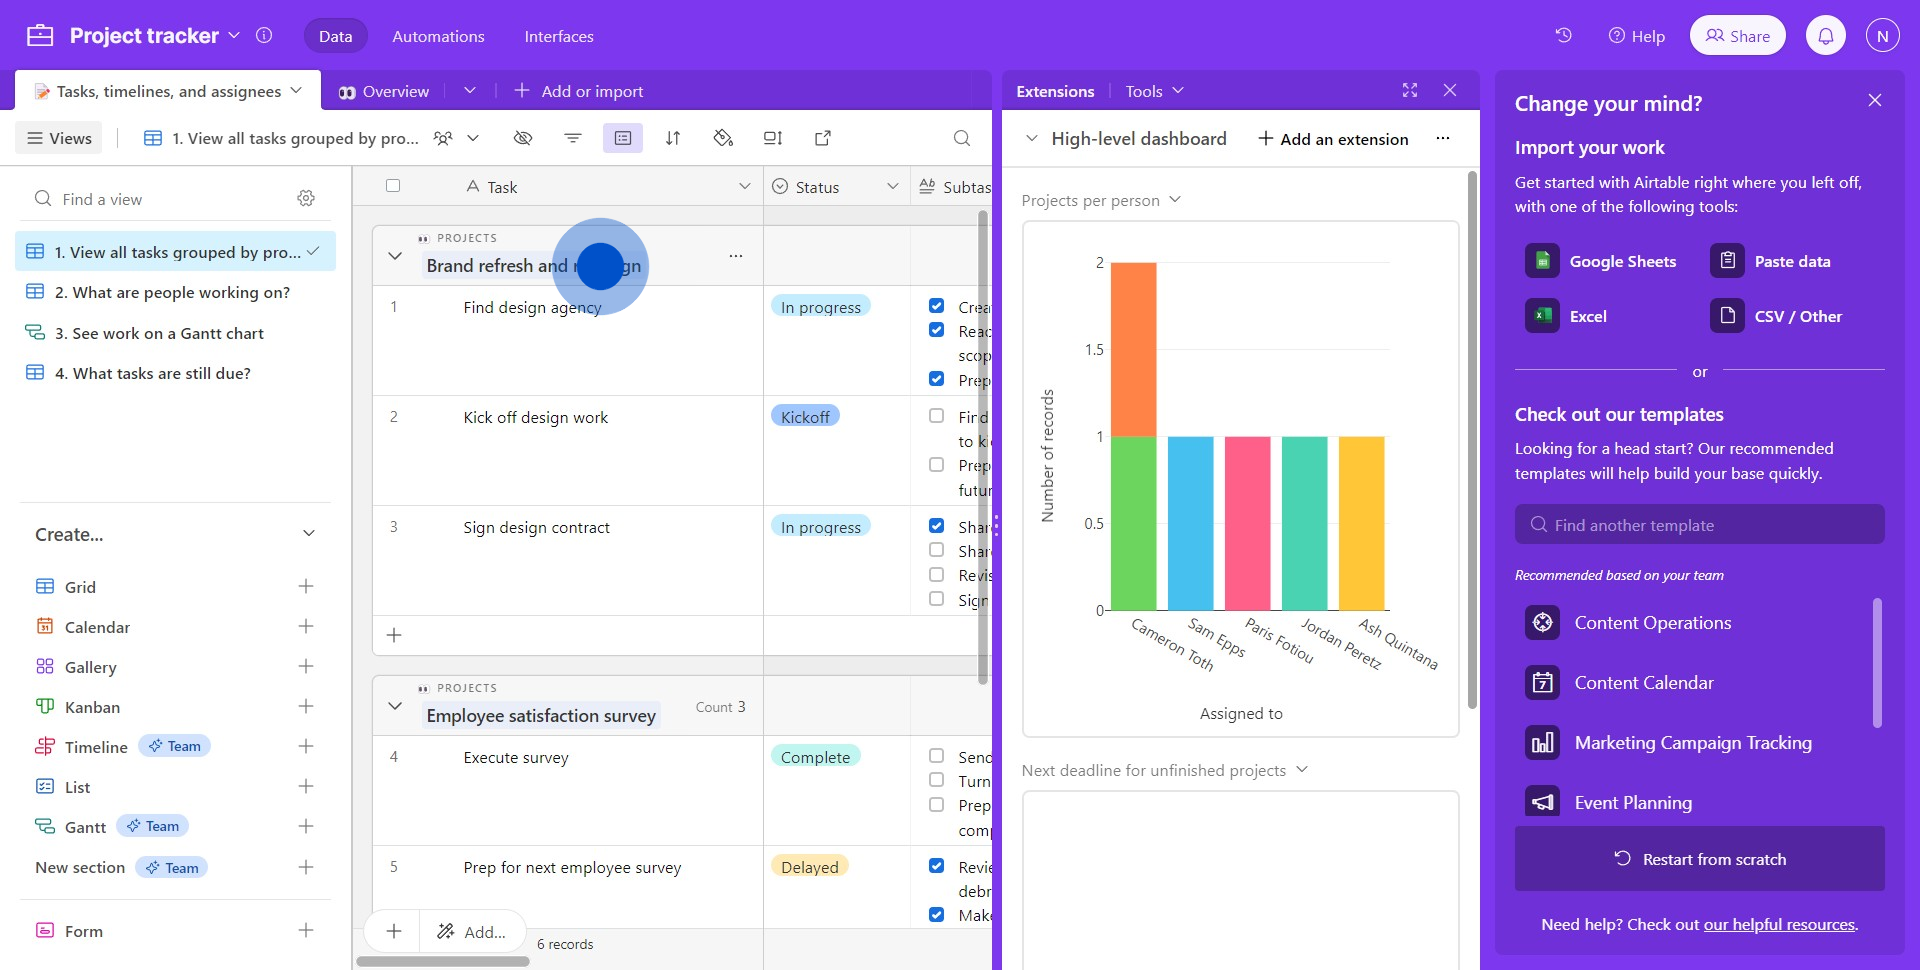
7. Fantastic! Your project tracker is ready and opened in a new tab.
Create your own step-by-step demo
Scale up your training and product adoption with beautiful AI-powered interactive demos and guides. Create your first Supademo in seconds for free.
