
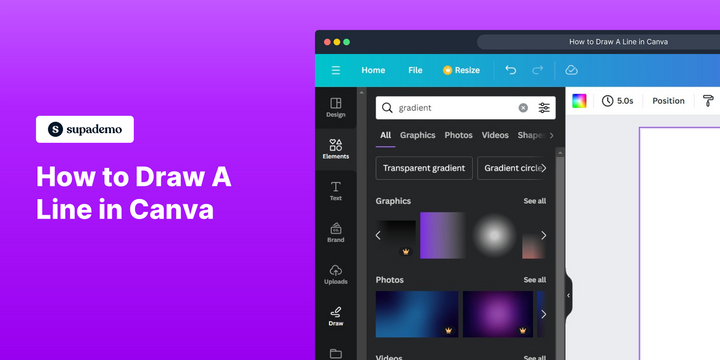
Overview:
Enhance your Canva experience by mastering the art of drawing lines effortlessly. Streamline your design process and improve clarity by following this guide, which offers a seamless step-by-step process for creating and customizing lines in Canva. Elevate your design skills and boost efficiency with this straightforward tutorial, ensuring precision and clarity in your visual projects.
Who is Canva best suited for?
Canva is best suited for a wide range of professionals, including Graphic Designers, Social Media Managers, and Small Business Owners. For example, Graphic Designers can use Canva for creating custom visuals and branding materials, Social Media Managers can leverage it for designing engaging posts and stories, and Small Business Owners can use it for developing marketing materials and promotional content, all benefiting from Canva’s intuitive design tools and extensive template library.
How to draw a line in Canva
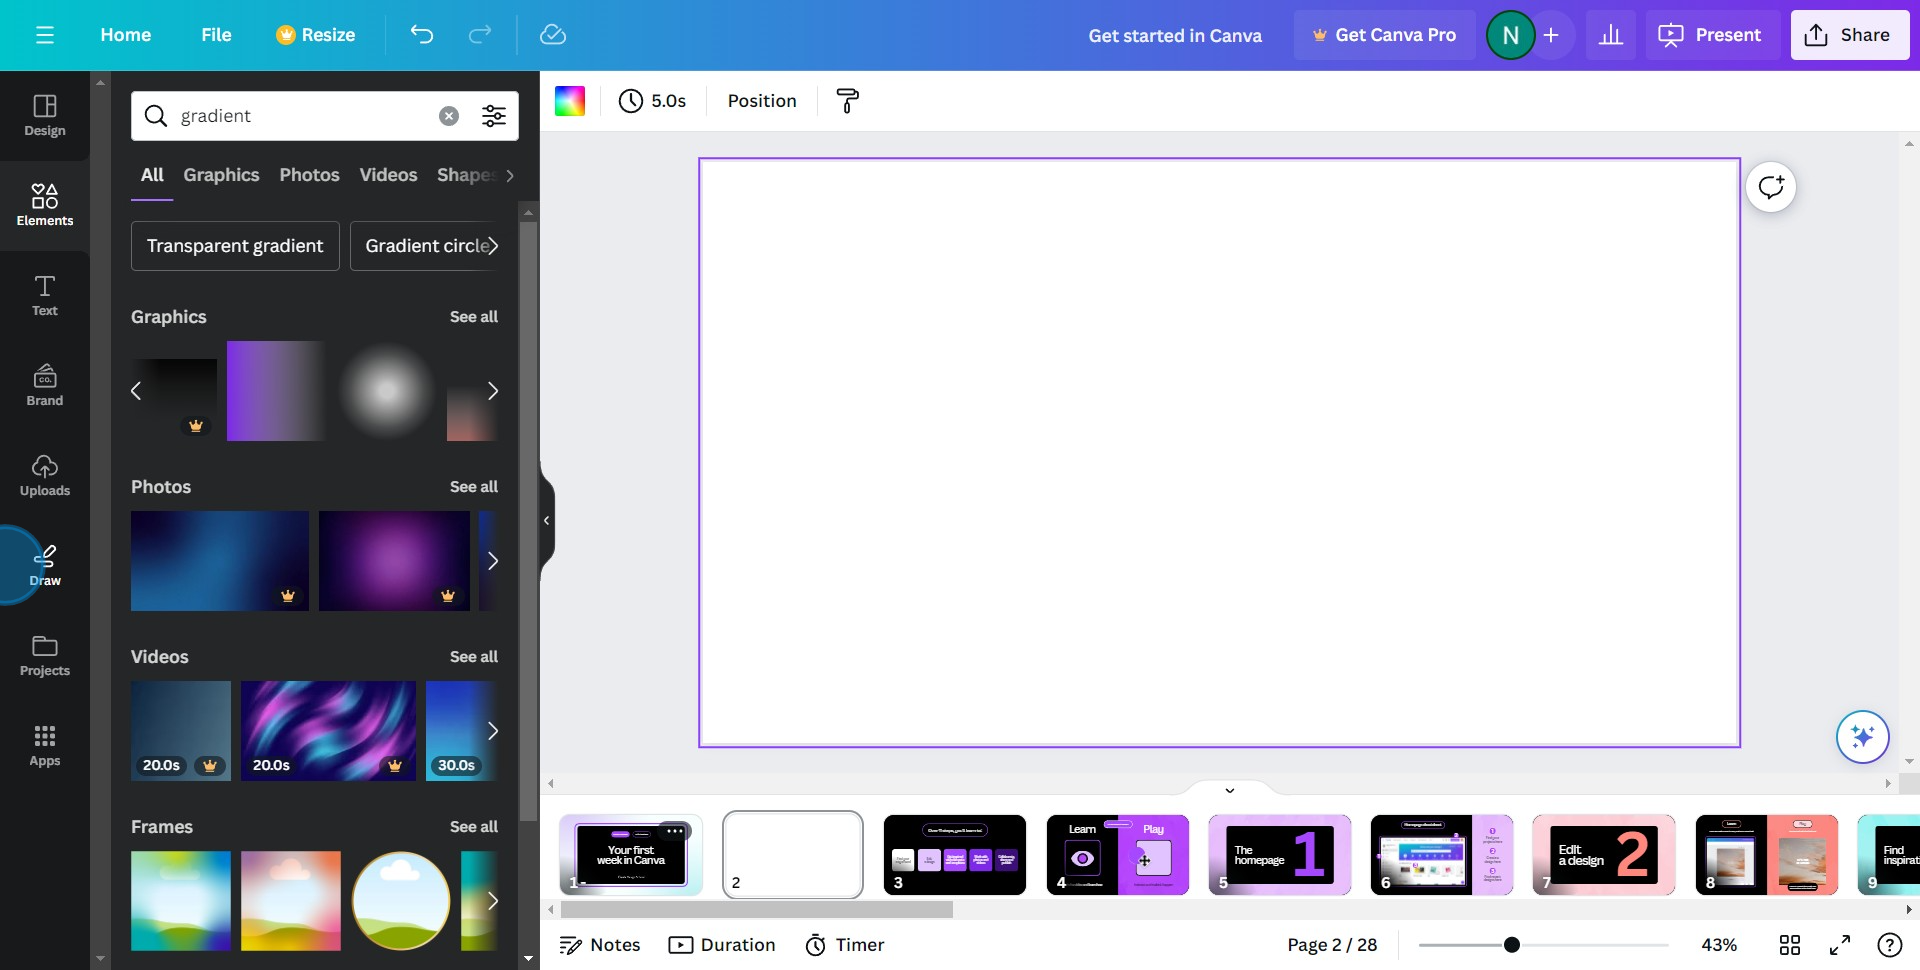
1. Let's start, click on the 'Draw' option.
2. Now, choose the 'Pen' tool.
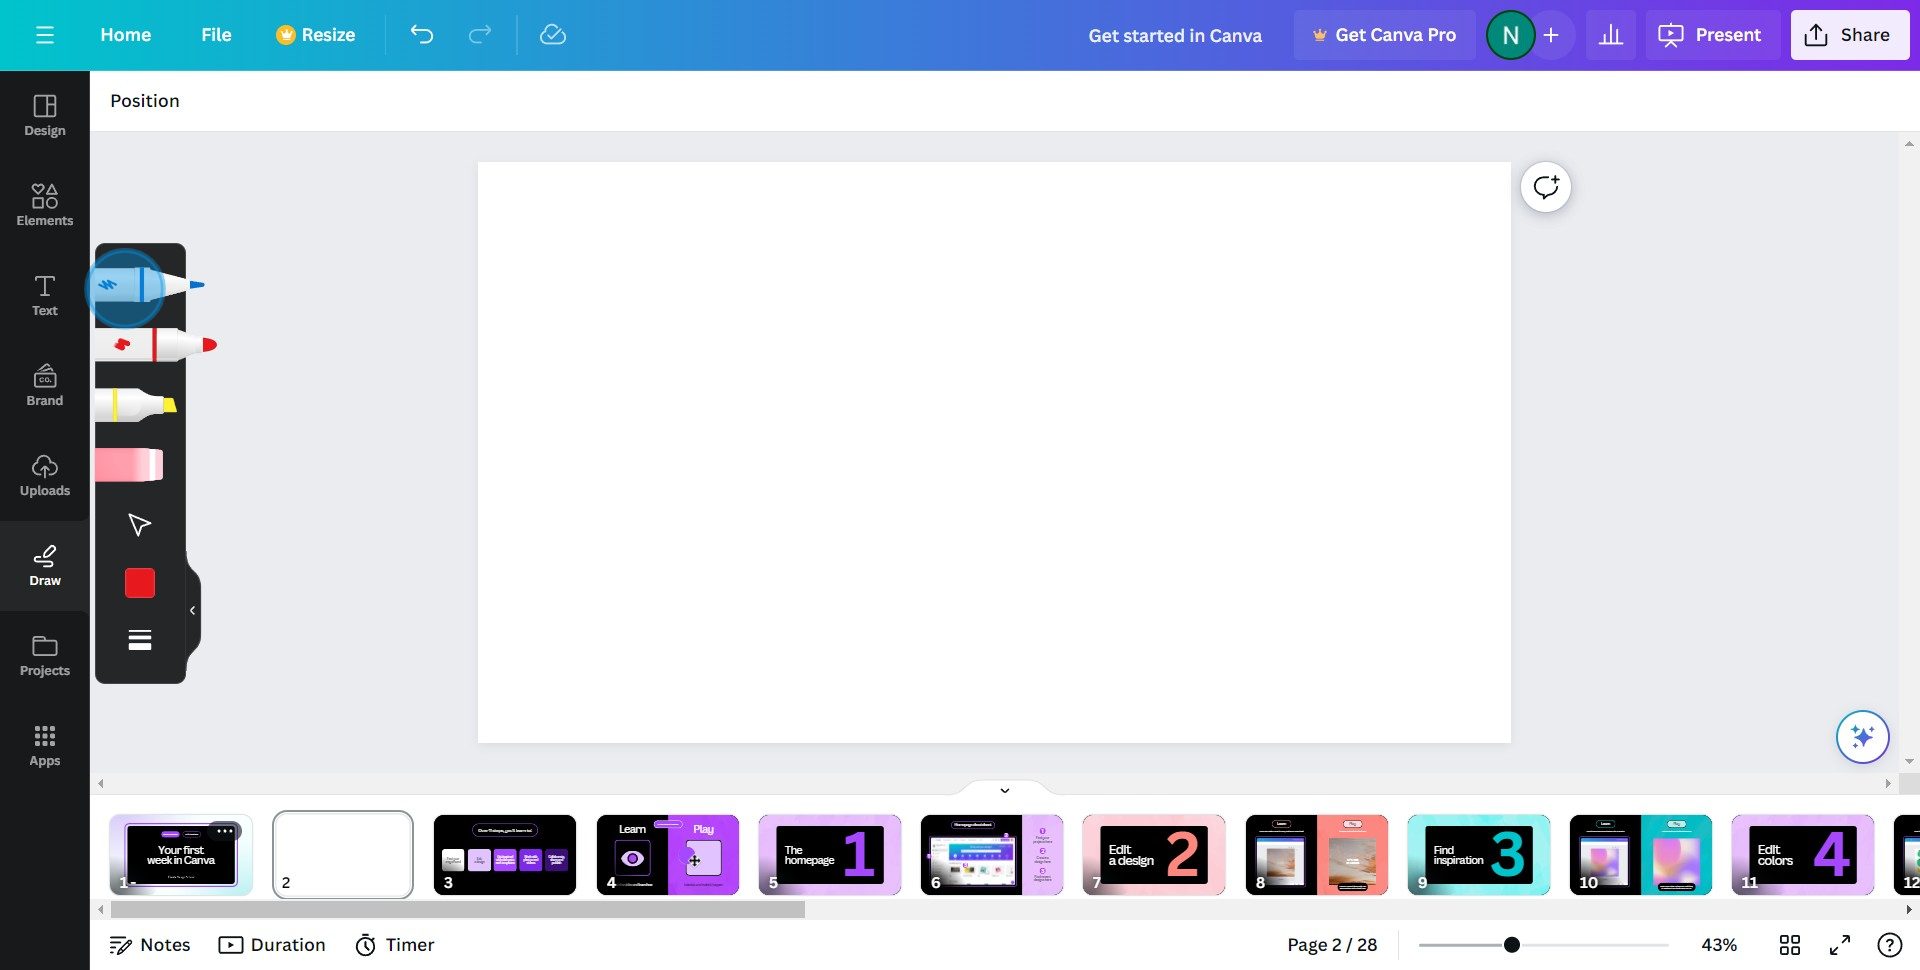
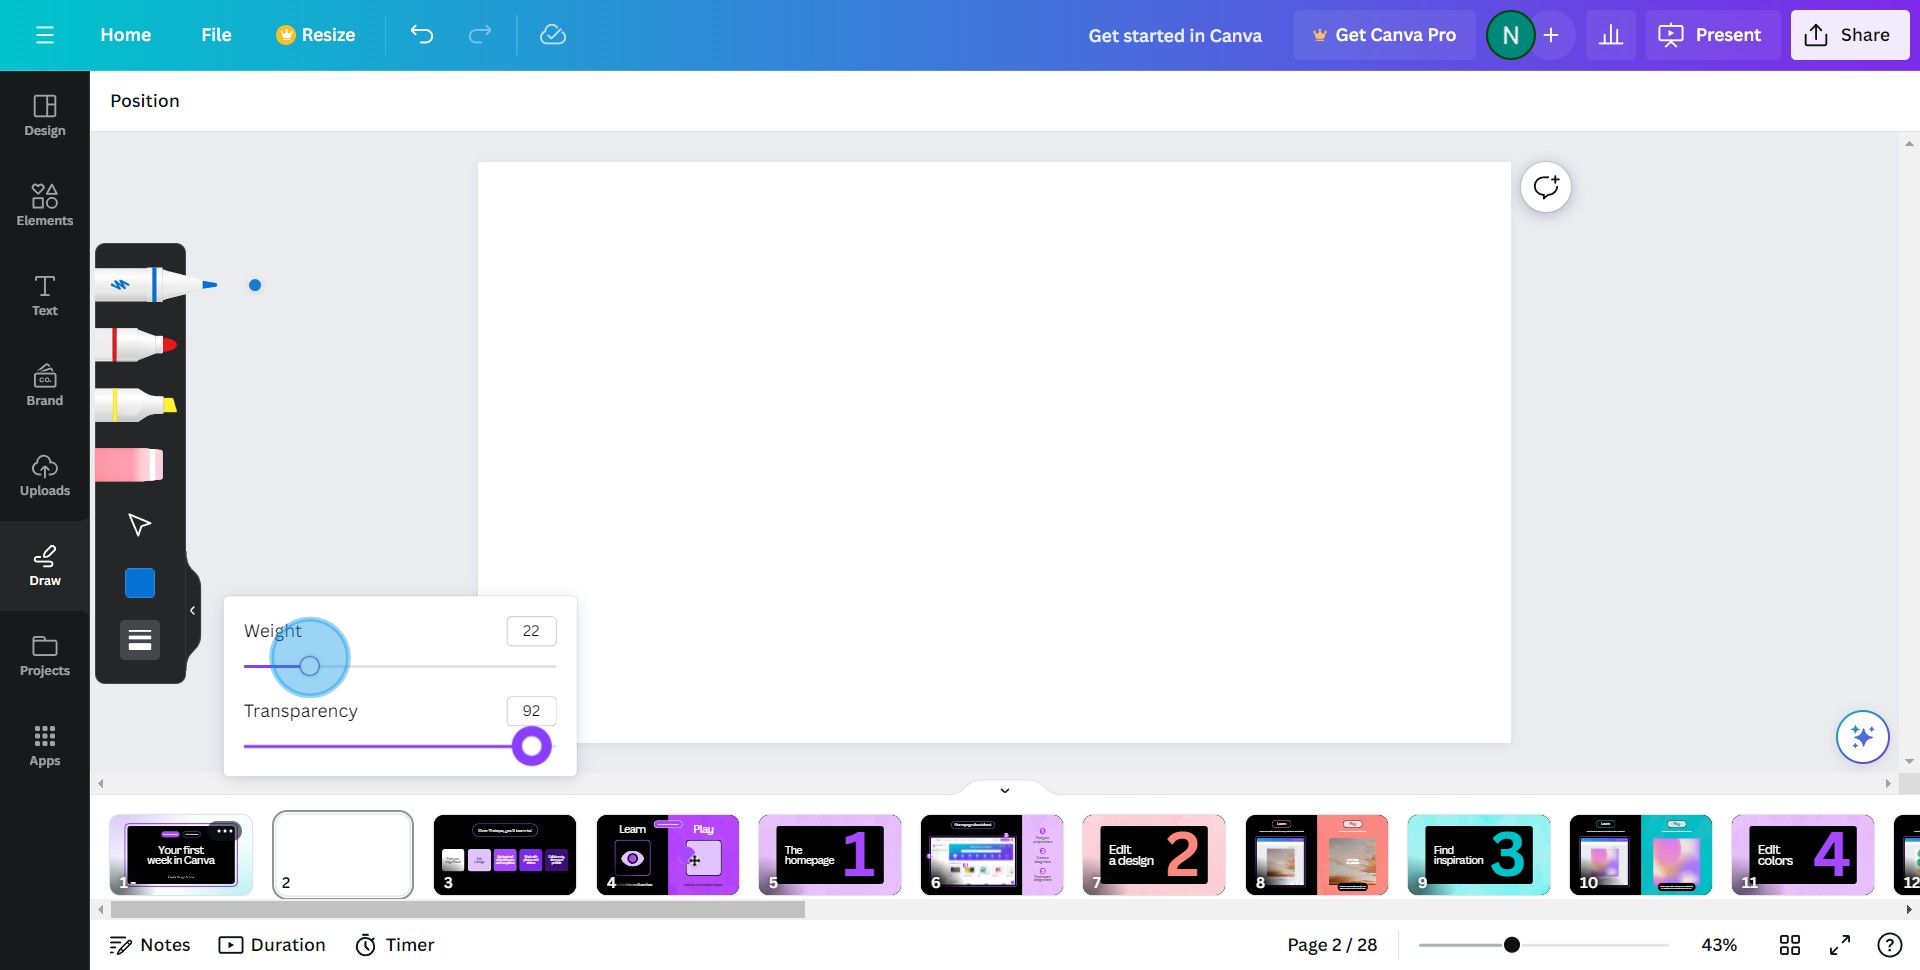
3. Next, access the pen's settings for customization.
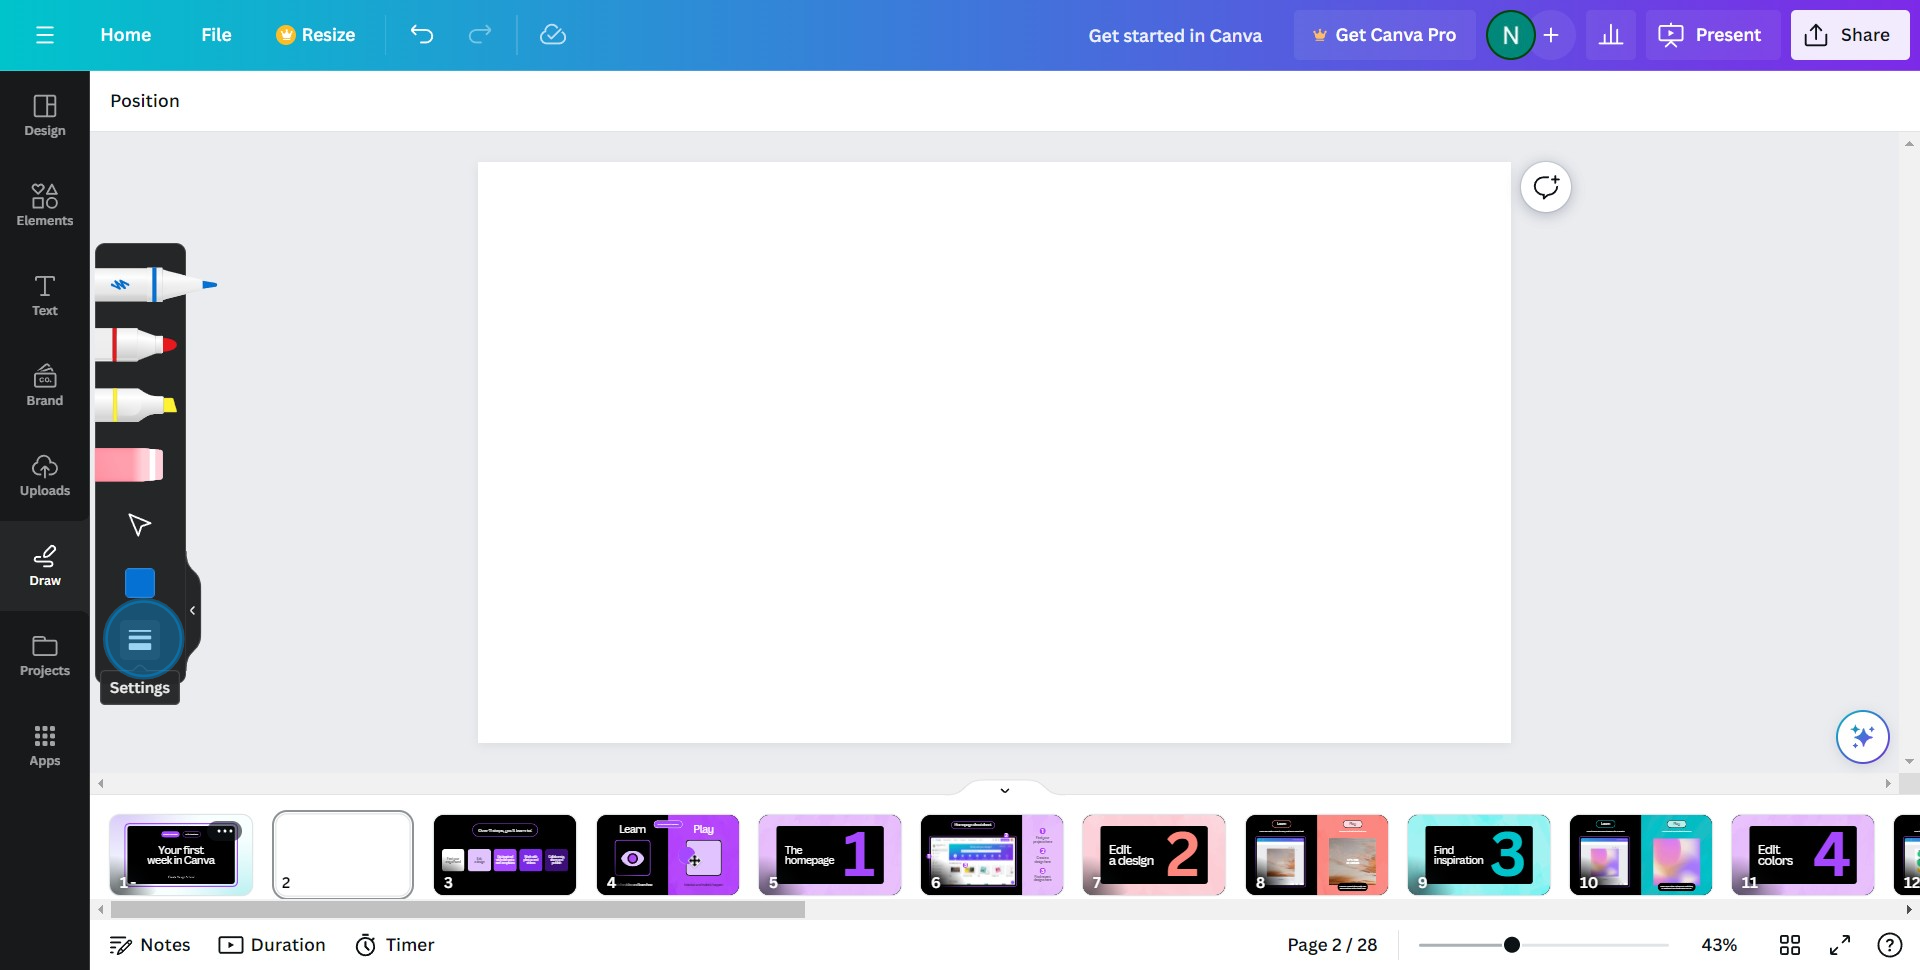
4. Adjust the settings as per your requirement.
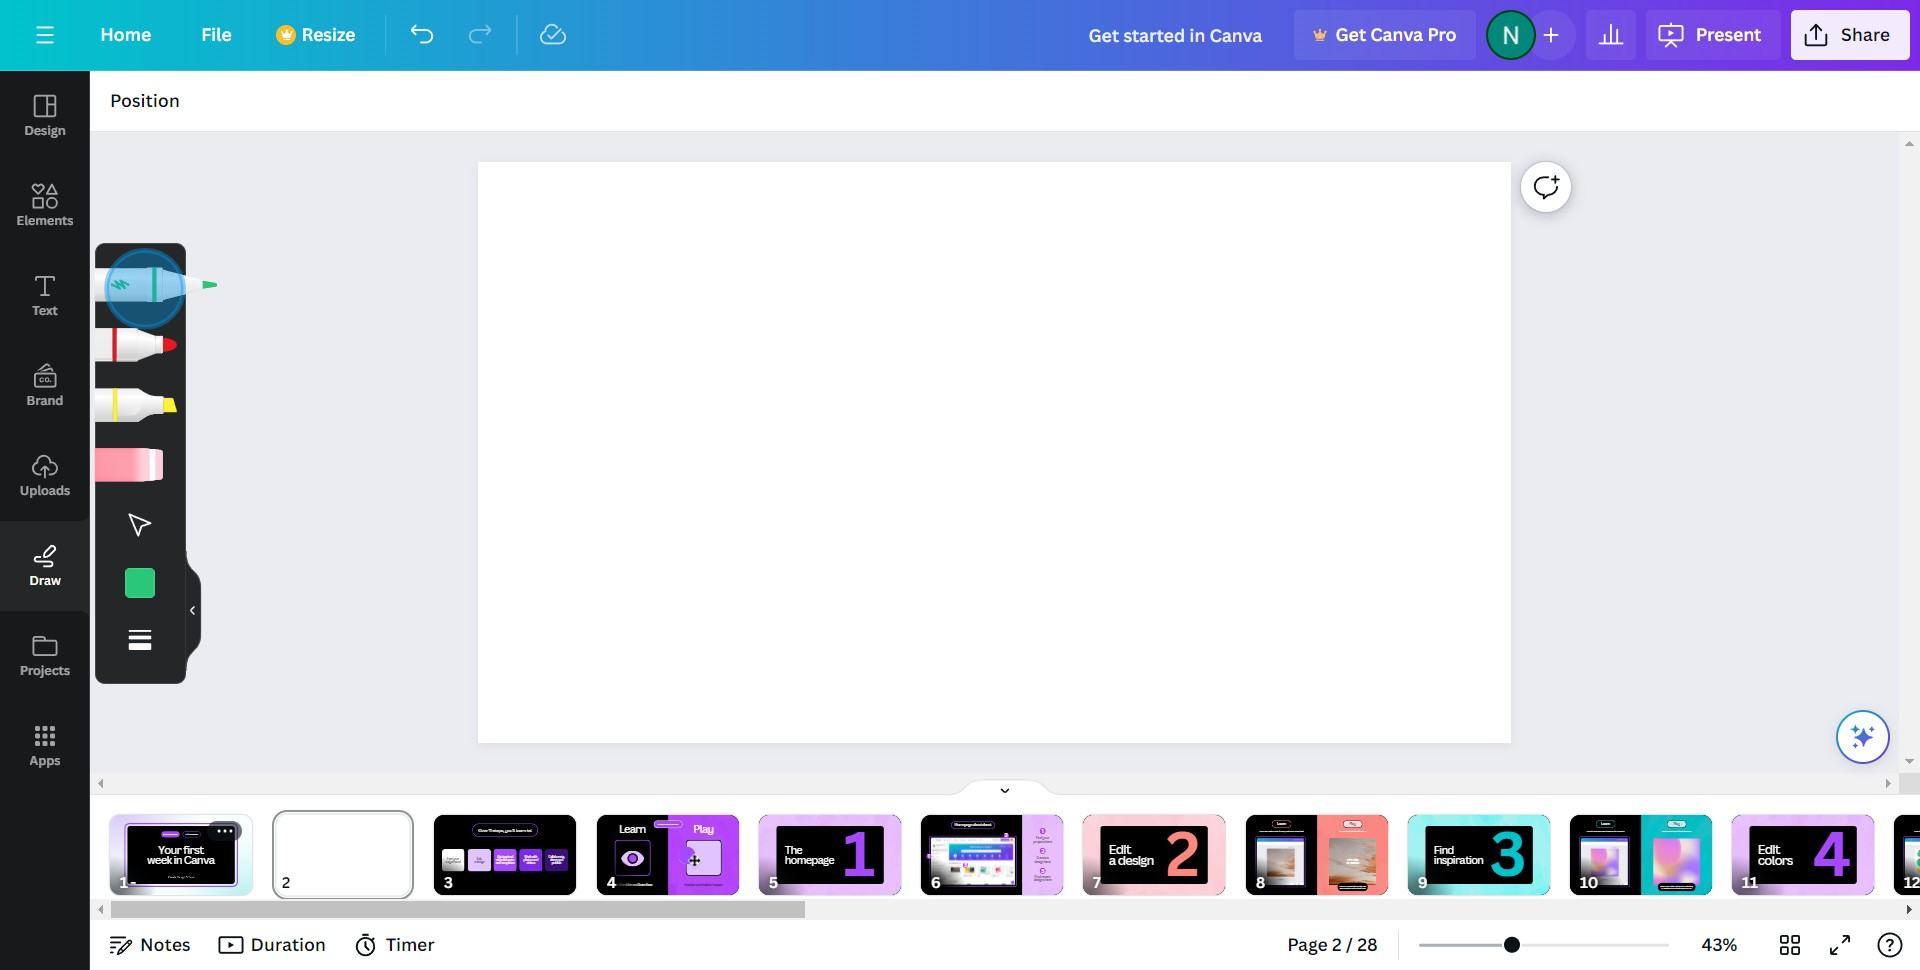
5. Fancy a color change? Go ahead and select a new one.

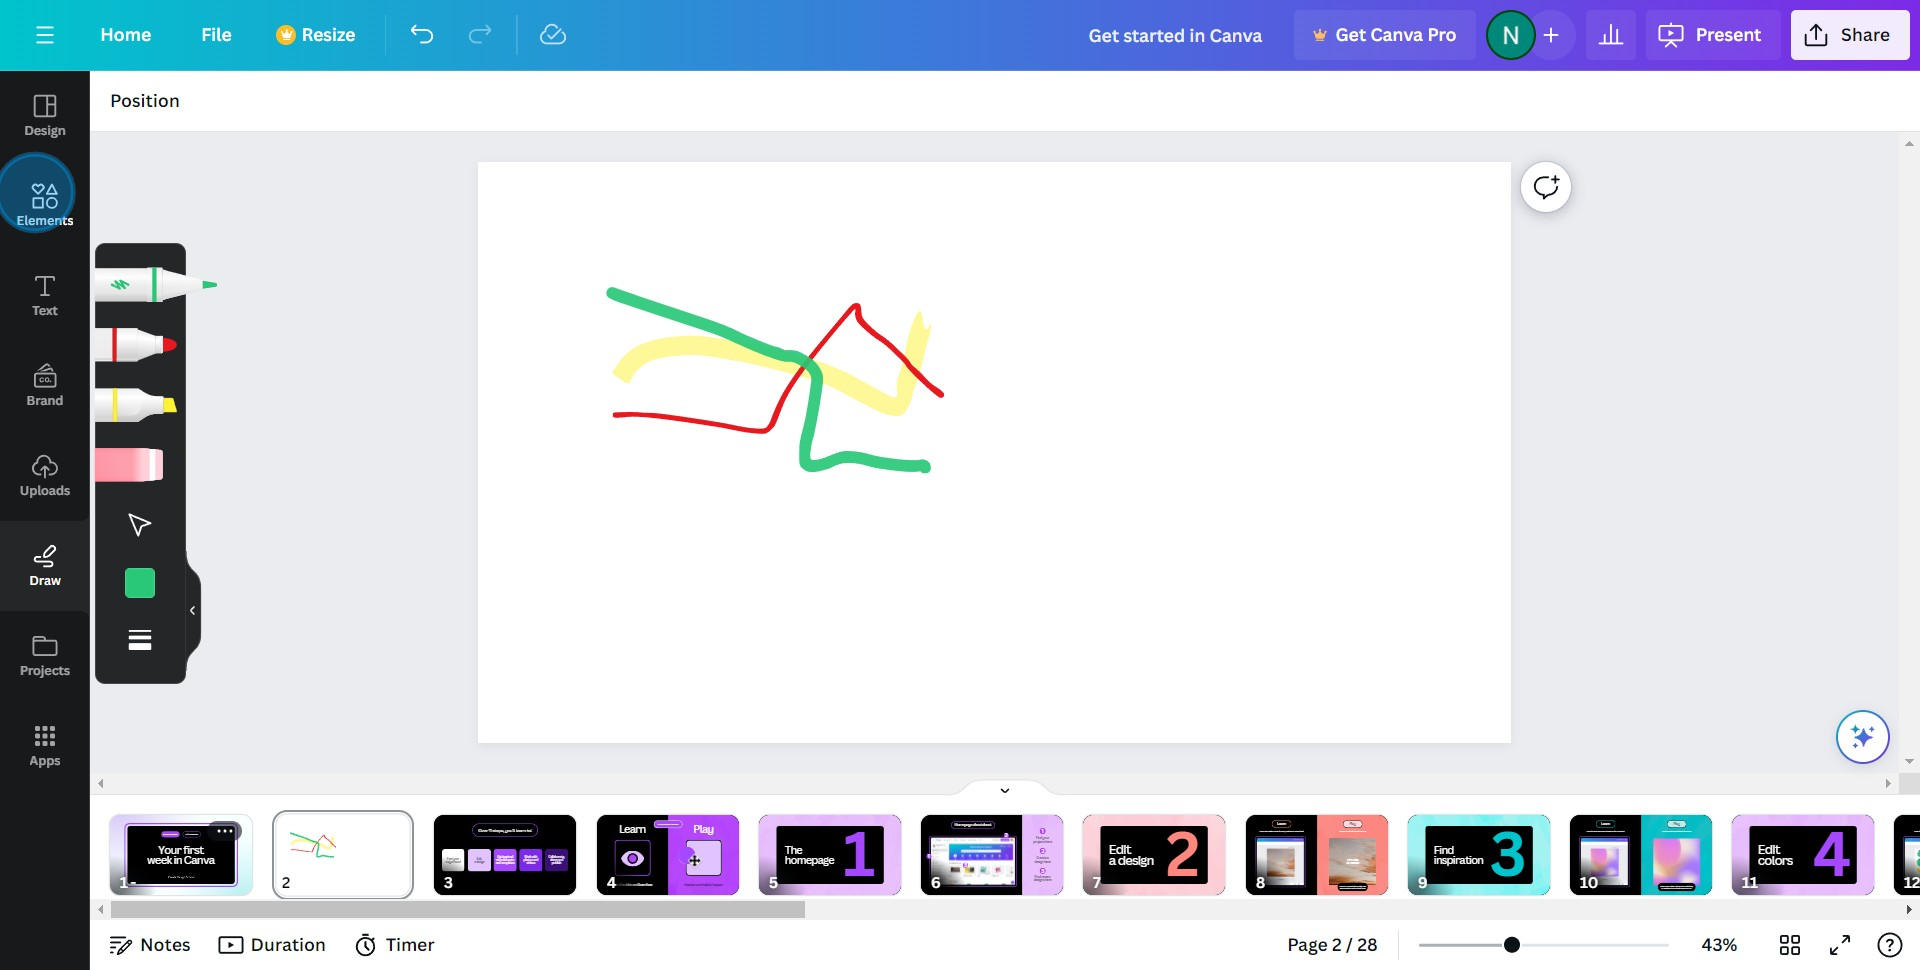
6. Time to be creative, draw something on the whiteboard.
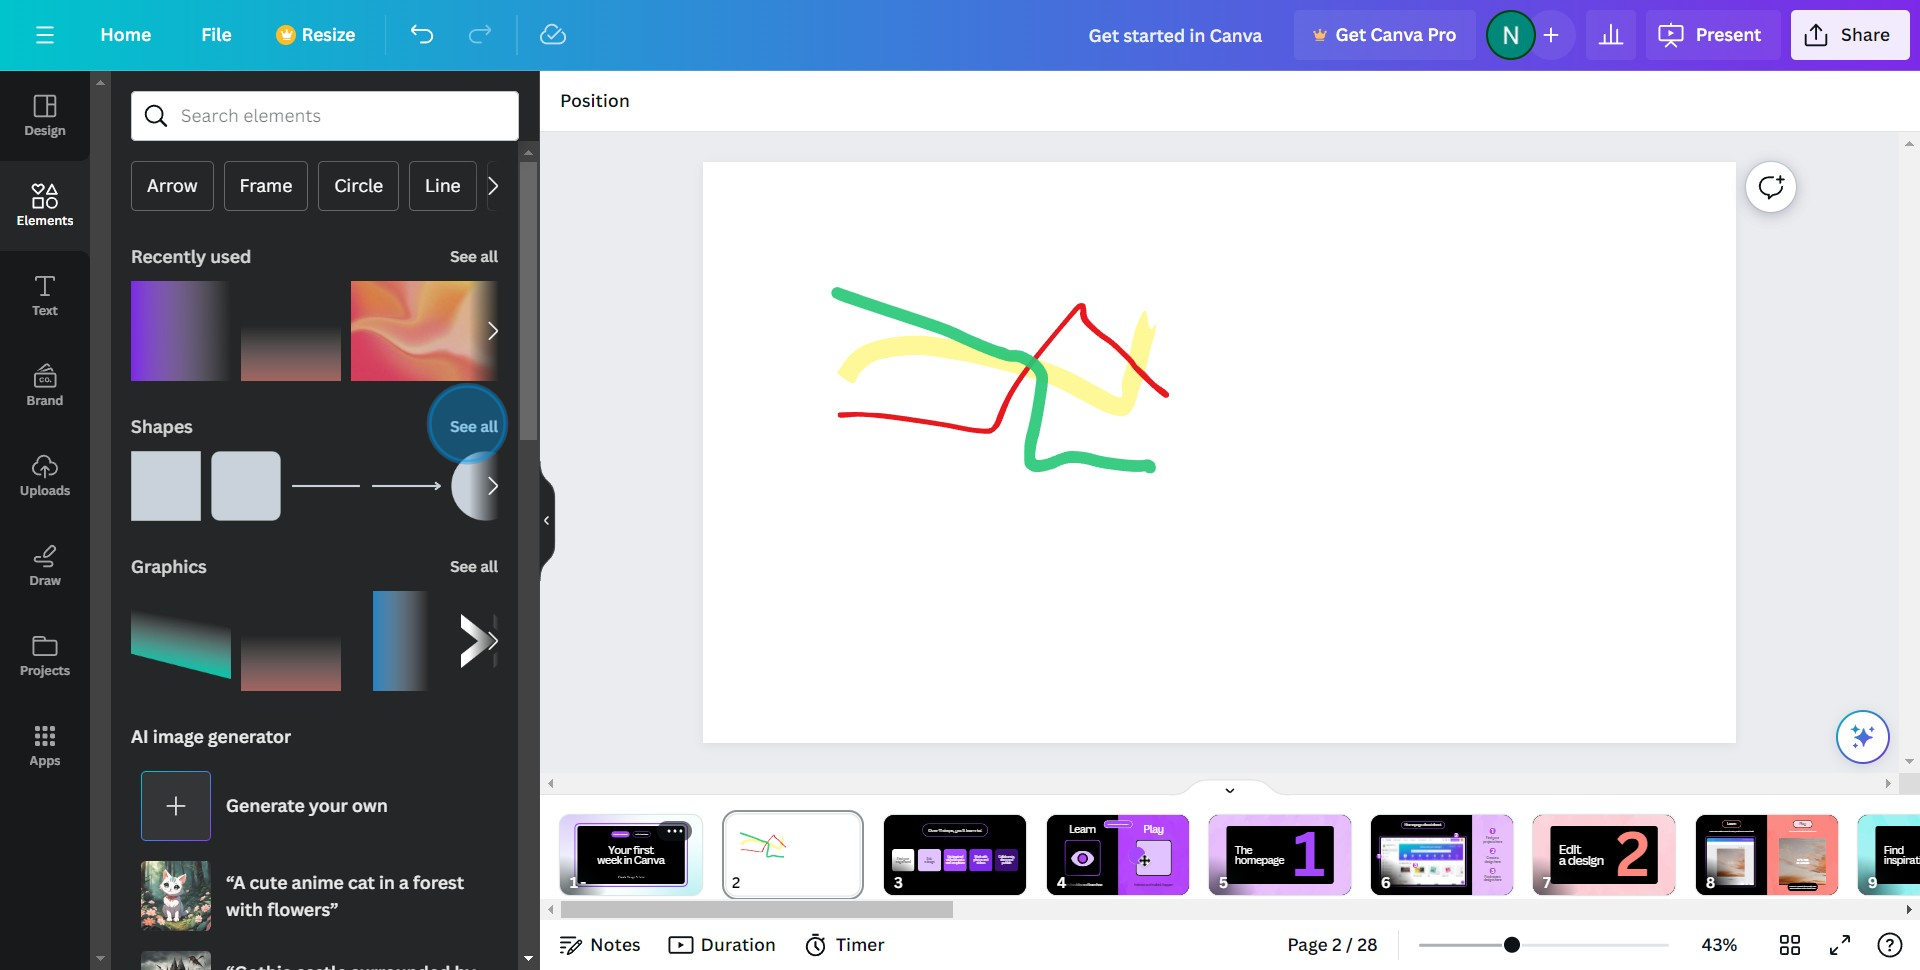
7. Once done, click here to add a line.
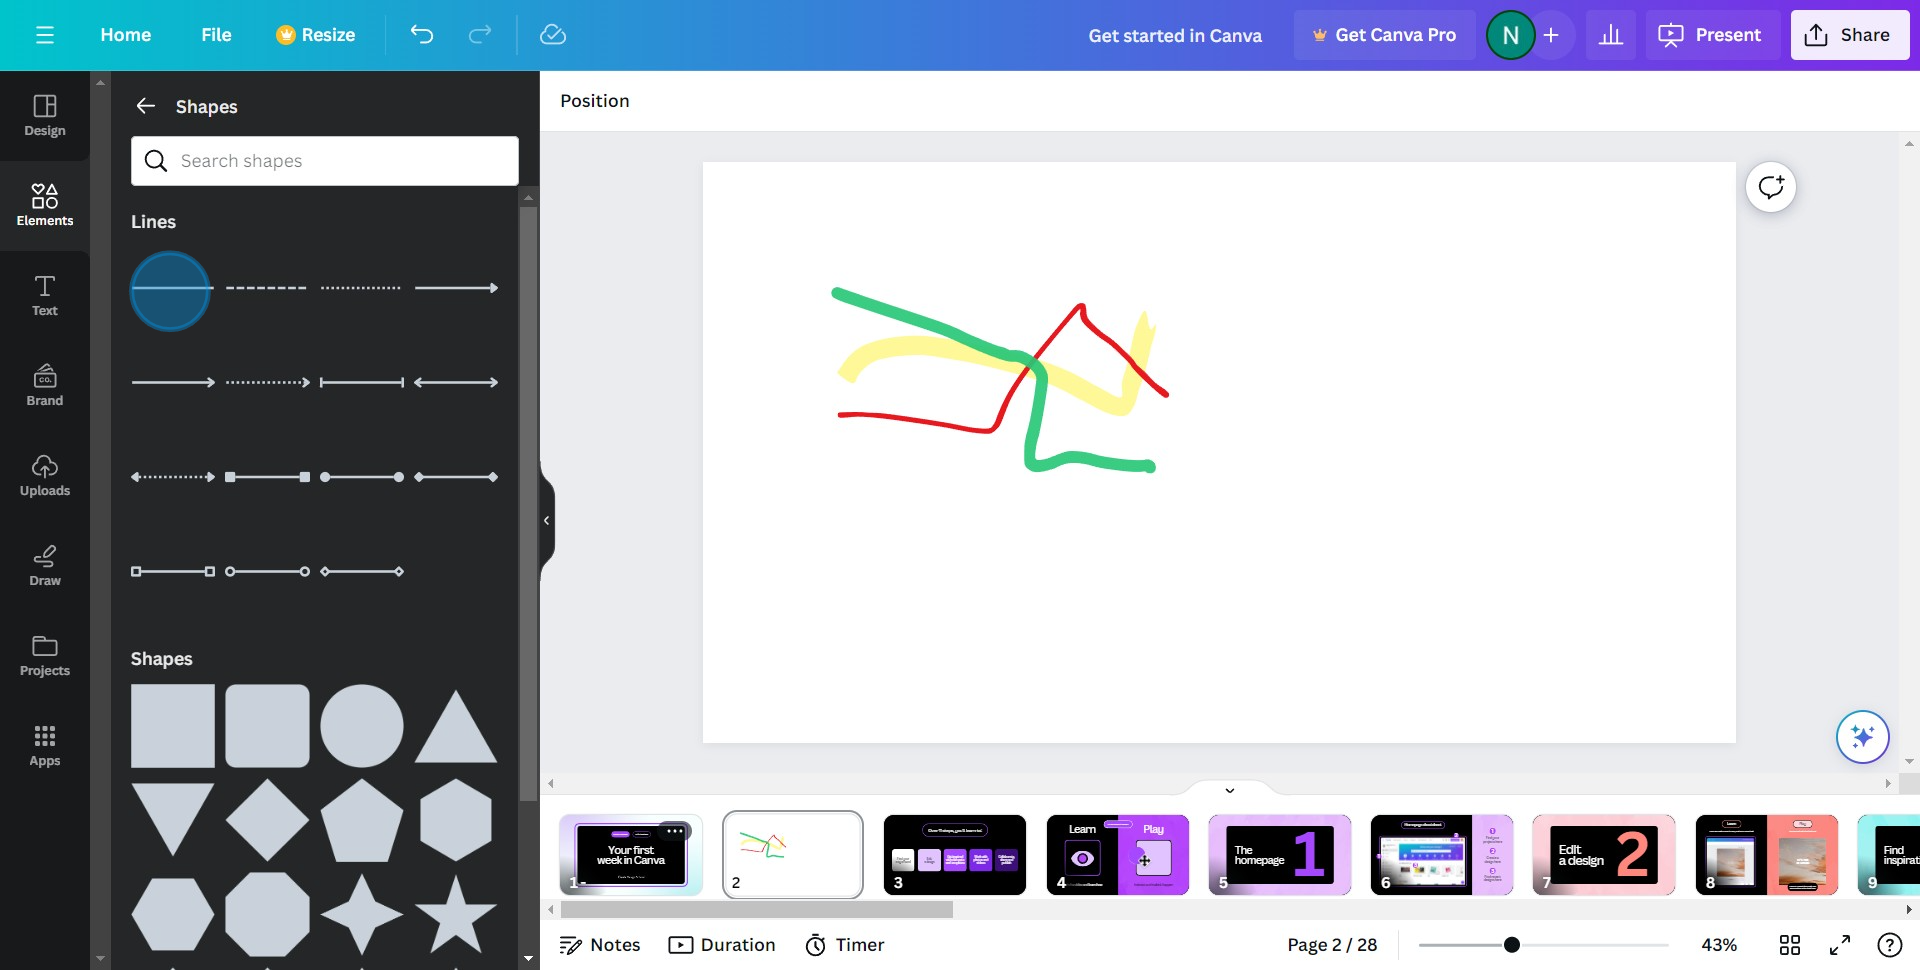
8. Now, navigate to the 'Shapes' option.
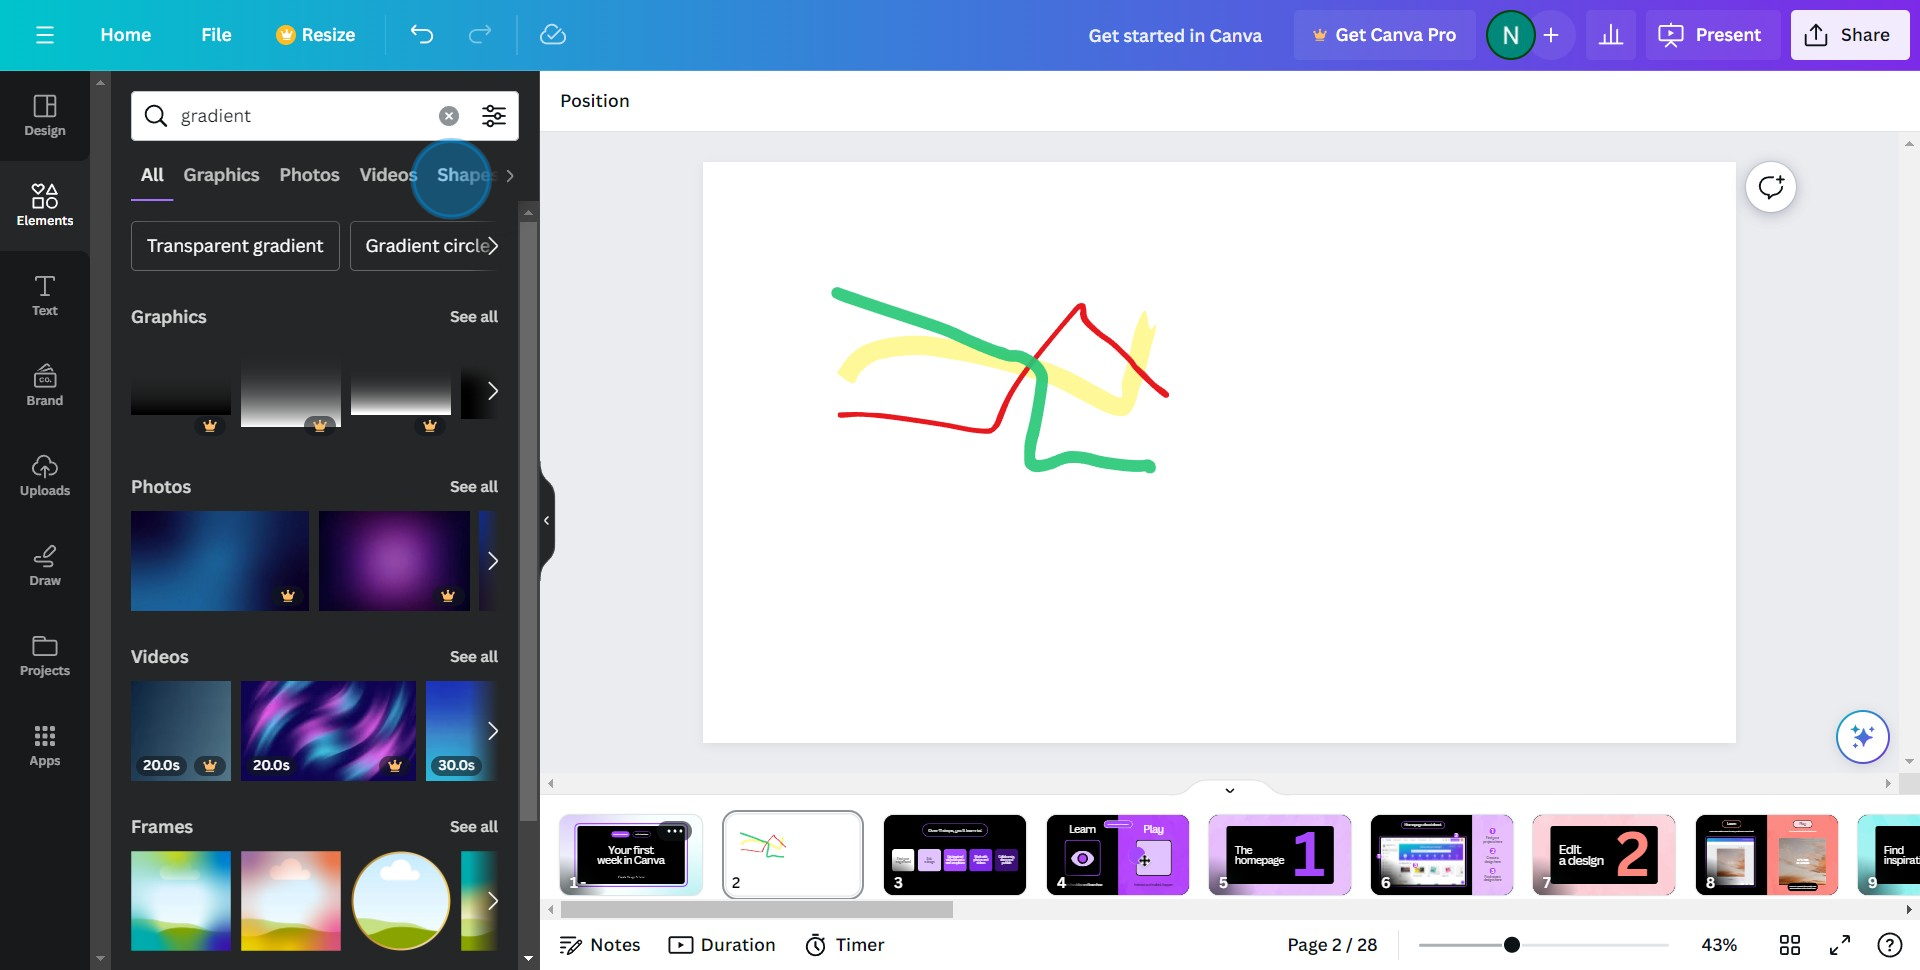
9. Want to explore more? Click 'See all'.
10. Lastly, select your chosen shape and drag it onto the canvas.
Common FAQs on Canva
How do I create animated graphics in Canva?
To create animated graphics, open your design and select the element you want to animate. Click on the “Animate” button in the top toolbar. Choose from various animation options like “Fade,” “Pan,” “Pop,” or “Block.” You can also apply animations to the entire page by selecting “Page Animations.” Adjust the animation settings as needed. Once done, you can download your animated graphic as a GIF or MP4 video.
Can I resize my Canva design for different platforms?
Yes, you can resize your Canva design for different platforms using the Magic Resize feature available with Canva Pro. Open your design, click on the “Resize” button in the top toolbar, and select the formats you need (e.g., Instagram post, Facebook cover, Twitter header). Click “Copy & Resize,” and Canva will create copies of your design in the selected dimensions. You may need to make minor adjustments to ensure everything looks perfect in the new sizes.
How do I add custom fonts to Canva?
To add custom fonts, you need a Canva Pro account. Go to the “Brand Kit” from the Canva homepage, and under the “Brand fonts” section, click “Upload a font.” Select the font file from your computer (it should be in .OTF, .TTF, or .WOFF format). Once uploaded, you can use the custom font in your designs by selecting it from the font dropdown menu in the text editor.
Create your own step-by-step demo
Scale up your training and product adoption with beautiful AI-powered interactive demos and guides. Create your first Supademo in seconds for free.
