

Overview:
Streamline your data management in Airtable with this comprehensive guide on filtering records. Optimize your workflow by organizing and categorizing information effectively. Improve user experience and simplify navigation with step-by-step instructions on utilizing filters for easy record identification. Enhance efficiency and clarity in data management within the Airtable platform with this seamless guide.
1. Choose which records you'd like to filter.
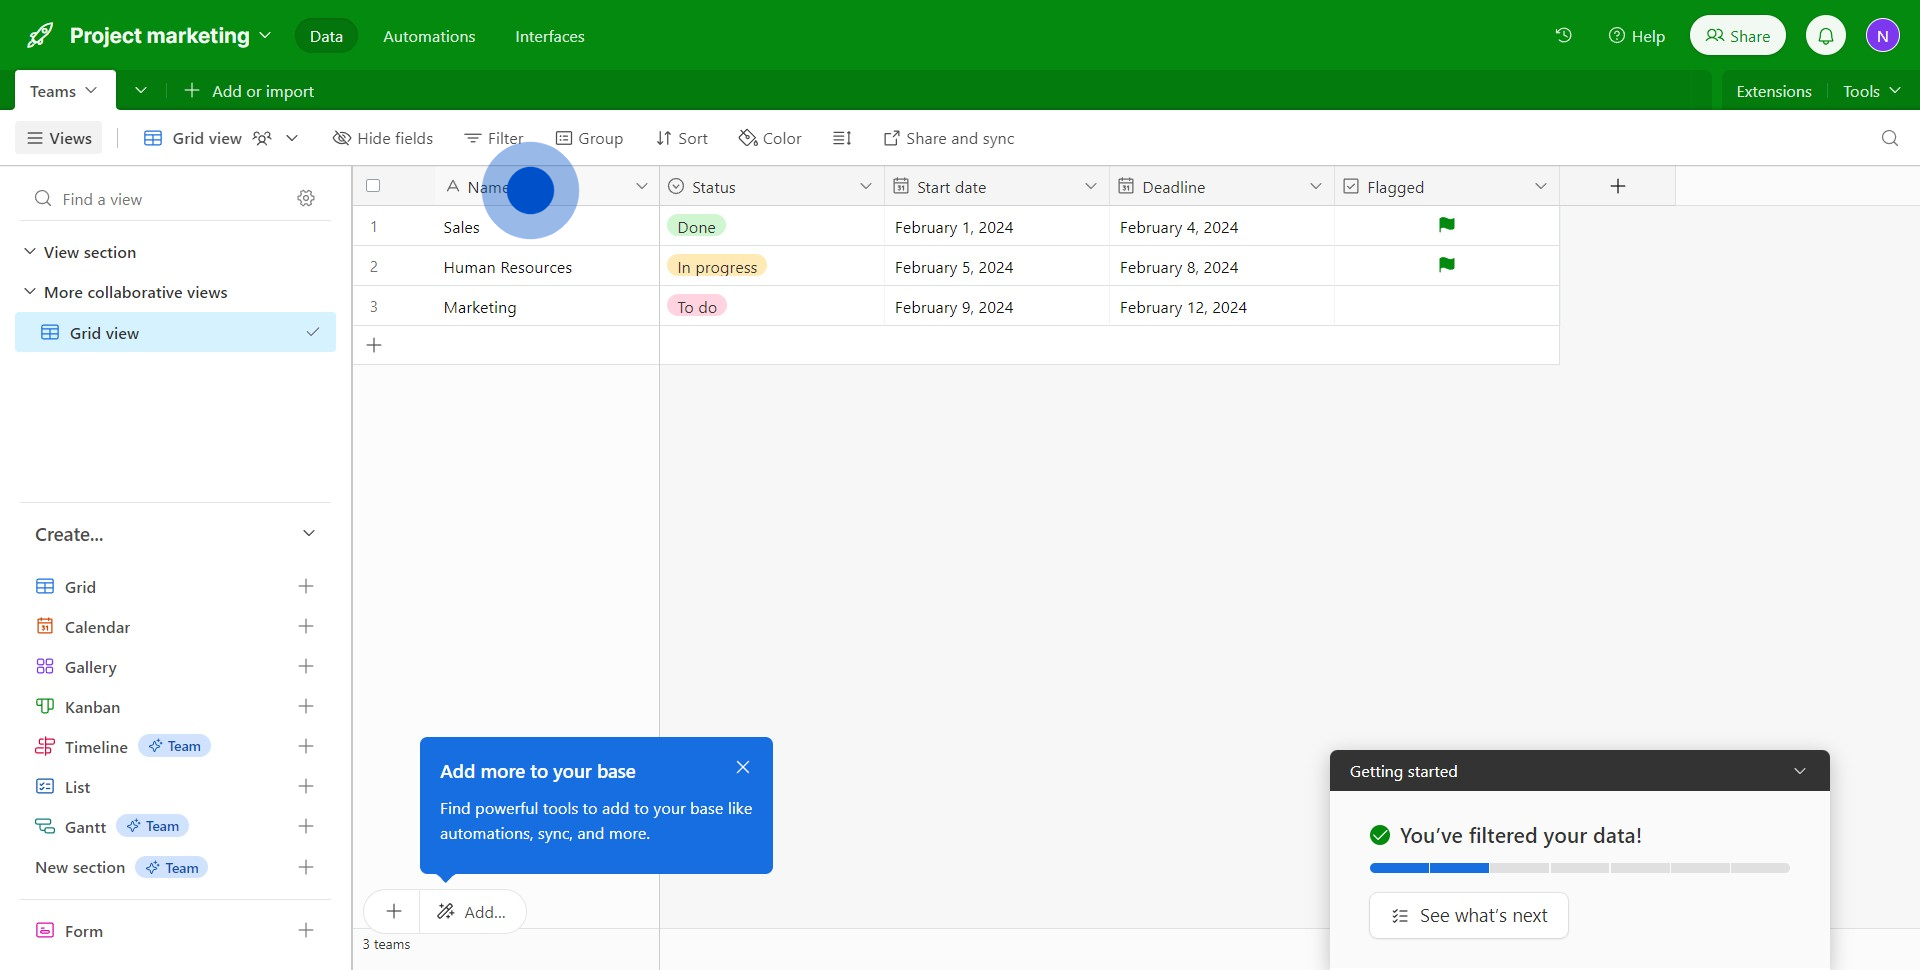
2. Find and click on the 'Filter' button.

3. Select where you want your filtering action to apply.
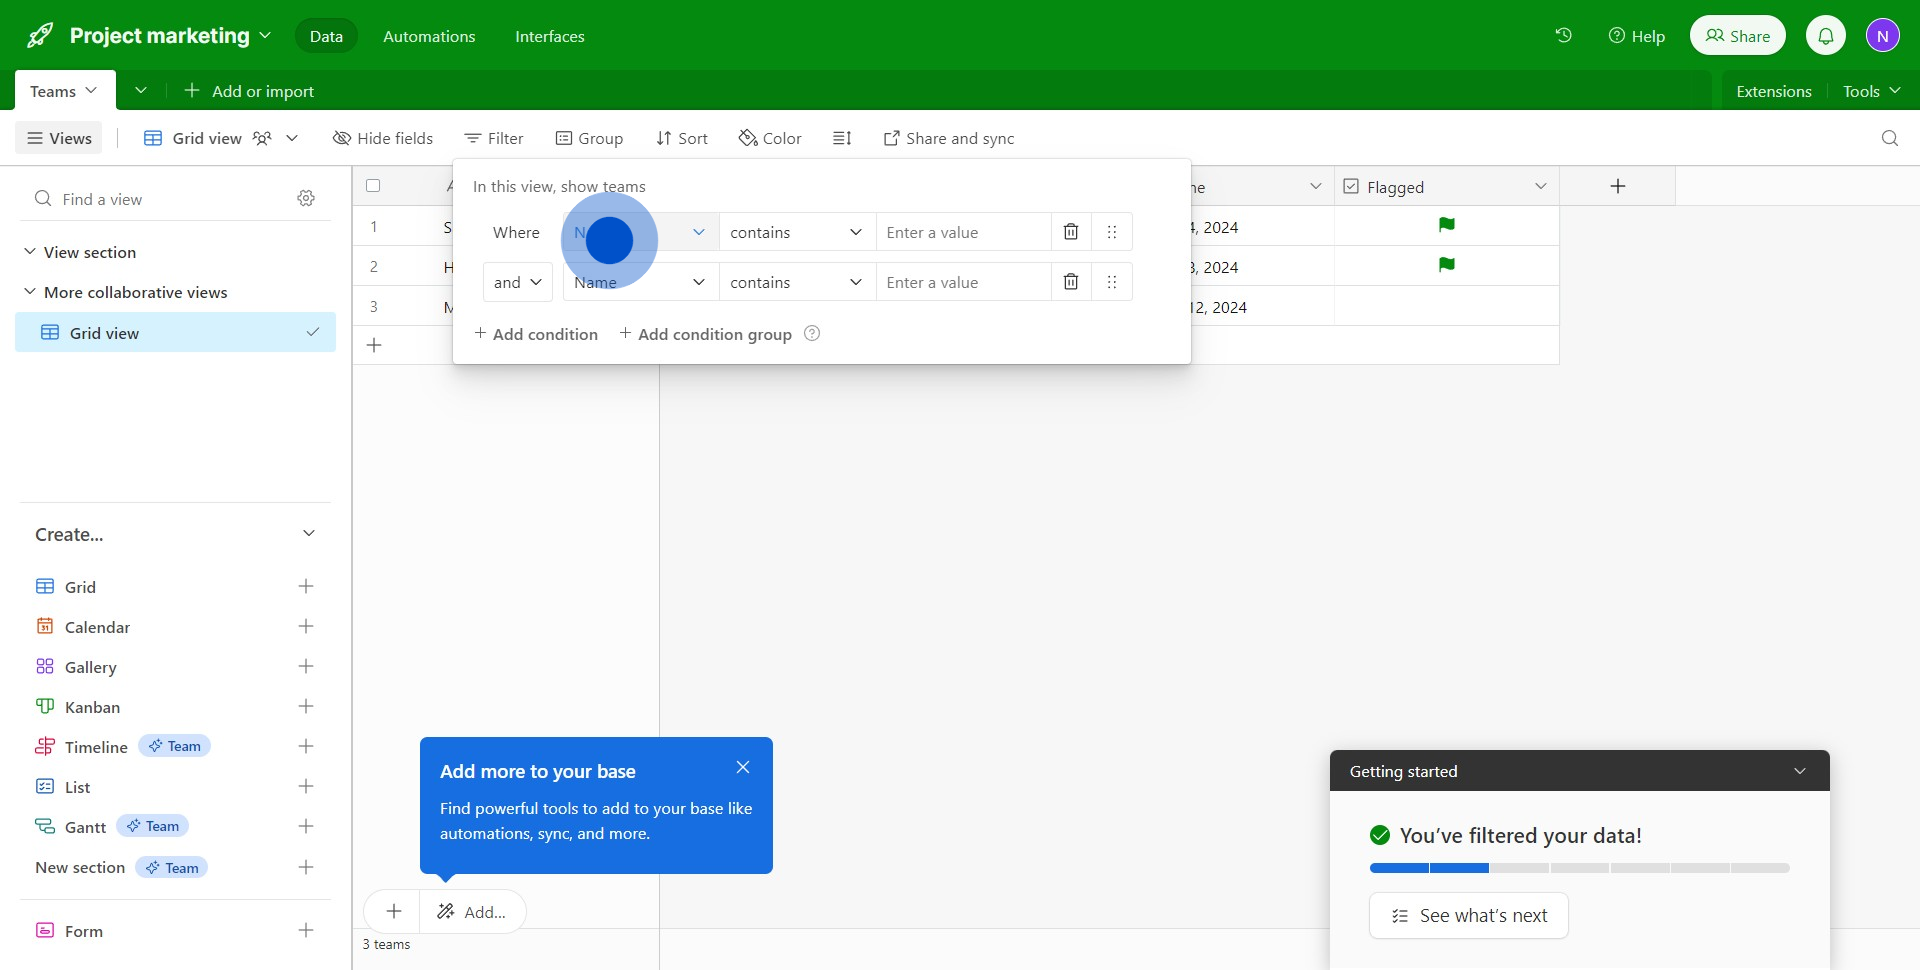
4. Pick the specific one you want to apply your filter to.
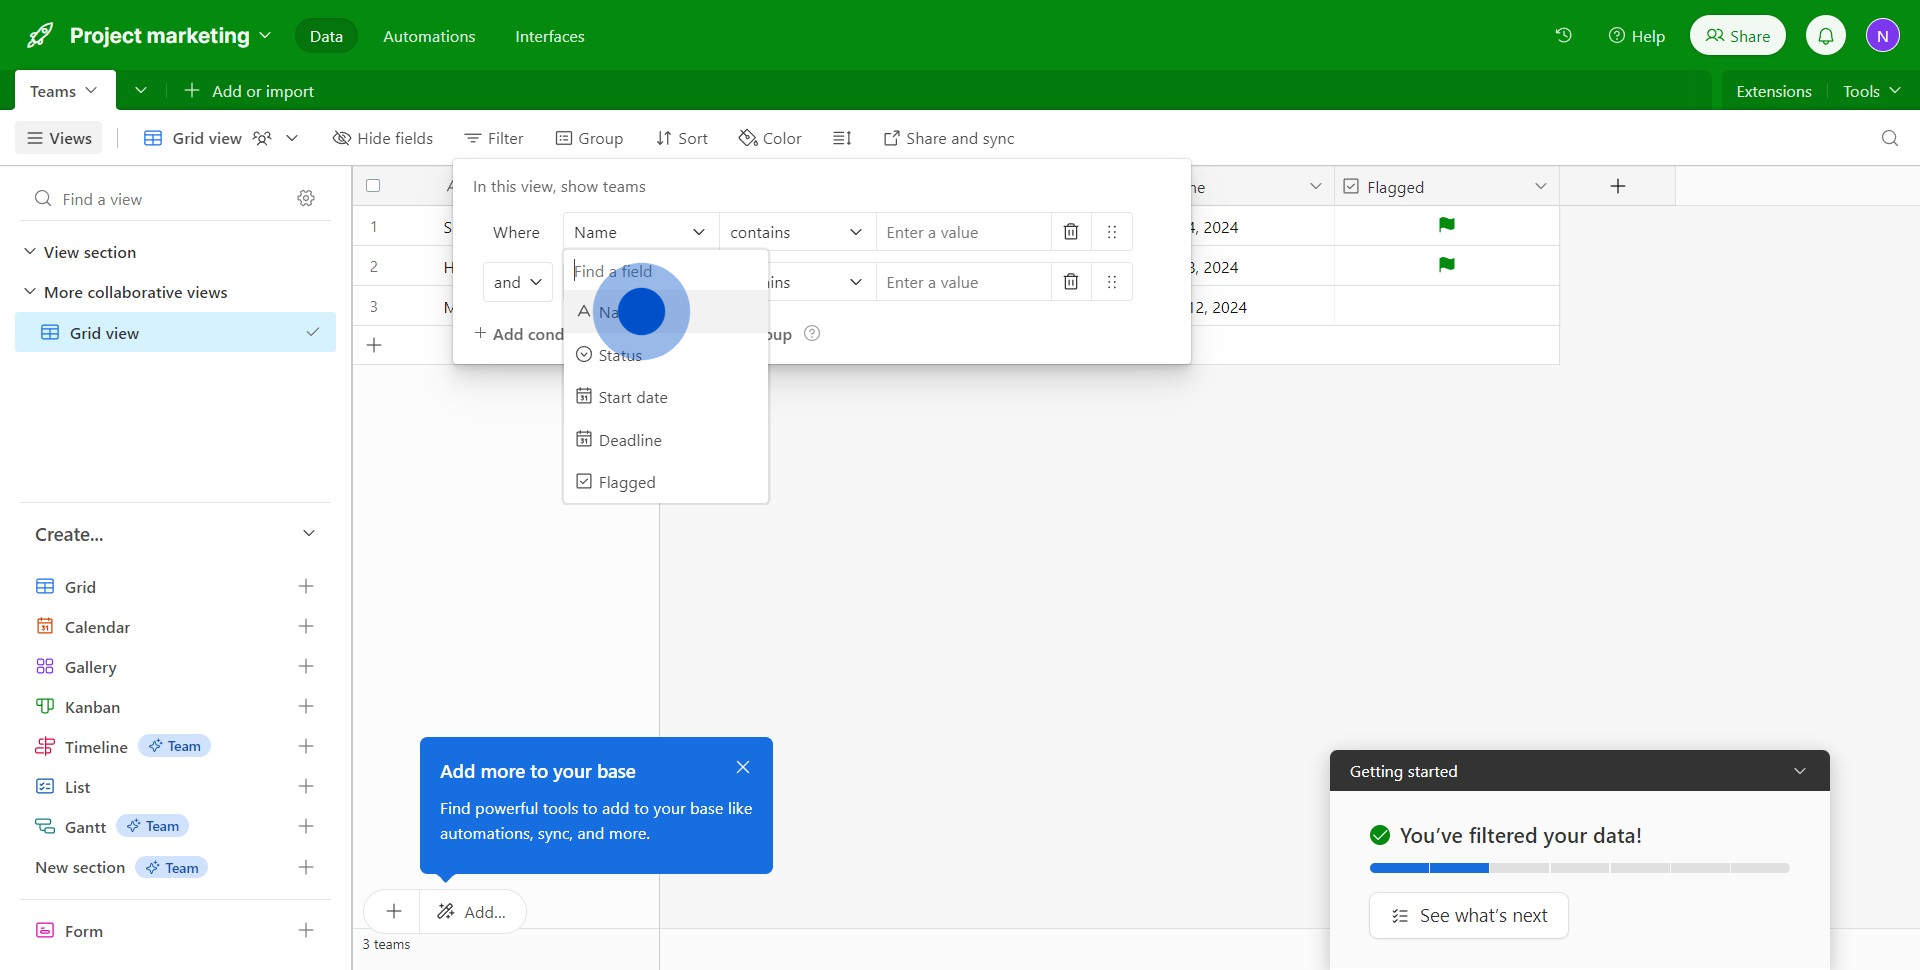
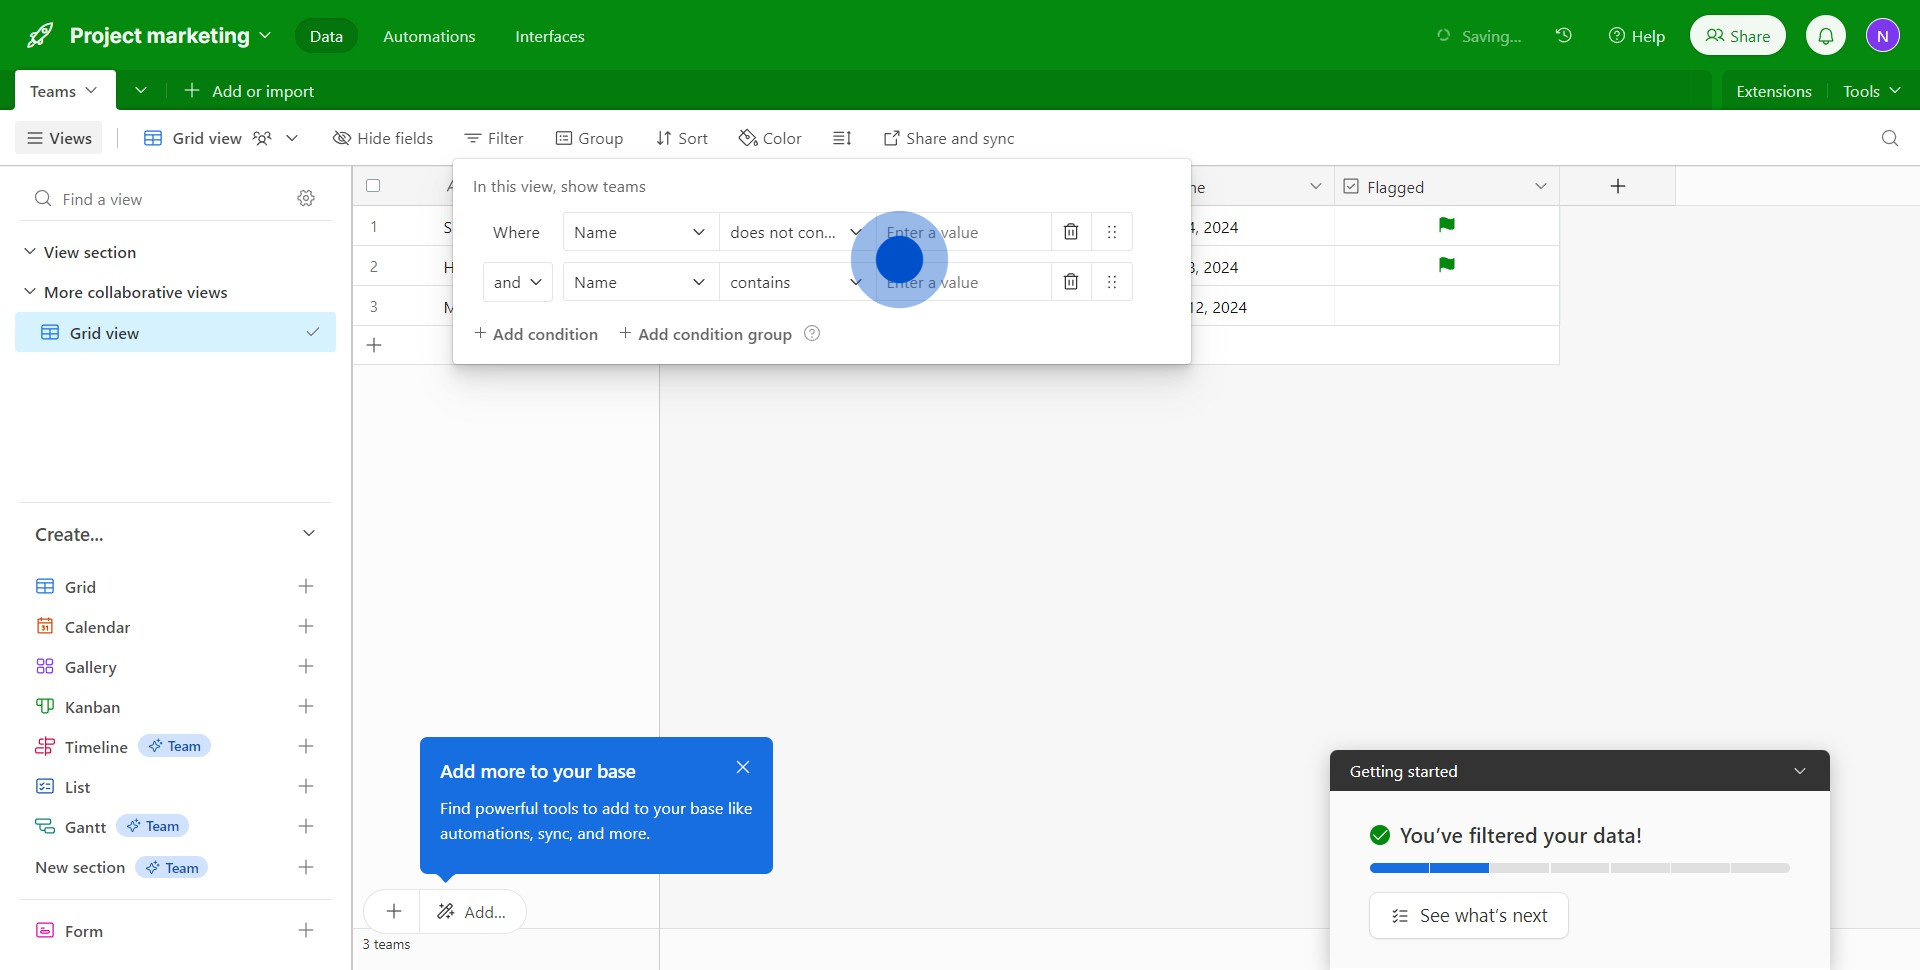
5. Go ahead and establish the conditions for your filter.

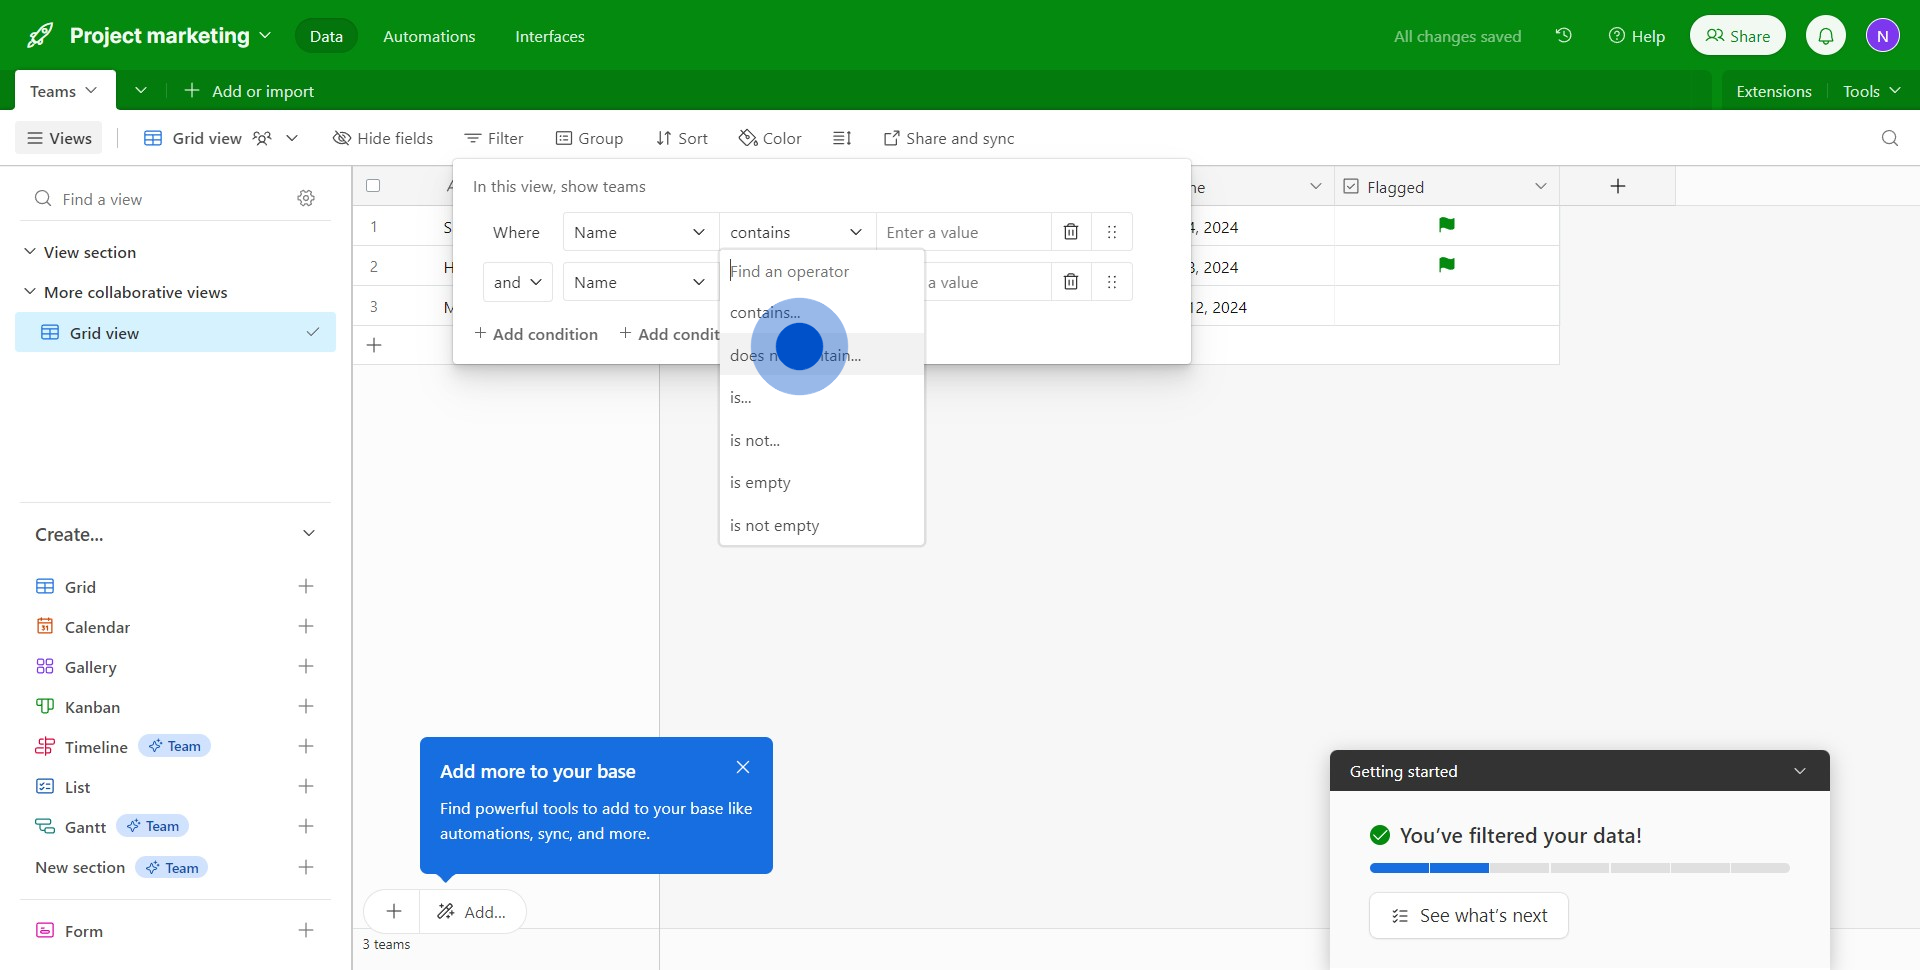
6. Now, choose the conditions you prefer.
7. Hit the link to input the values for your filter.
8. And finally, click outside the filter options

Create your own step-by-step demo
Scale up your training and product adoption with beautiful AI-powered interactive demos and guides. Create your first Supademo in seconds for free.
