

Overview:
Streamline your contact management in Mailchimp by leveraging our guide on importing contacts. Enhance your workflow by efficiently organizing and categorizing your audience. This comprehensive resource walks you through a seamless process, empowering you to optimize your contact management strategies and improve efficiency within the Mailchimp platform. Elevate your user experience and ensure clarity in communication with this step-by-step guide.
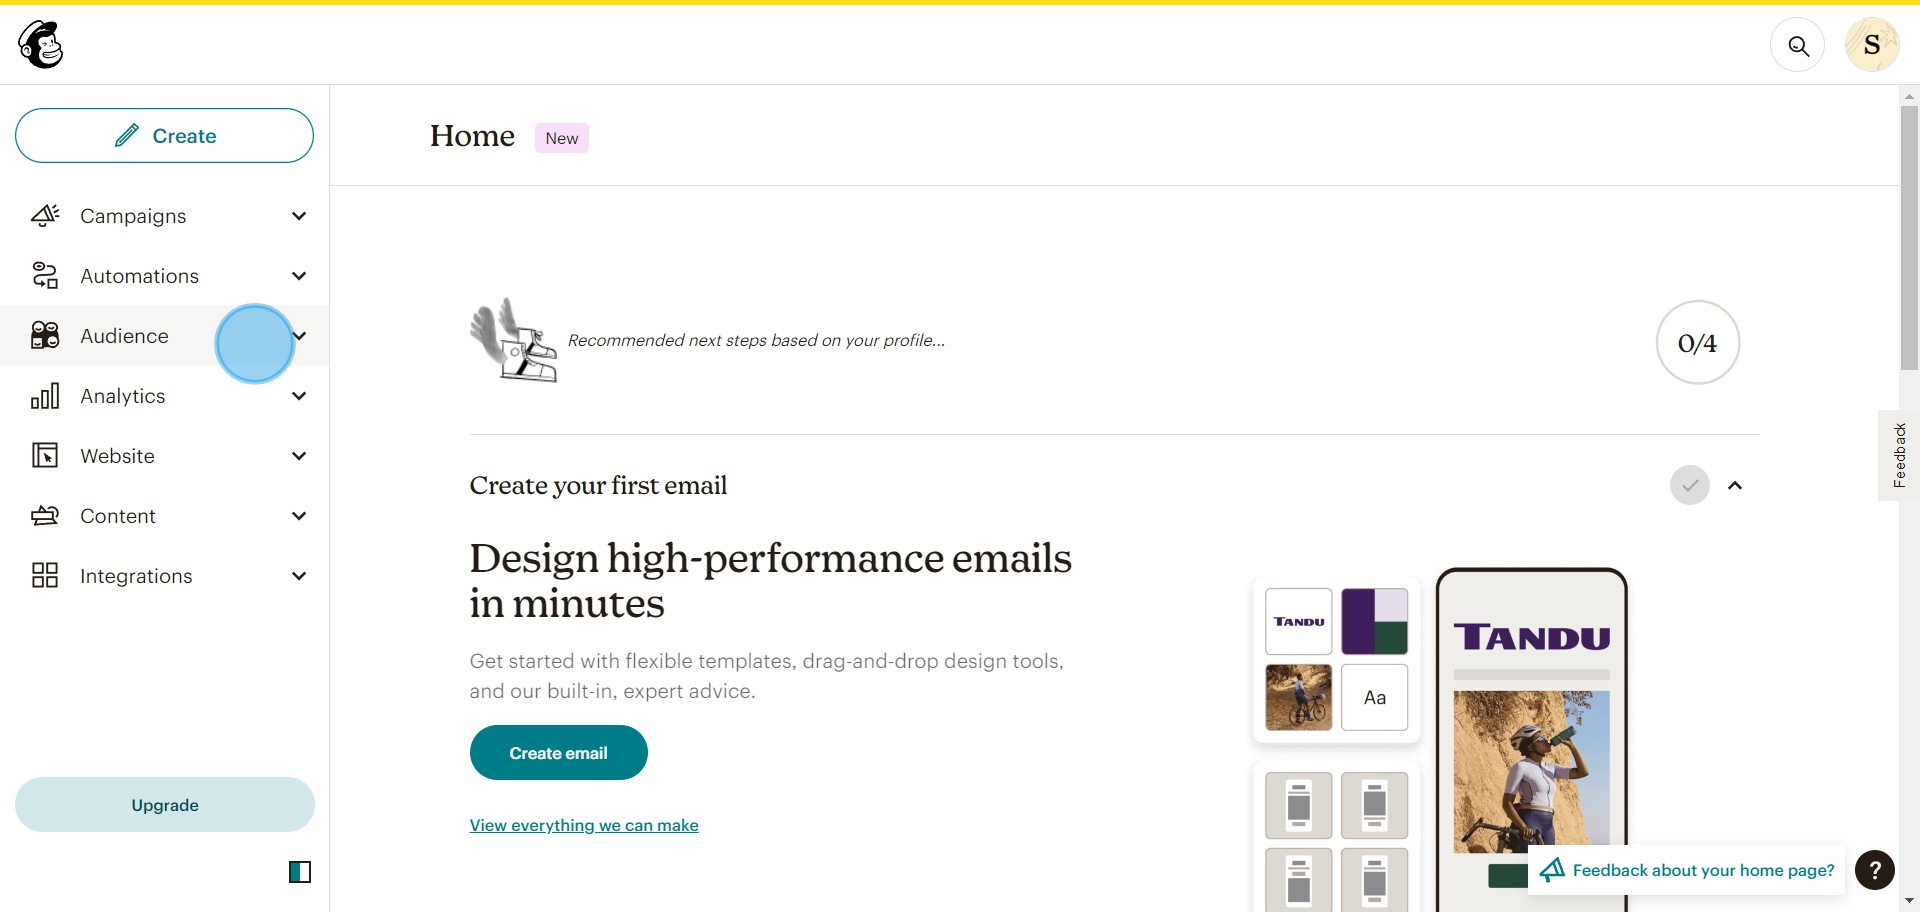
1. In the home page over the side bar Click on "Audience"
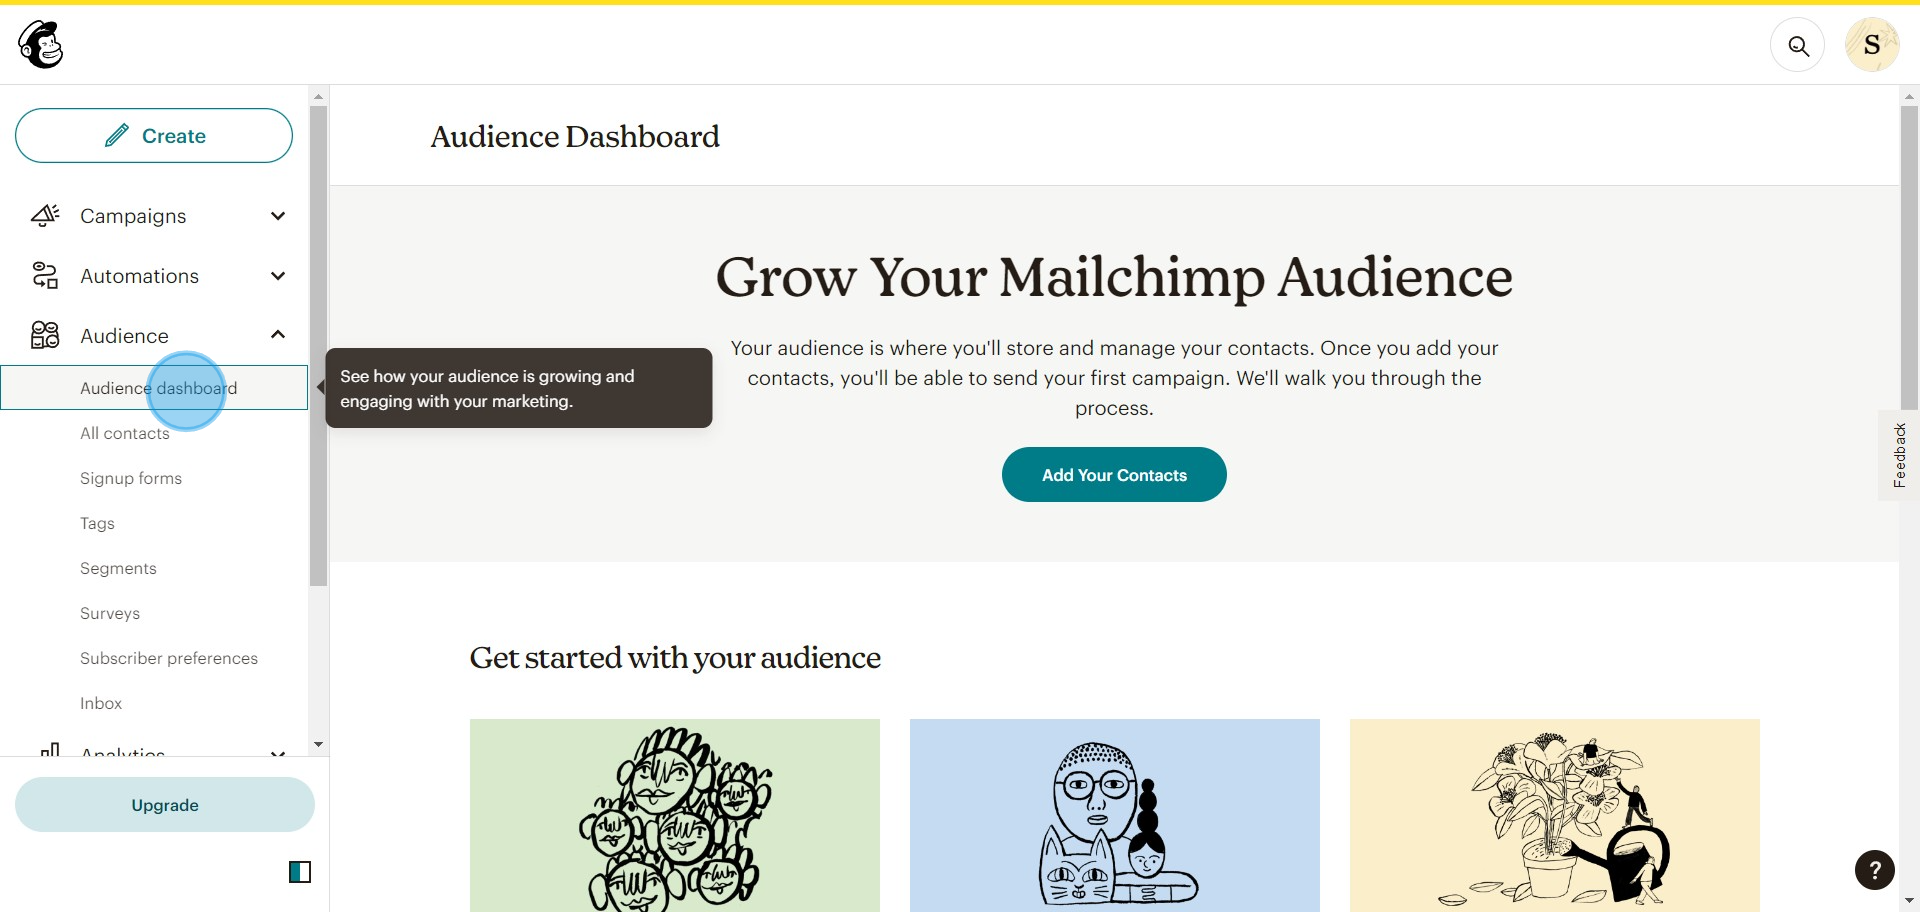
2. Click on "Audience dashboard"
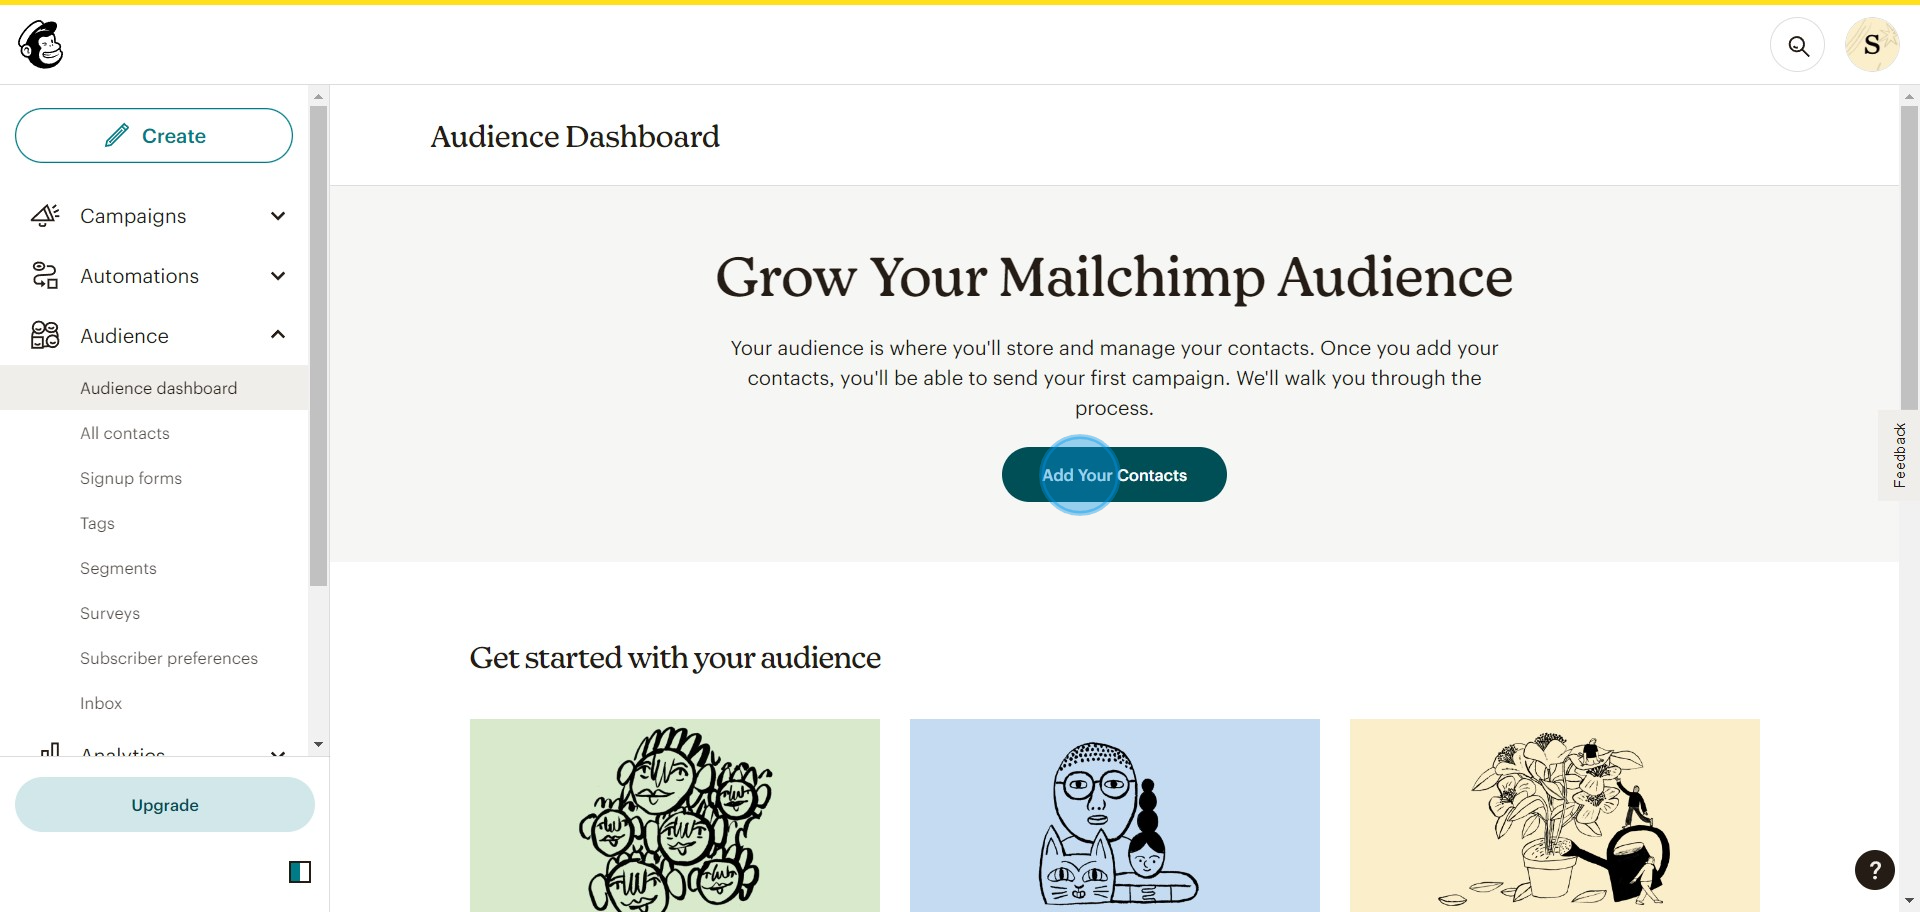
3. Click on "Add Your Contacts"
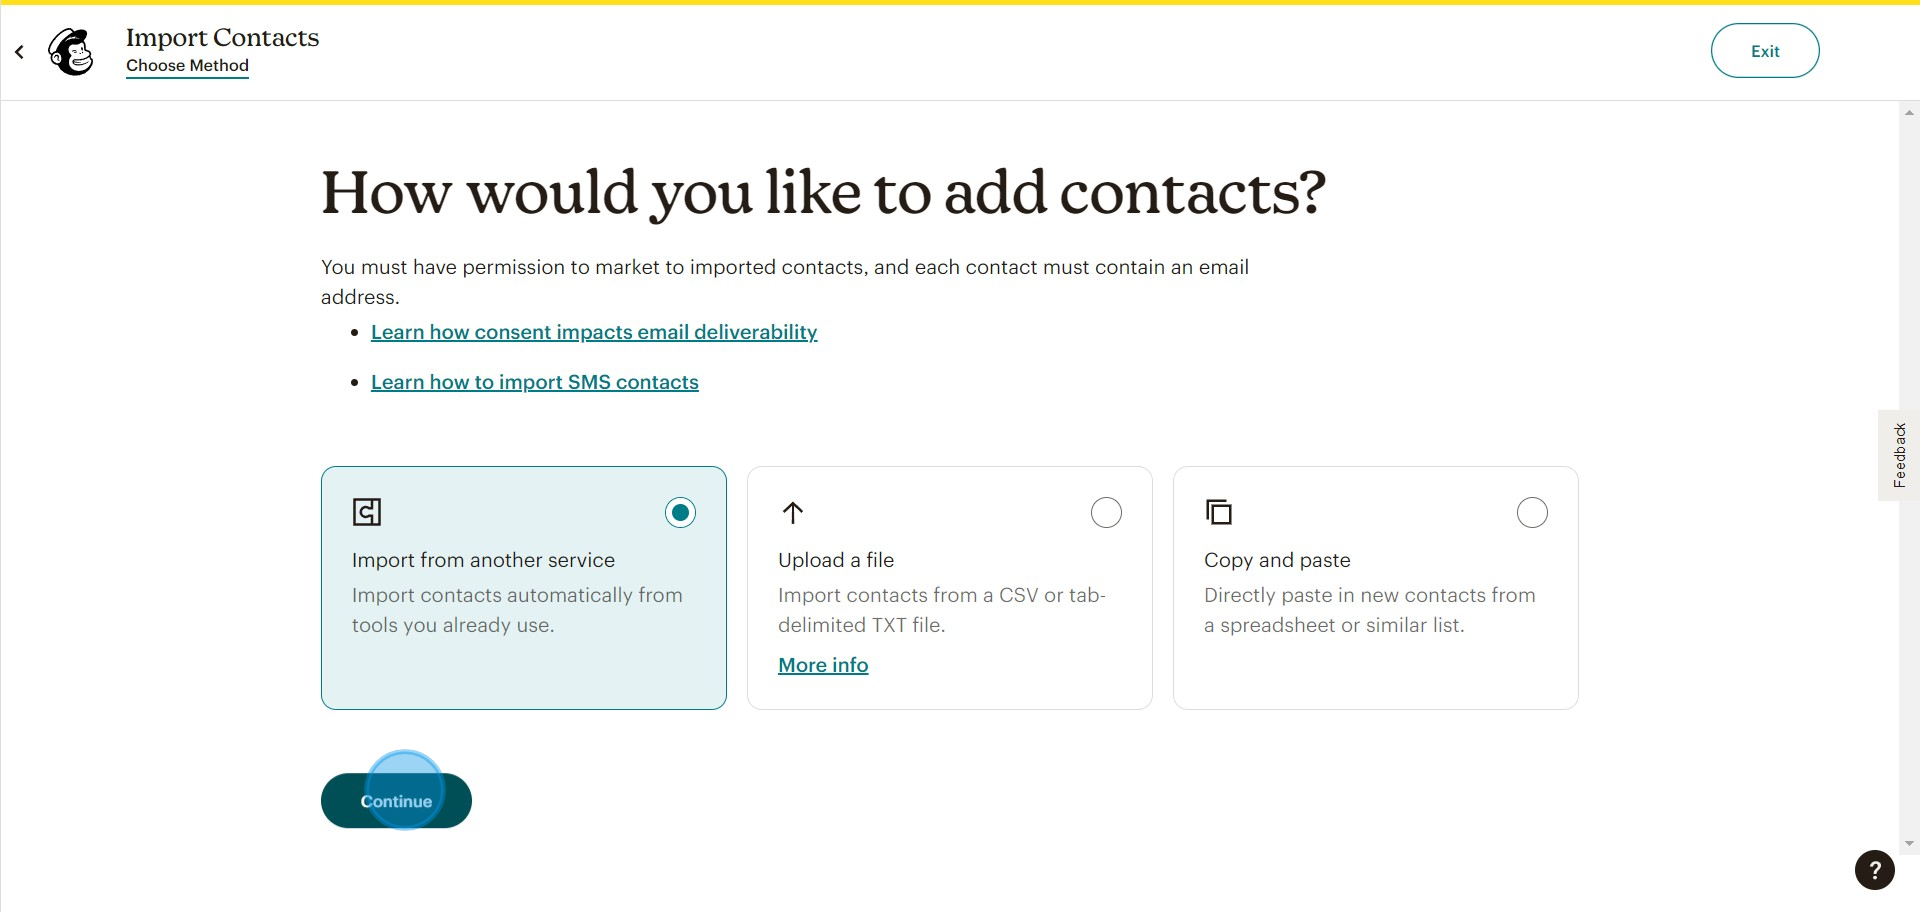
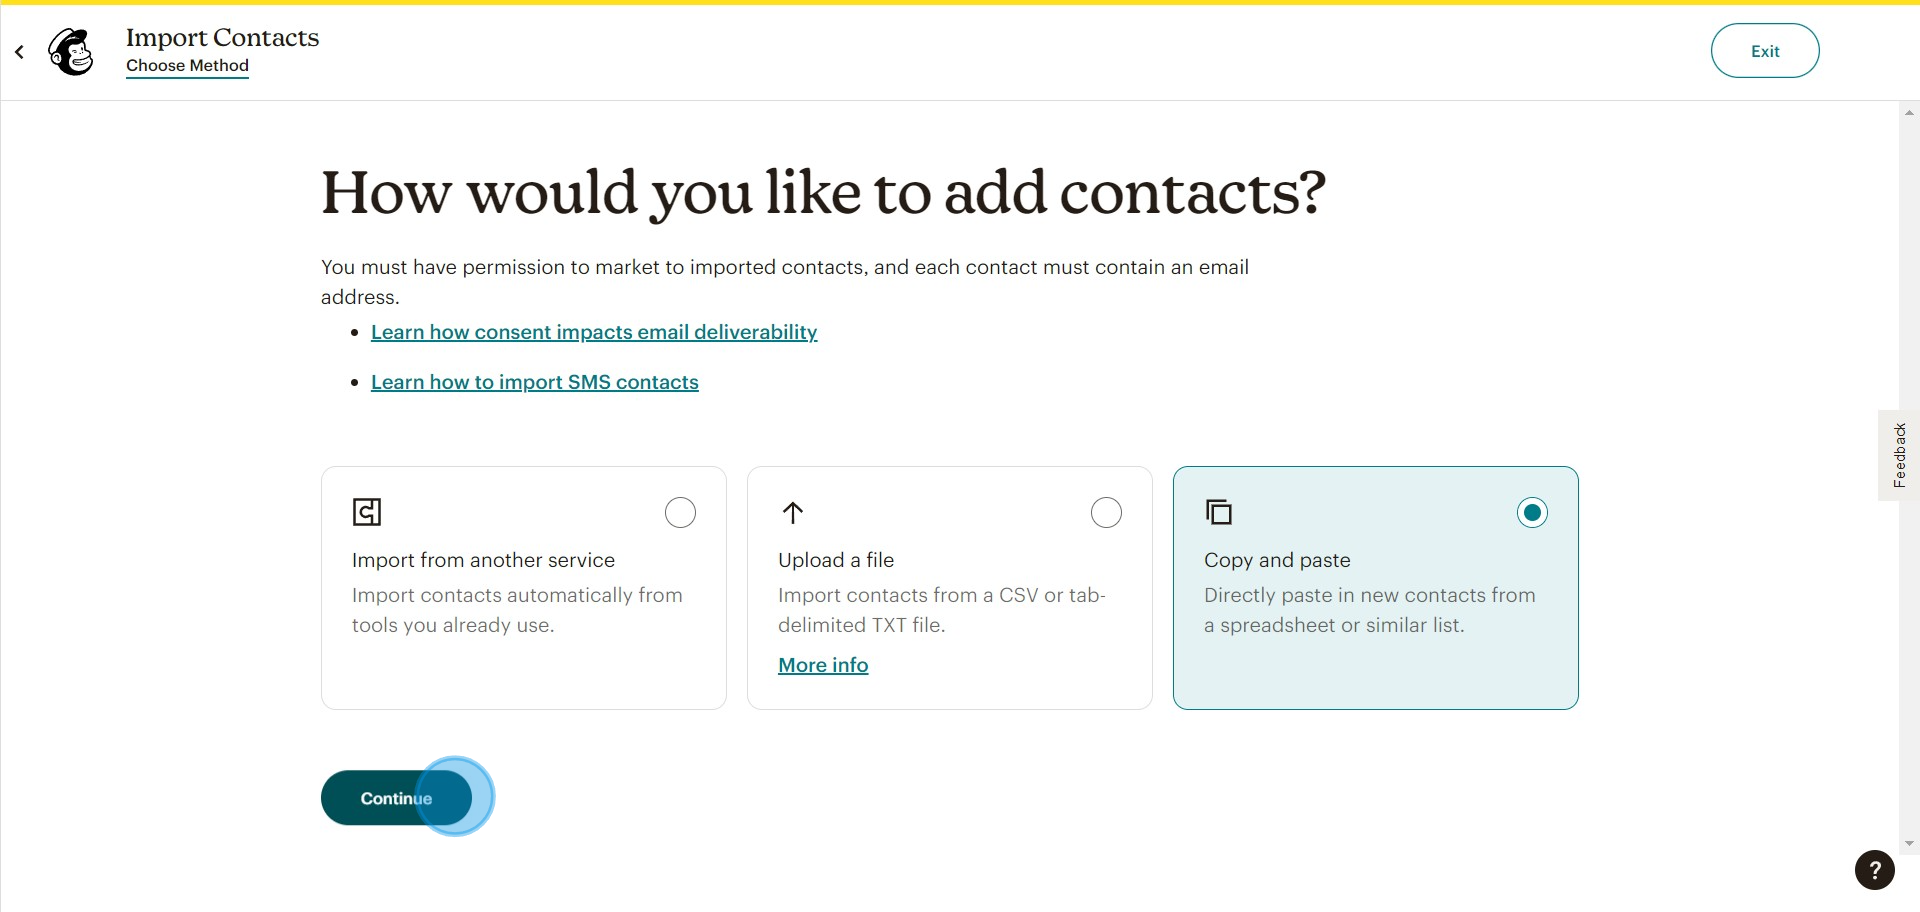
4. Select the option on how you wish to import Contacts. We've chosen to import from another service
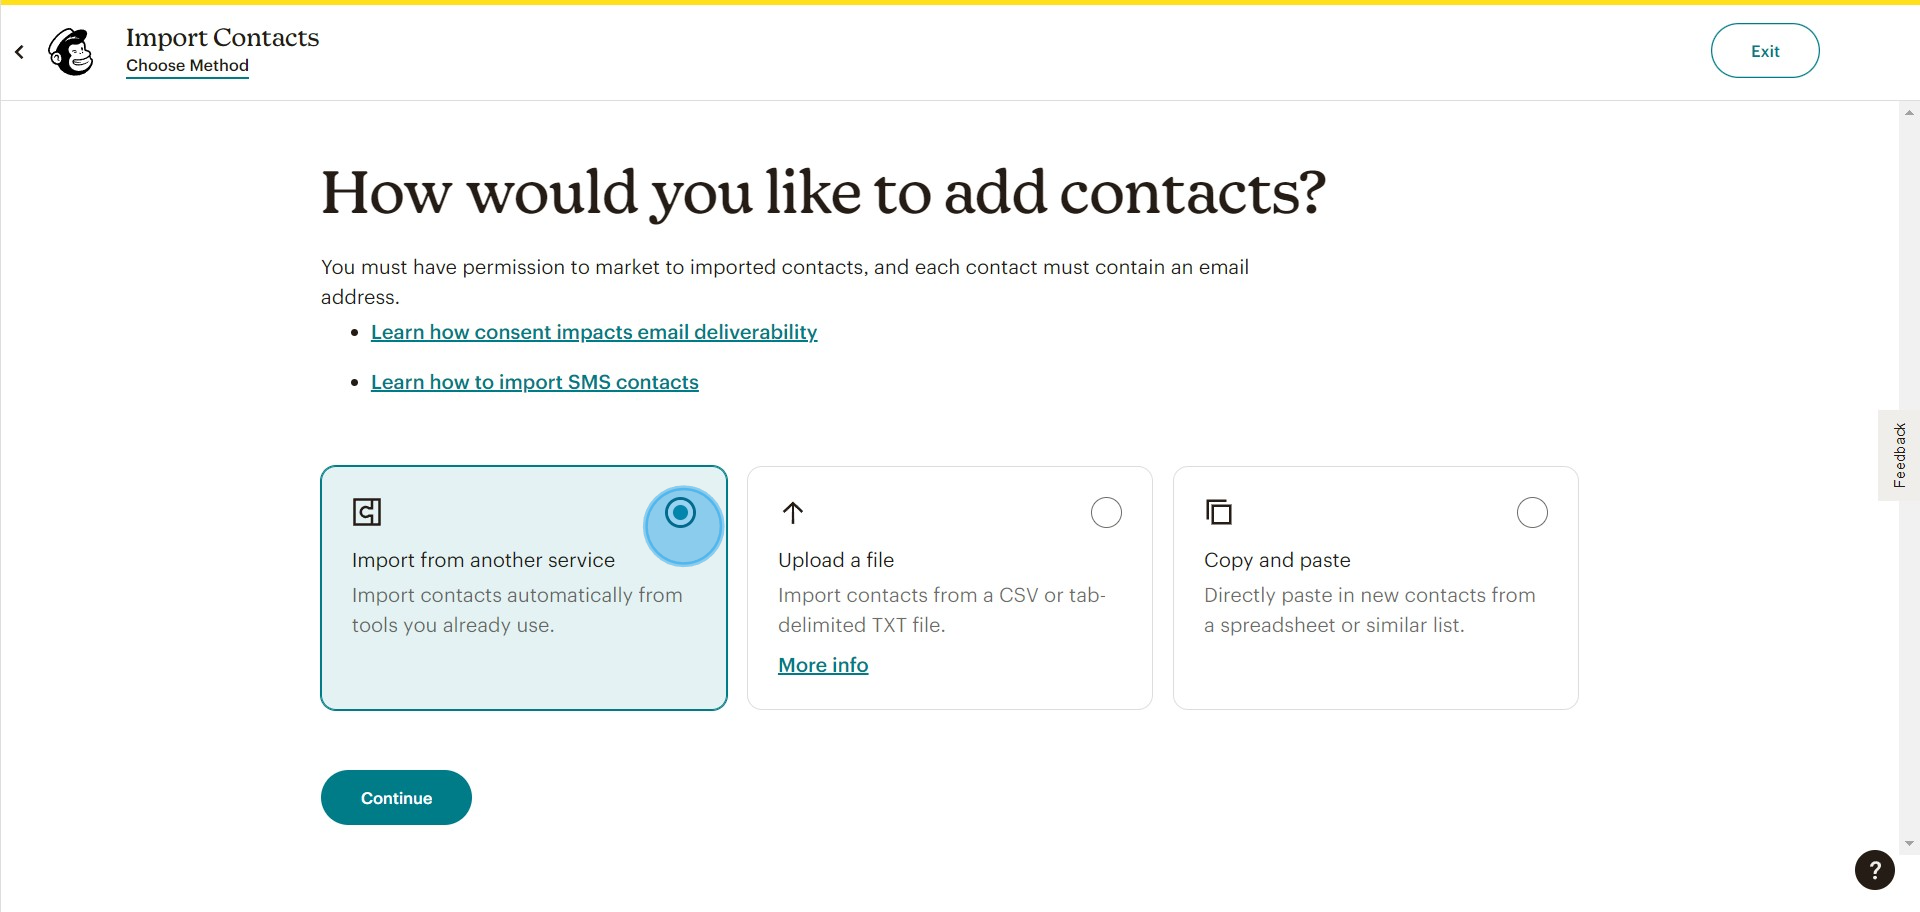
5. Click on "Continue" after choosing the method of importing contacts
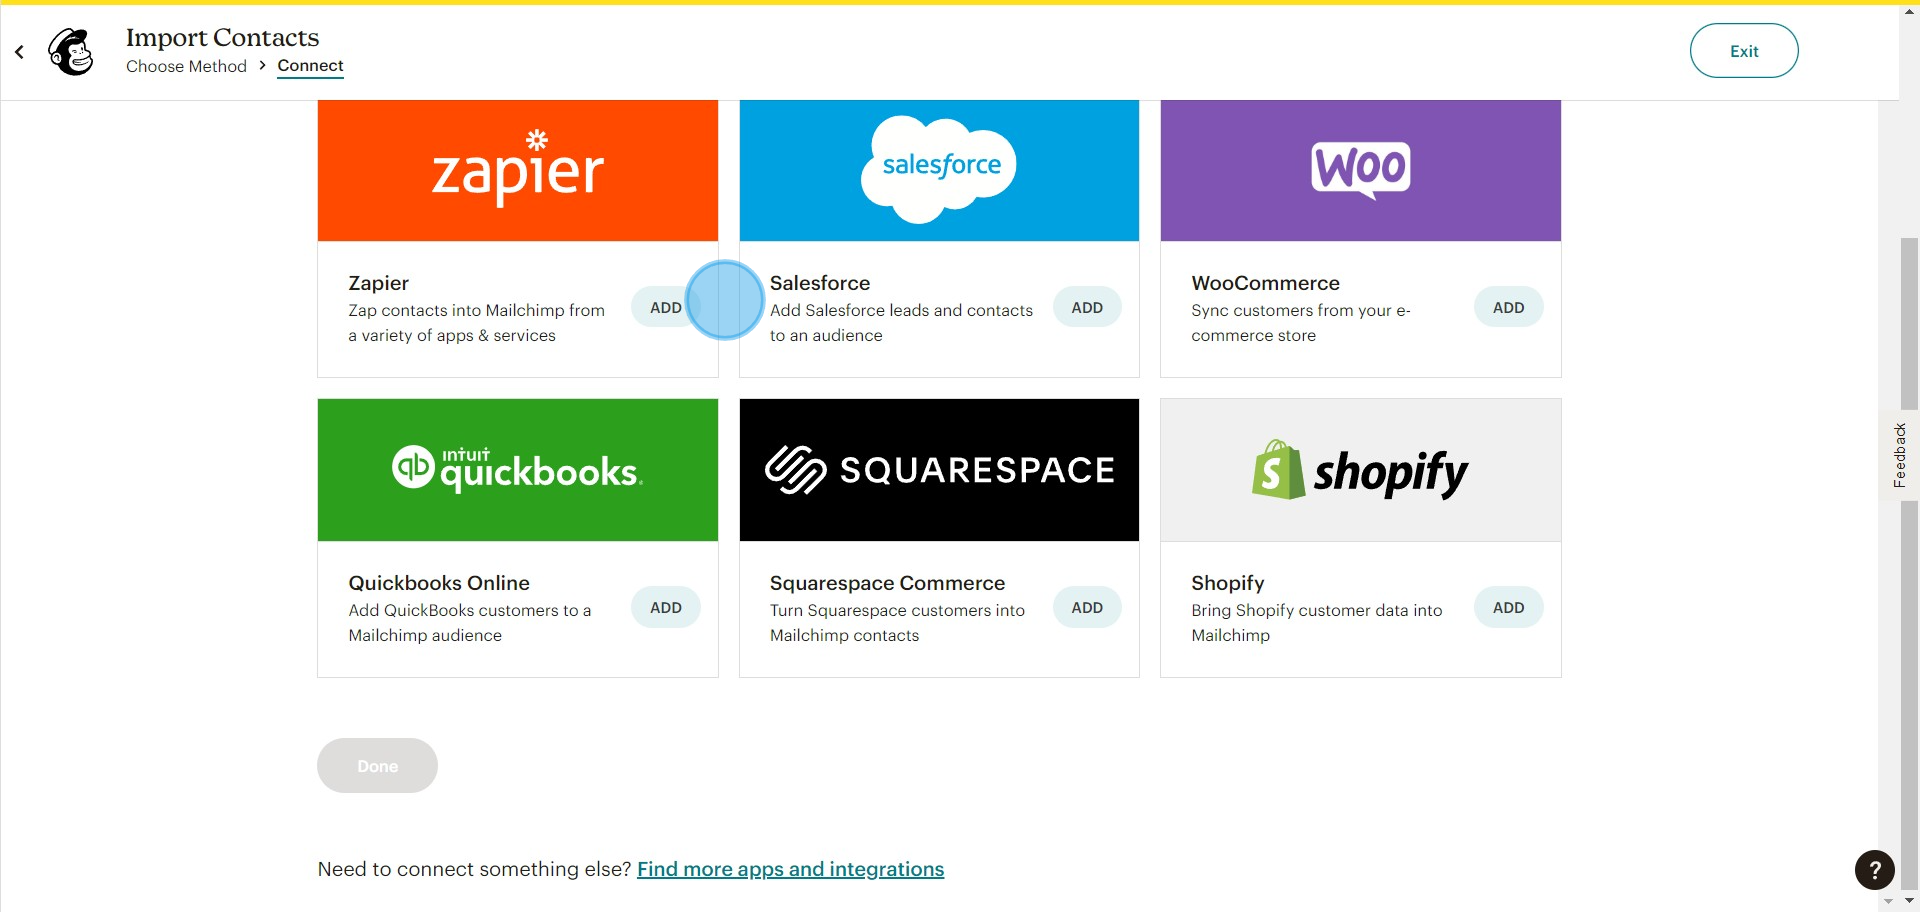
6. Connect either of these apps to mailchimp to import data from their platform
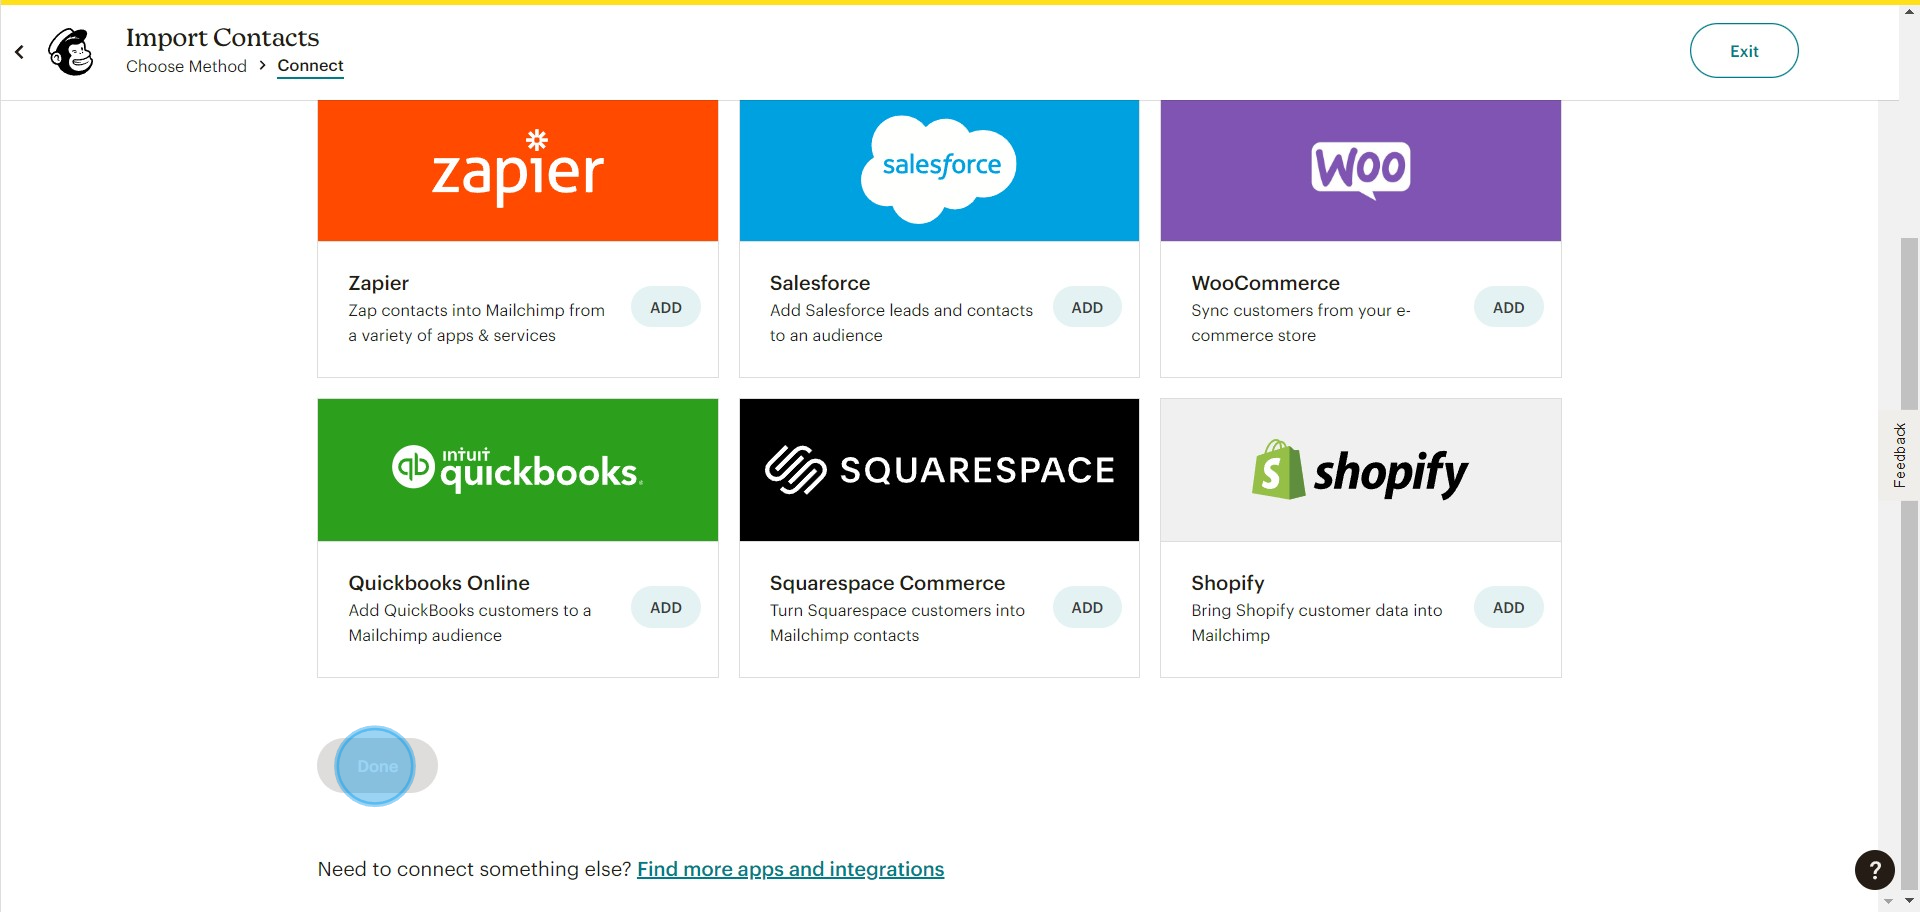
7. Once Adding Click "Done"
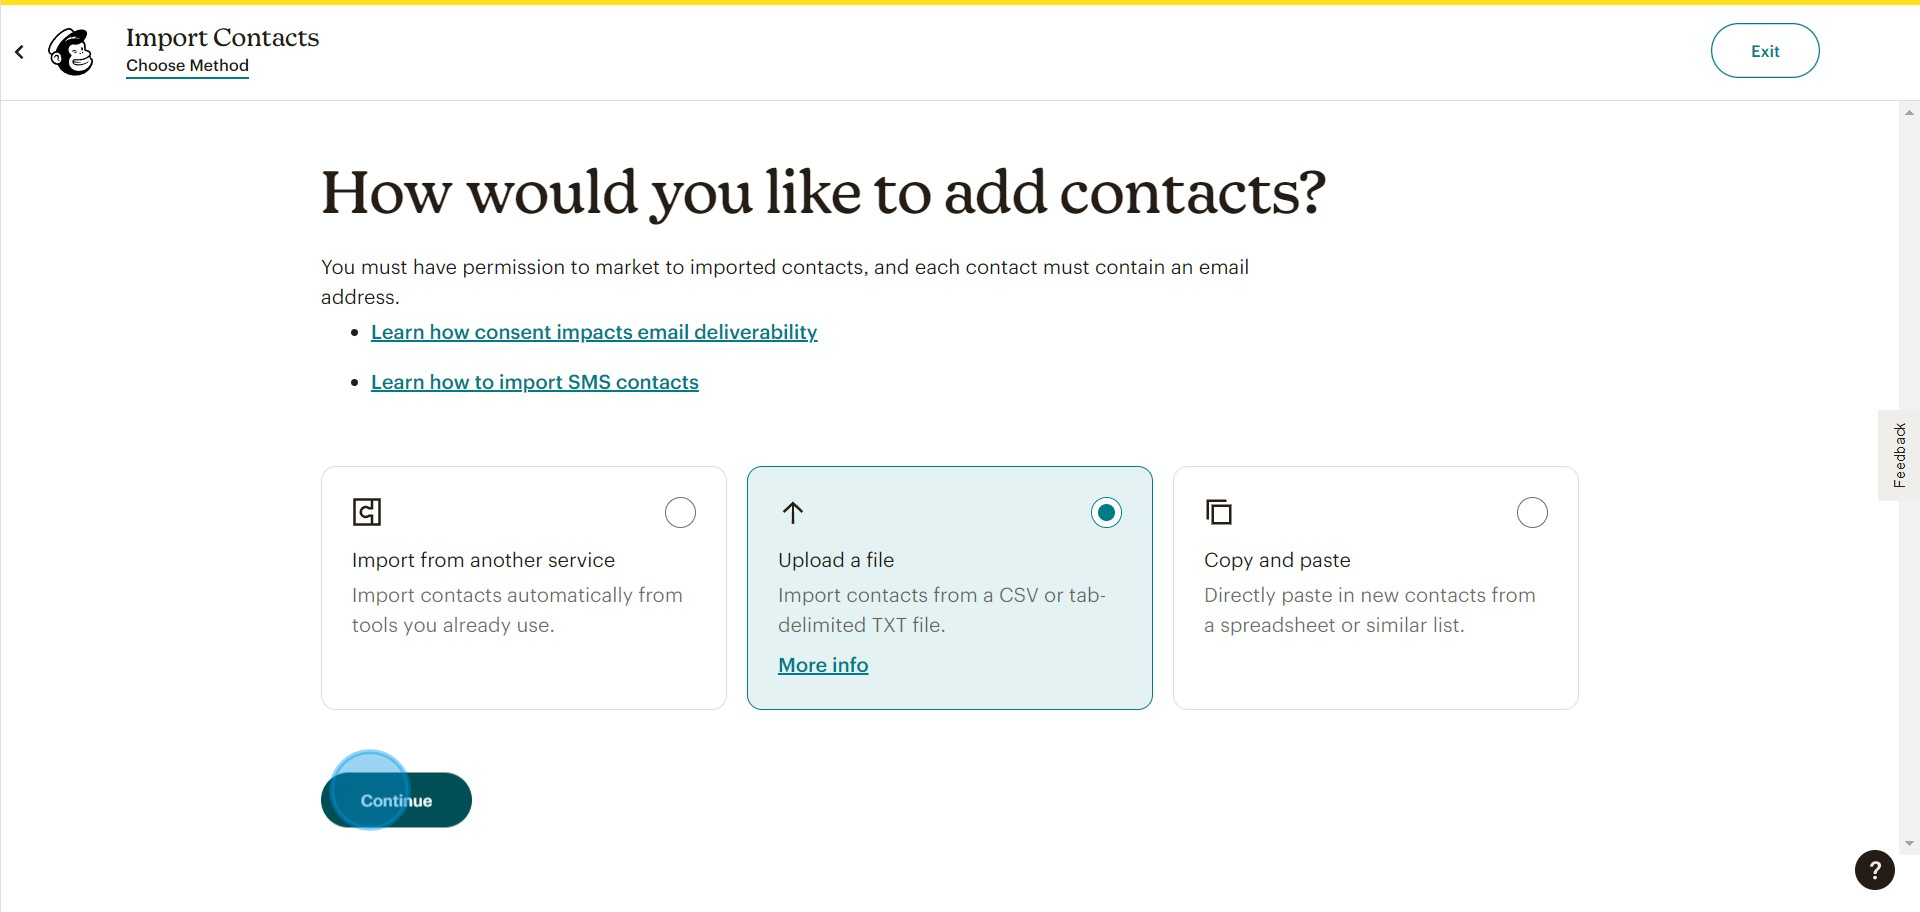
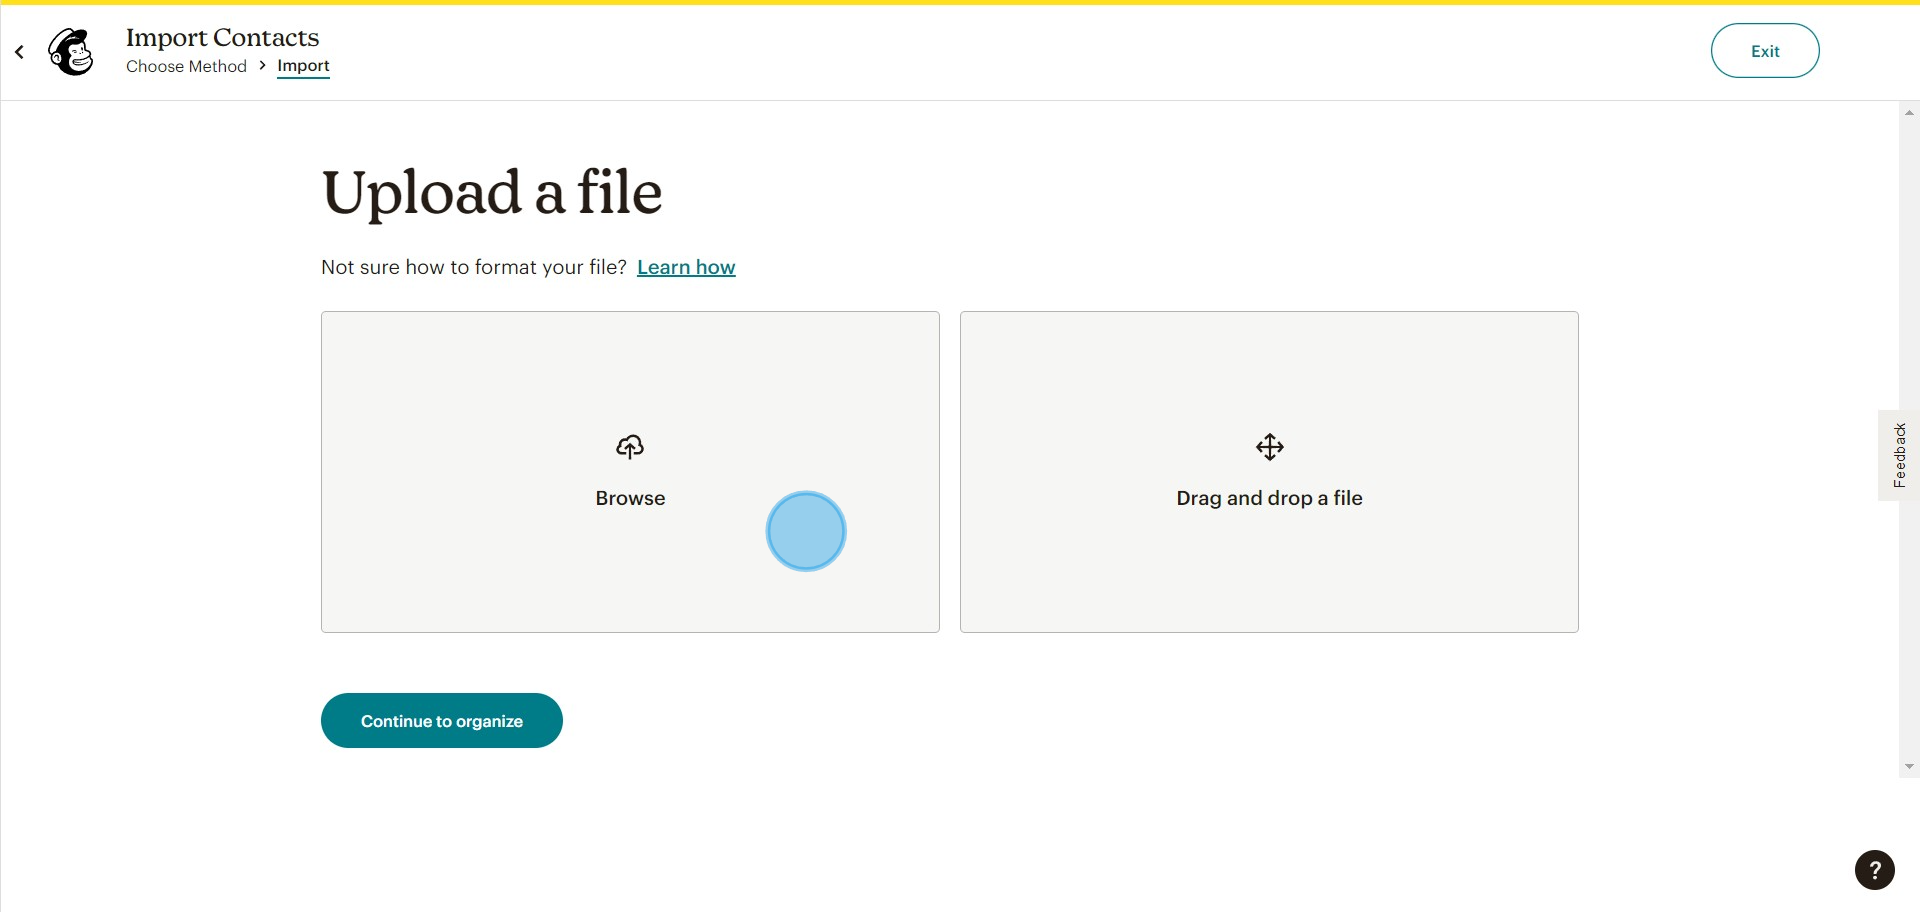
8. If you wish to upload a File to import contacts Select it and Click on "Continue"
9. Click on "Browse" and select the sheet to drop here
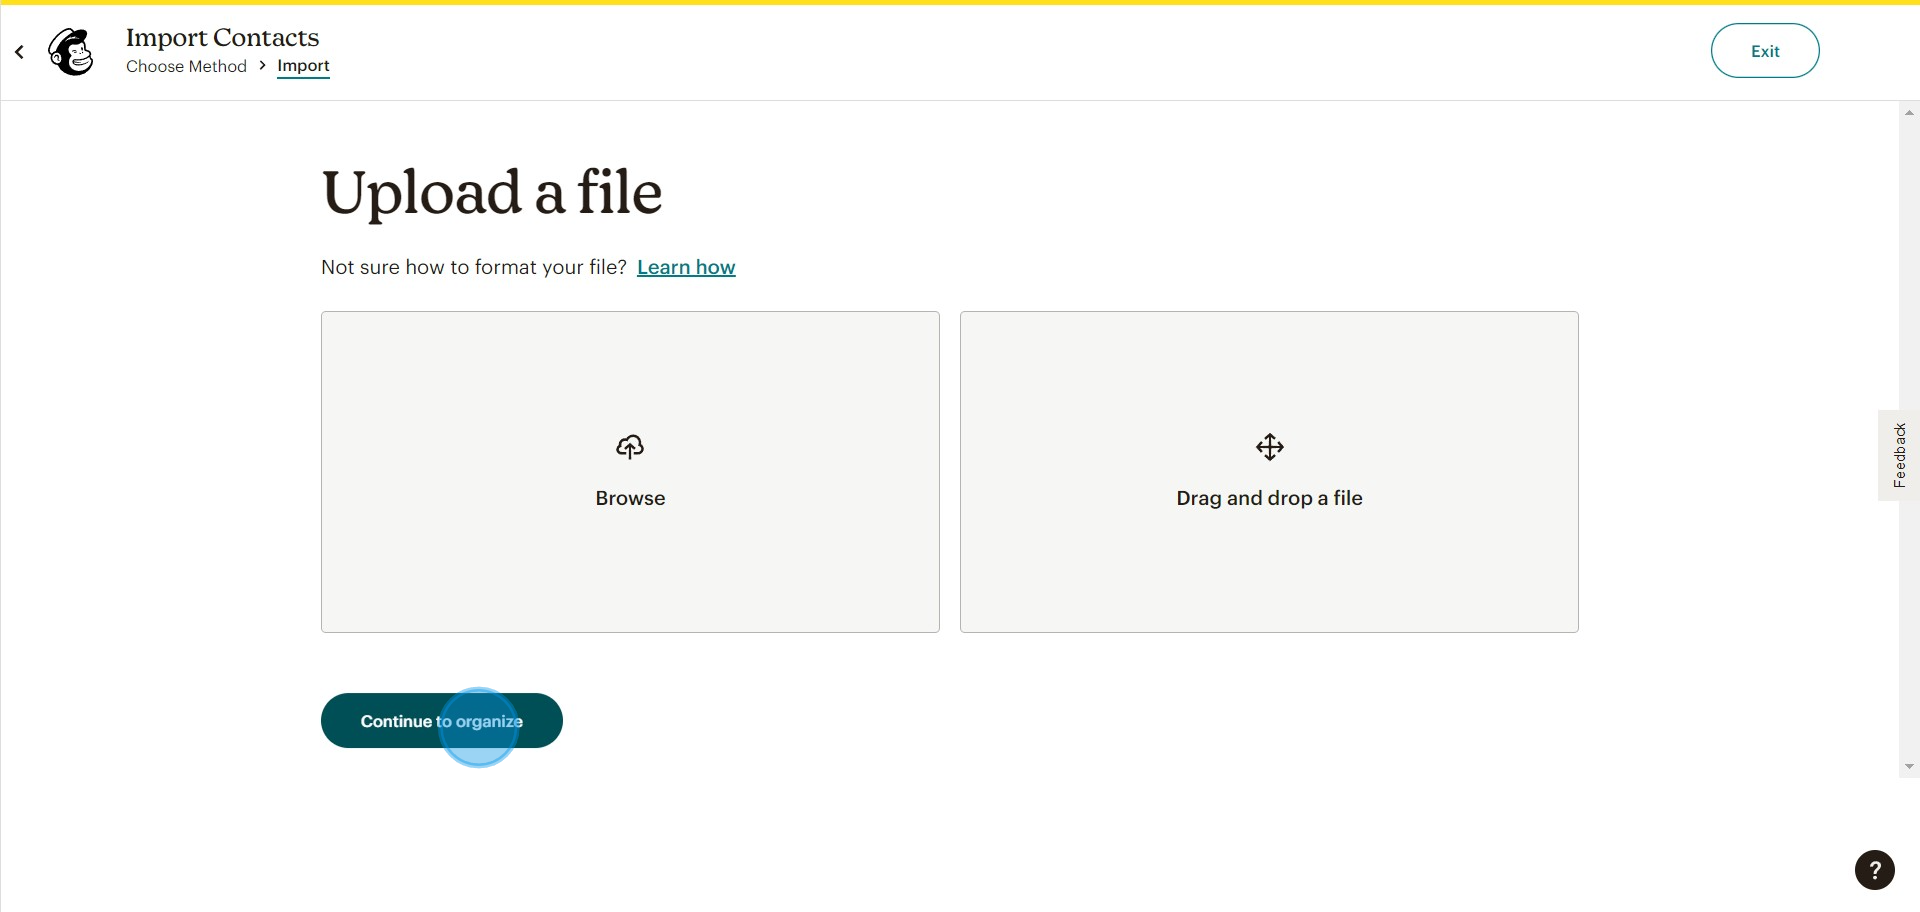
10. Click on "Continue to organize" after uploading the file to import contacts
11. Click on "Copy and Paste" for importing contacts
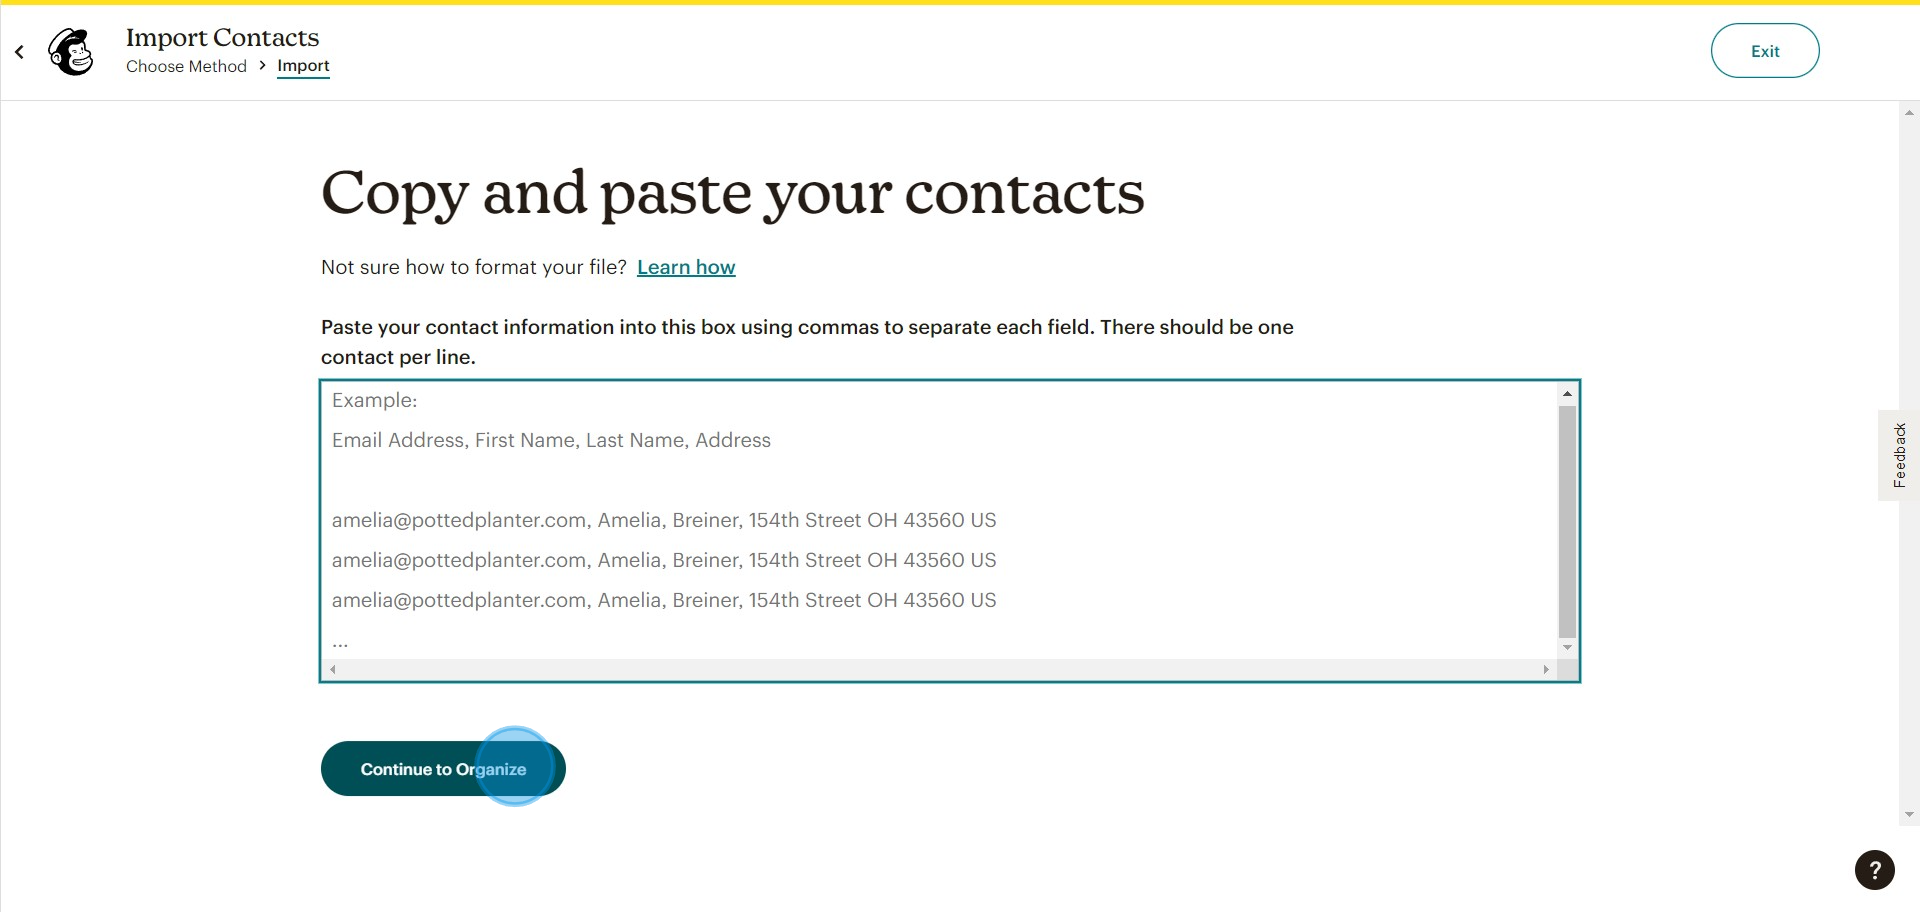
12. Type or Paste the contacts you wished to import in the respective format

13. Click on "Continue to Organize" once you've added the contacts
Create your own step-by-step demo
Scale up your training and product adoption with beautiful AI-powered interactive demos and guides. Create your first Supademo in seconds for free.
