
Summary
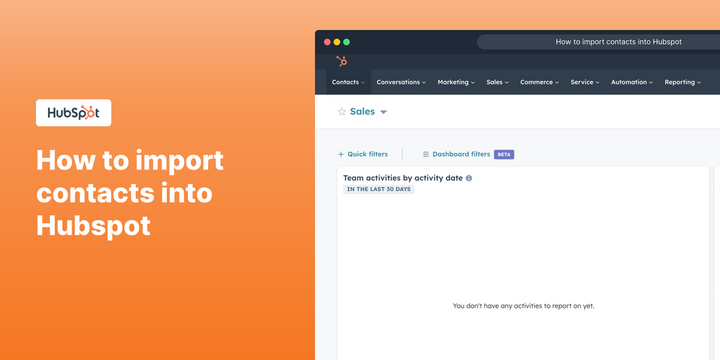
Importing contacts into HubSpot is a simple yet crucial step for streamlining your customer relationship management (CRM).
Click below for a visual, step-by-step interactive demo walkthrough of HubSpot's intuitive interface, which guides you through the mapping process and where you match the fields in your file to HubSpot's contact properties. With this straightforward process, you can quickly consolidate your contacts and enhance your marketing efforts within HubSpot.
Who is HubSpot best suited for?
HubSpot is best suited for a wide range of professionals, including Sales Teams, Marketing Managers, and Customer Service Representatives. For example, Sales Teams can use HubSpot for managing customer relationships and tracking sales activities, Marketing Managers can leverage it for automating campaigns and analyzing marketing performance, and Customer Service Representatives can use it for managing support tickets and improving customer interactions, all benefiting from HubSpot’s integrated CRM and marketing automation tools.
Step-by-step interactive demo
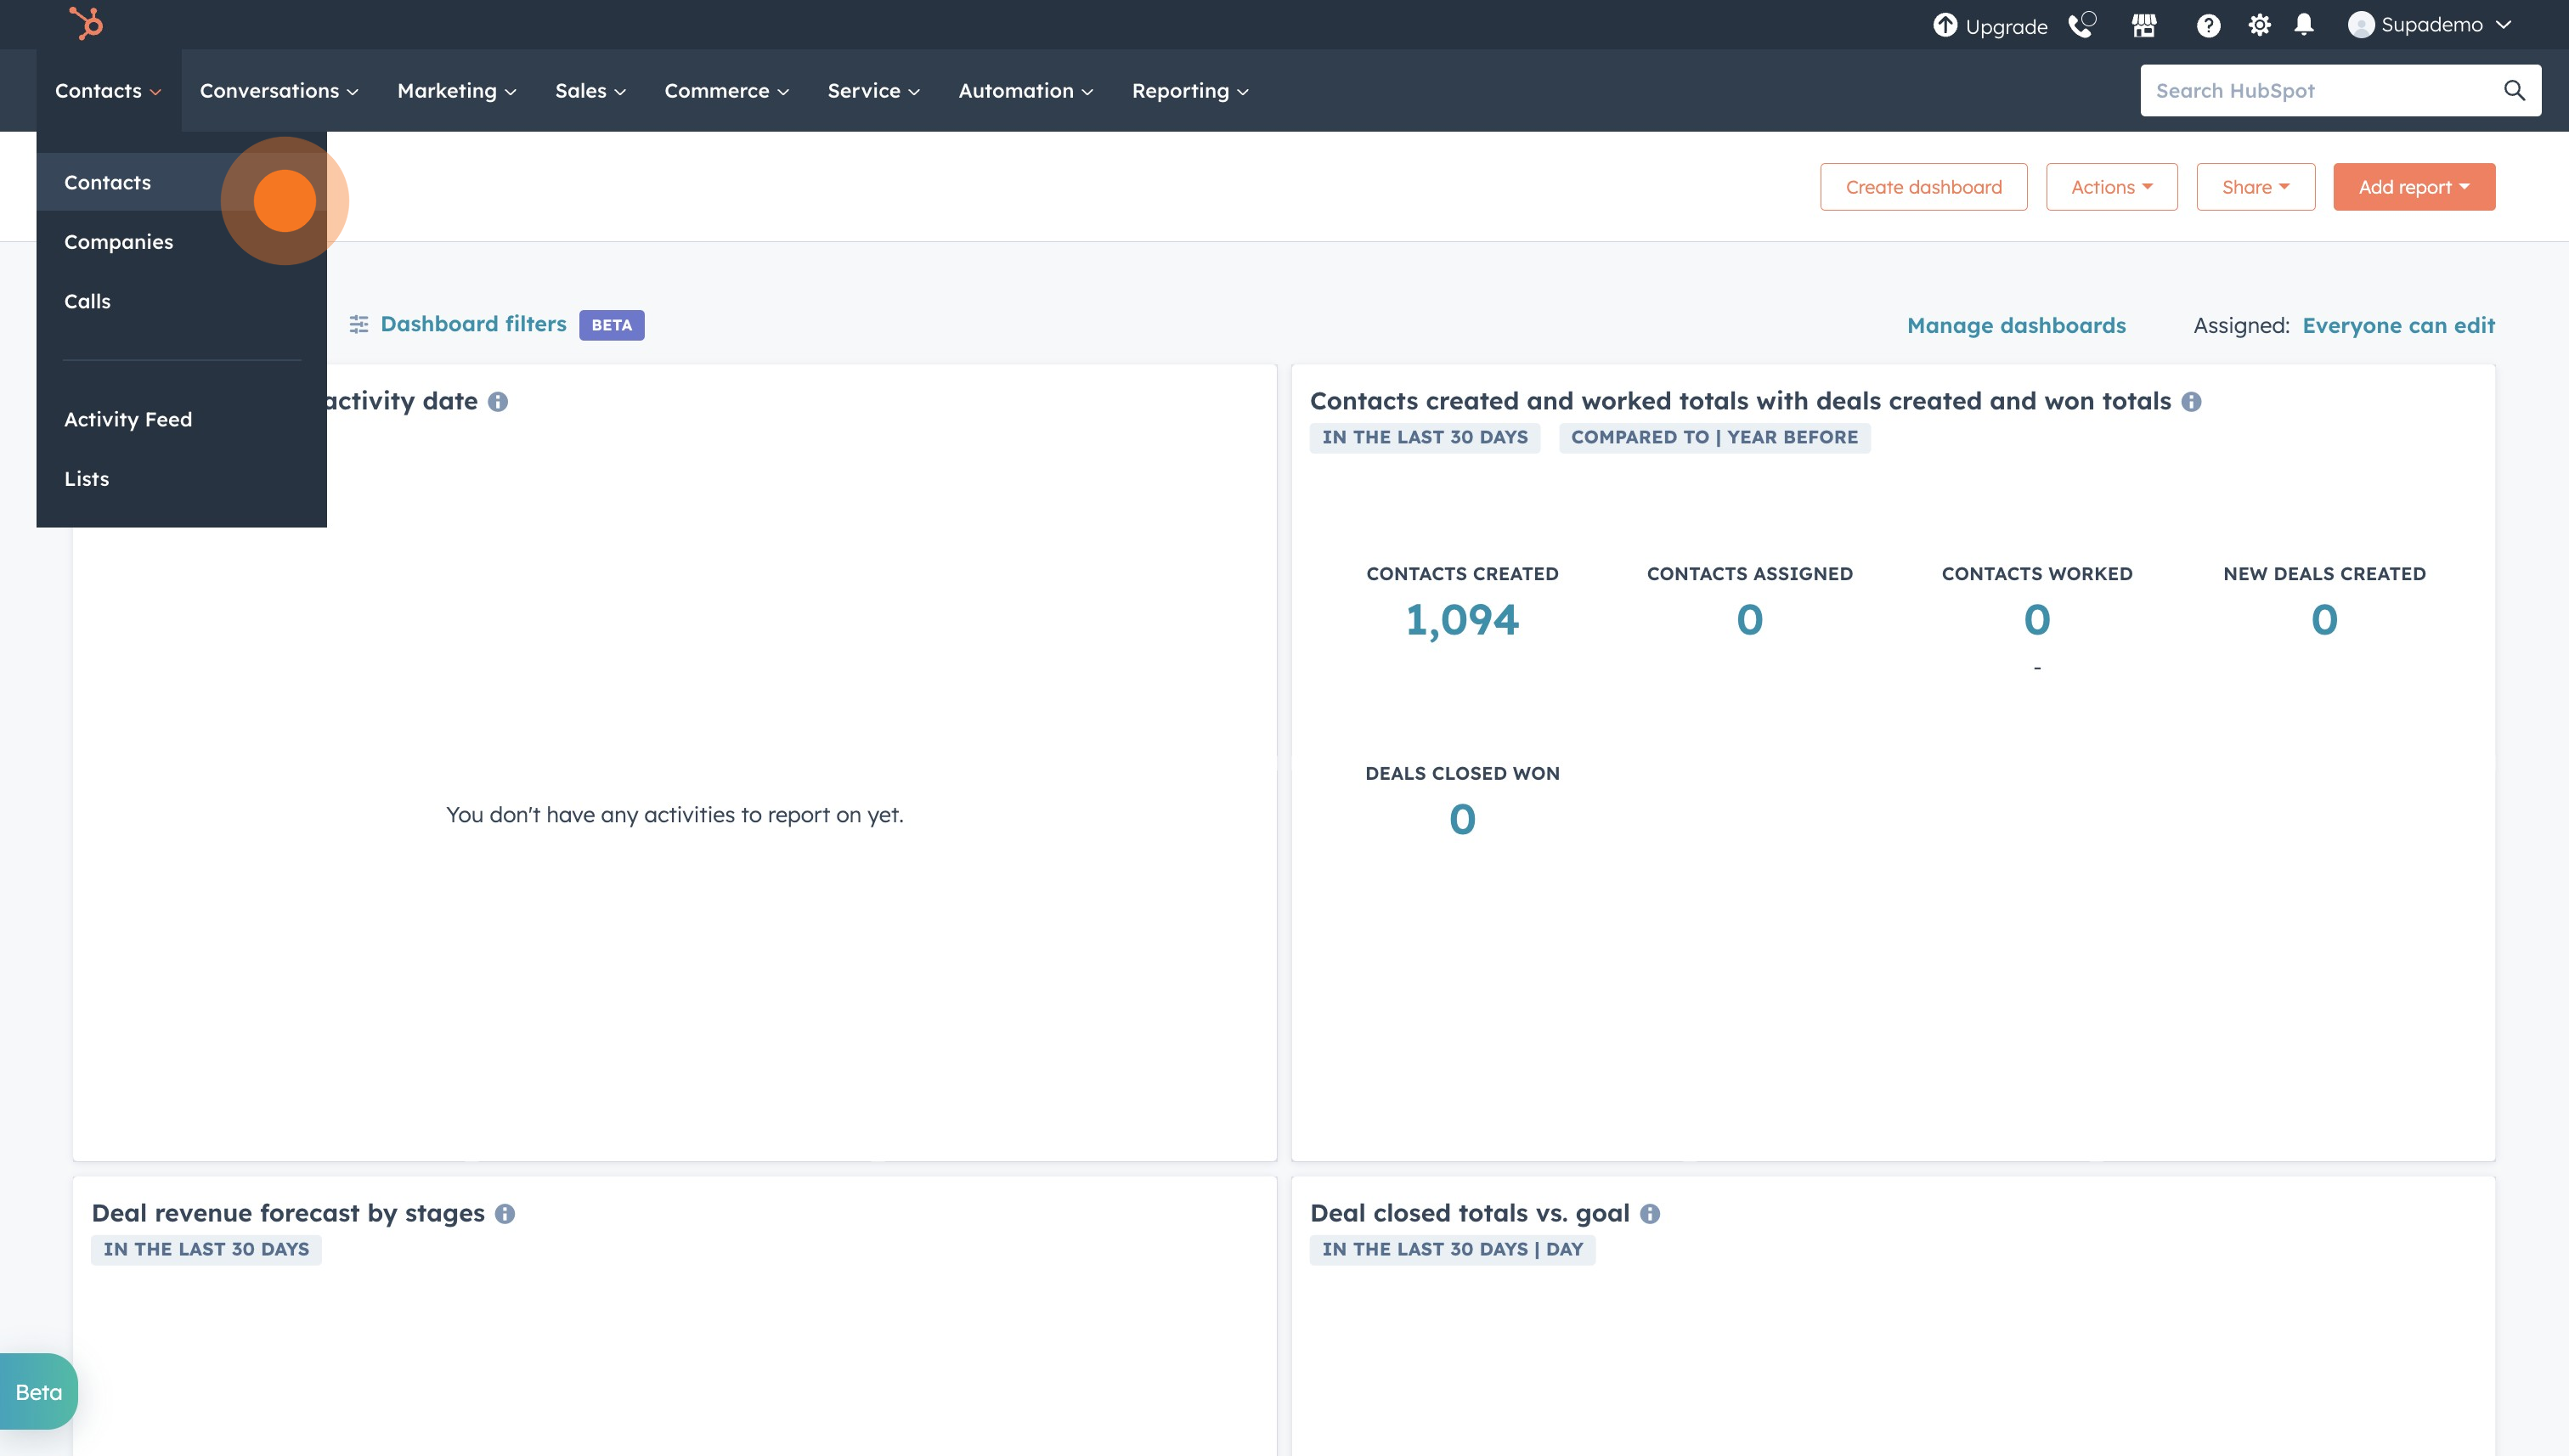
1. First off, click on "Contacts" option from the navigation menu.

2. Next, click on "Contacts" from the dropdown.
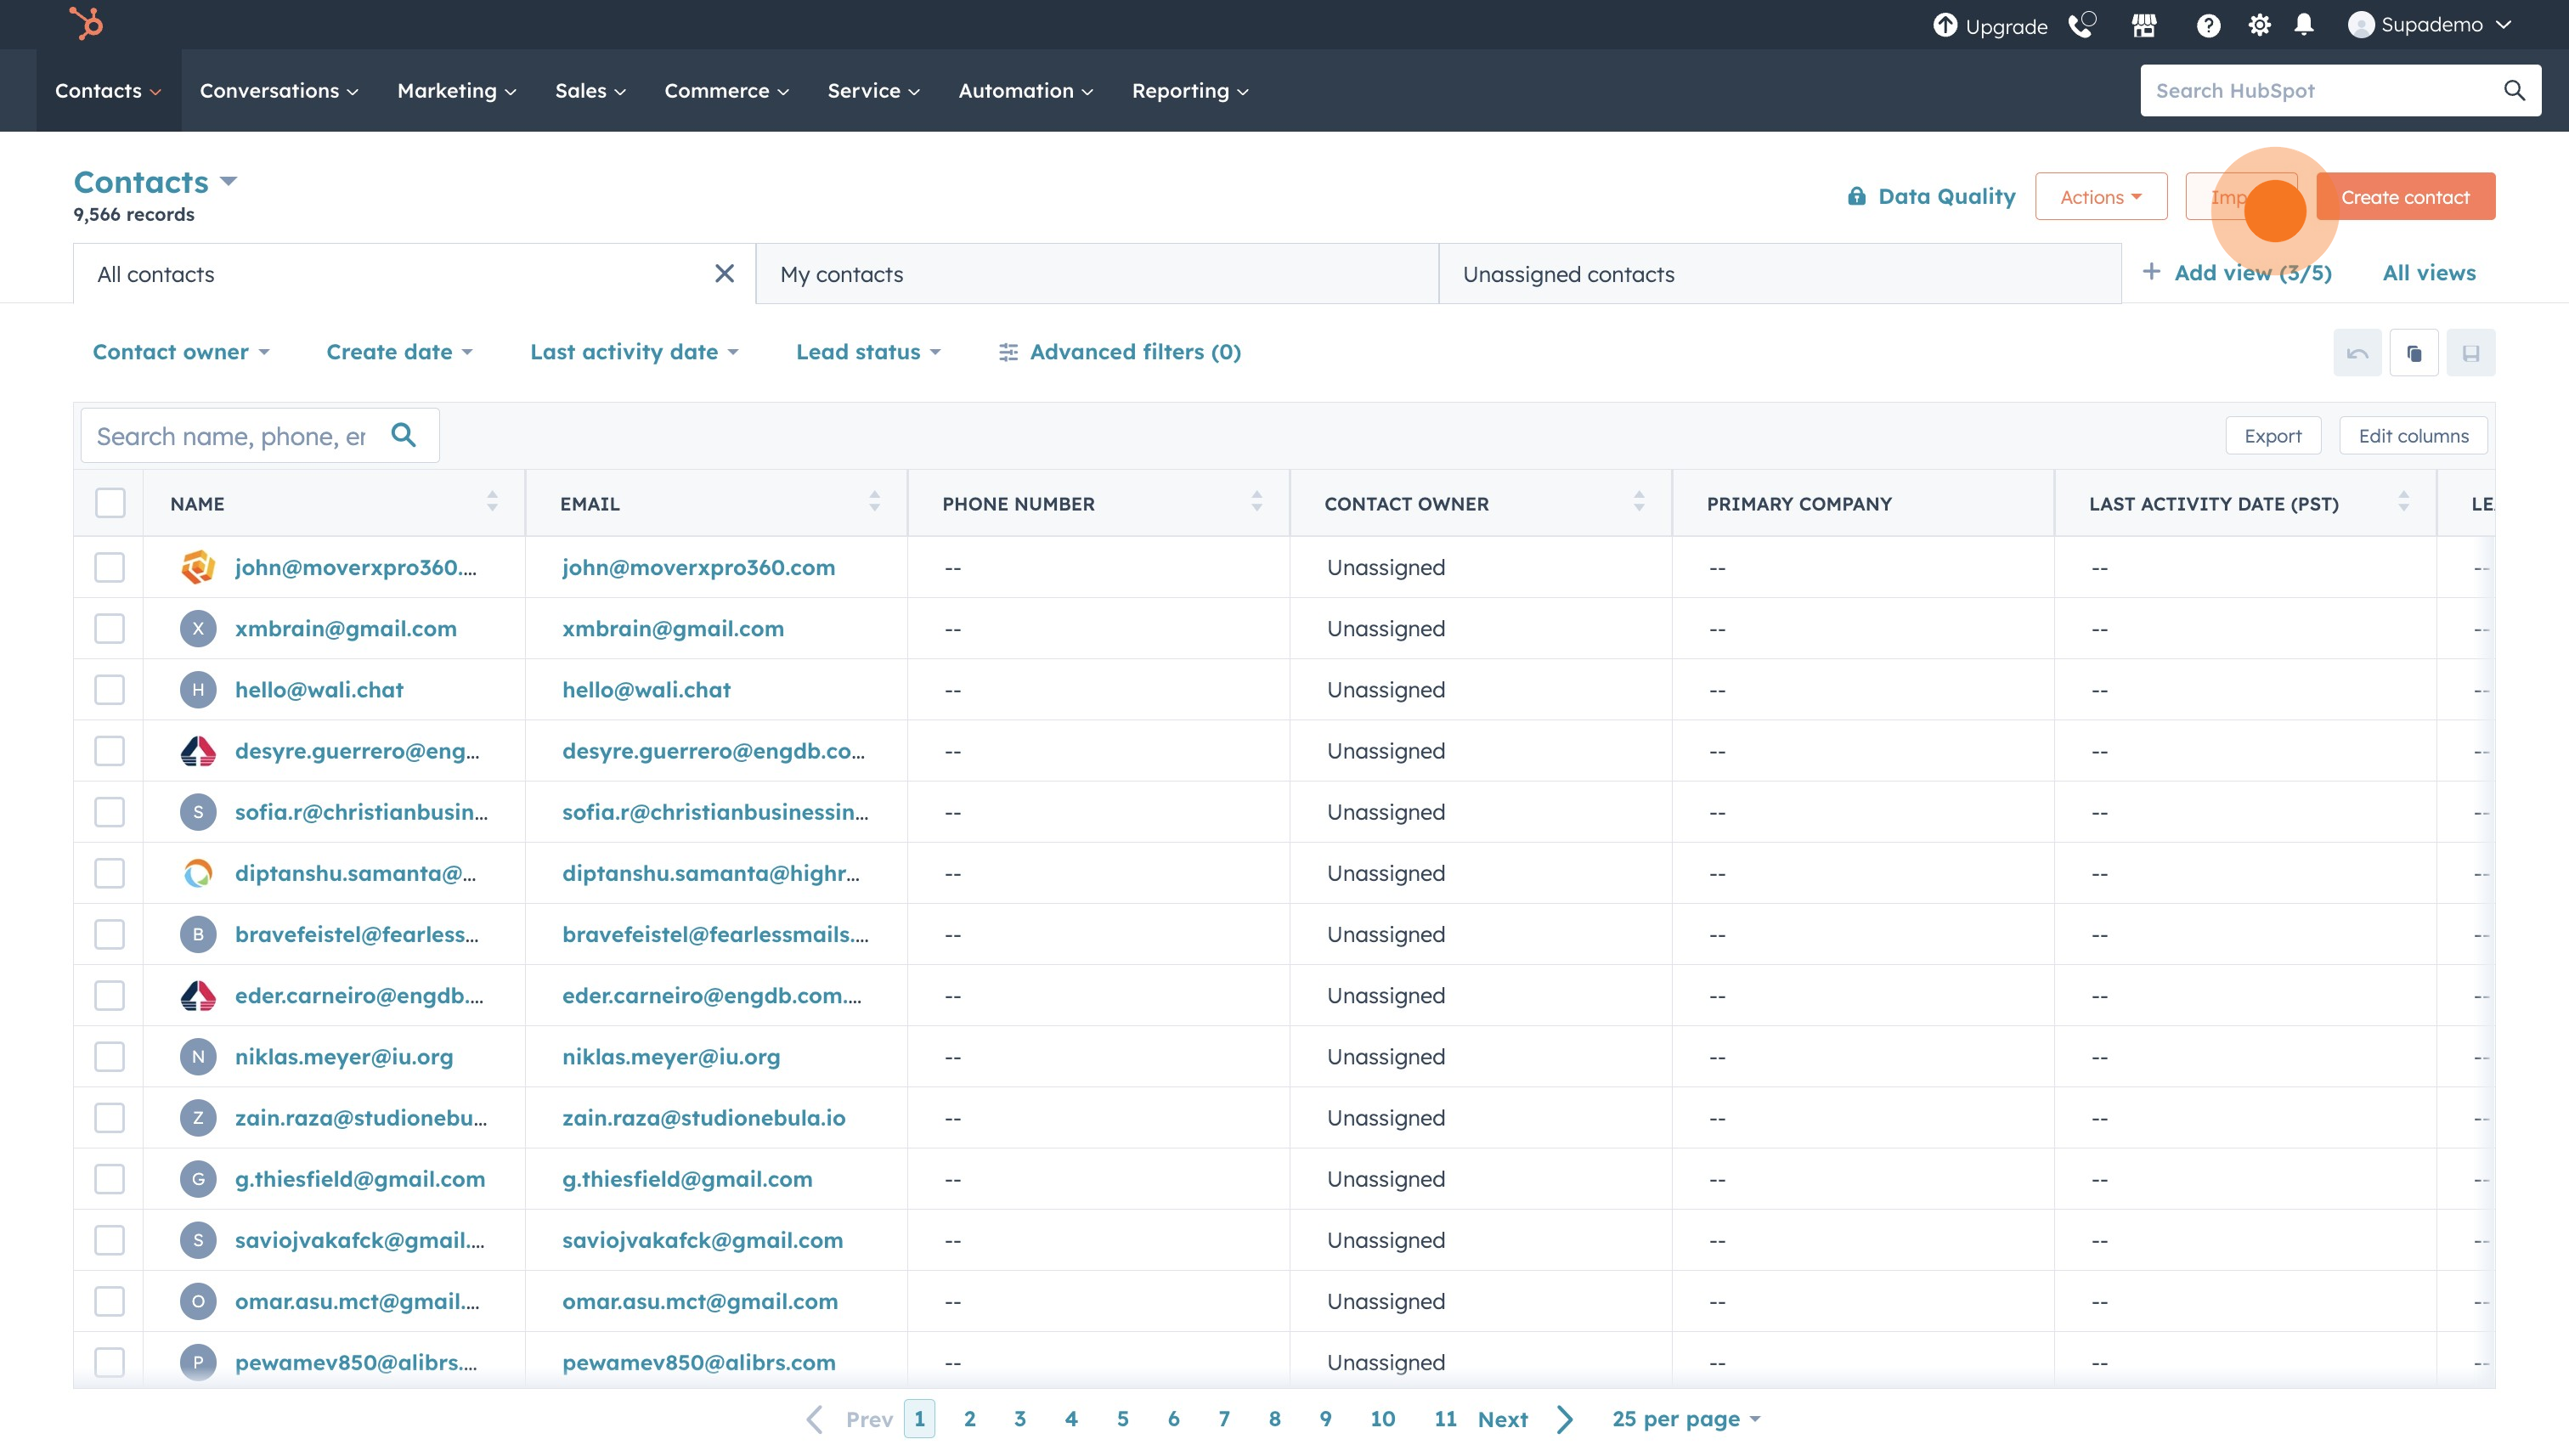
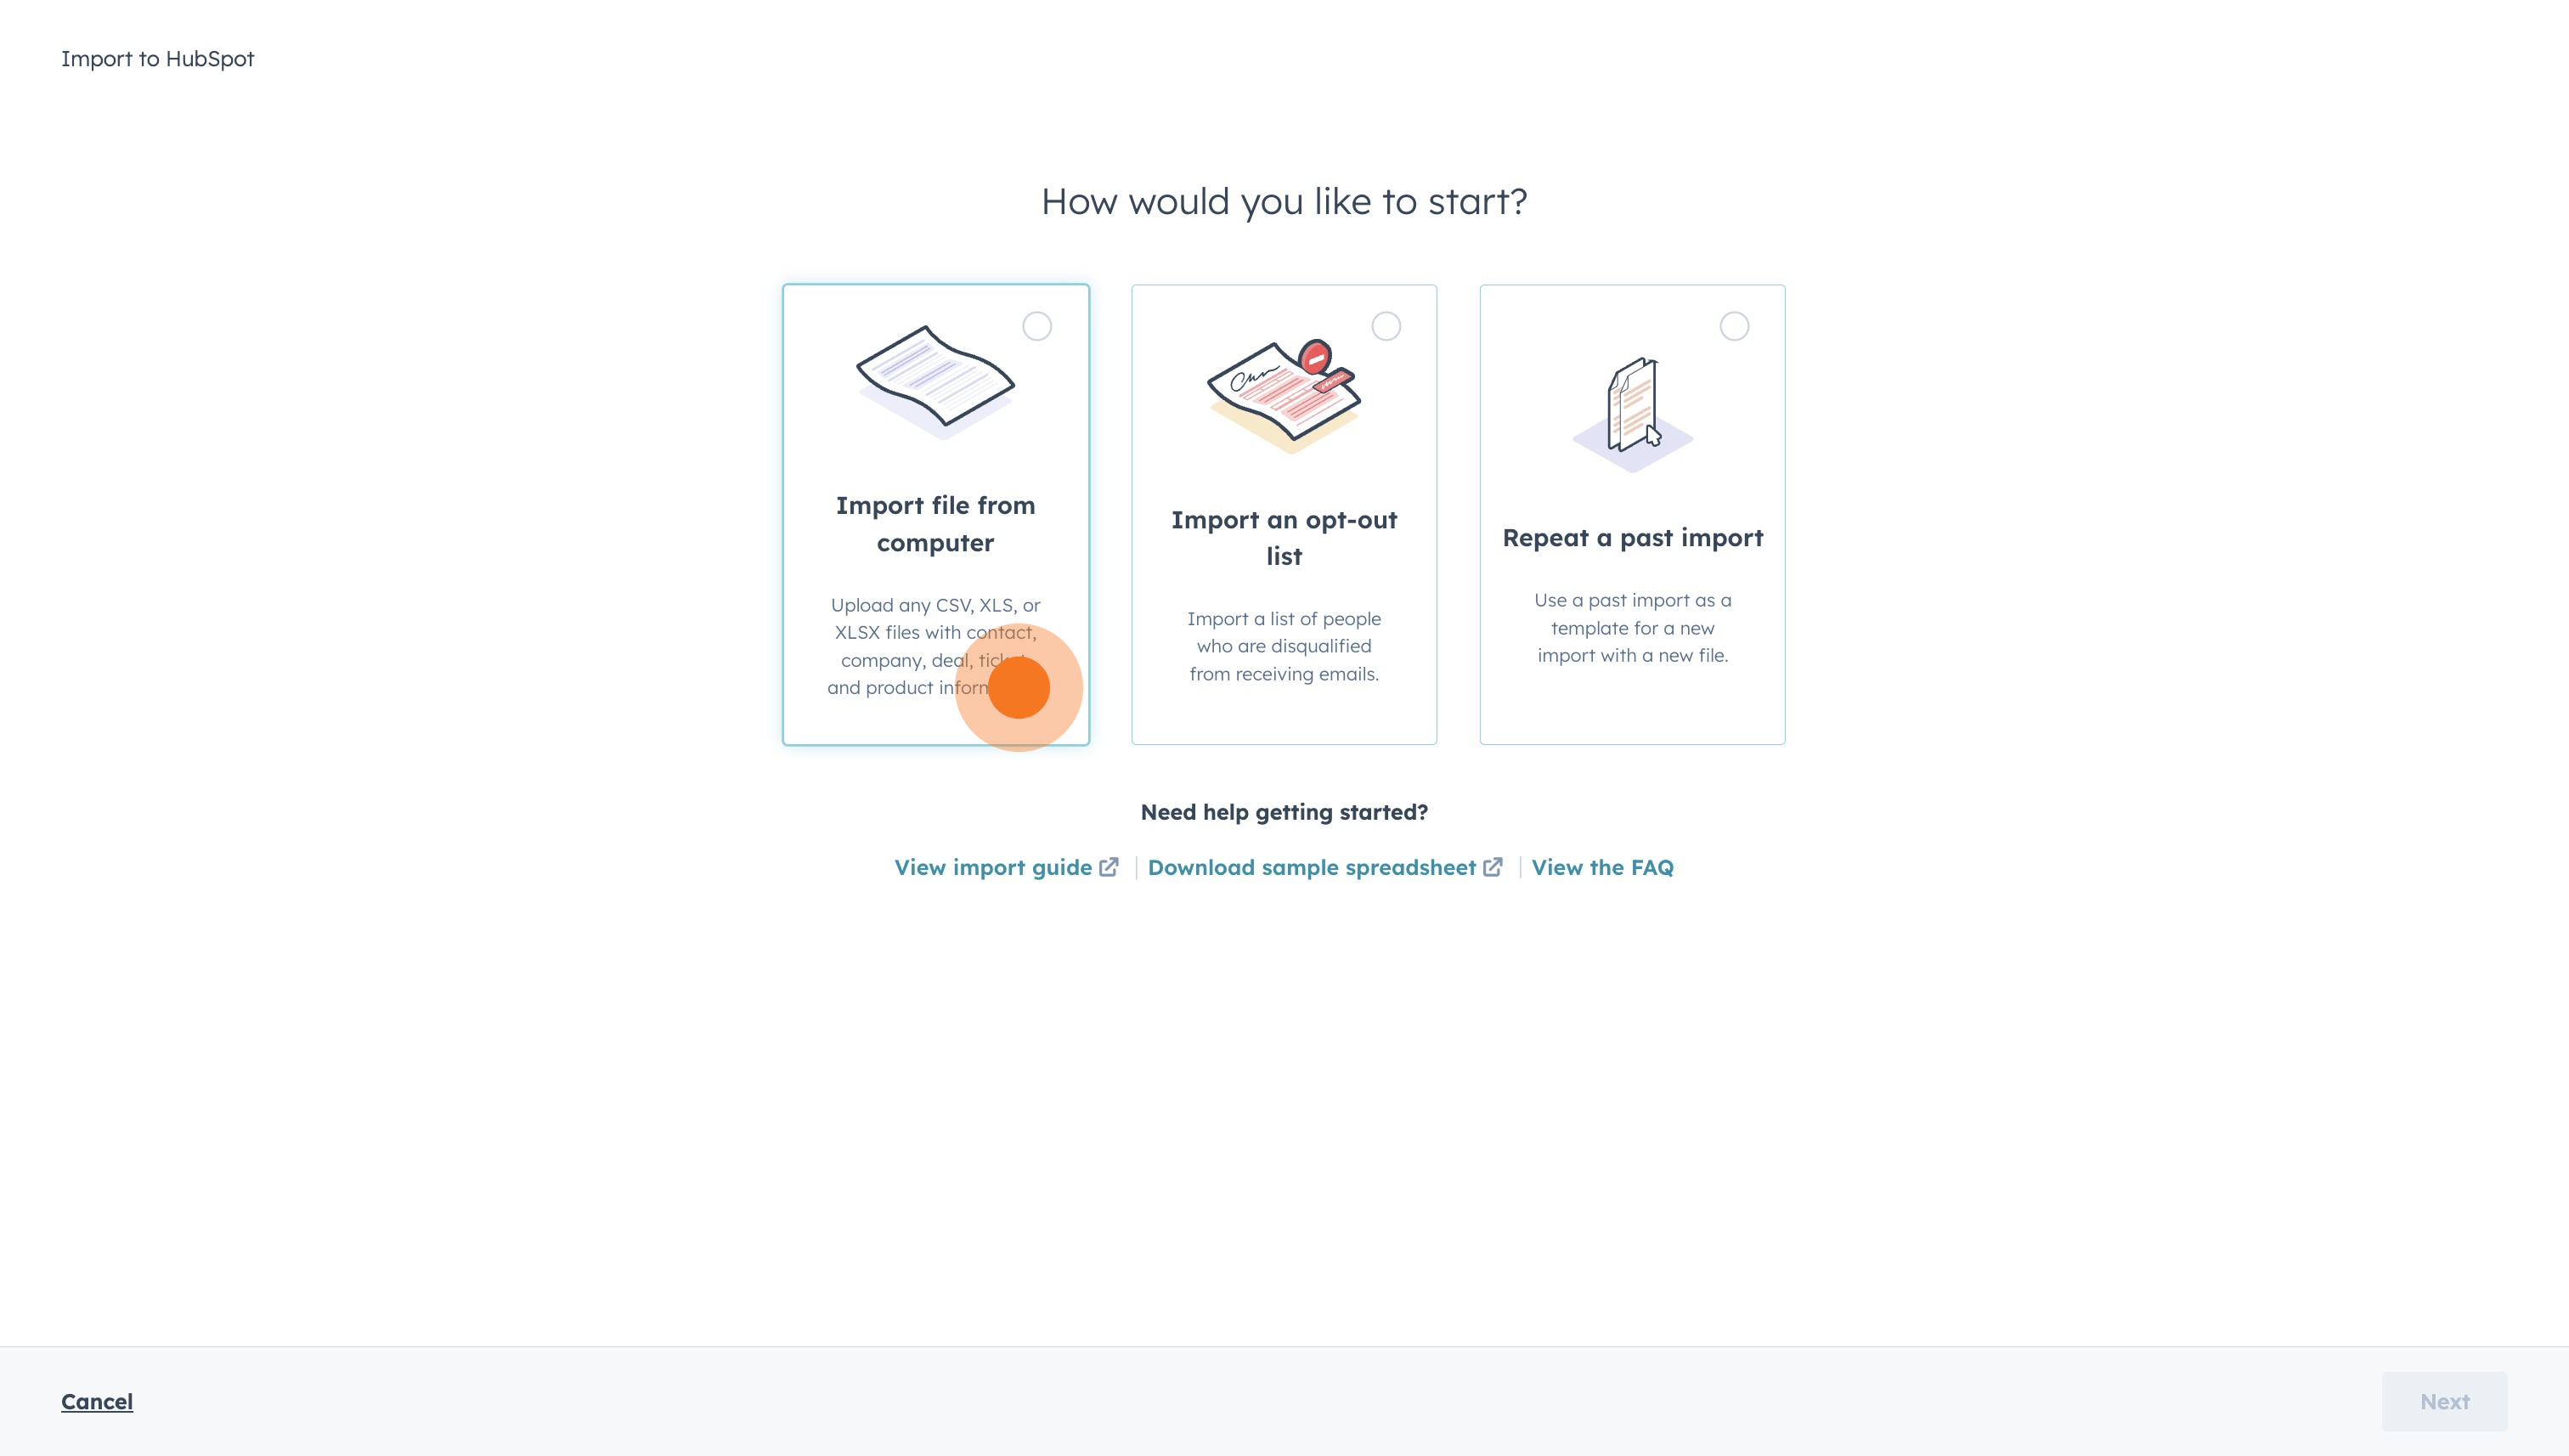
3. We'll click on "Import" next to initiate the process.
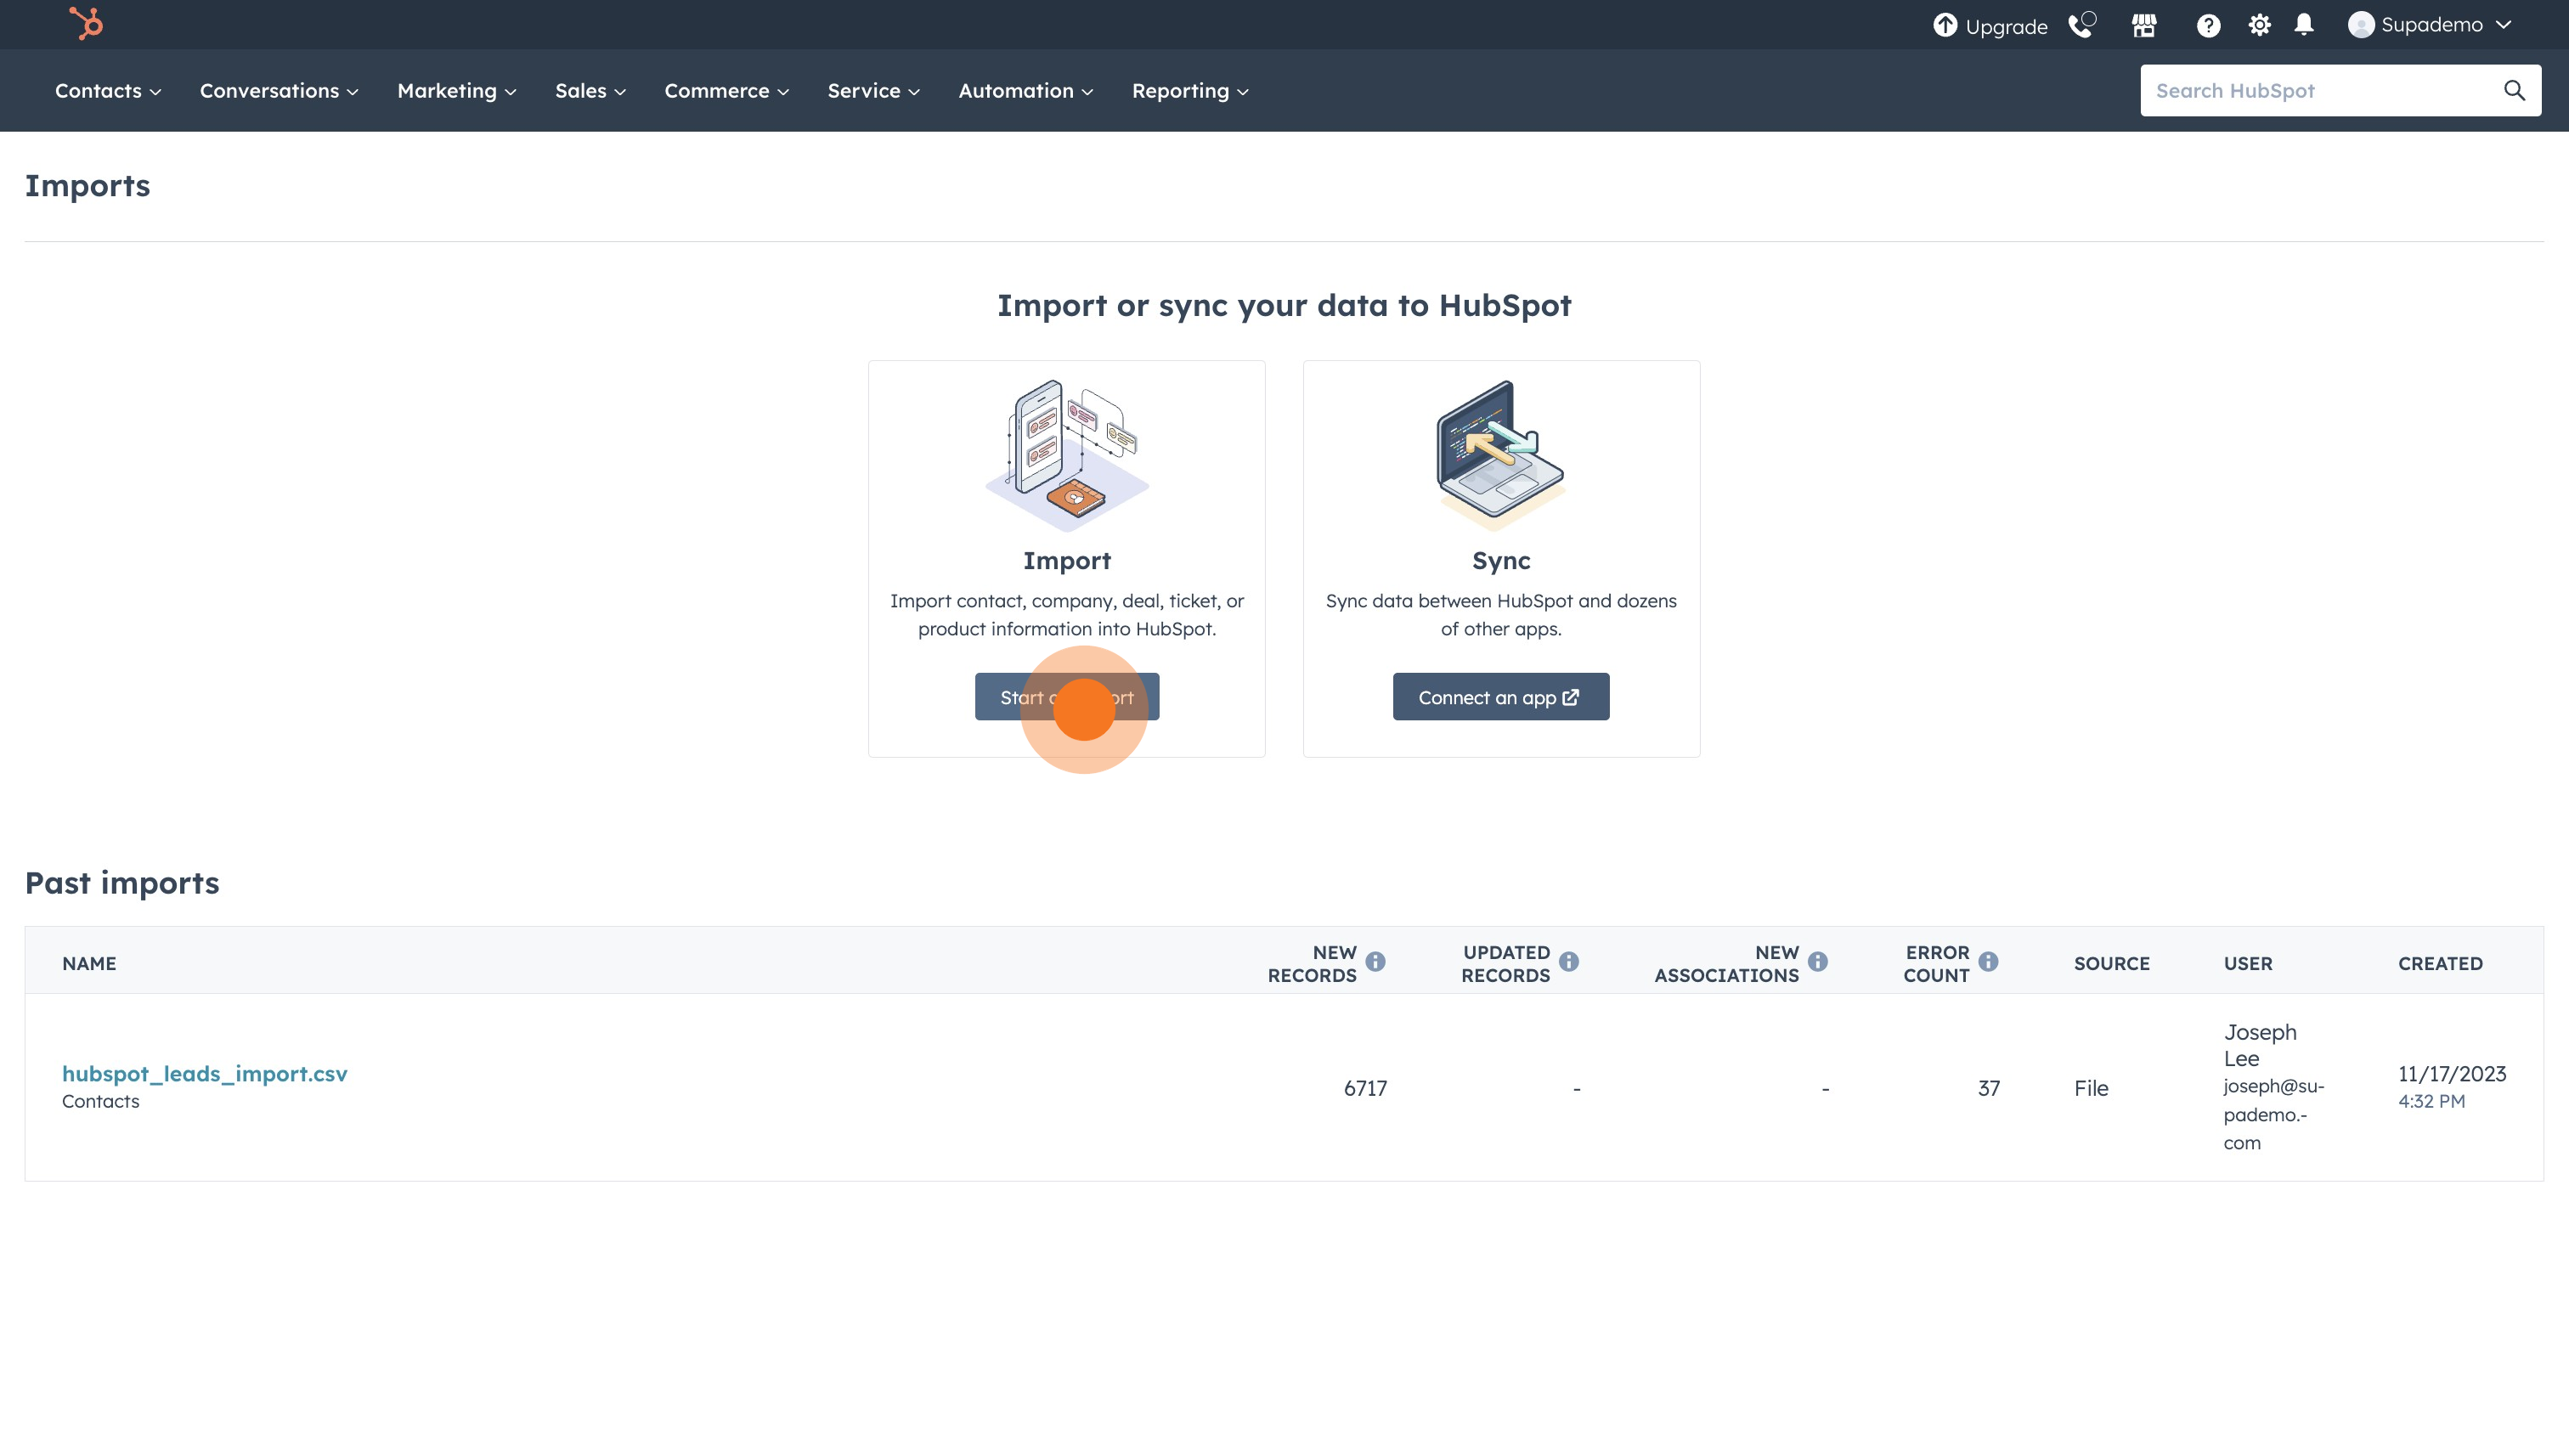
4. Click on "Start an import".
5. You have several import options. Let's go with syncing from a manual dataset.
6. Click on "Next" to proceed.

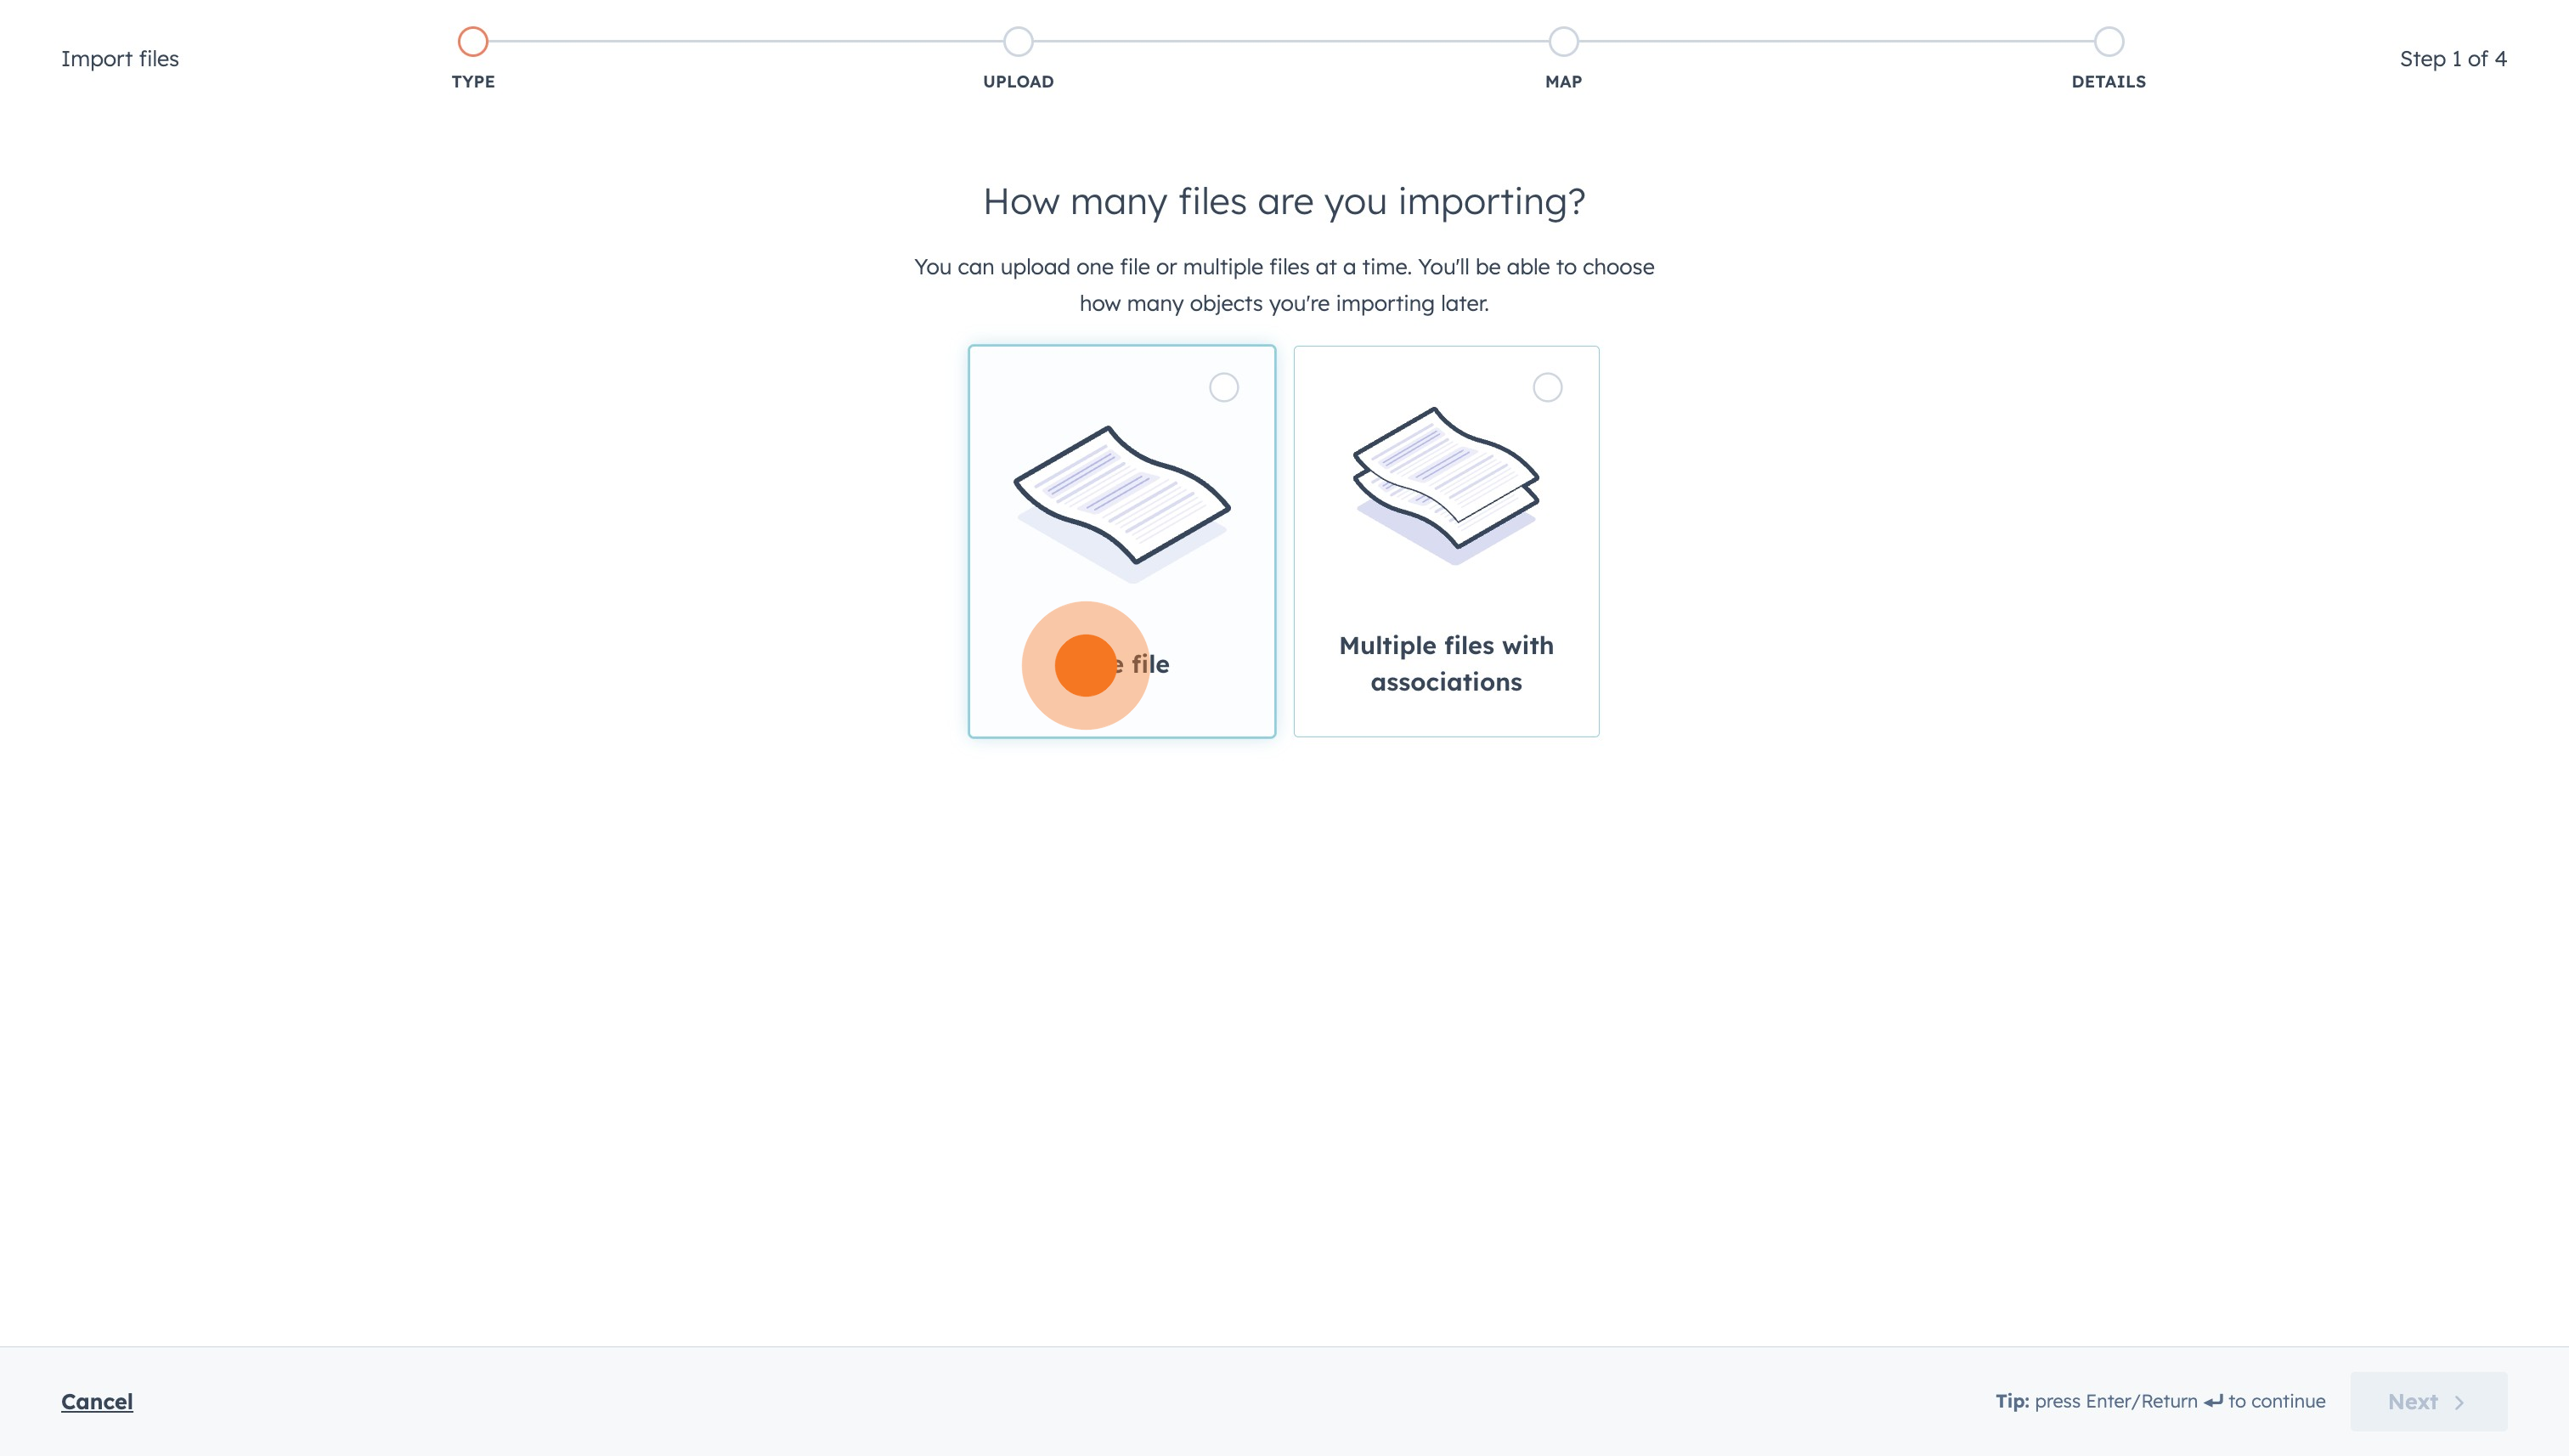
7. Let's click on "One file" for this example.
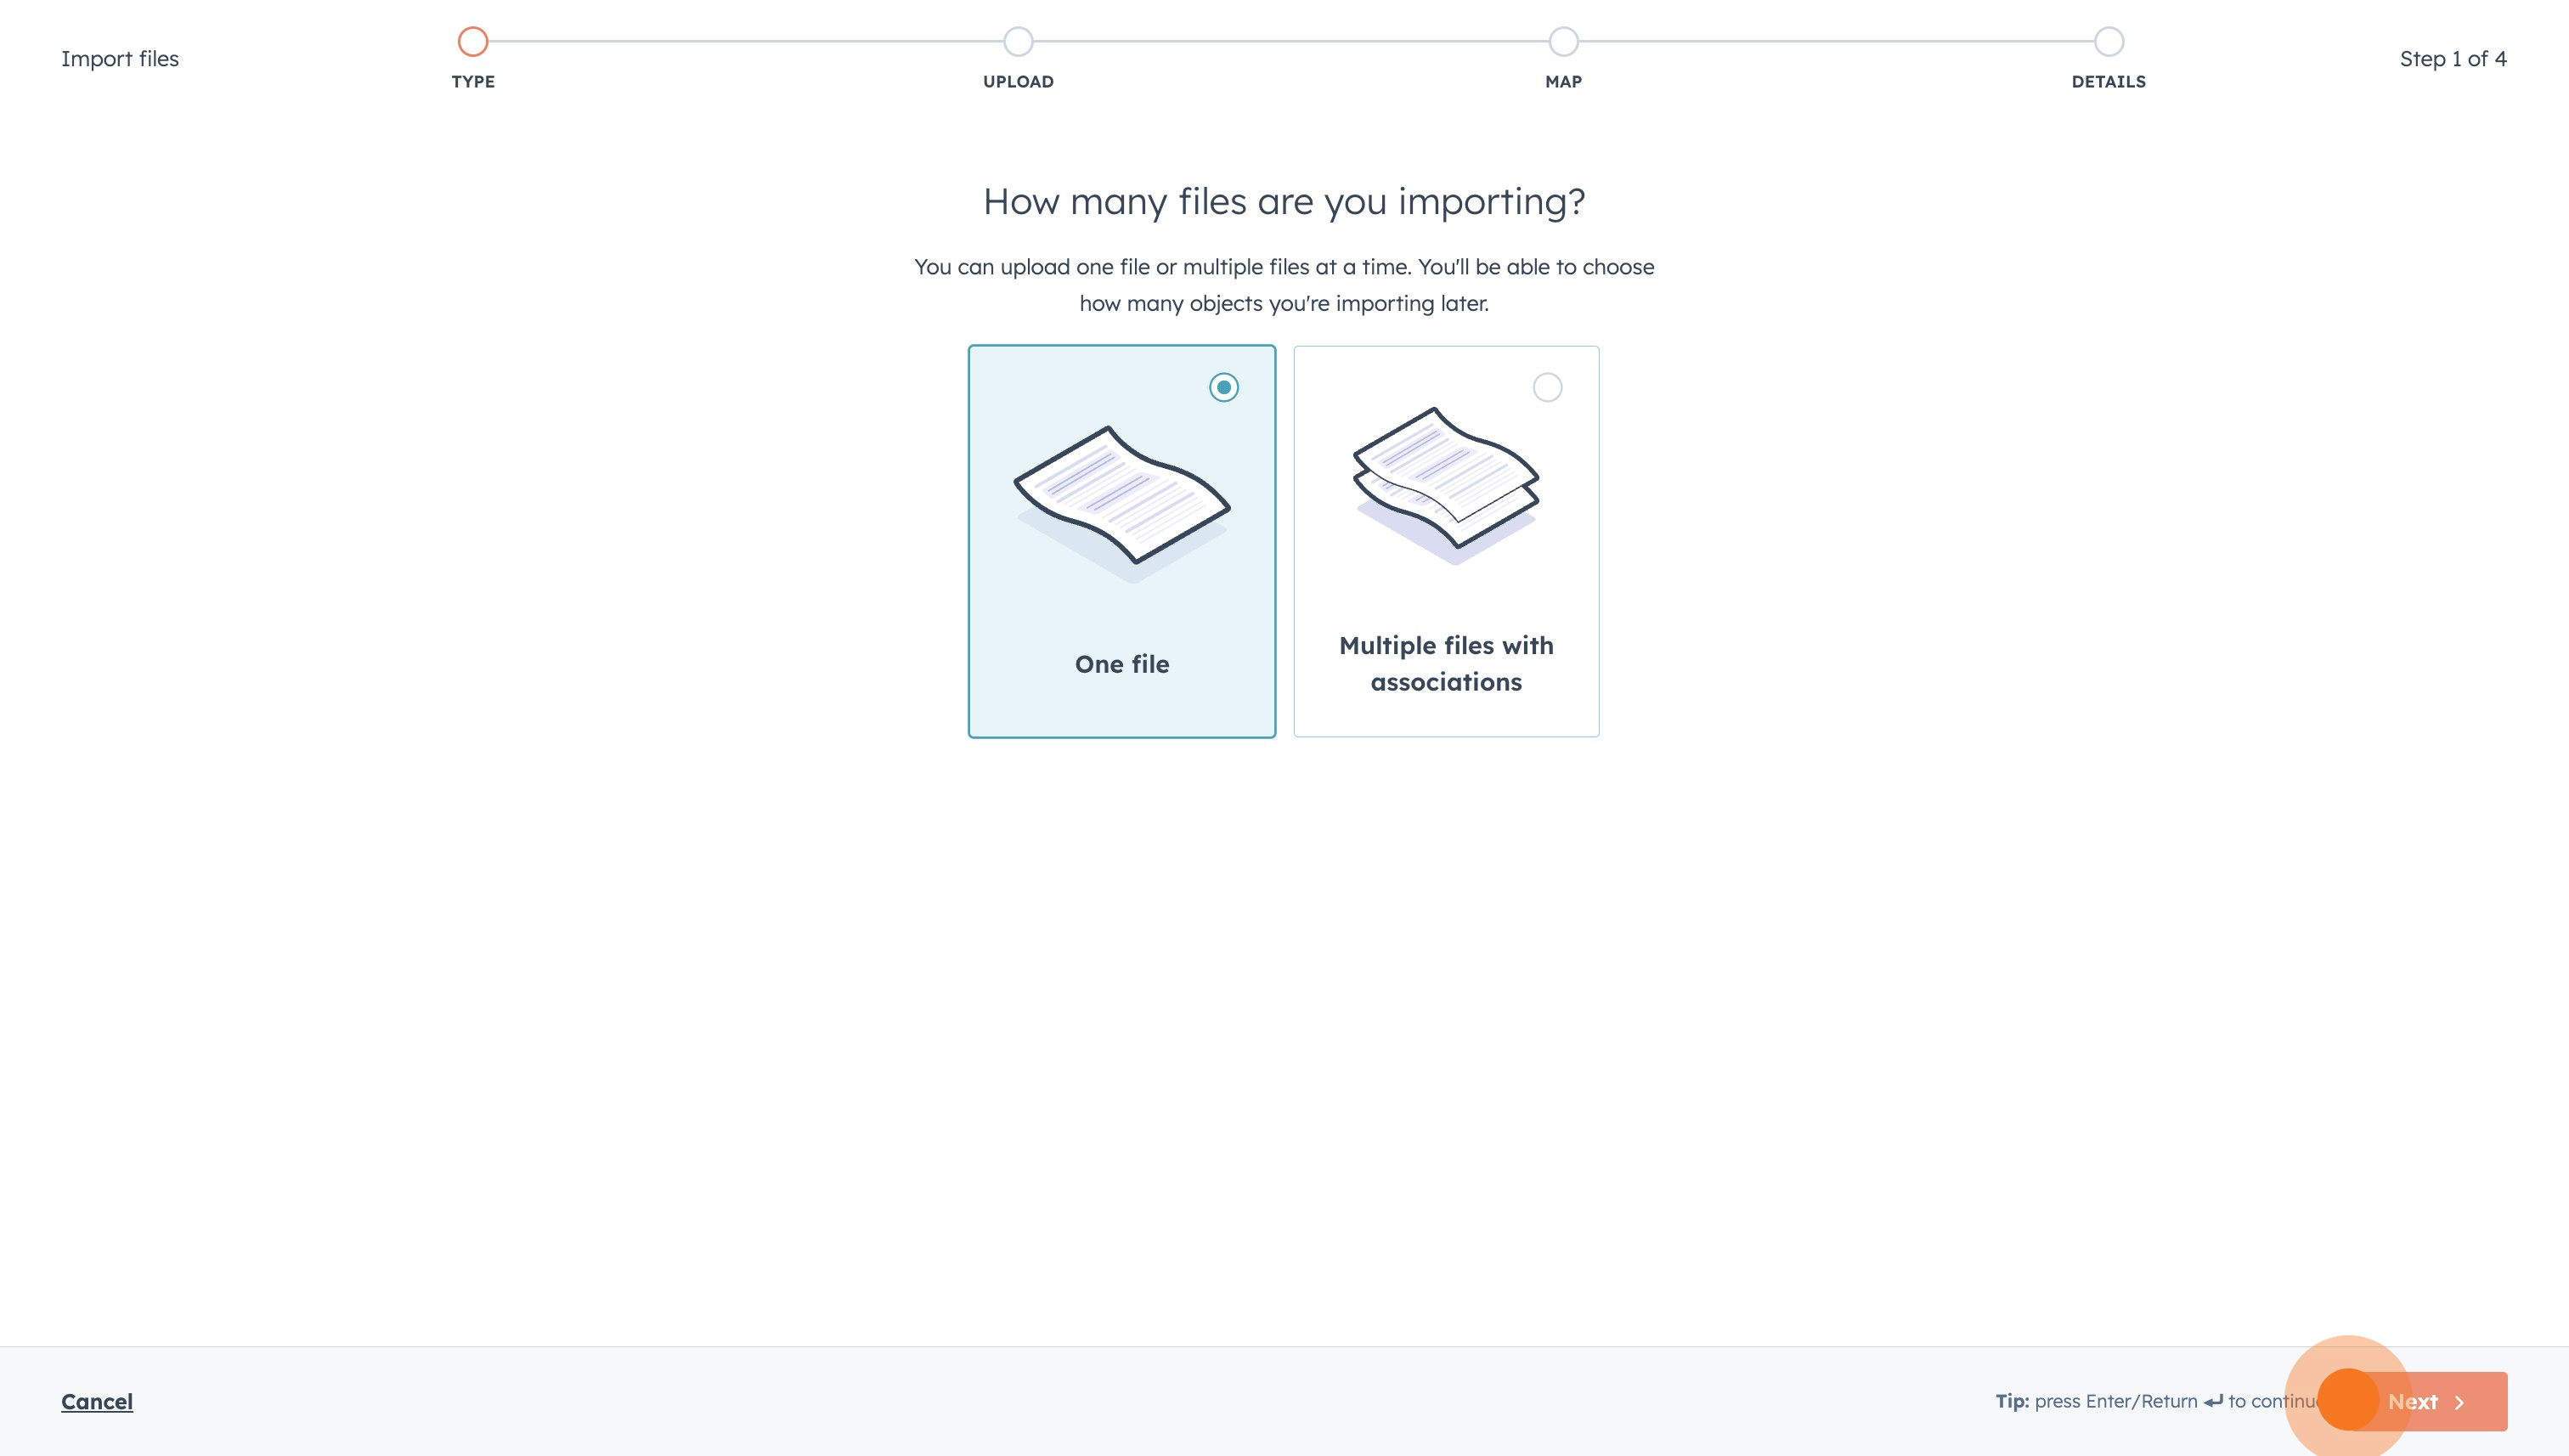
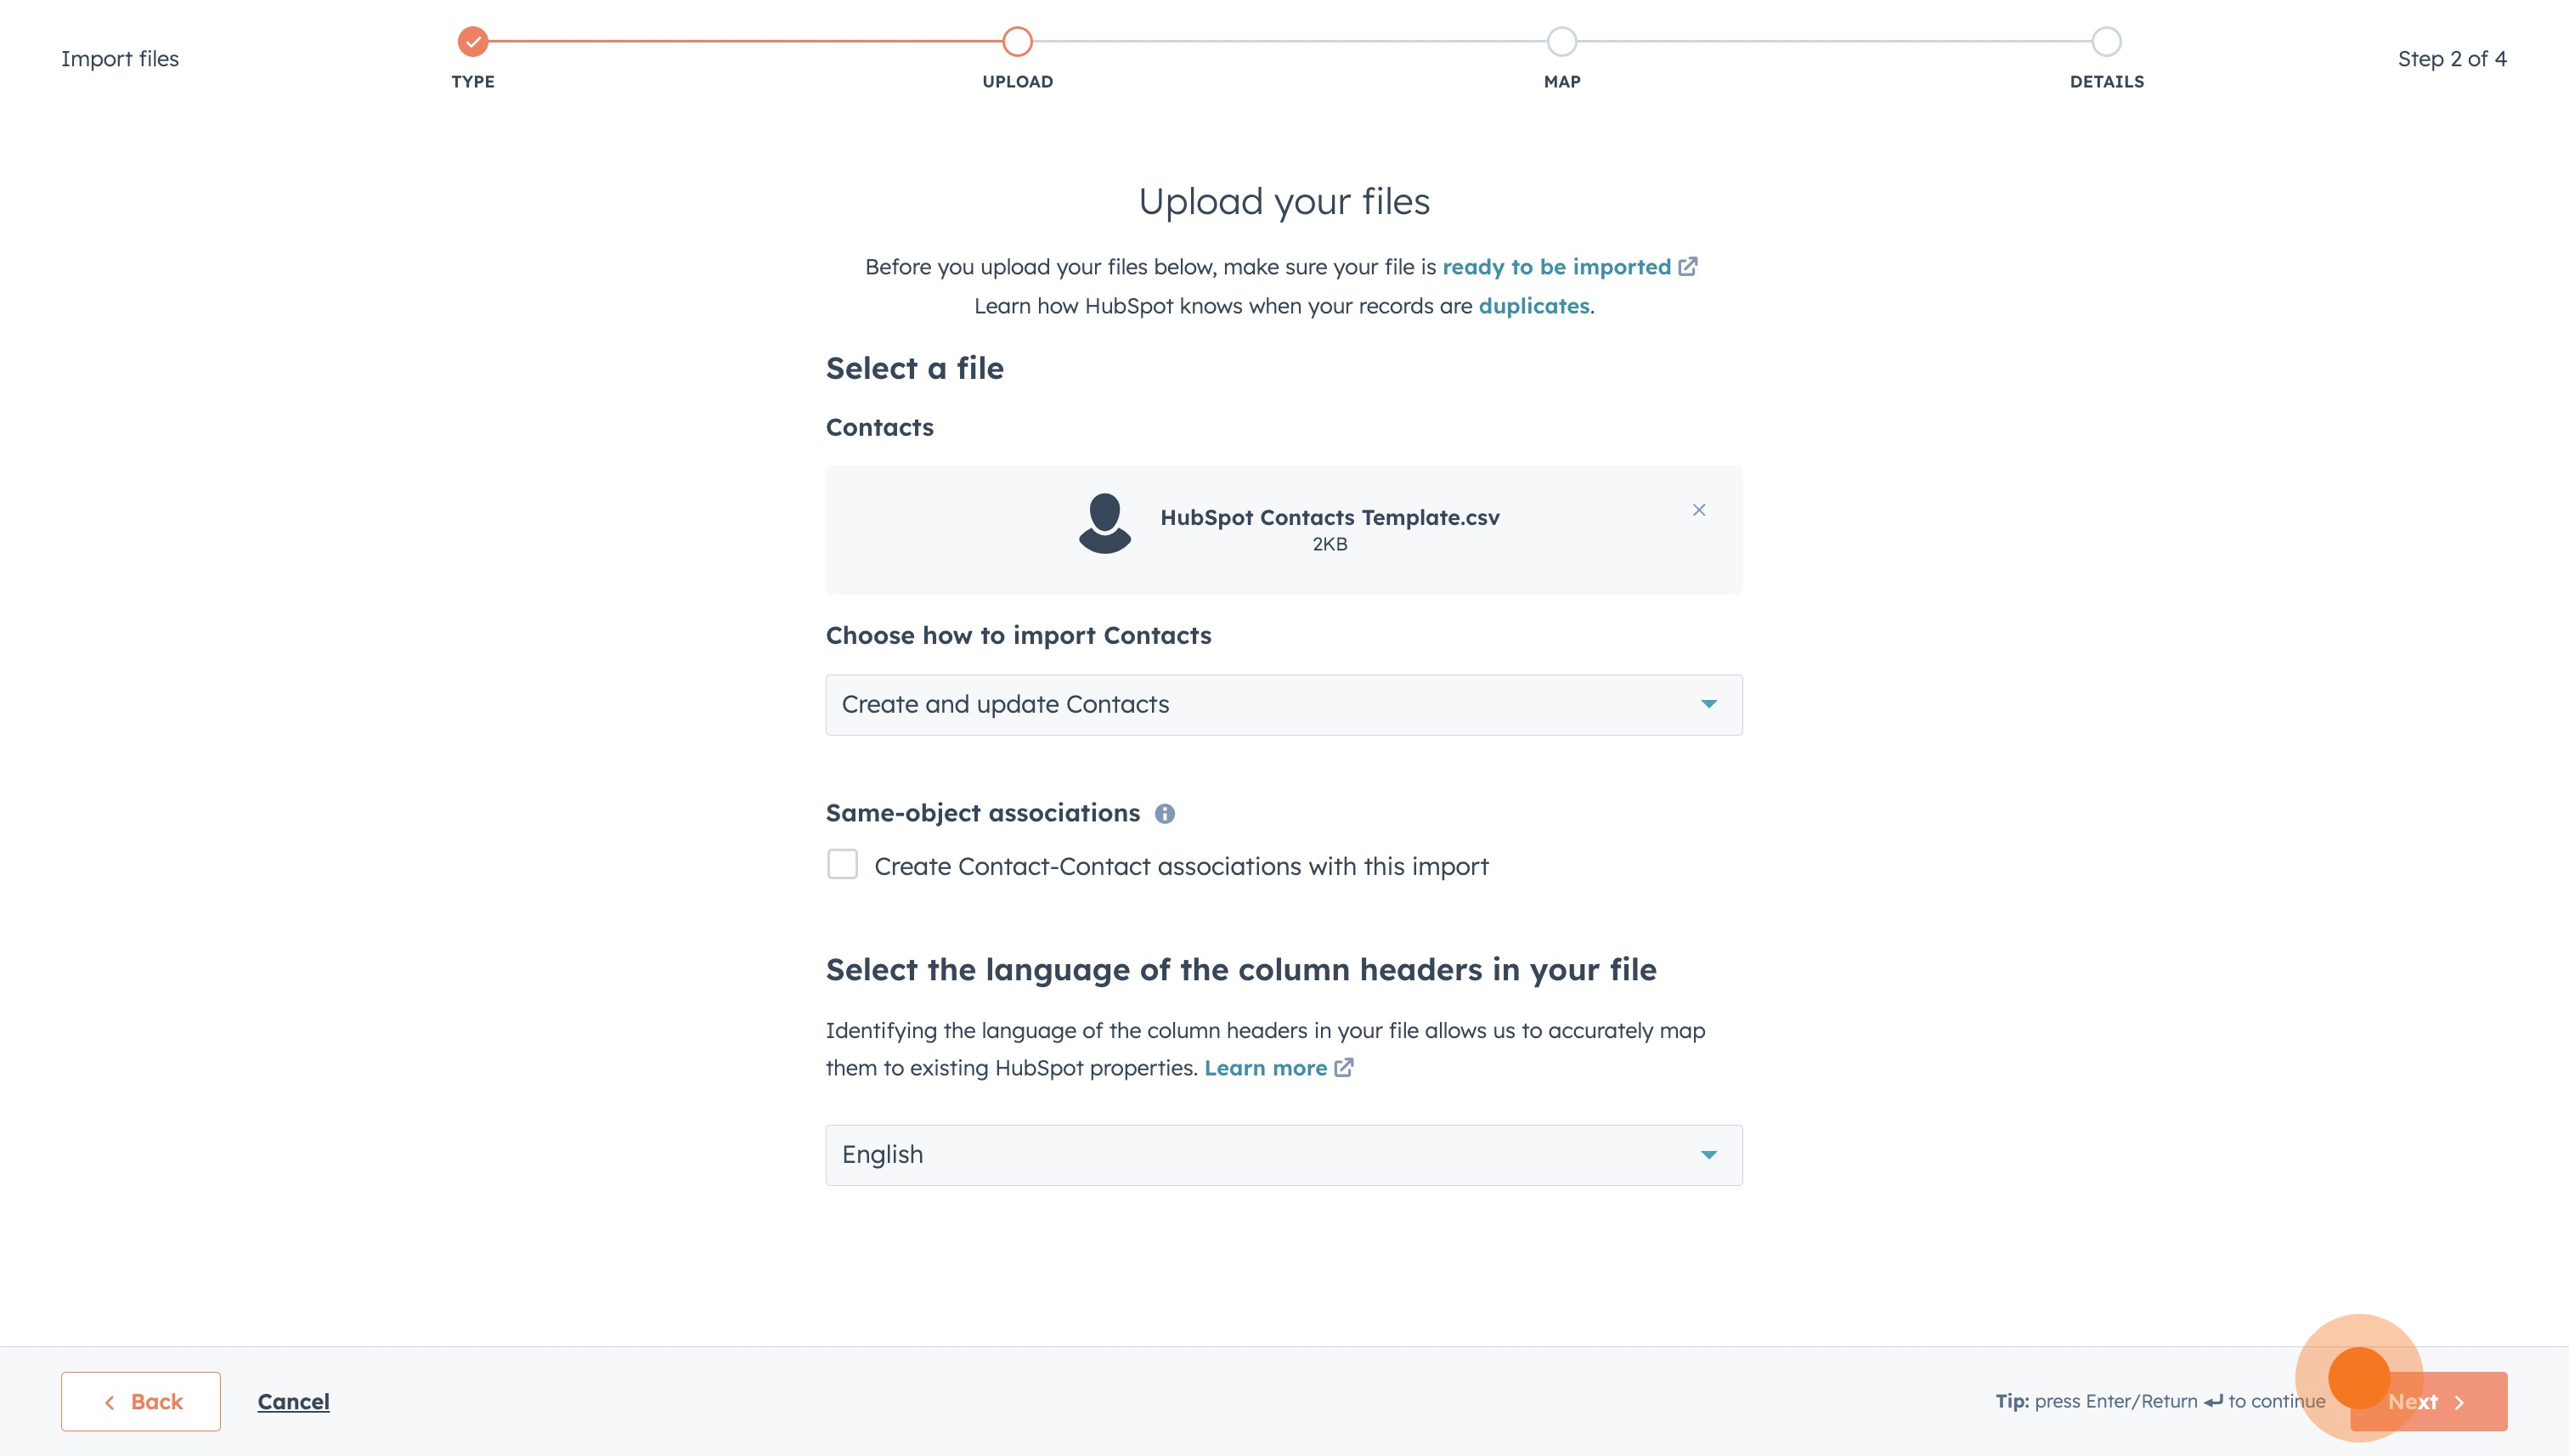
8. Again, click on "Next" after your choice.
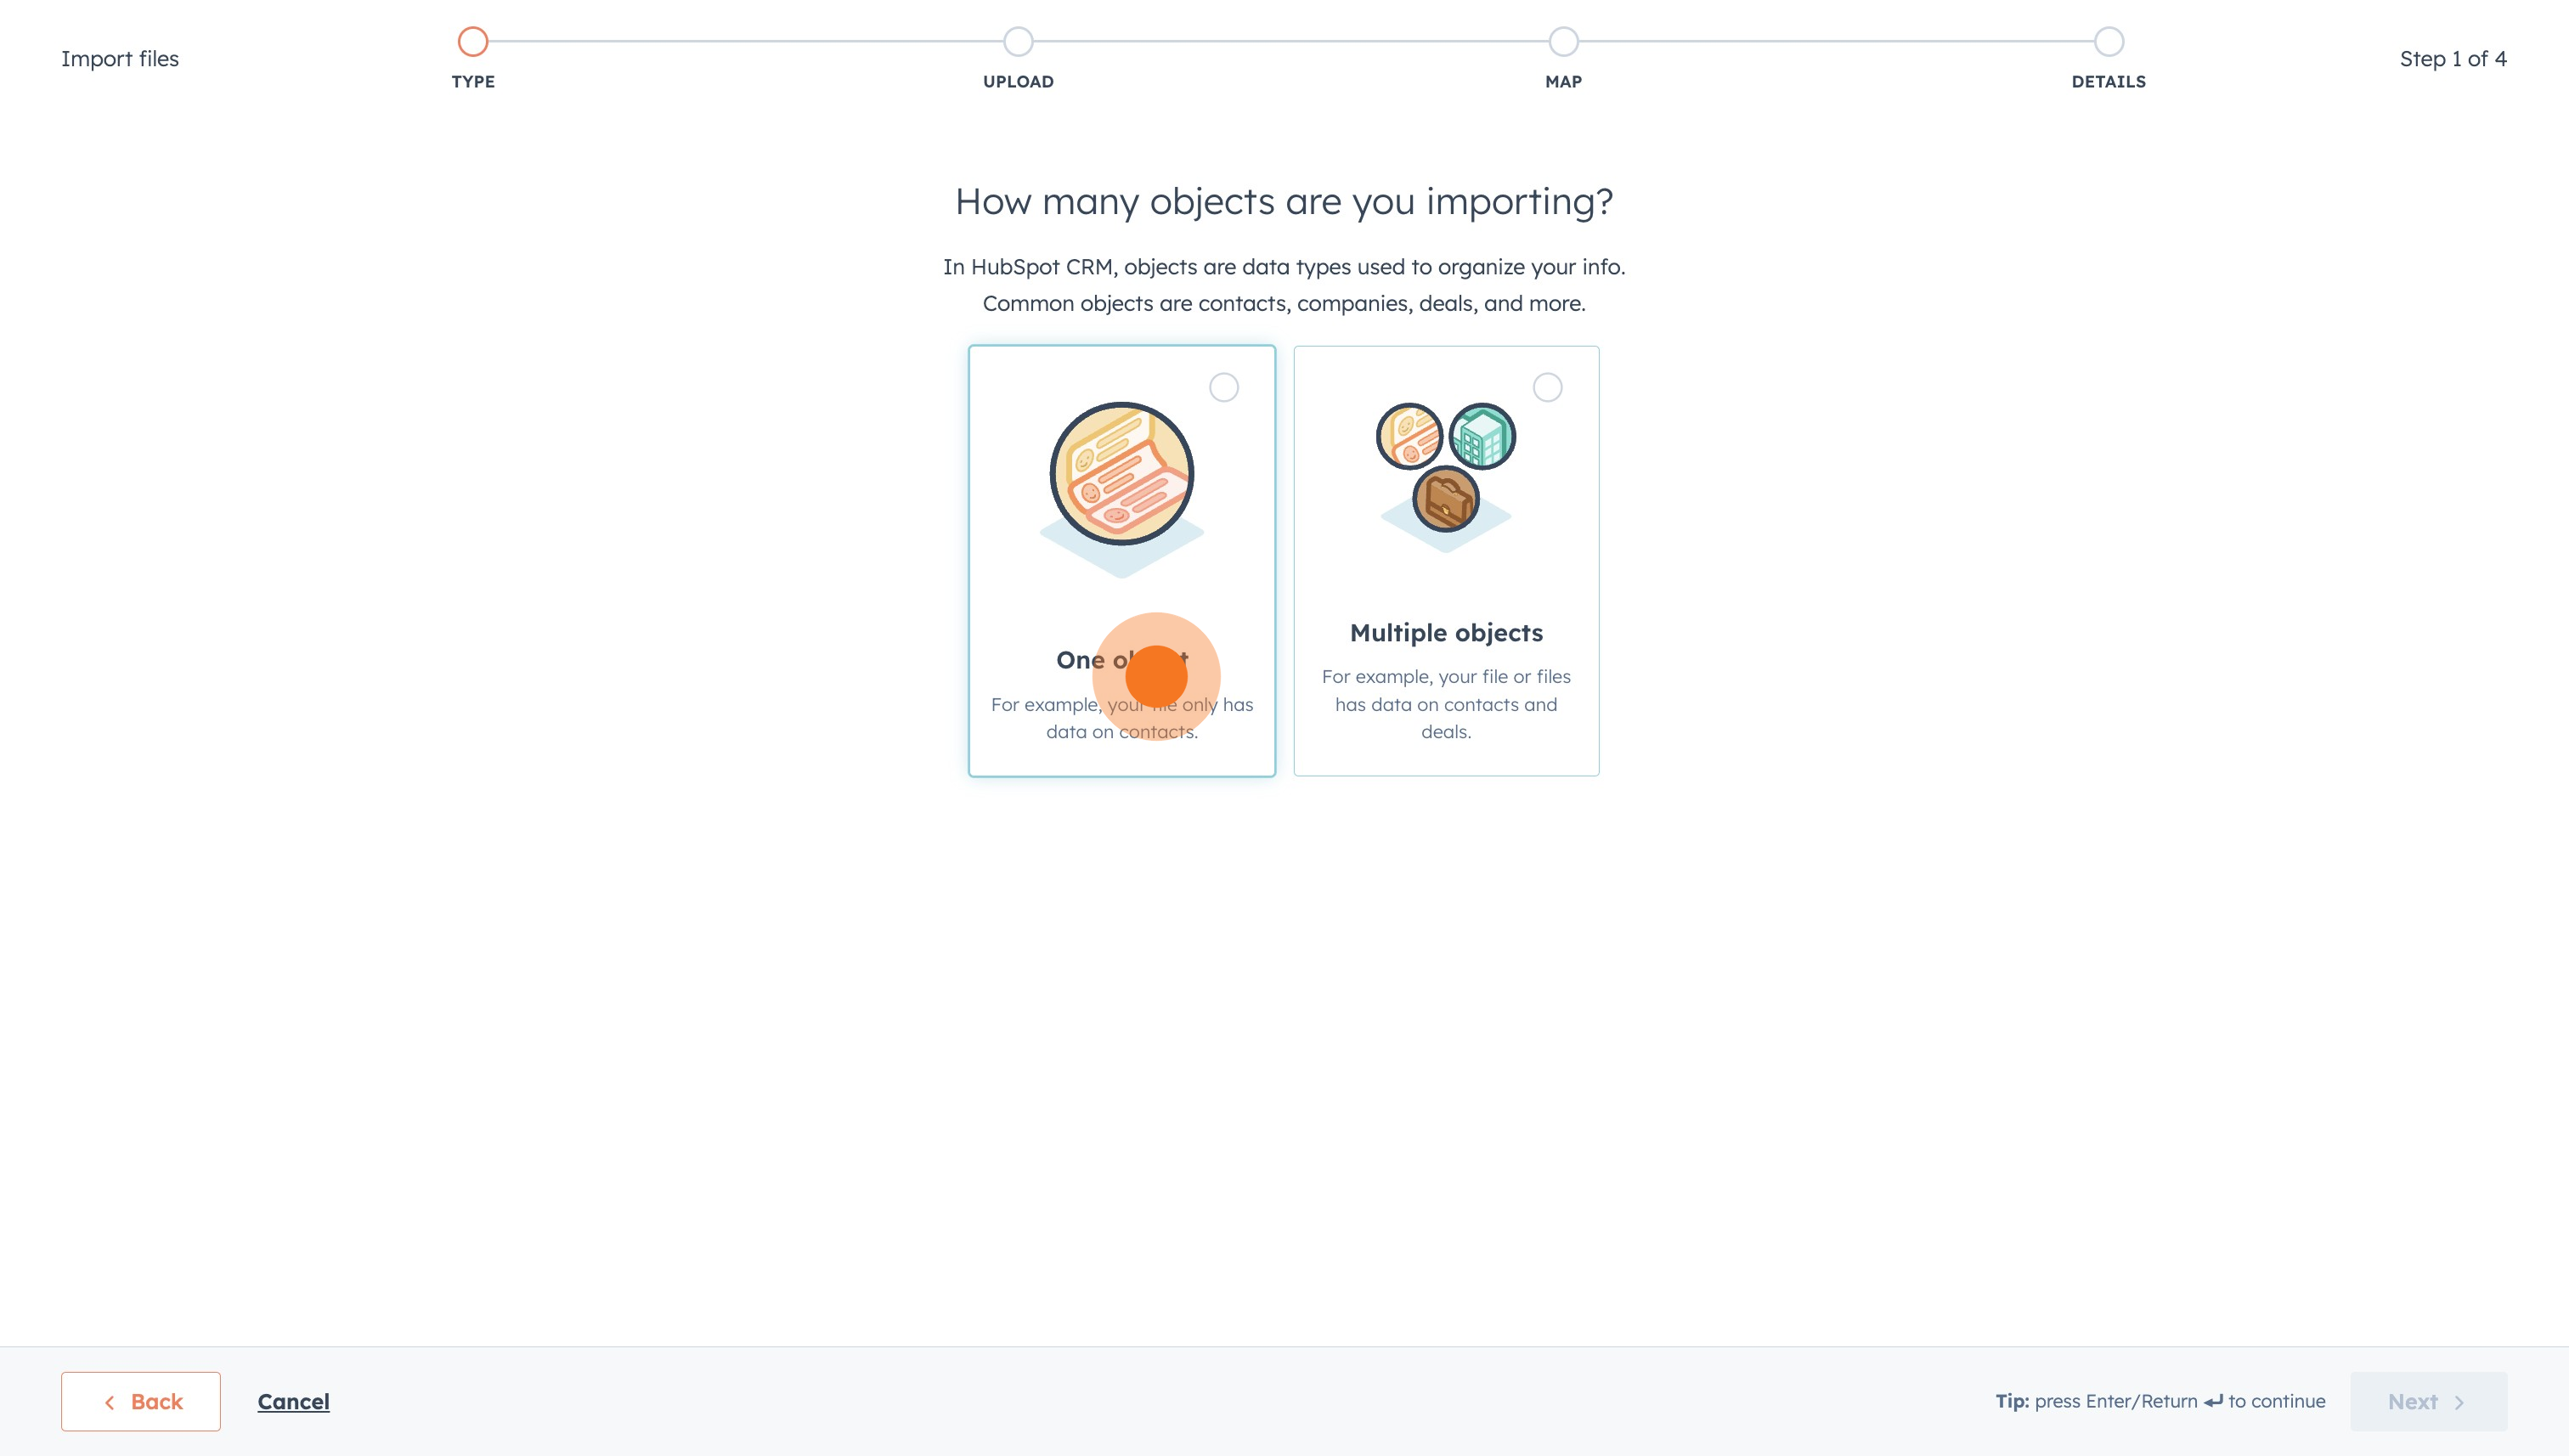
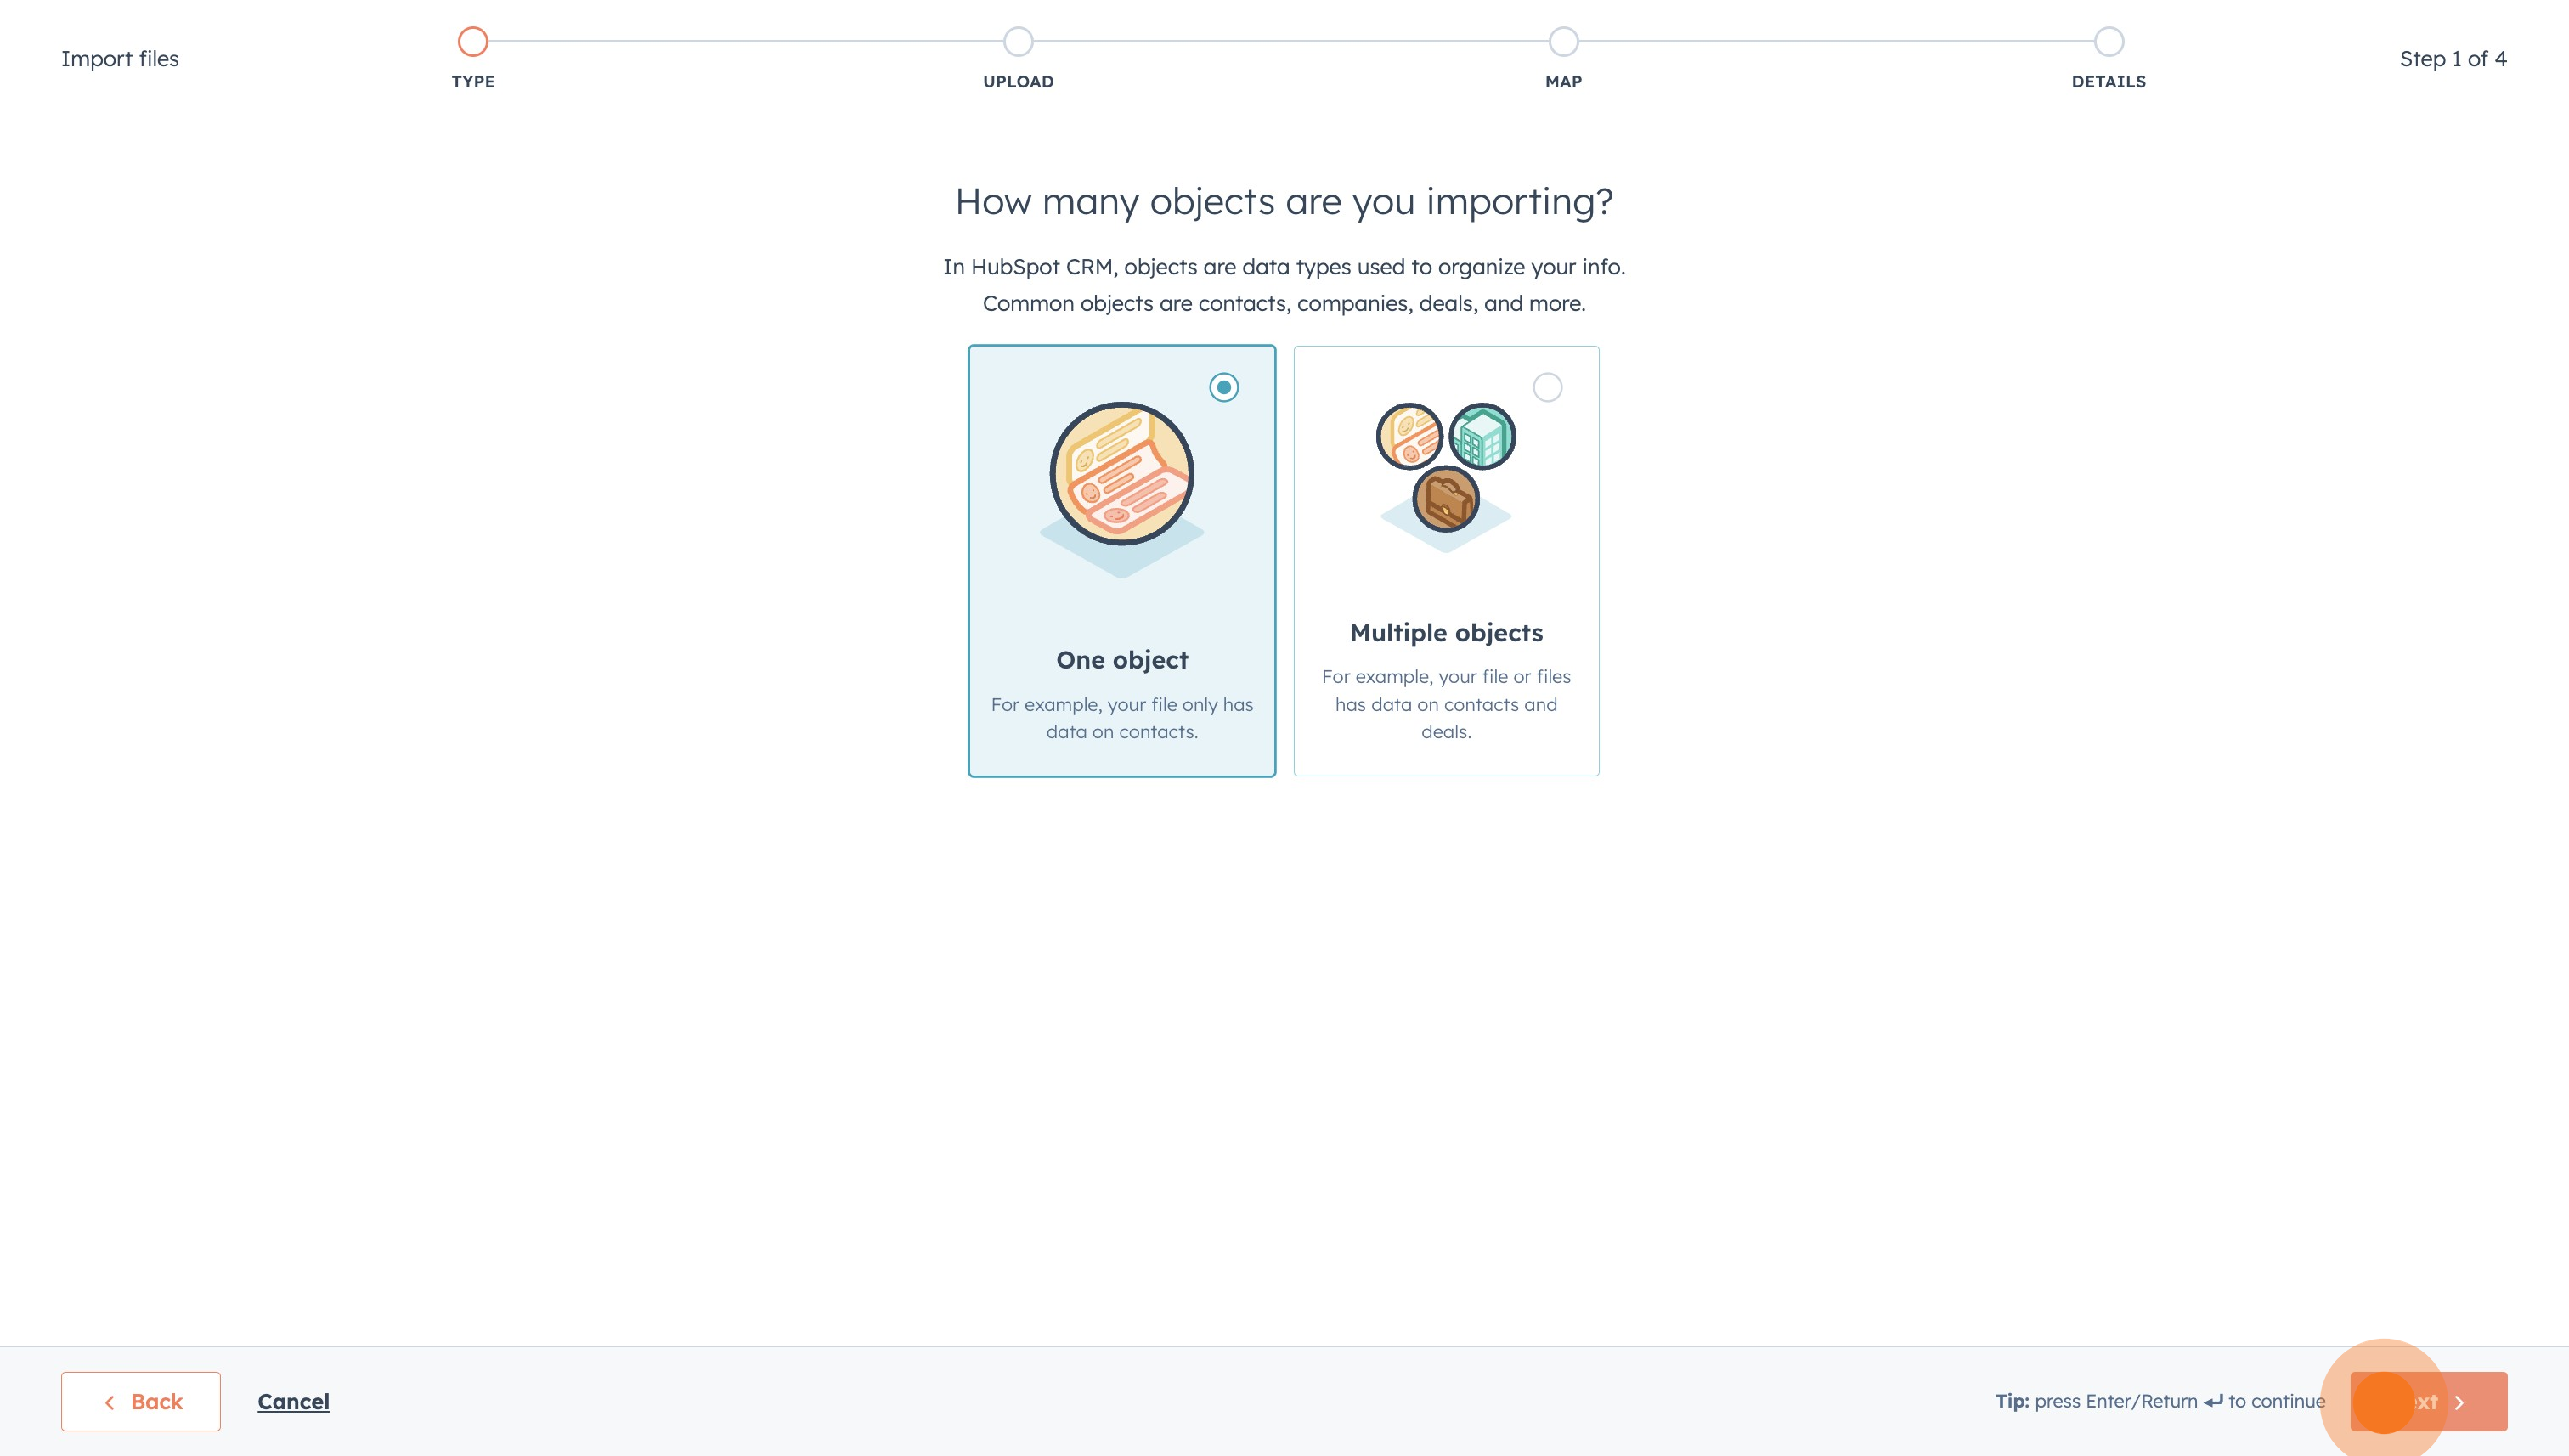
9. Next, click on "One object".
10. Once that's done, click on "Next".
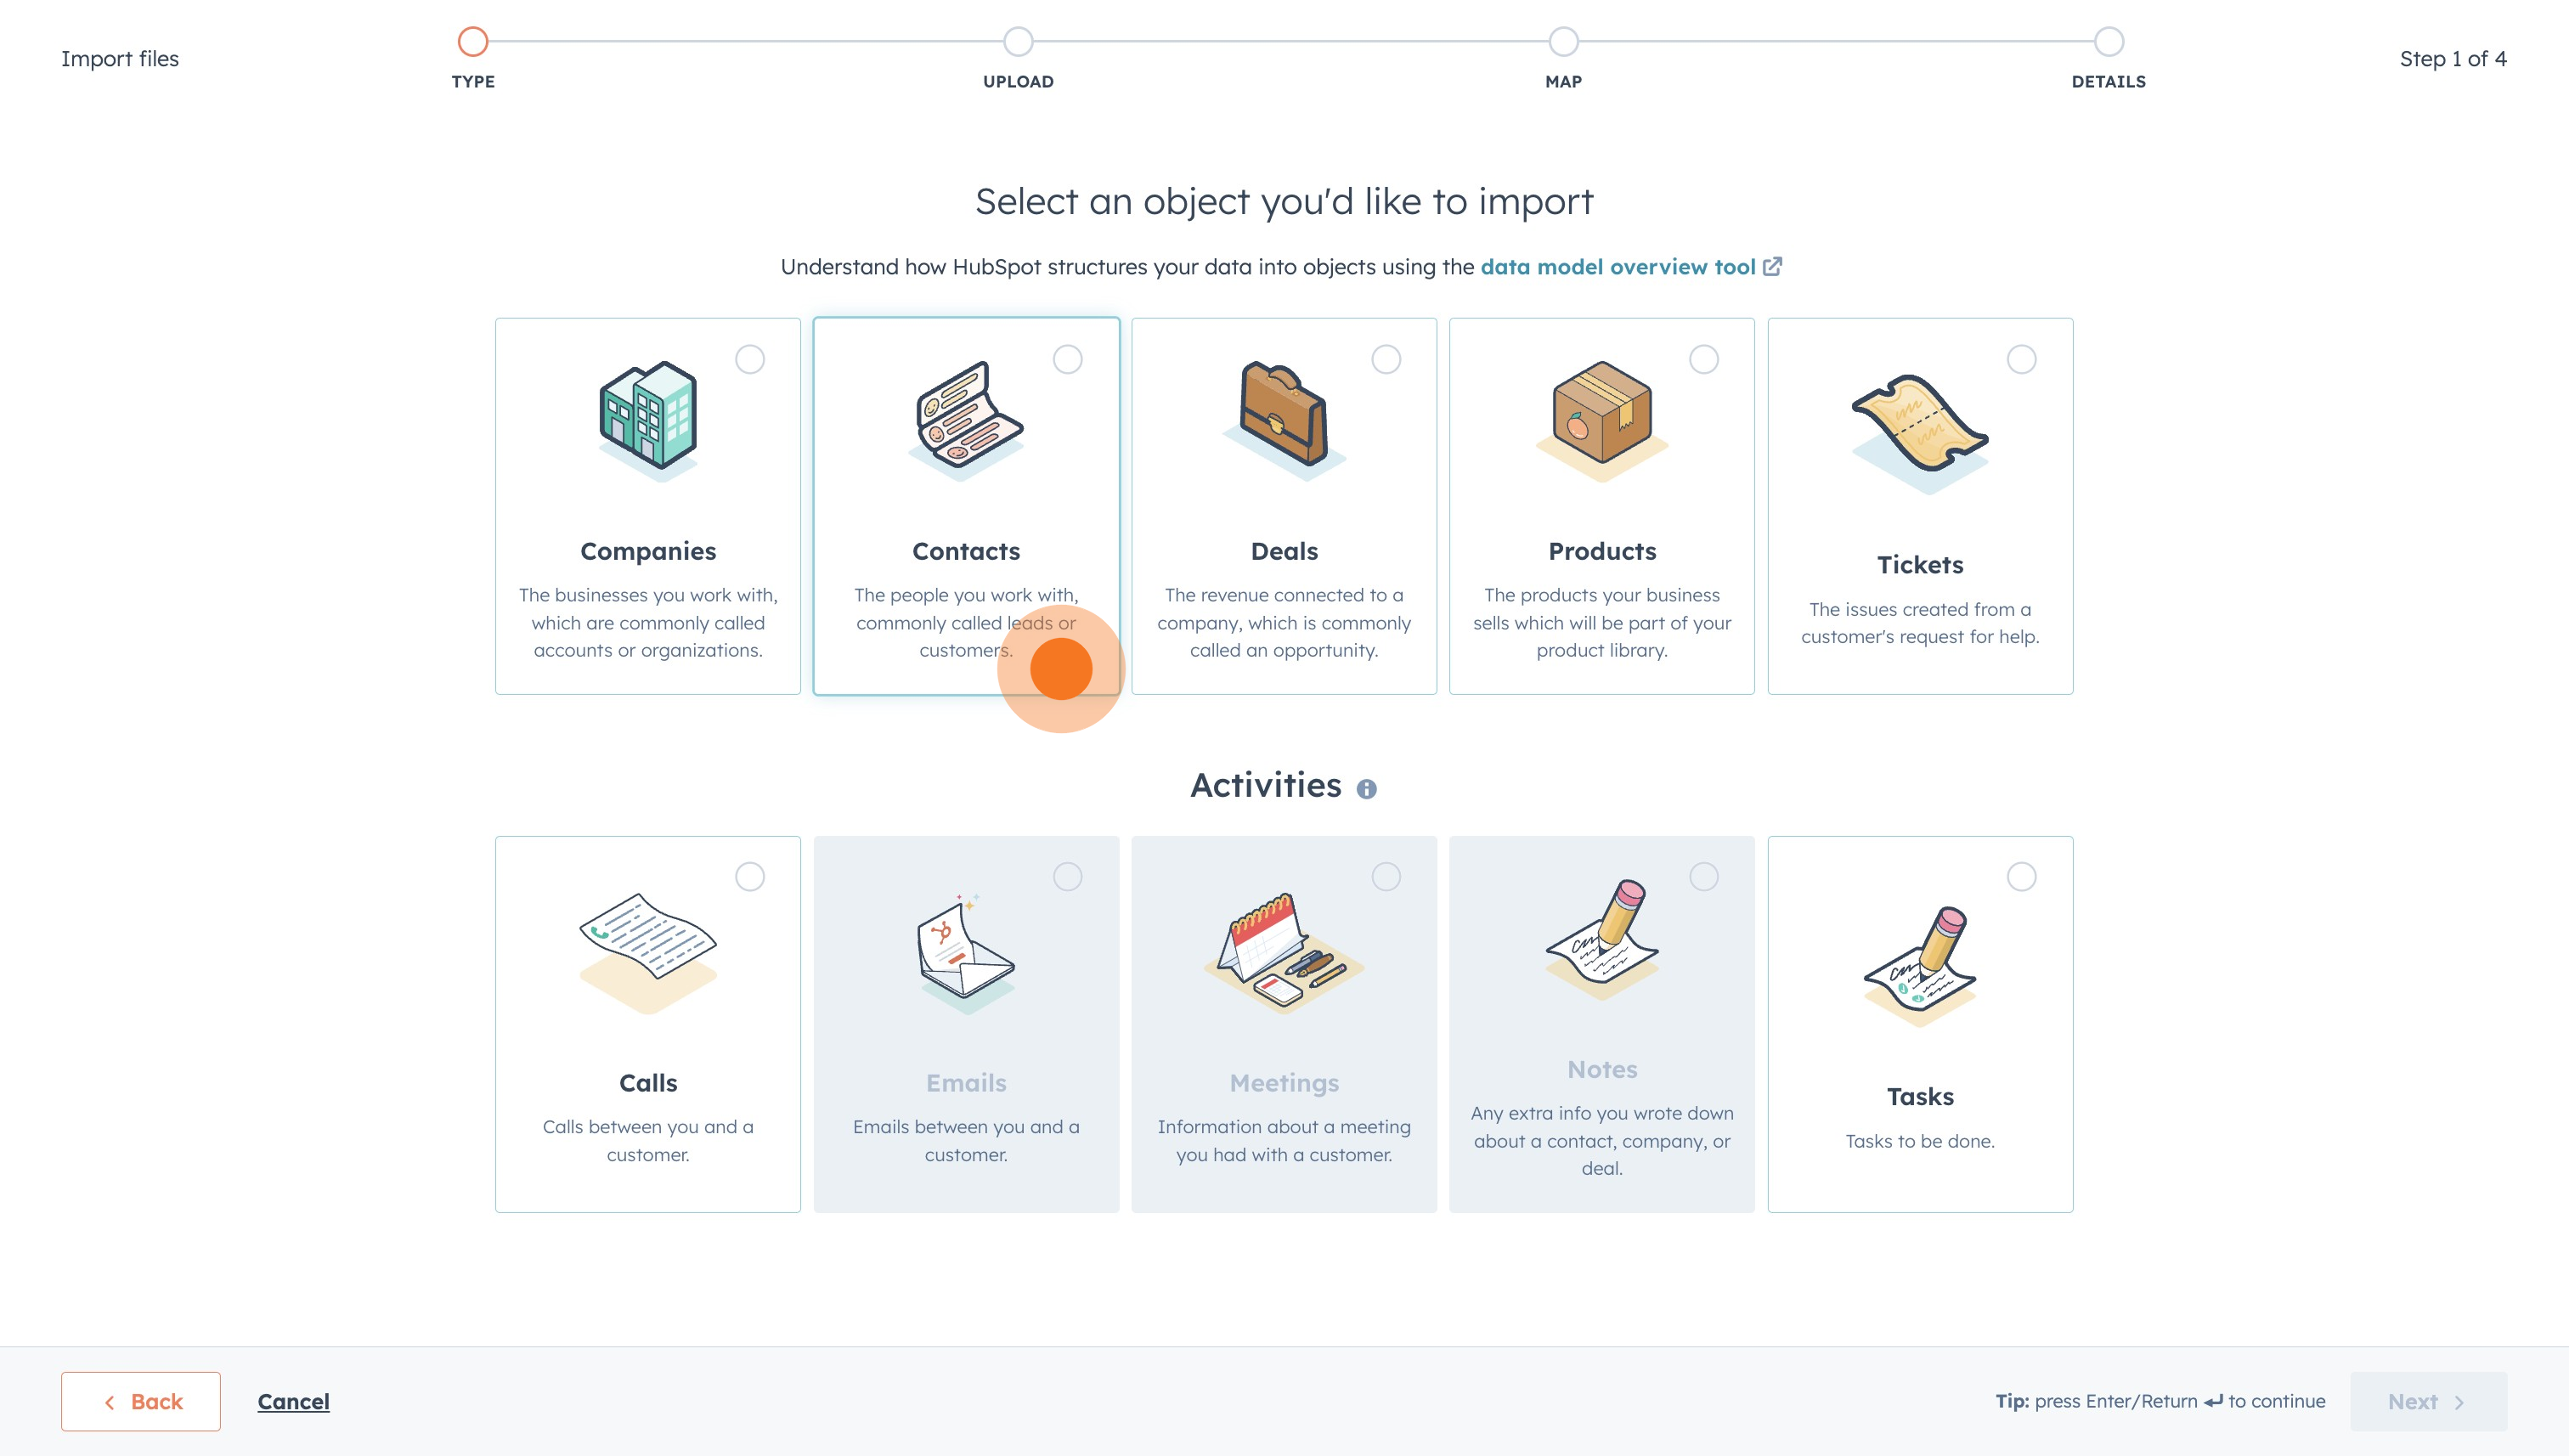
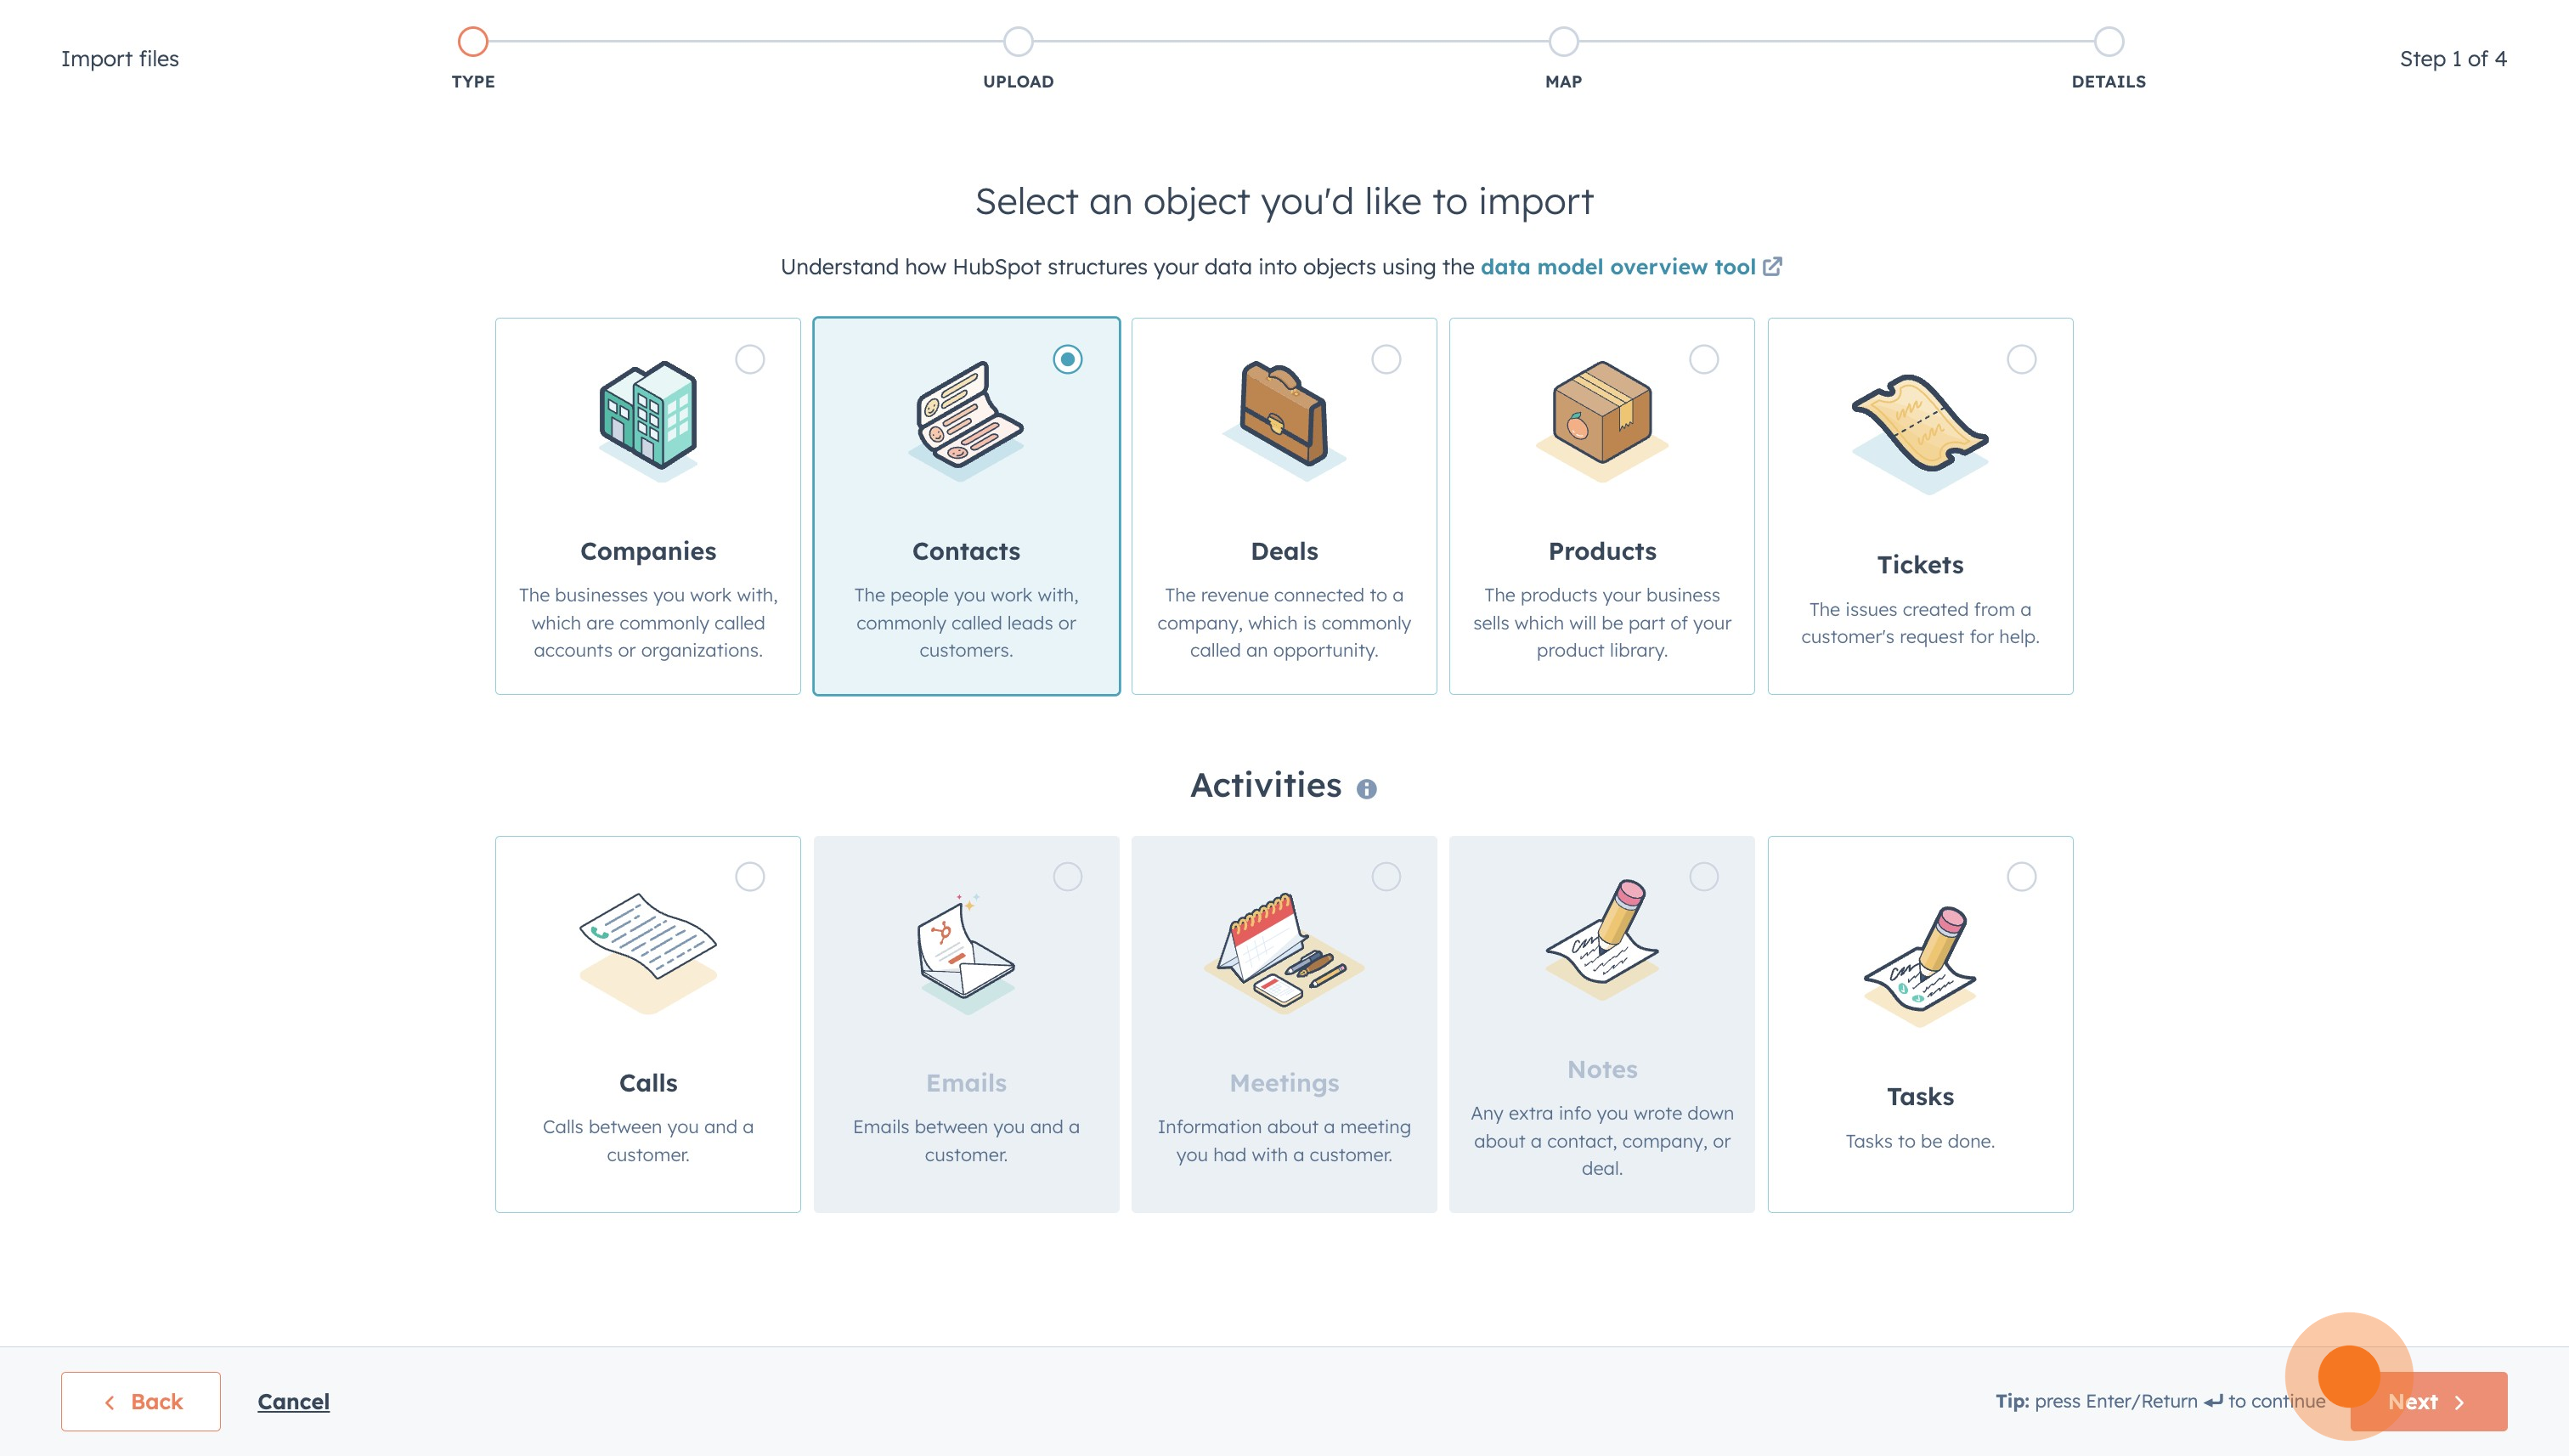
11. Next, let's choose "Contacts". Note that you can import many other types of data!
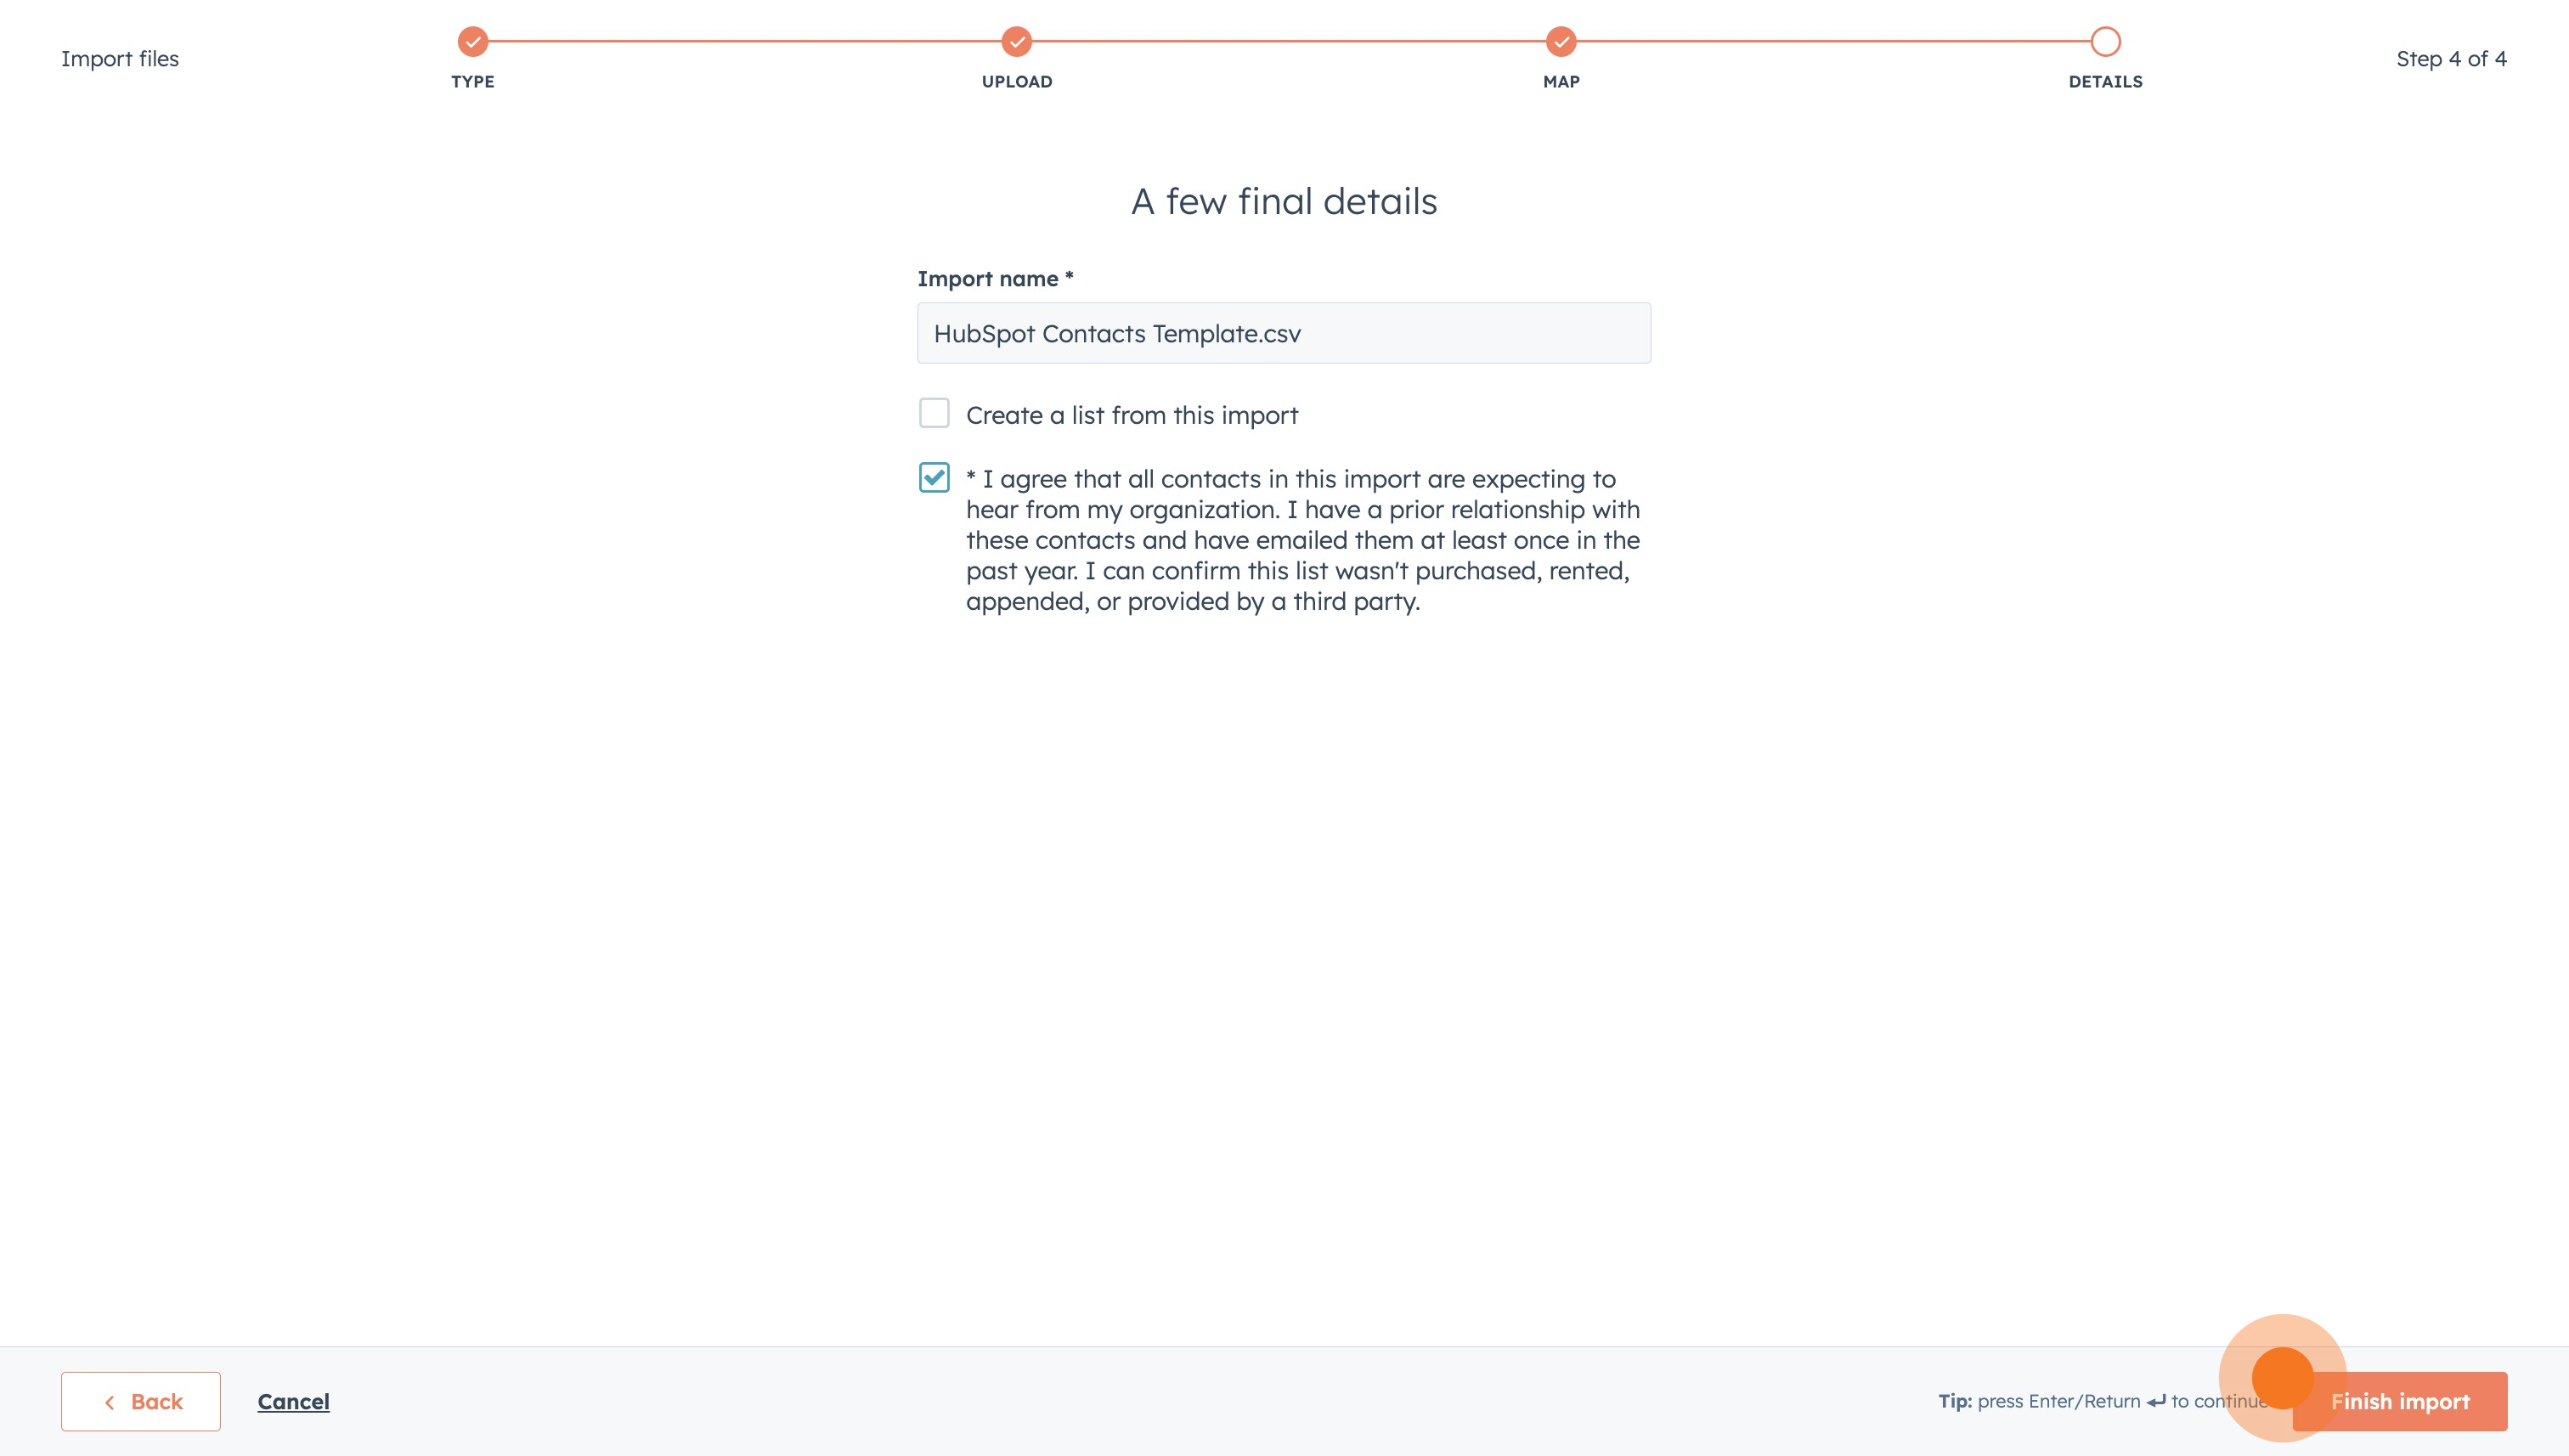
12. Click on "Next" again.
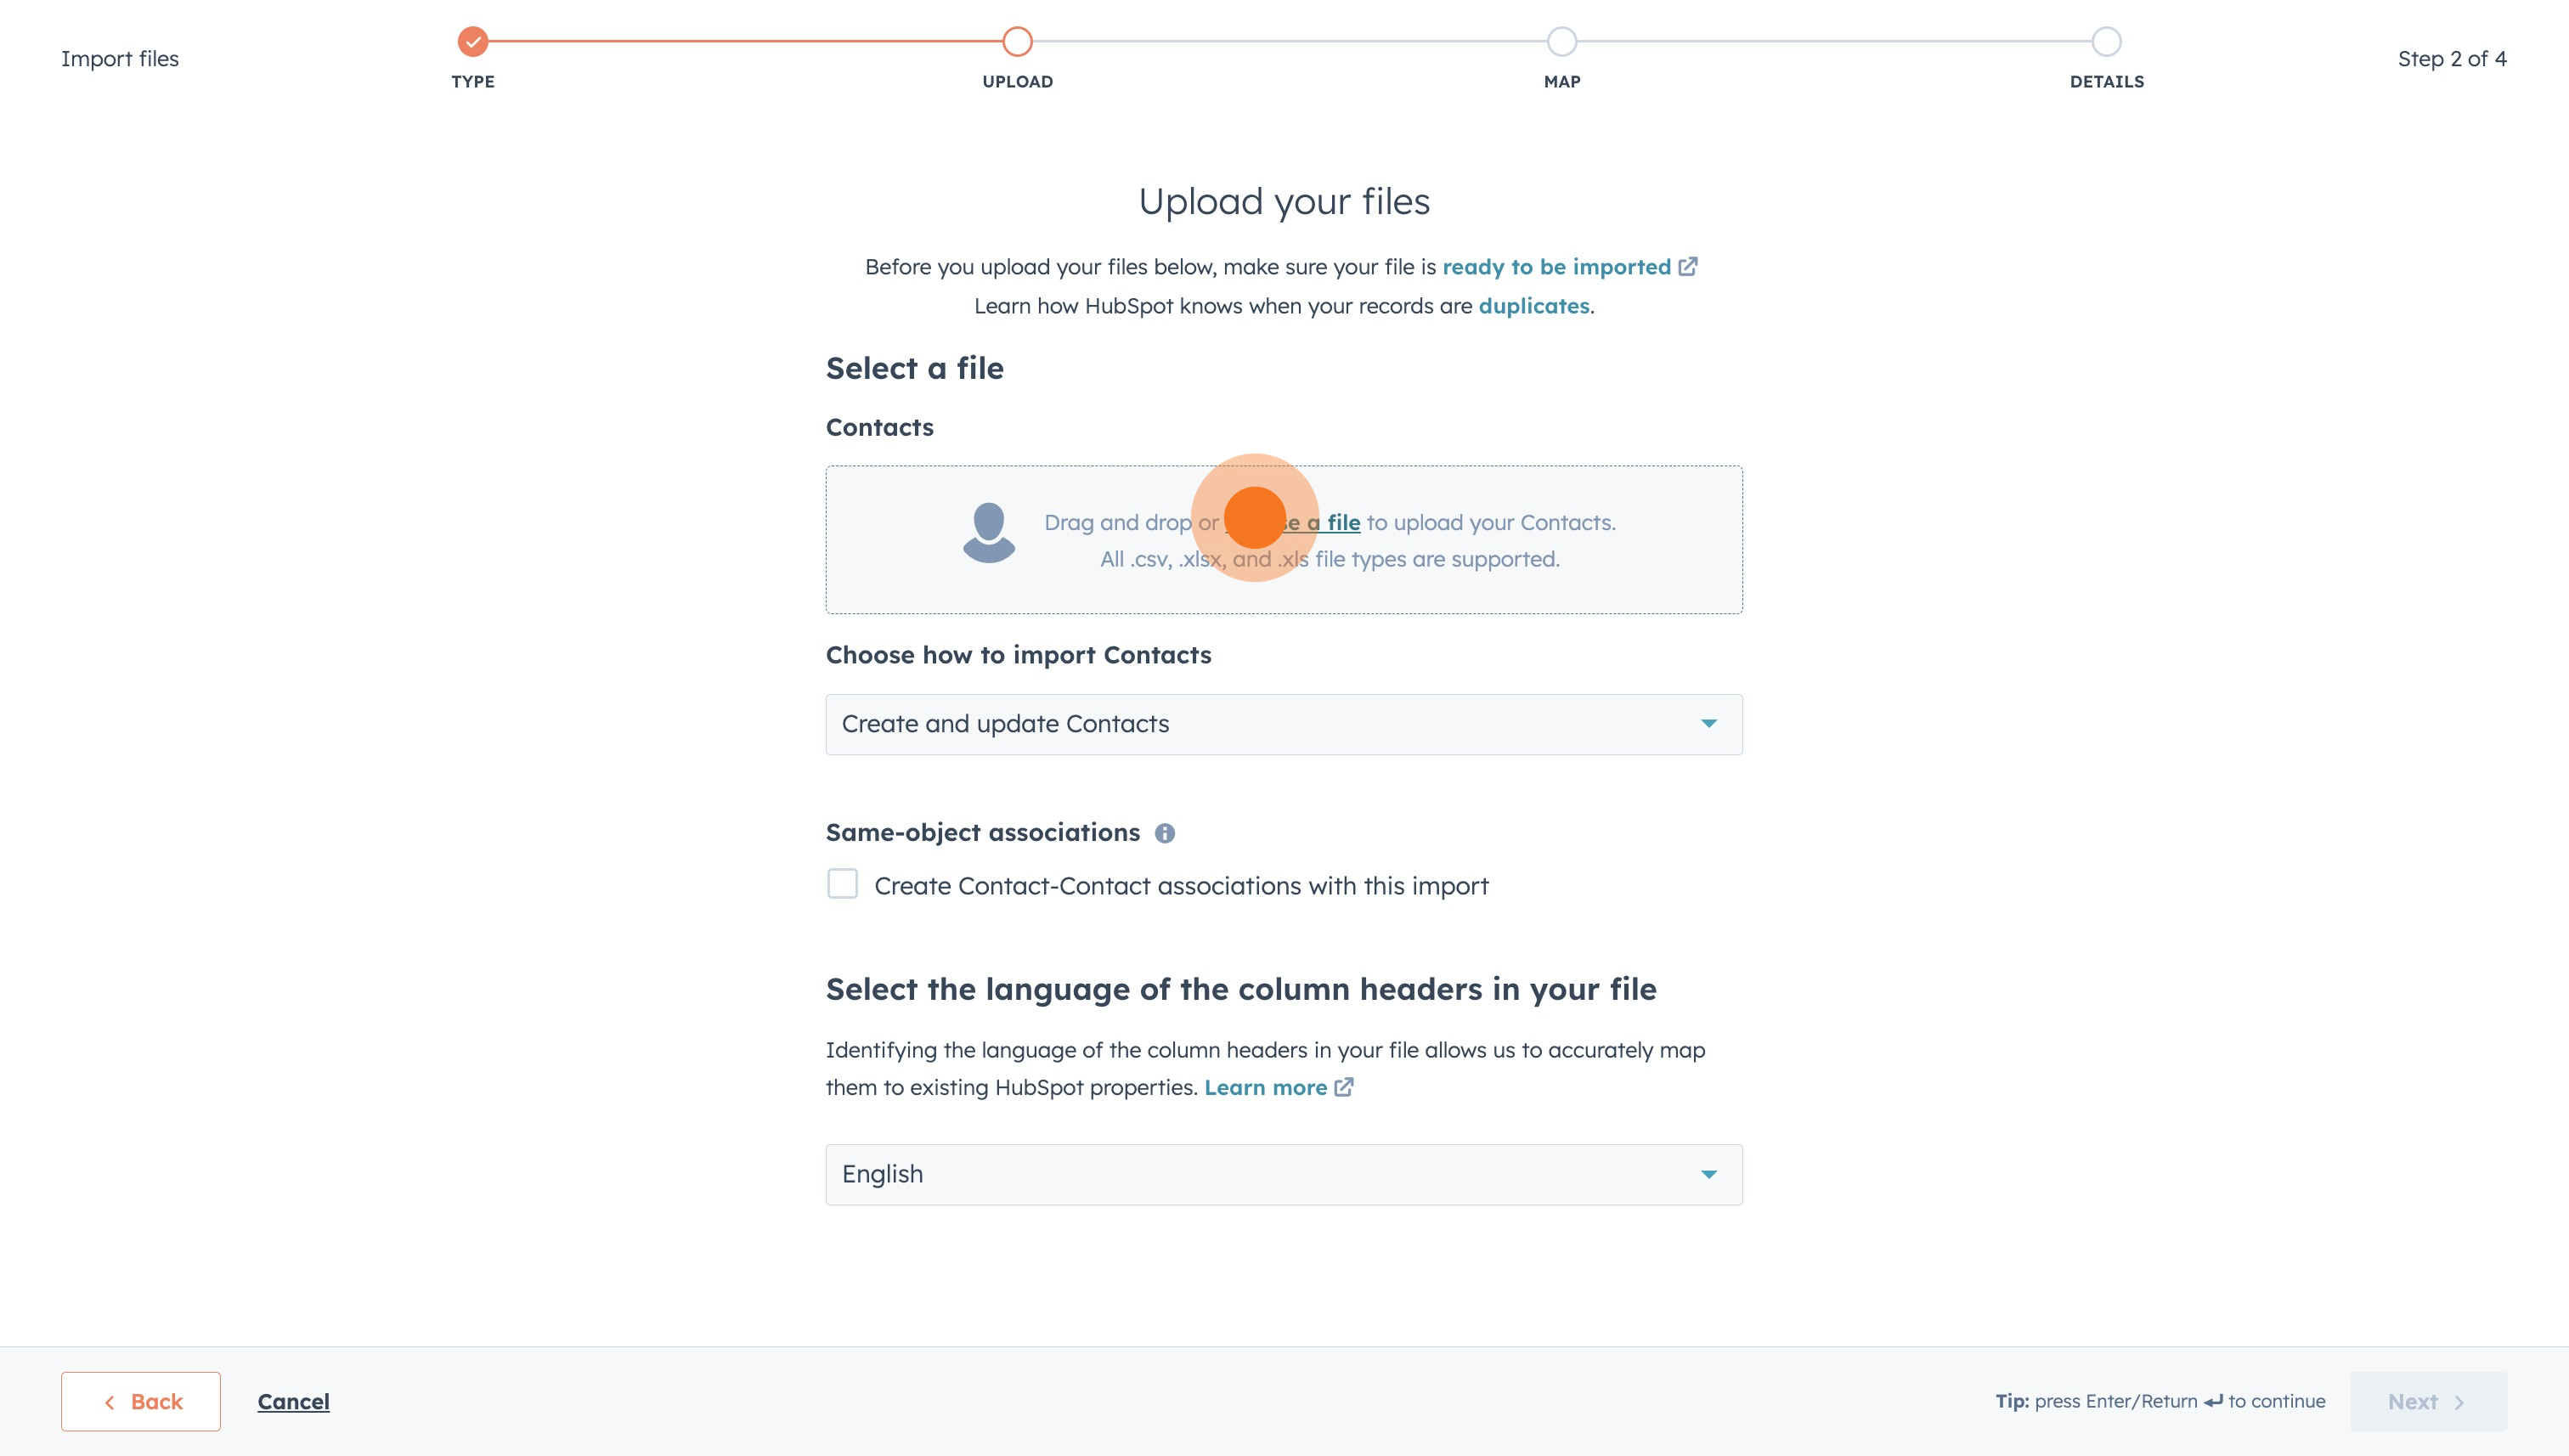
13. Afterwards, click on "choose a file" and drop in your data here.
14. Great. Let's proceed.
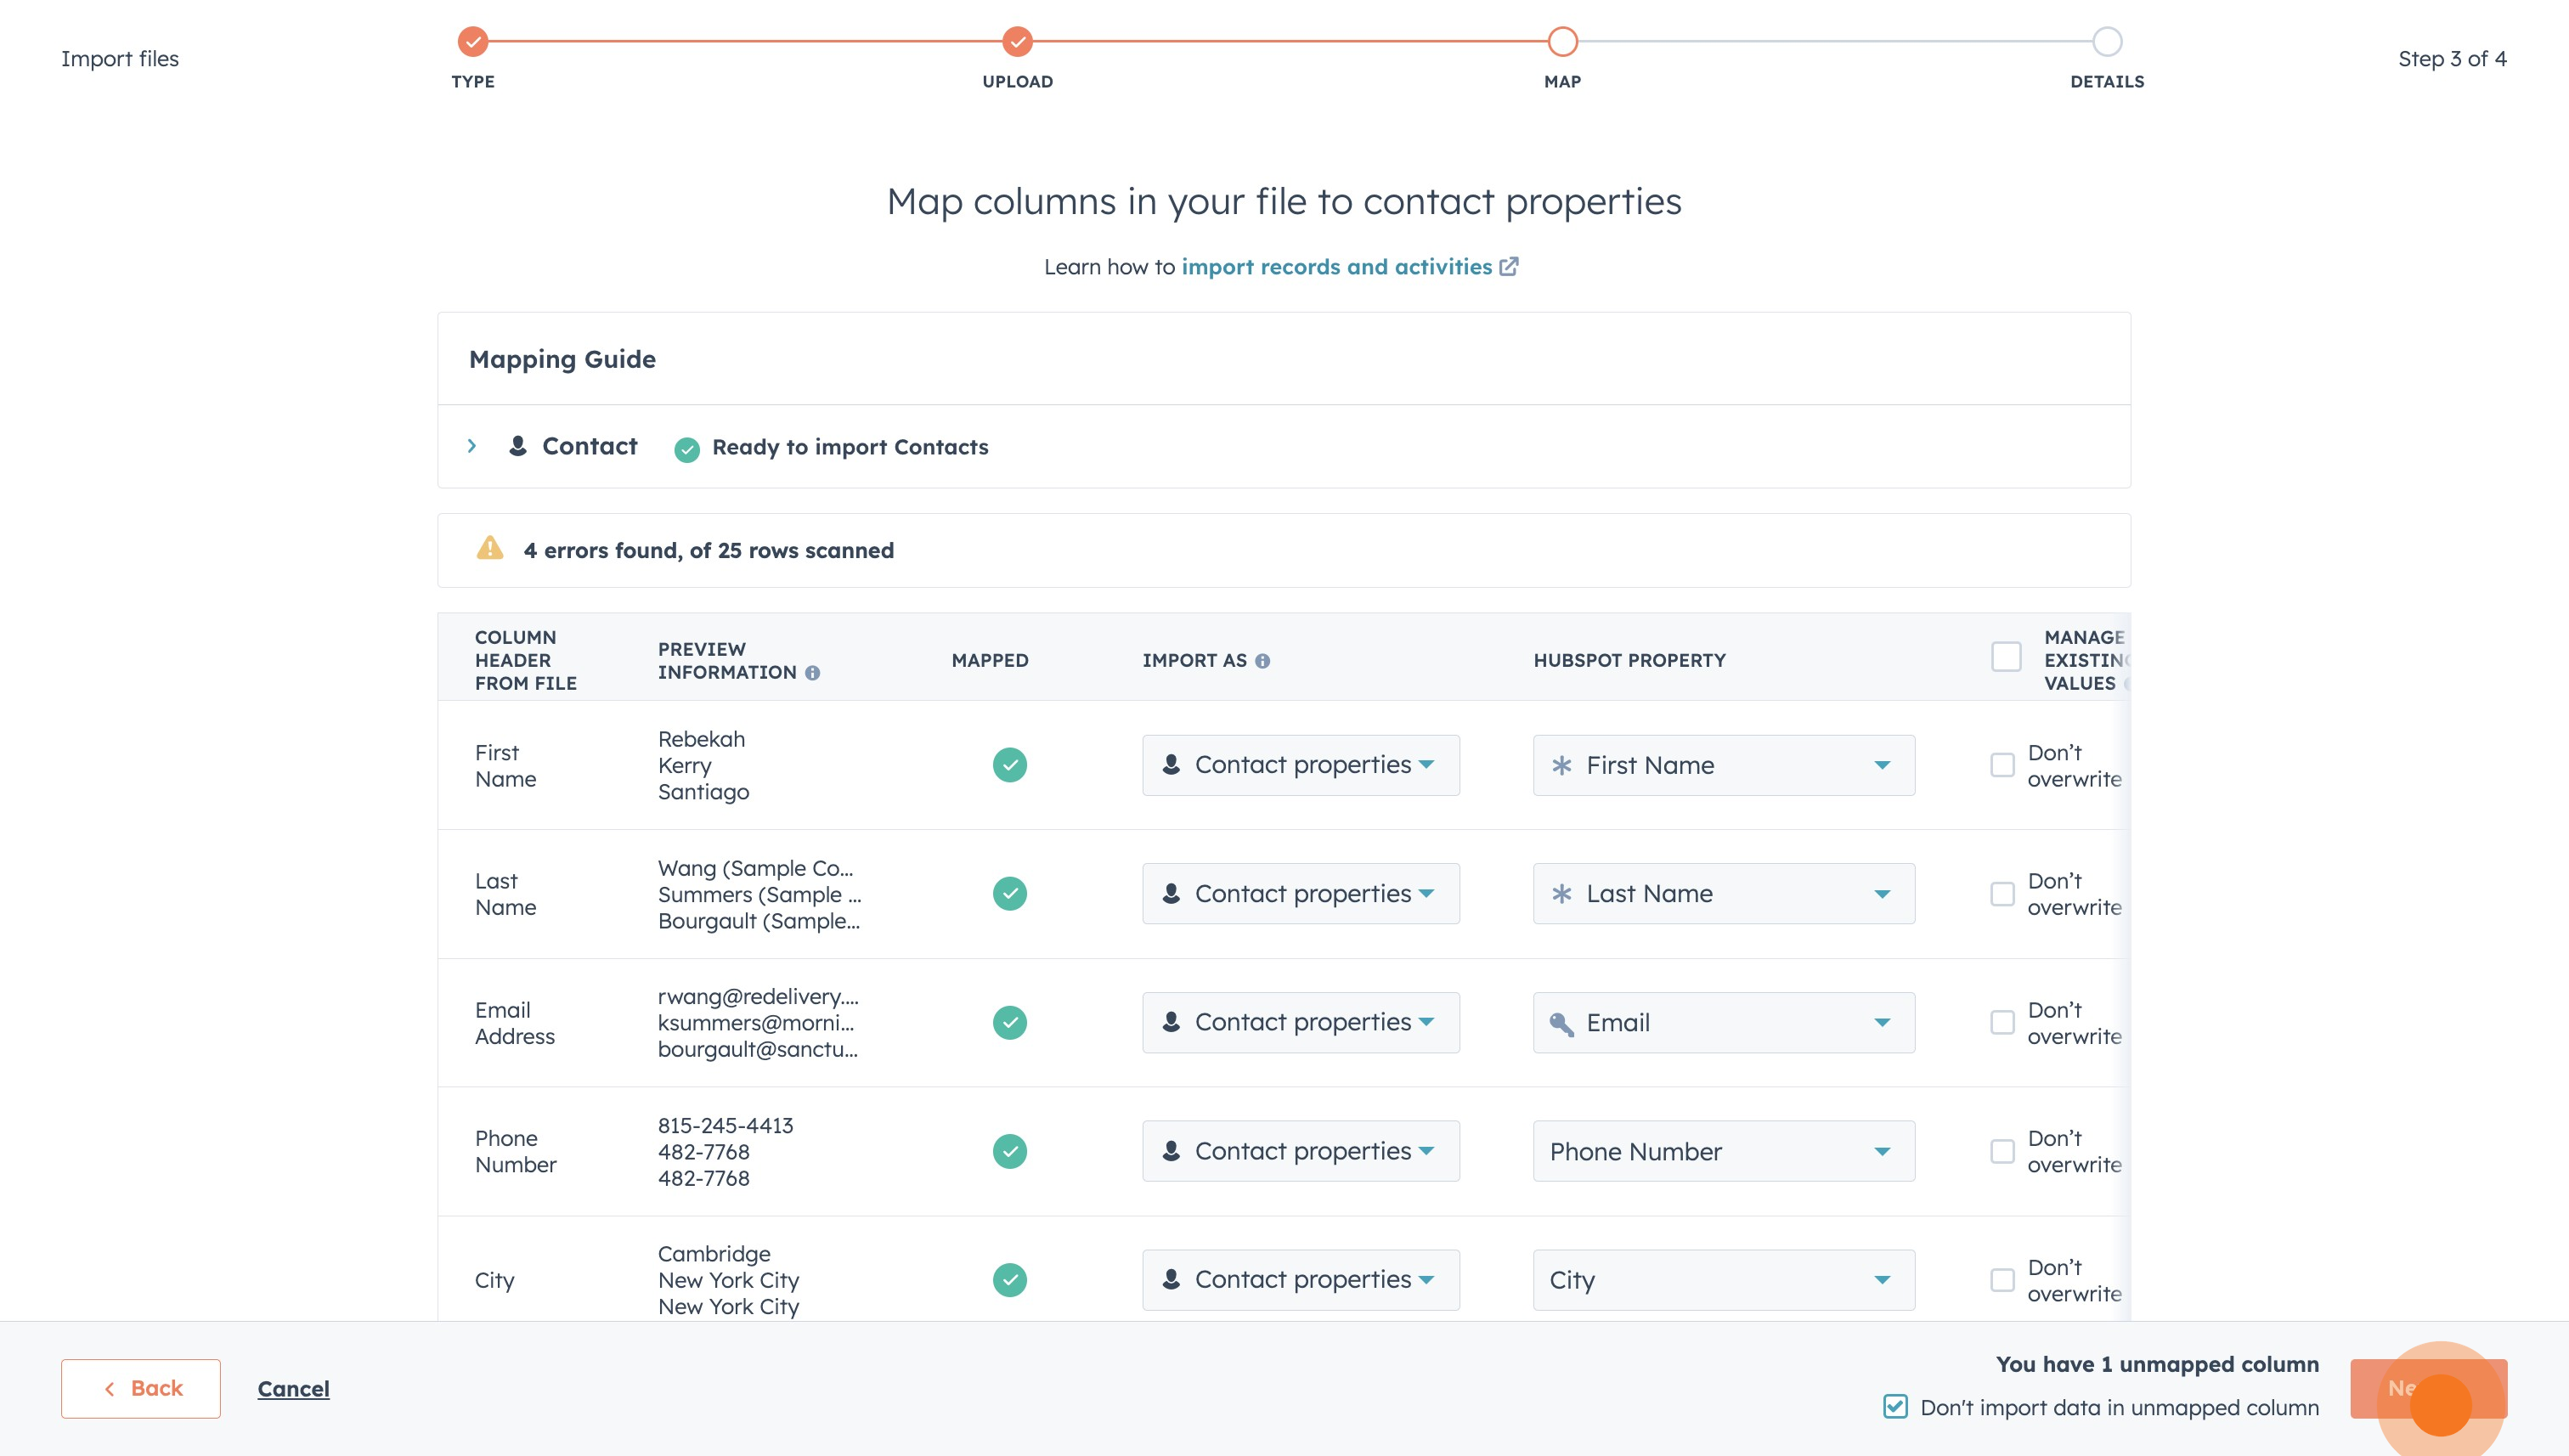
15. Here, you'll see a summary of your contacts to be imported, as well as errors to fix.
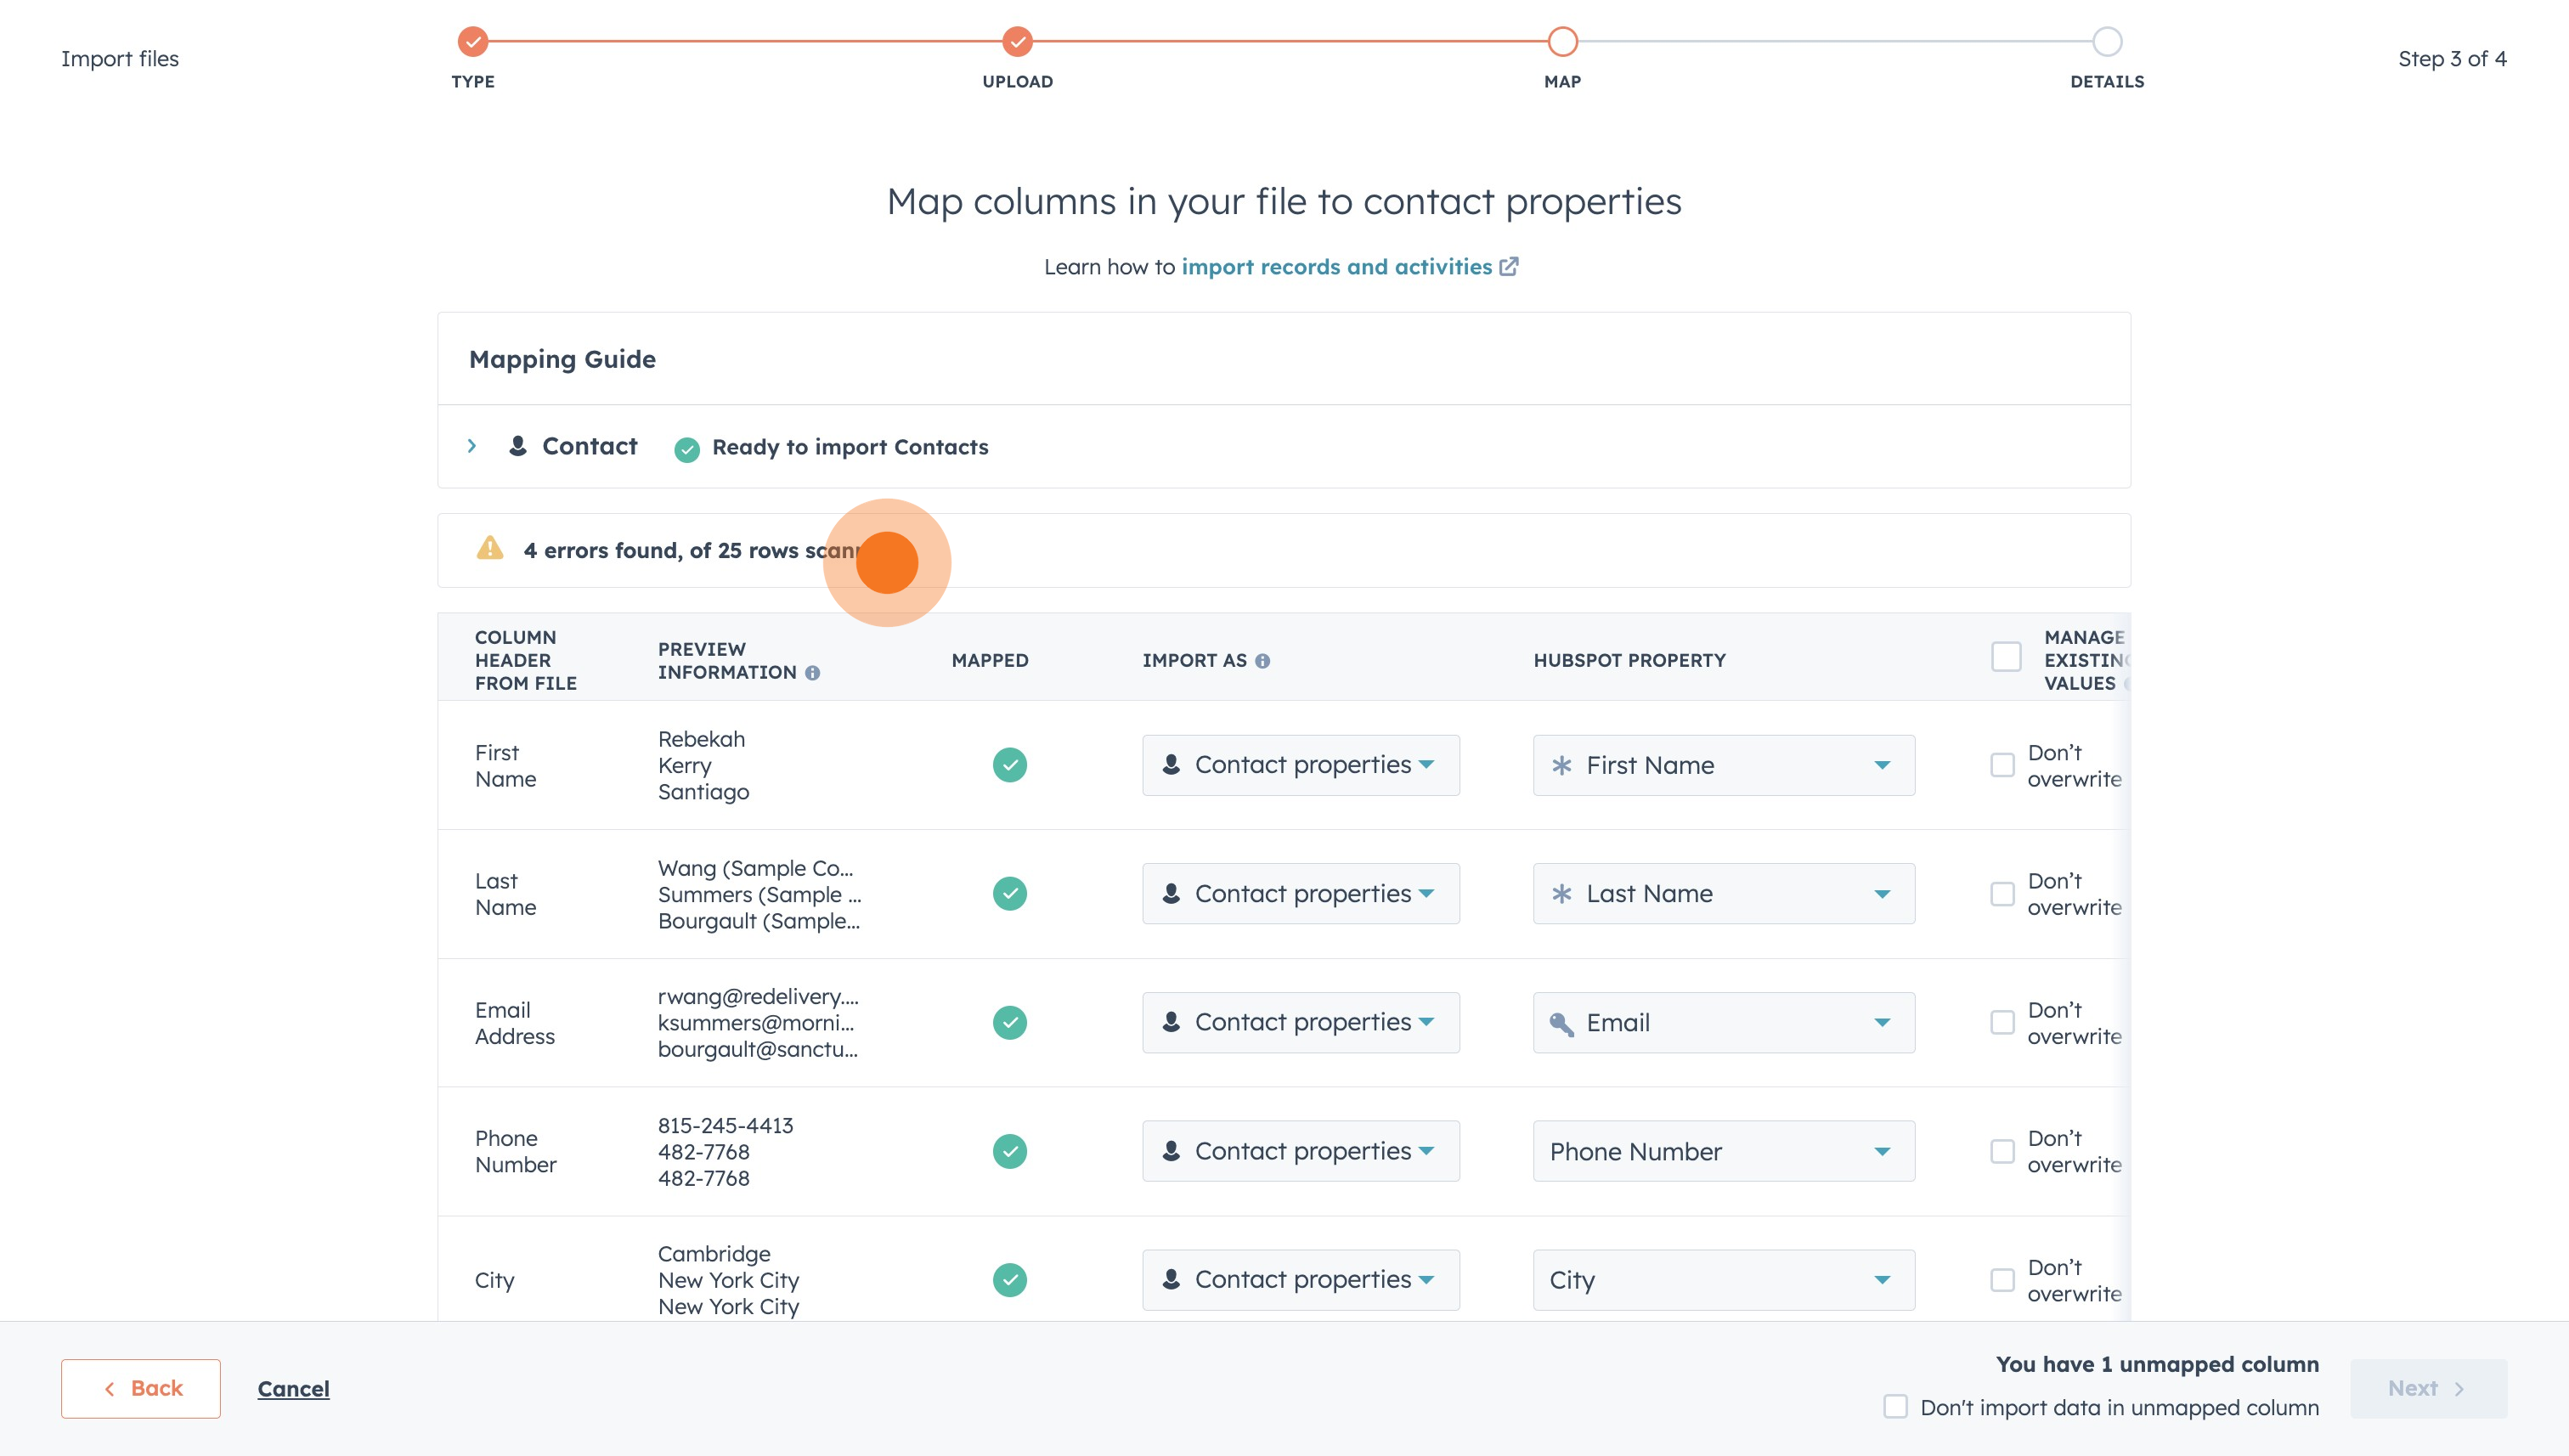
16. When you're ready, click on "Next".
17. Finally, check off the mandatory disclaimer to unlock the "Finish import" button.
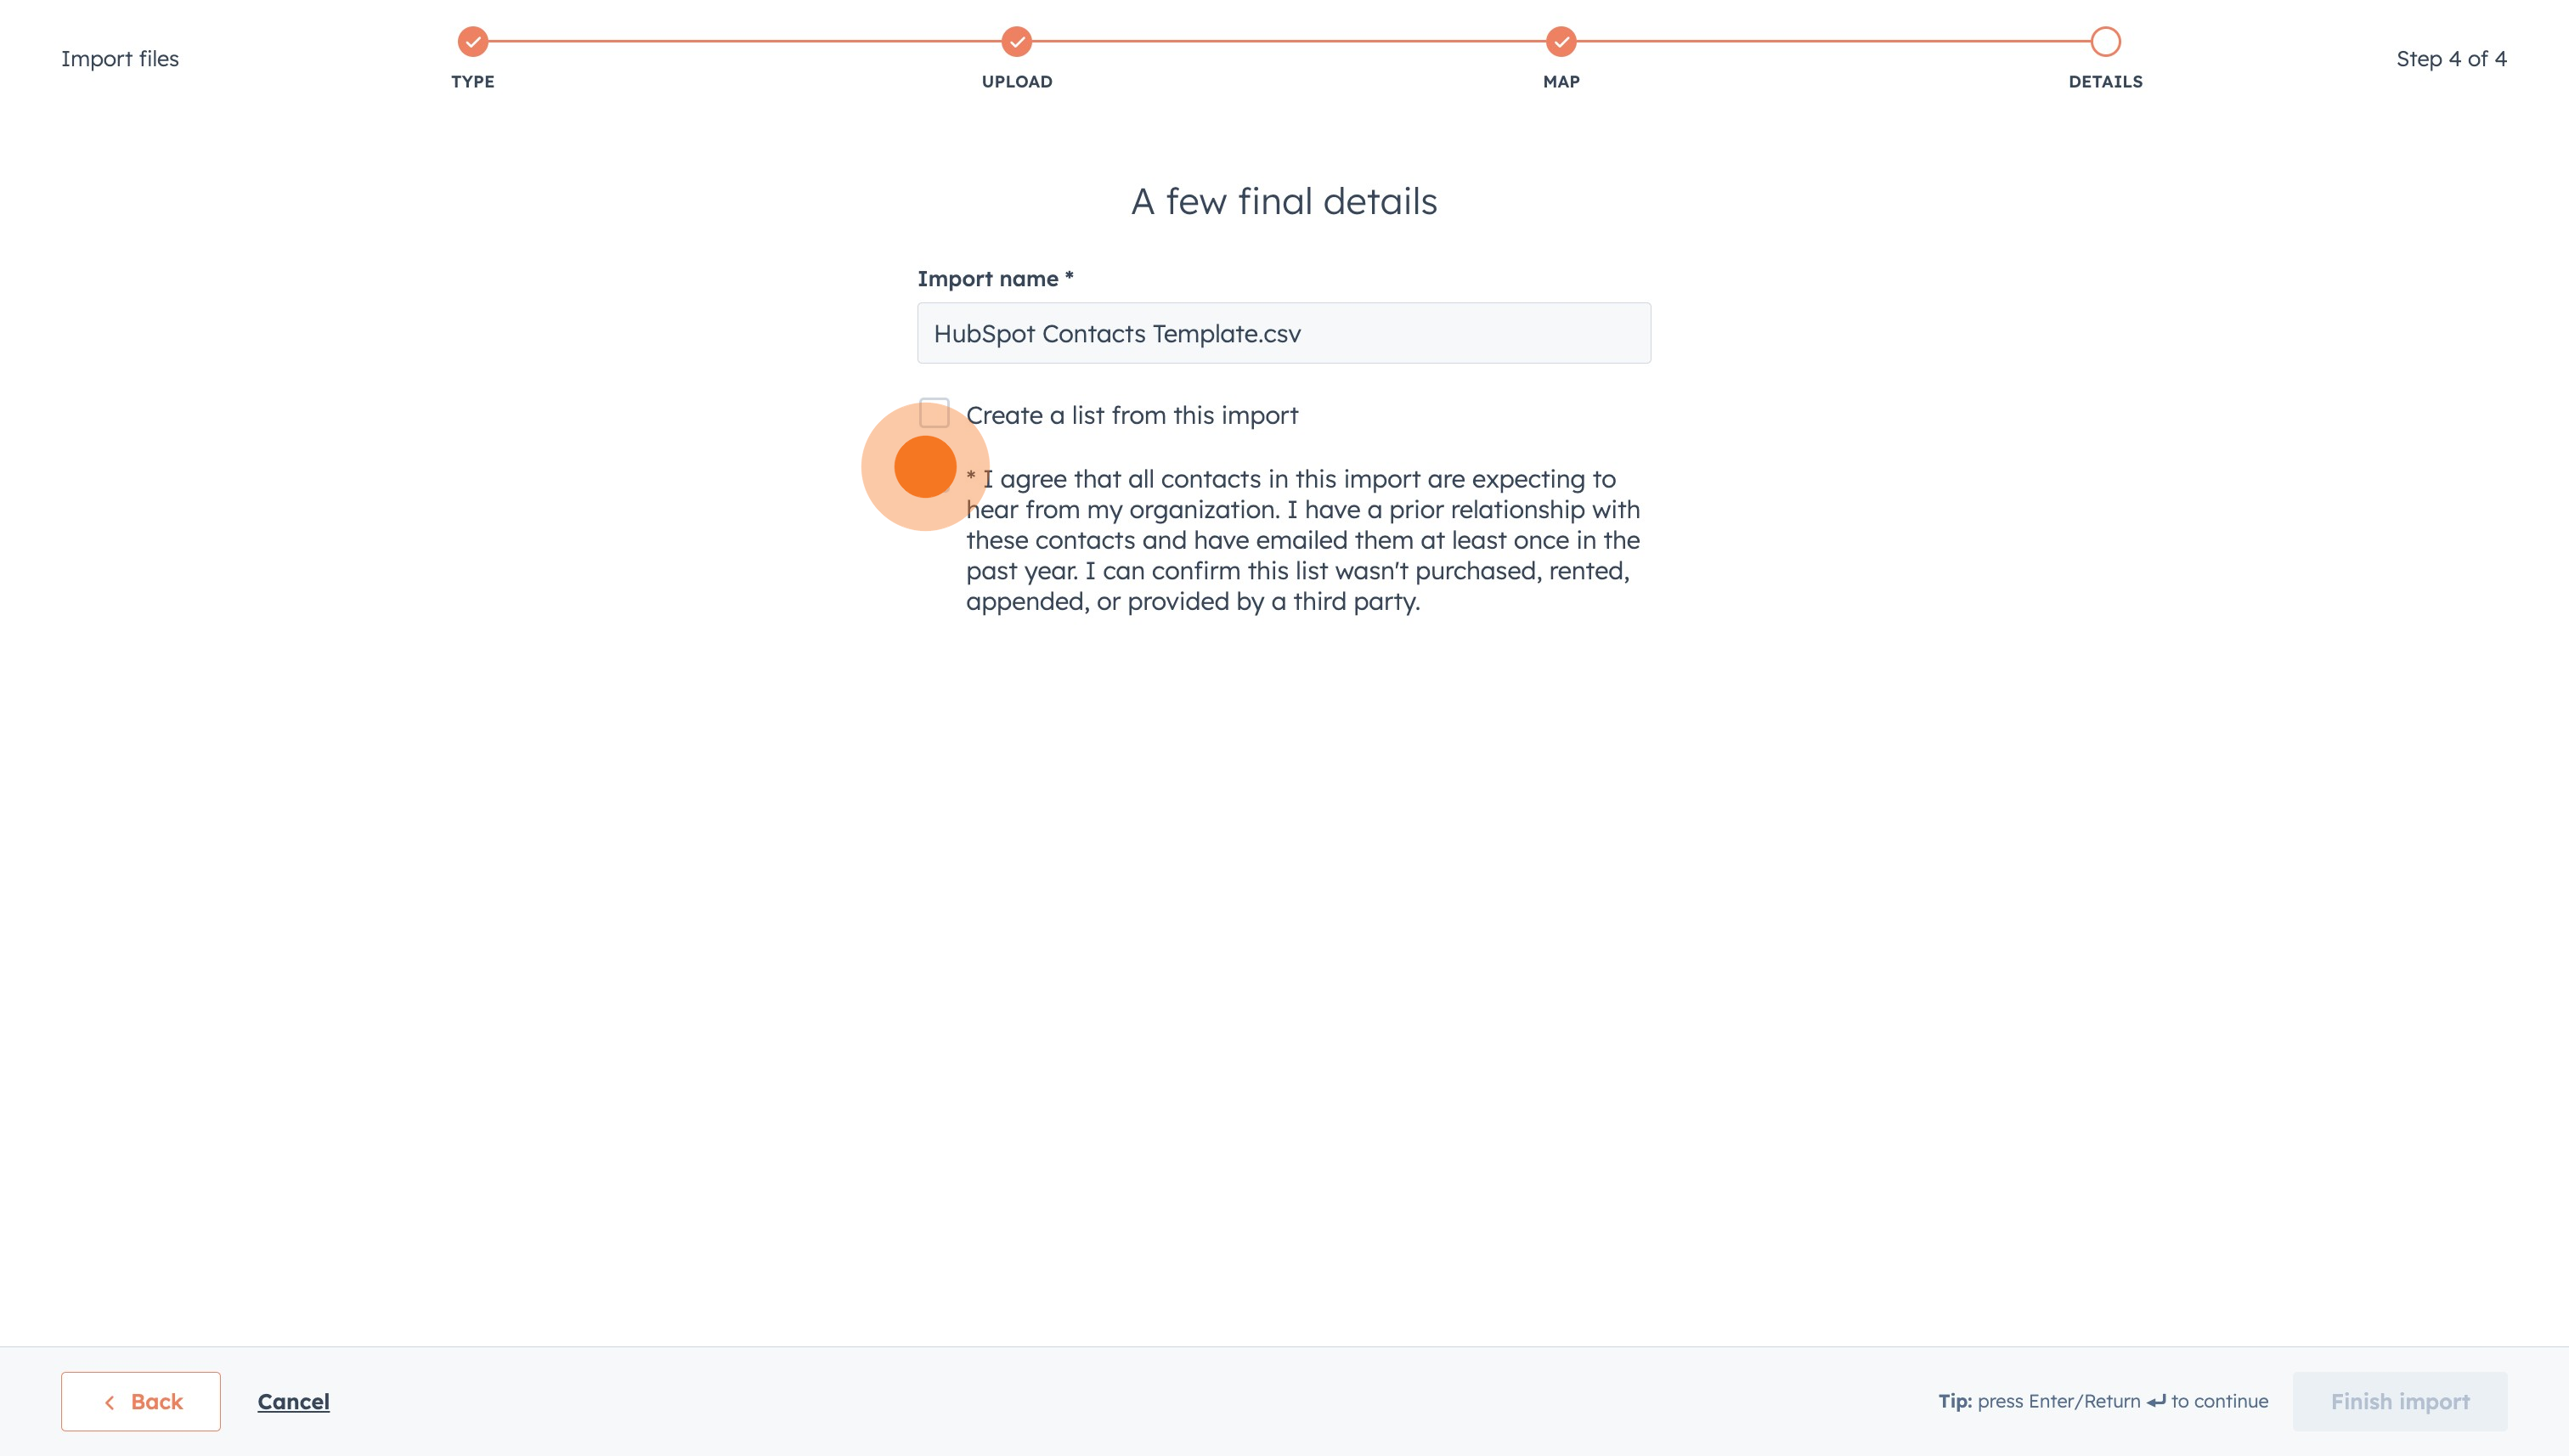
18. To finish off, click on "Finish" to wrap up your contact import!
Common FAQs on HubSpot
How do I create and manage email campaigns in HubSpot?
To create an email campaign in HubSpot, log in to your account and navigate to the “Marketing” tab, then select “Email.” Click “Create Email” to choose from different email types, such as regular, automated, or blog/RSS emails. Use HubSpot’s drag-and-drop editor to design your email, add content, and customize the layout. You can segment your contact list to target specific audiences, set up A/B testing, and schedule your emails. Once your campaign is live, you can track its performance through HubSpot’s analytics, which provides insights into open rates, click rates, and other key metrics.
How can I track leads and manage contacts in HubSpot?
HubSpot’s CRM allows you to track leads and manage contacts seamlessly. To add or import contacts, go to the “Contacts” section under the “Contacts” tab. You can manually add new contacts or import them from a CSV file or another CRM. HubSpot automatically tracks interactions with your contacts, such as email opens, website visits, and form submissions. Use the CRM to segment your contacts based on various criteria, create custom properties, and set up workflows to nurture leads through the sales funnel. HubSpot also integrates with various tools to provide a comprehensive view of each contact’s engagement.
How do I create and track deals in HubSpot?
To create and track deals, go to the “Sales” tab and select “Deals.” Click on “Create deal” to enter details like deal name, amount, pipeline stage, and associated contact or company. HubSpot allows you to customize deal stages to fit your sales process. Once a deal is created, you can track its progress through the pipeline and update its status as it moves through different stages. HubSpot provides detailed analytics to monitor deal performance, forecast revenue, and identify bottlenecks in your sales process. You can also automate tasks and reminders to ensure timely follow-ups and increase the likelihood of closing deals.
Create your own step-by-step demo
Scale up your training and product adoption with beautiful AI-powered interactive demos and guides. Create your first Supademo in seconds for free.
