

Overview:
Streamline your Calendly experience by efficiently inviting teammates with designated roles to your account. Enhance collaboration and organization by assigning specific roles to team members, ensuring a seamless scheduling process. This comprehensive guide takes you through the easy steps of inviting and assigning roles within your Calendly account, promoting efficient team coordination and clarity in appointment management. Elevate your scheduling workflow with precision and ease.
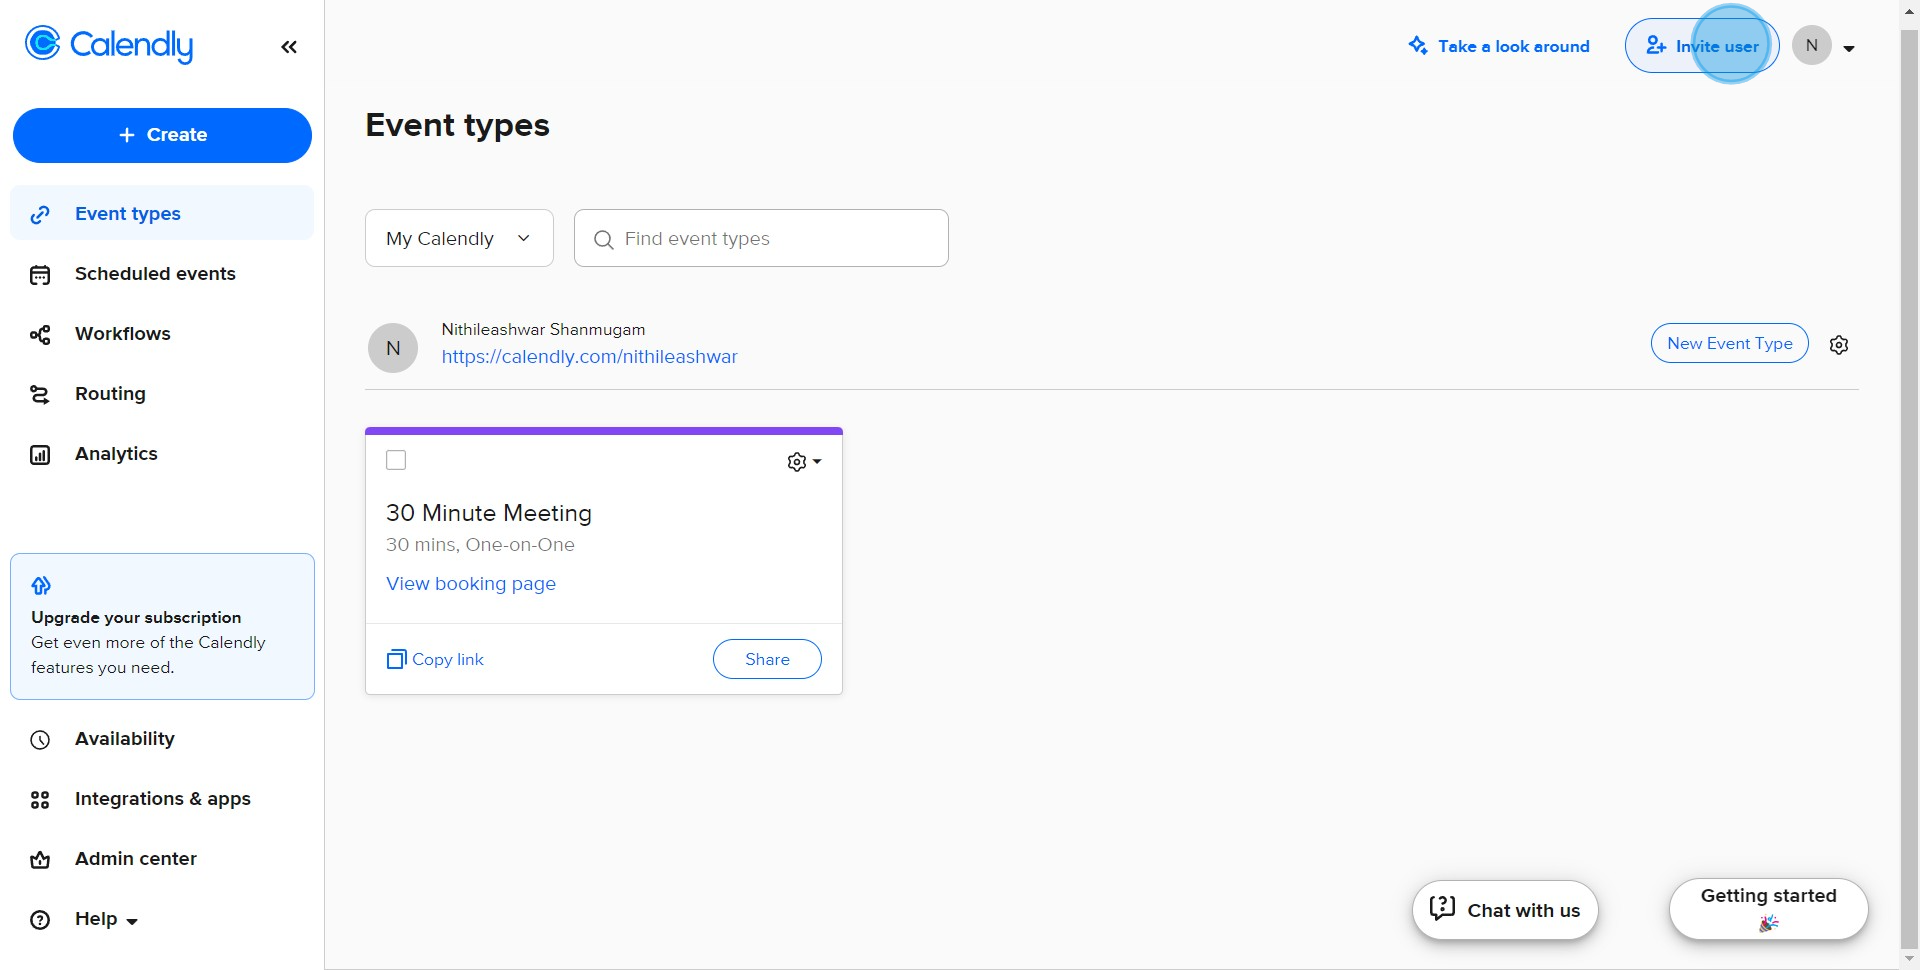
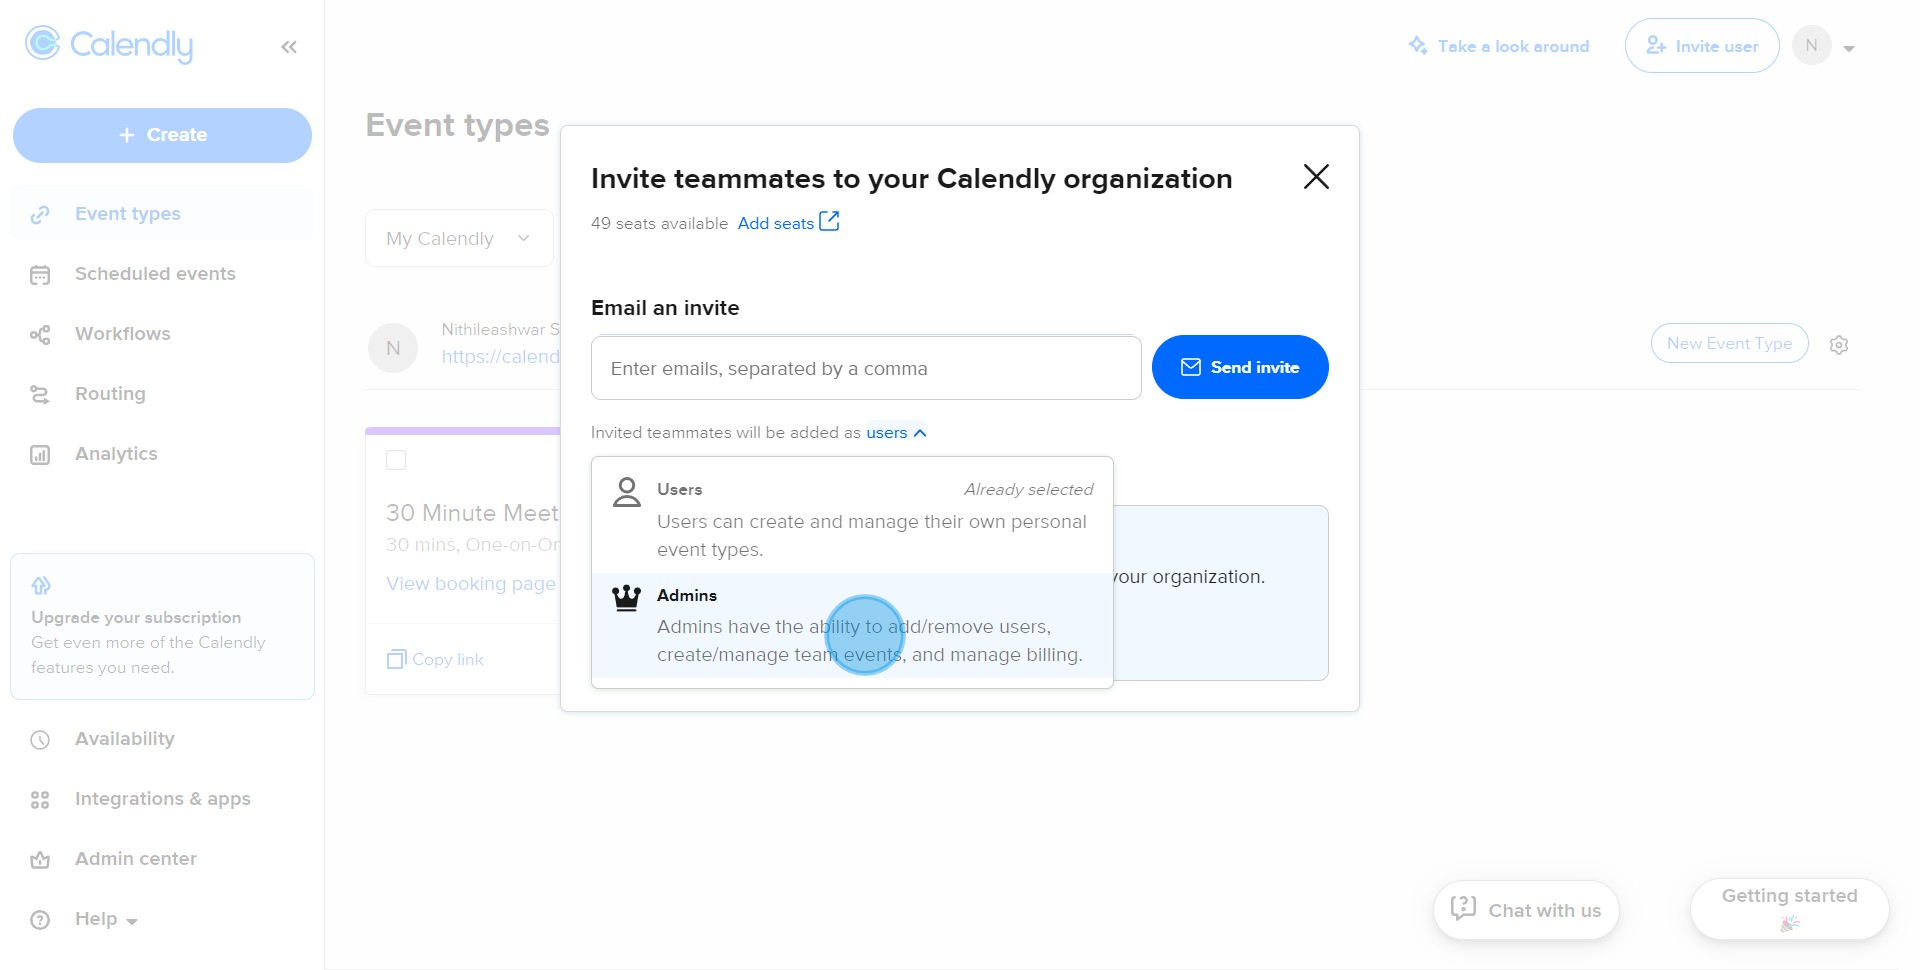
1. Begin by selecting the 'Invite user' option.
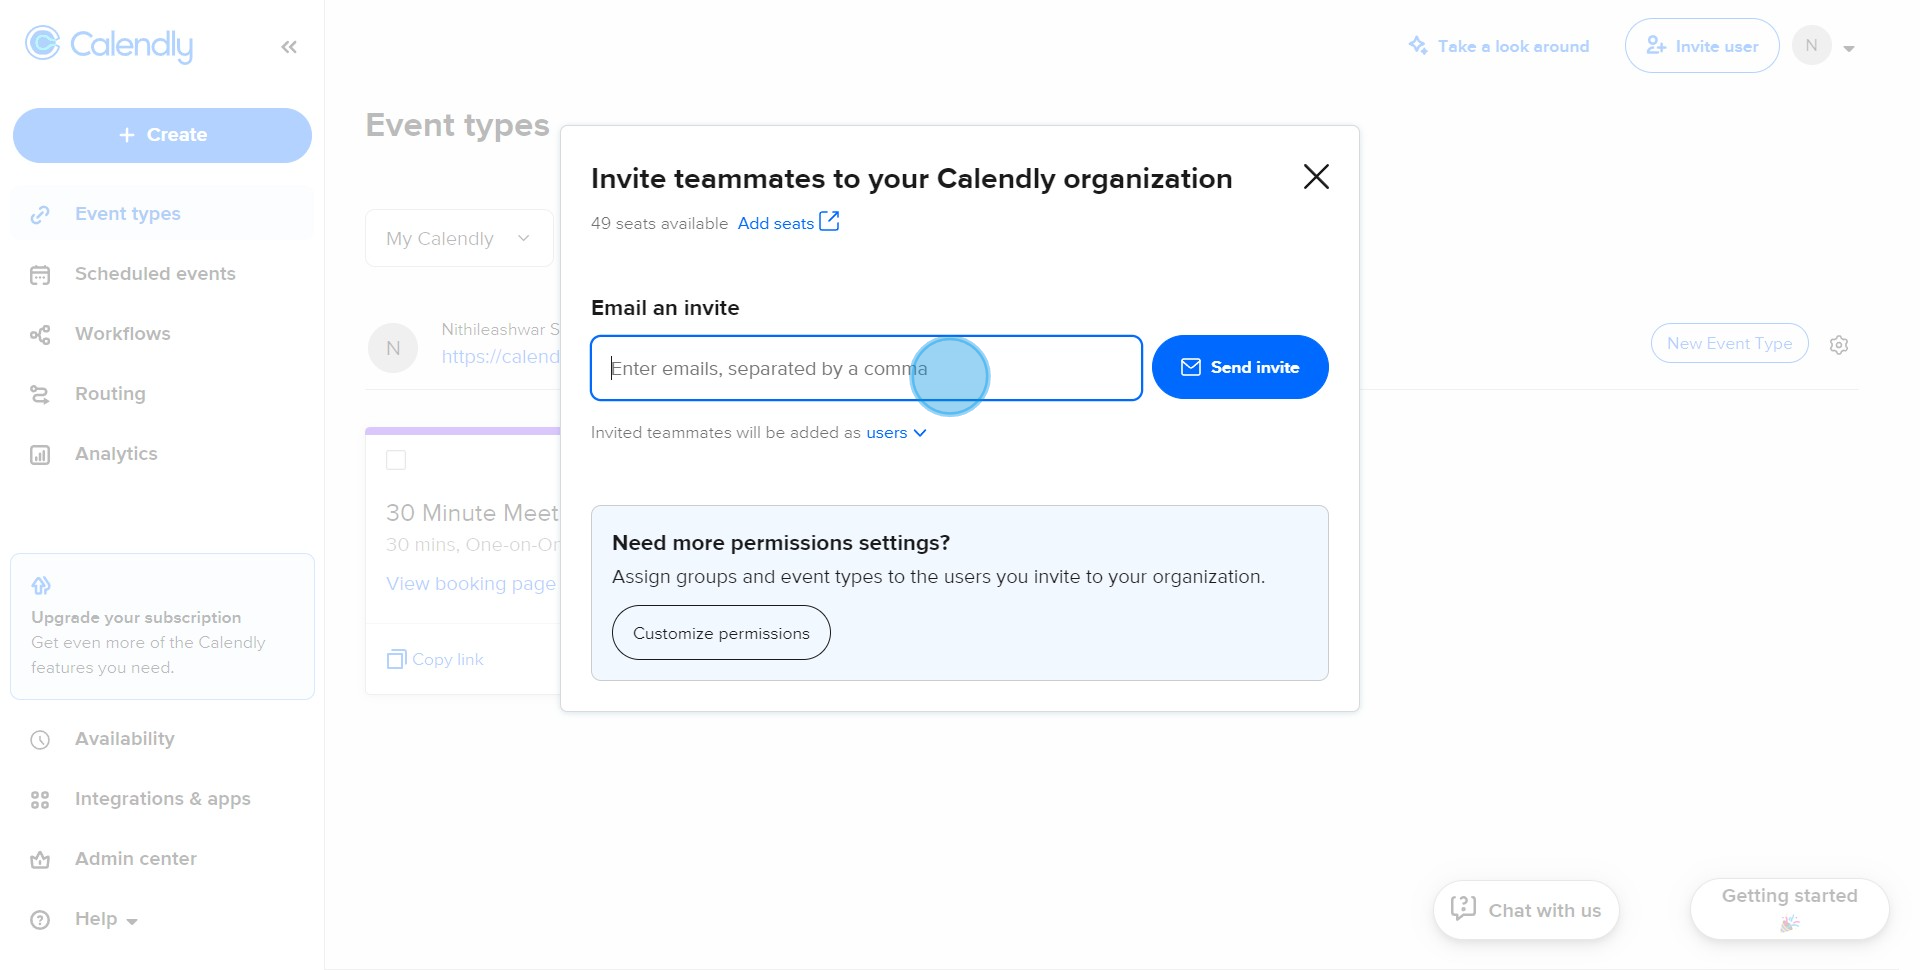
2. Next, please enter your teammate's email address.
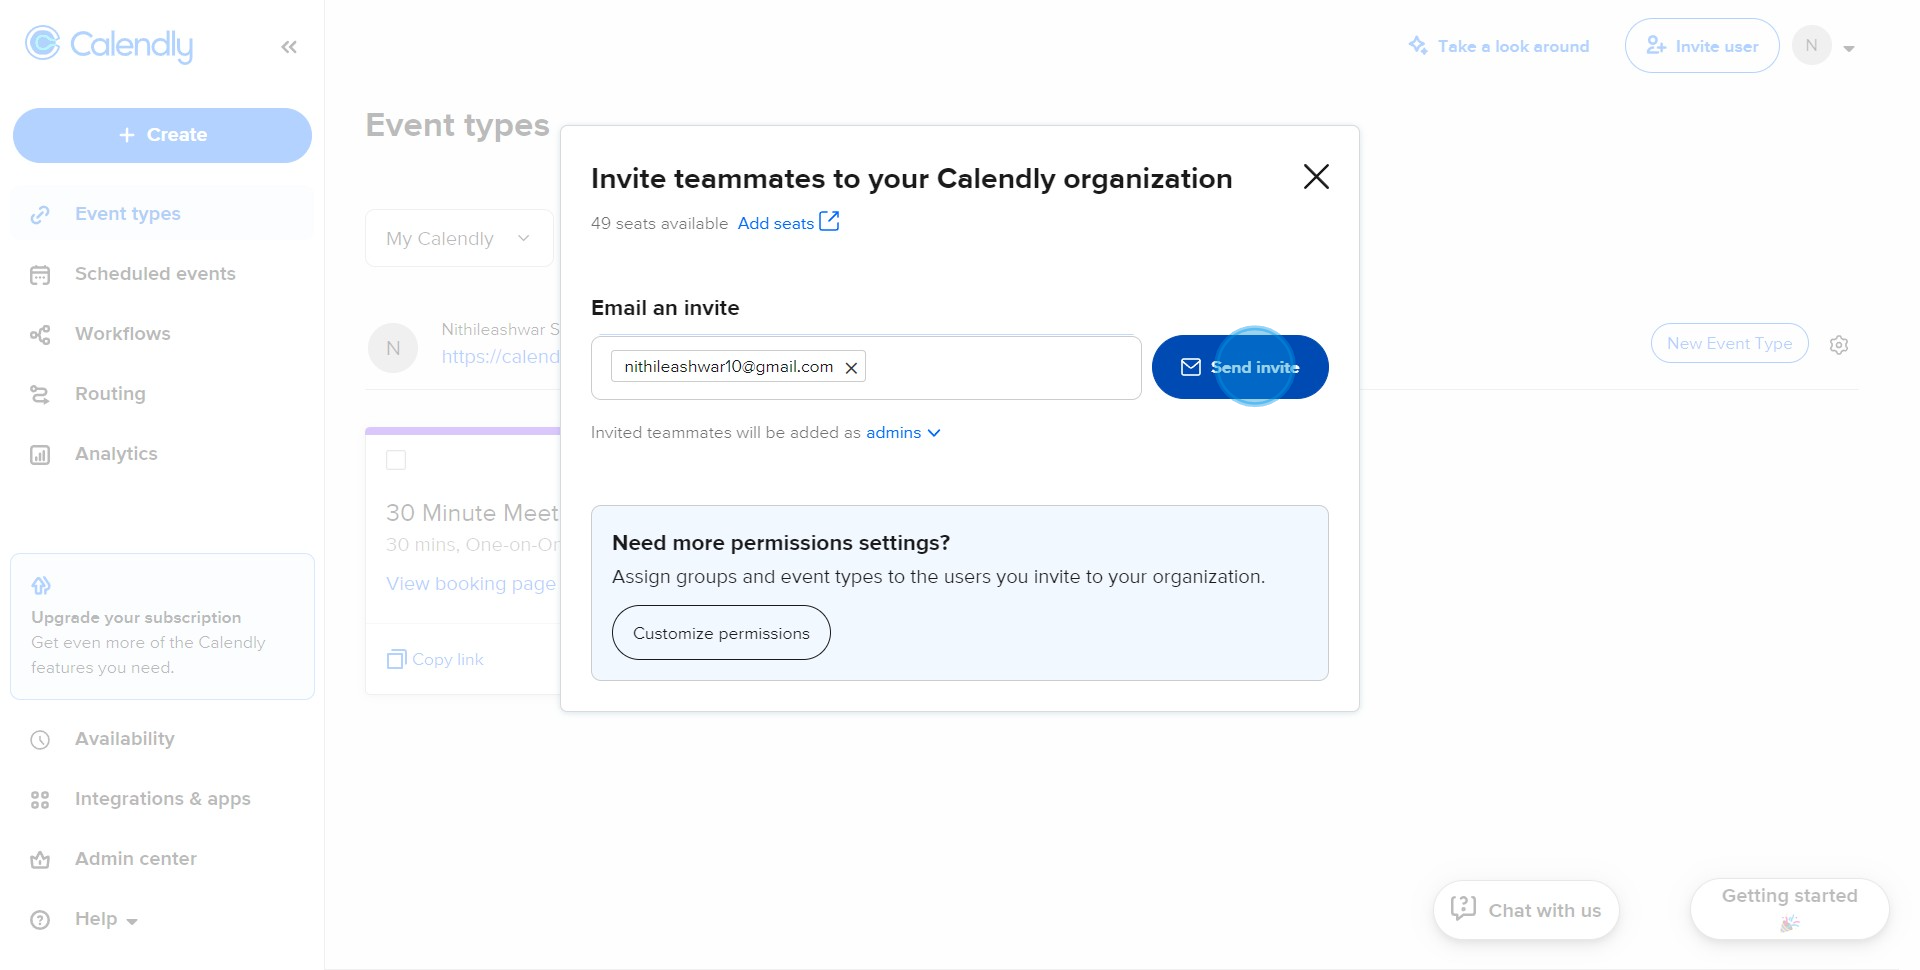
3. Now, go ahead and click on 'Send invite'.
4. Looking good! Now, let's define the user's access level.
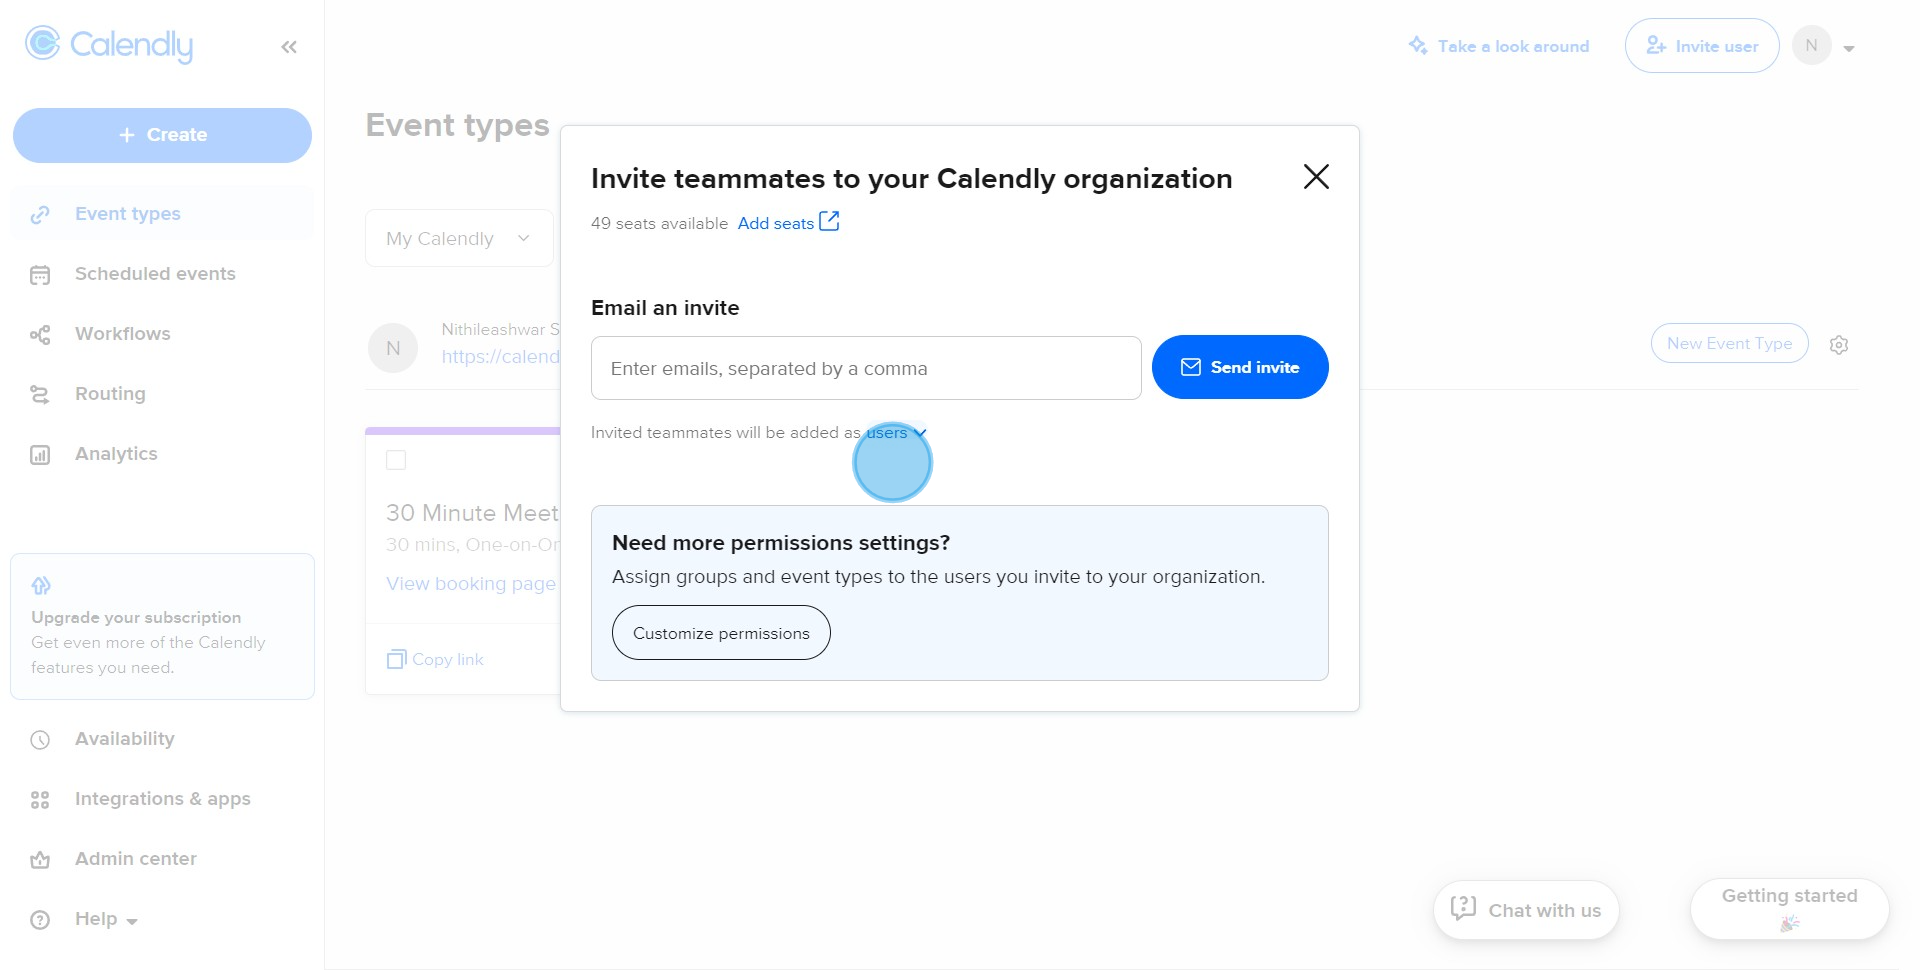
5. Finally, set your teammate's role as per your preference.
Create your own step-by-step demo
Scale up your training and product adoption with beautiful AI-powered interactive demos and guides. Create your first Supademo in seconds for free.
