

Overview:
Streamline your collaboration on the Miro whiteboard by mastering the art of file uploads. Elevate your teamwork and enhance the visual aspect of your projects by effortlessly incorporating files into the Miro platform. This comprehensive guide offers a step-by-step process, ensuring a seamless and efficient experience in uploading files. Learn how to navigate Miro's file upload features to optimize your collaborative efforts and bring clarity to your visual projects within the Miro whiteboard environment.
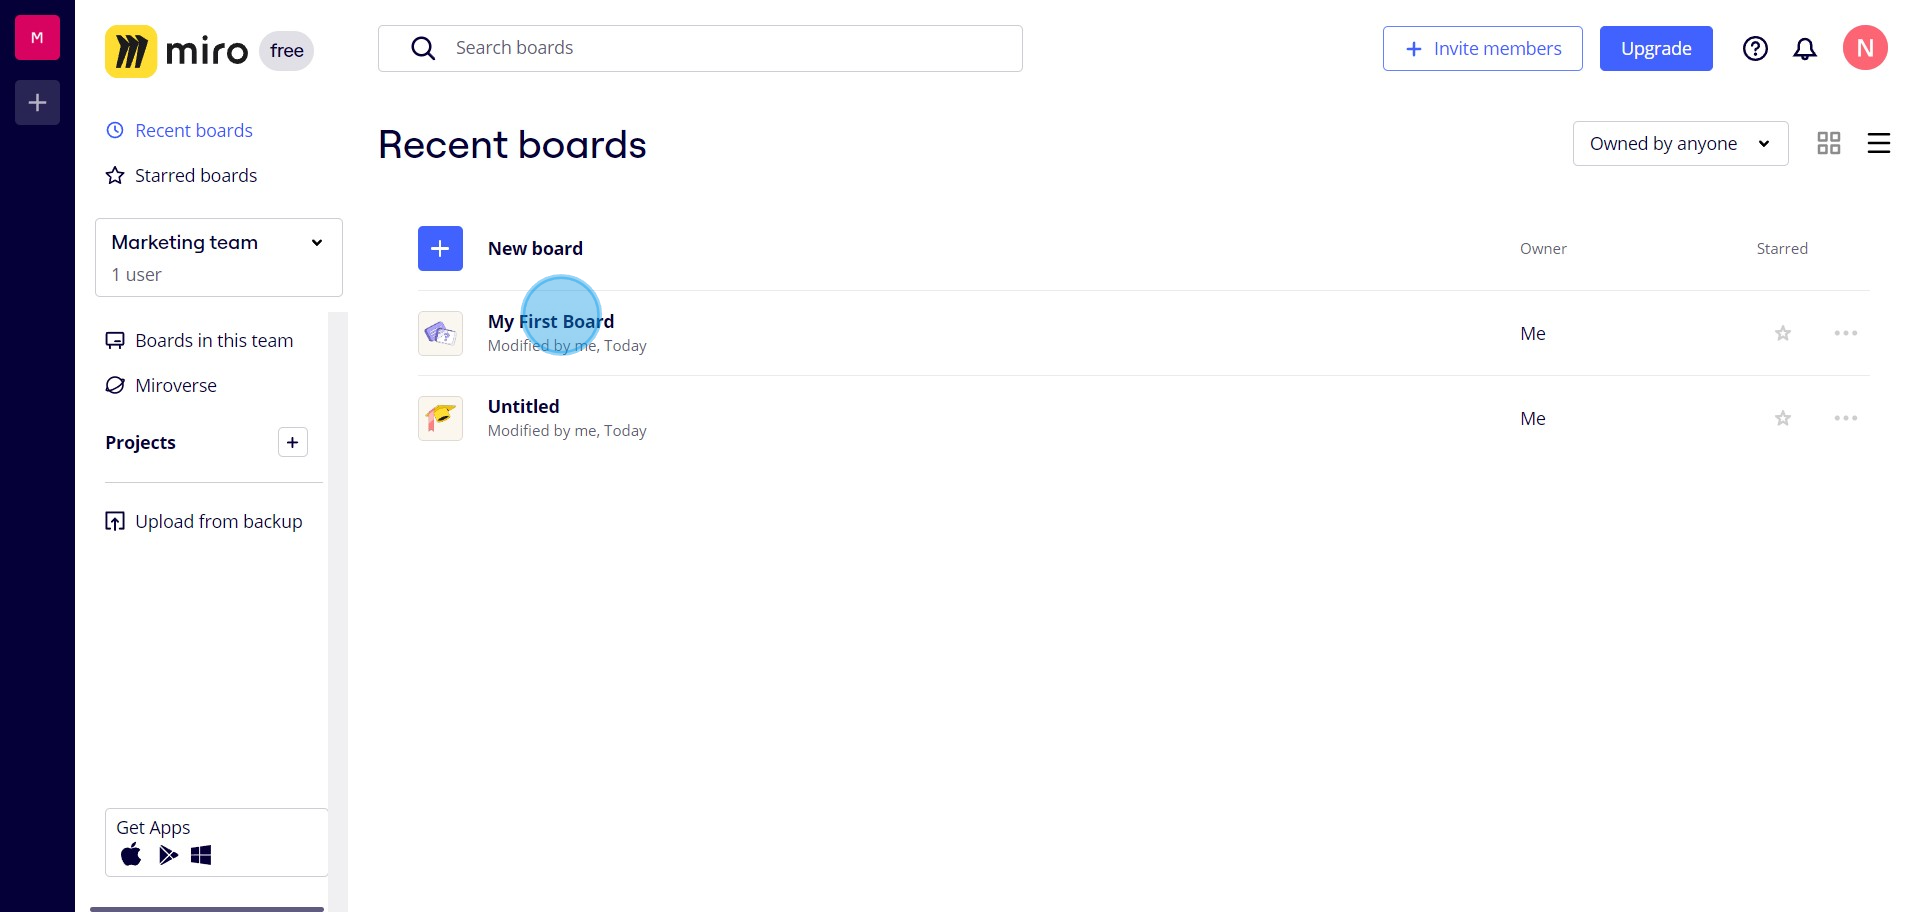
1. Select the 'My First Board' for opening the whiteboard
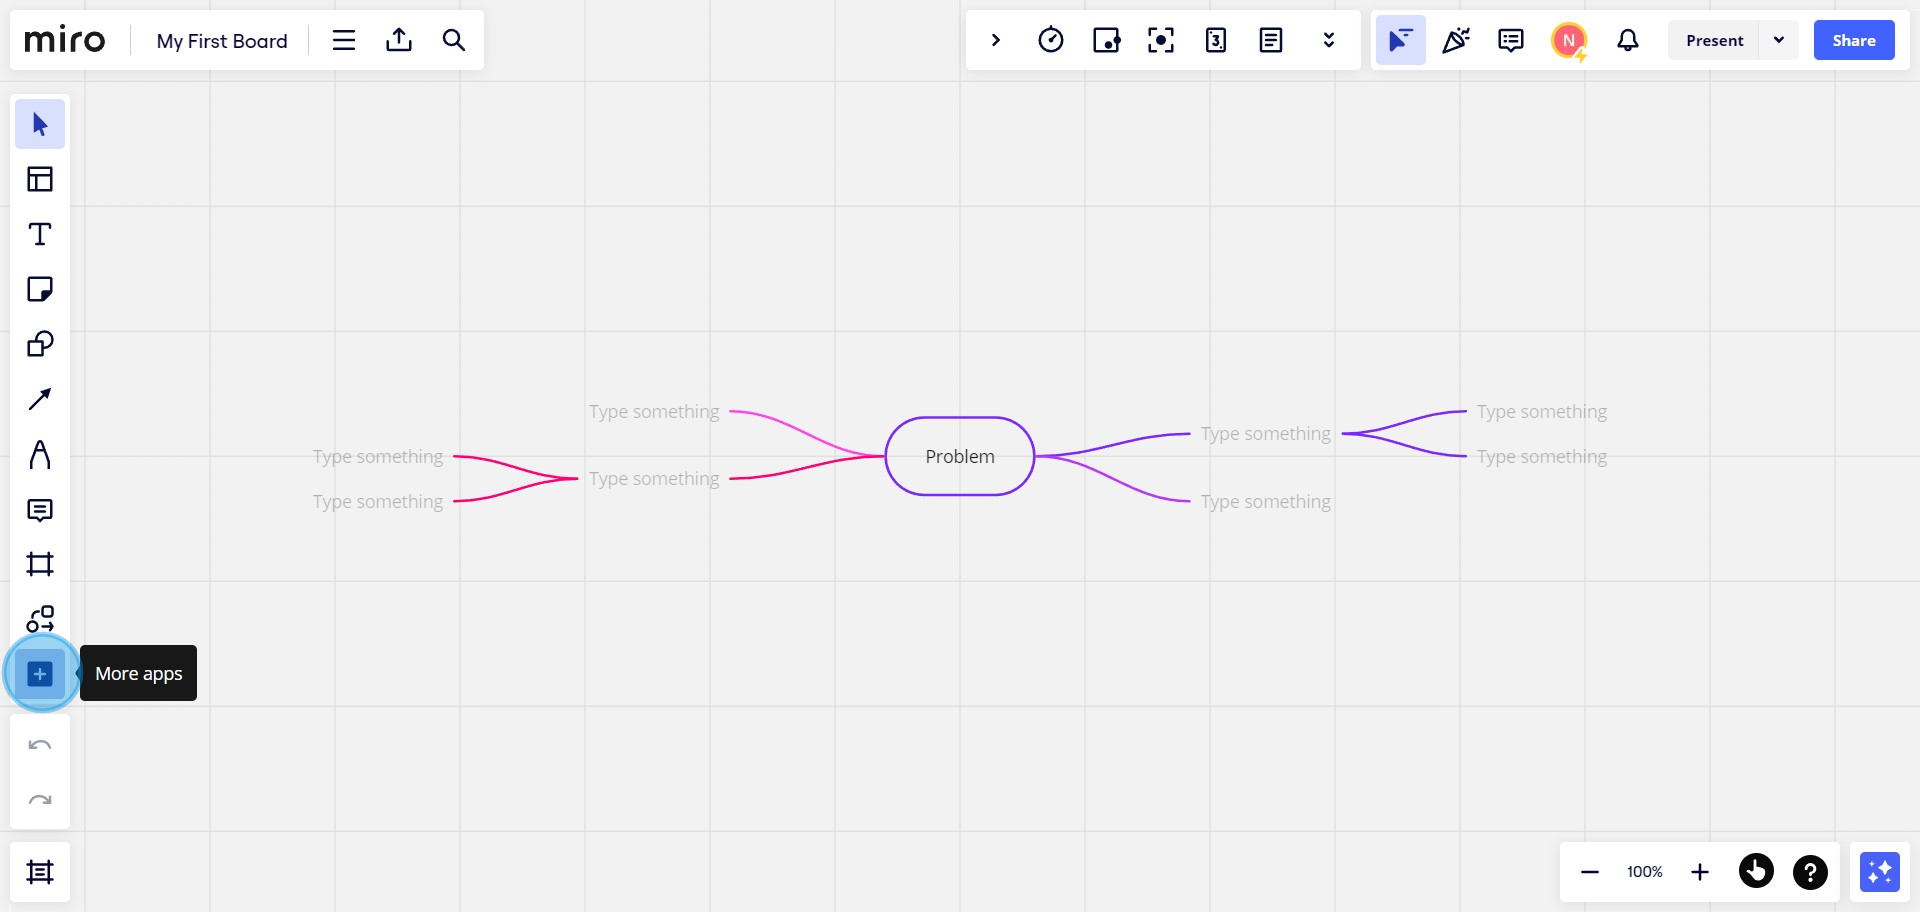
2. Next, navigate to present tools using the button available
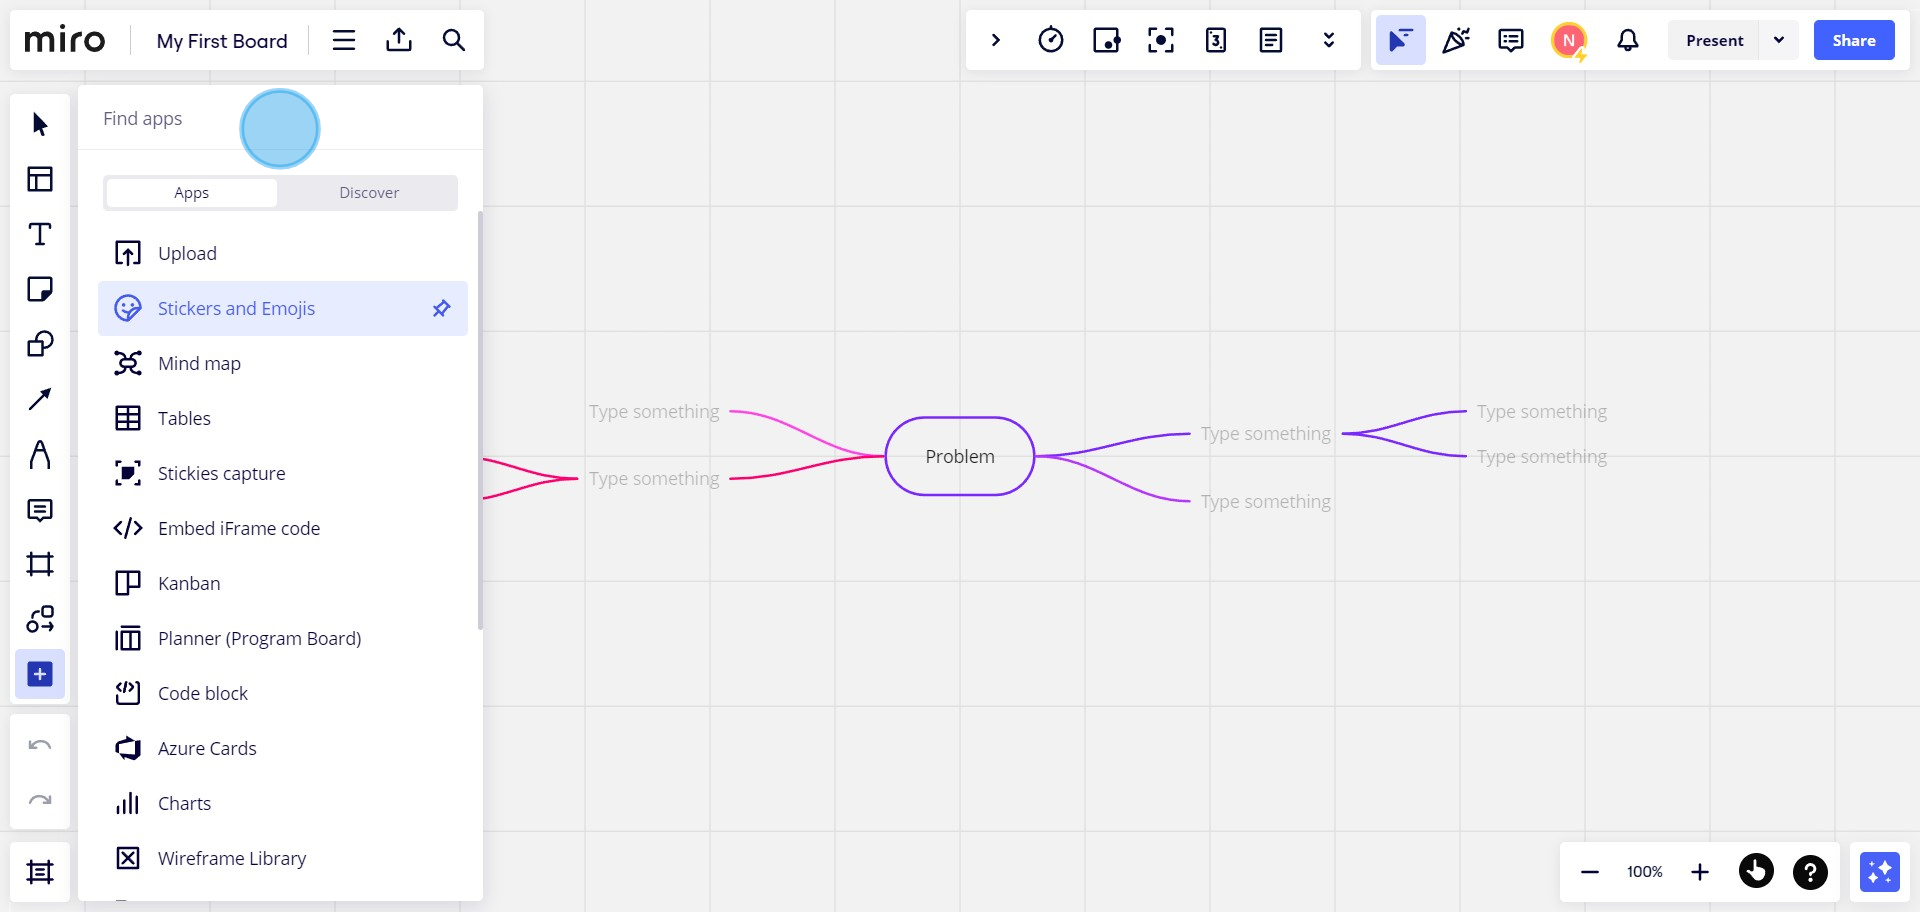
3. Now, type into the provided field to find suitable options
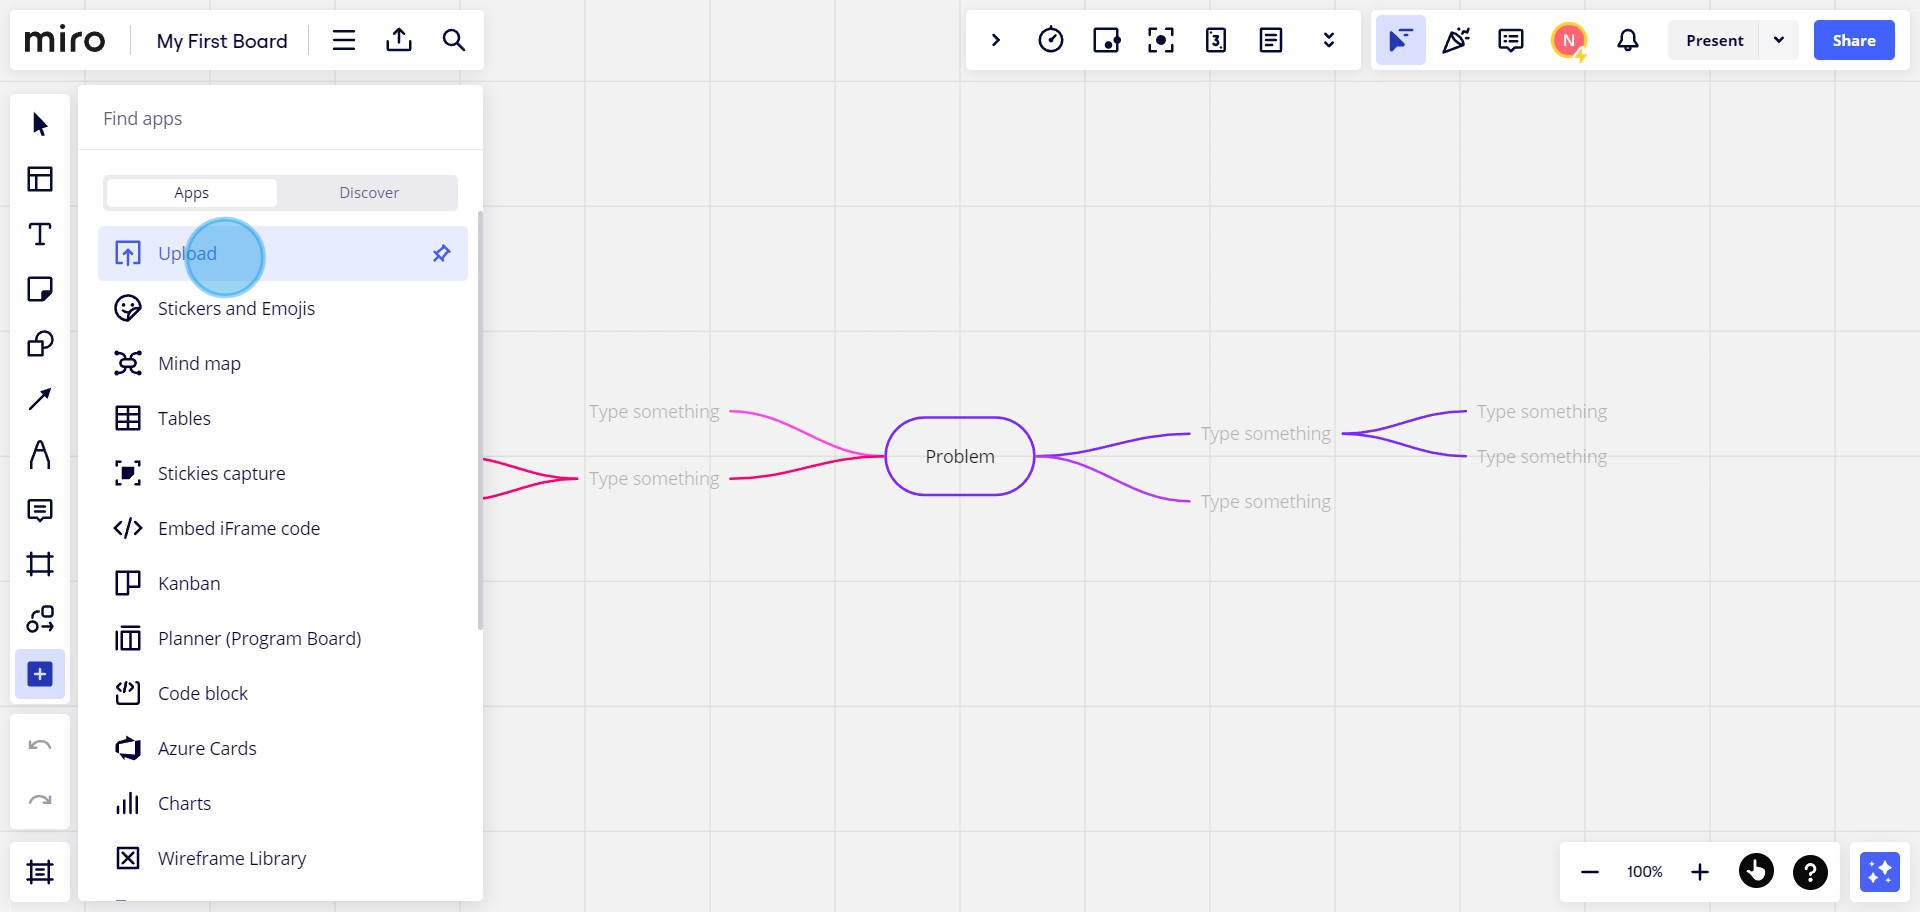
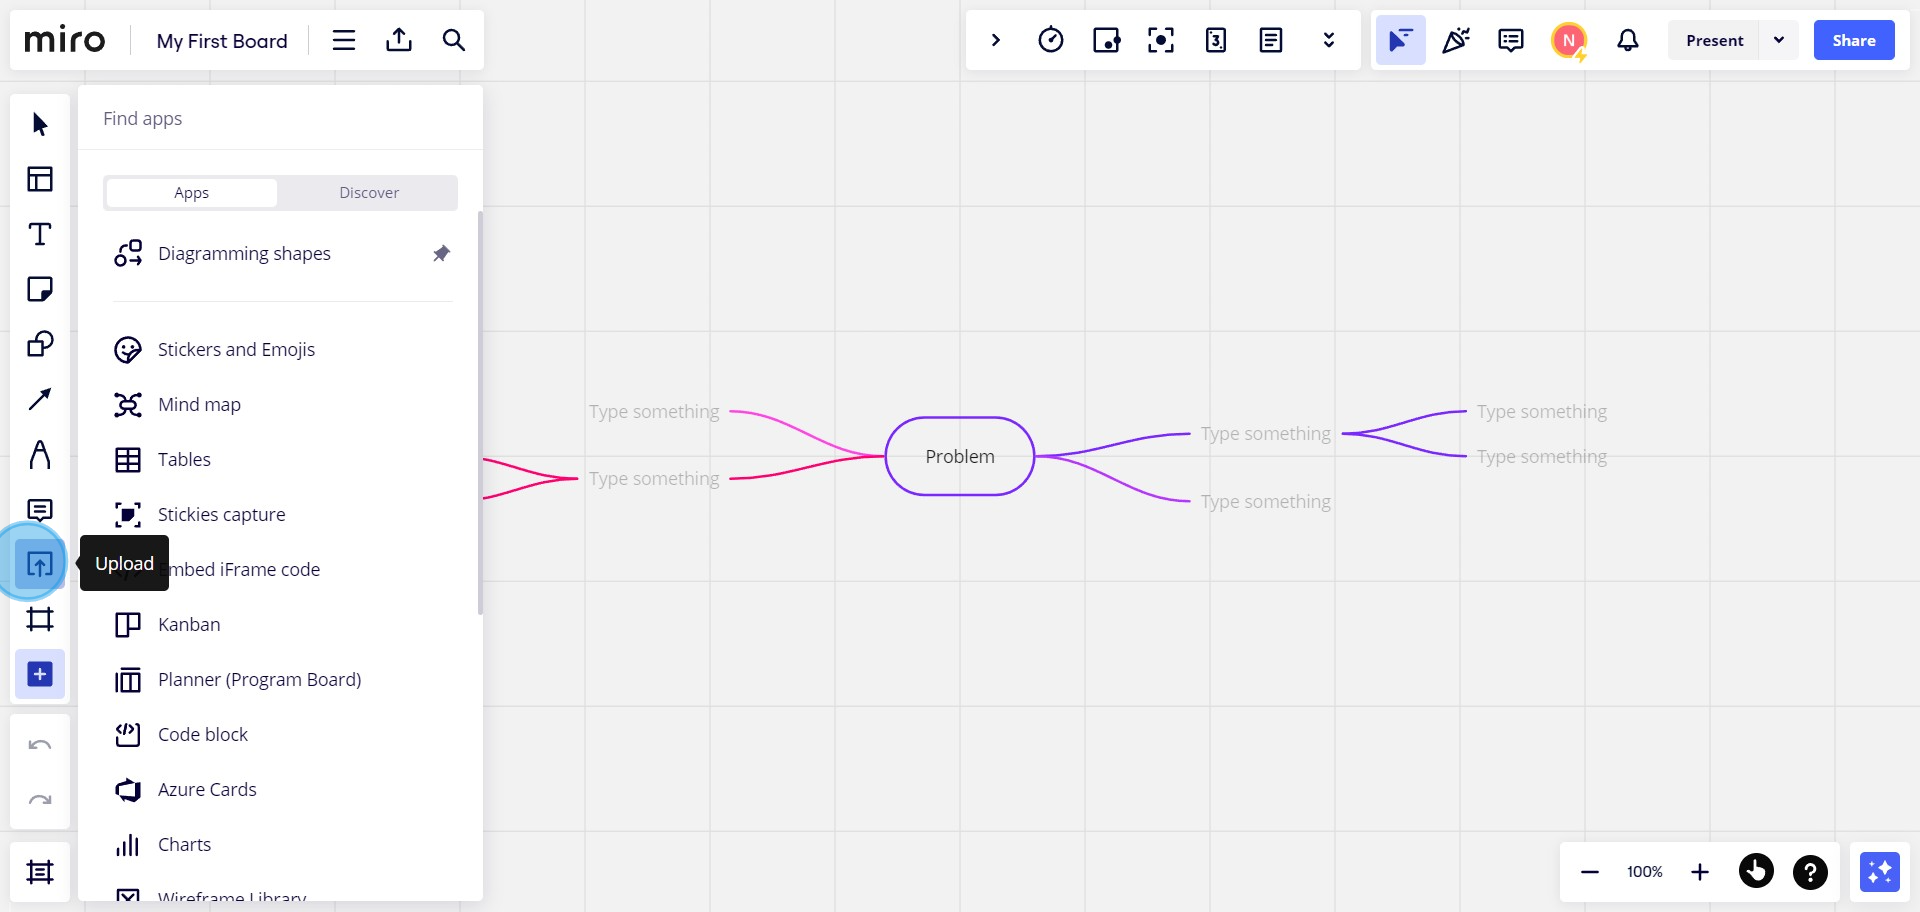
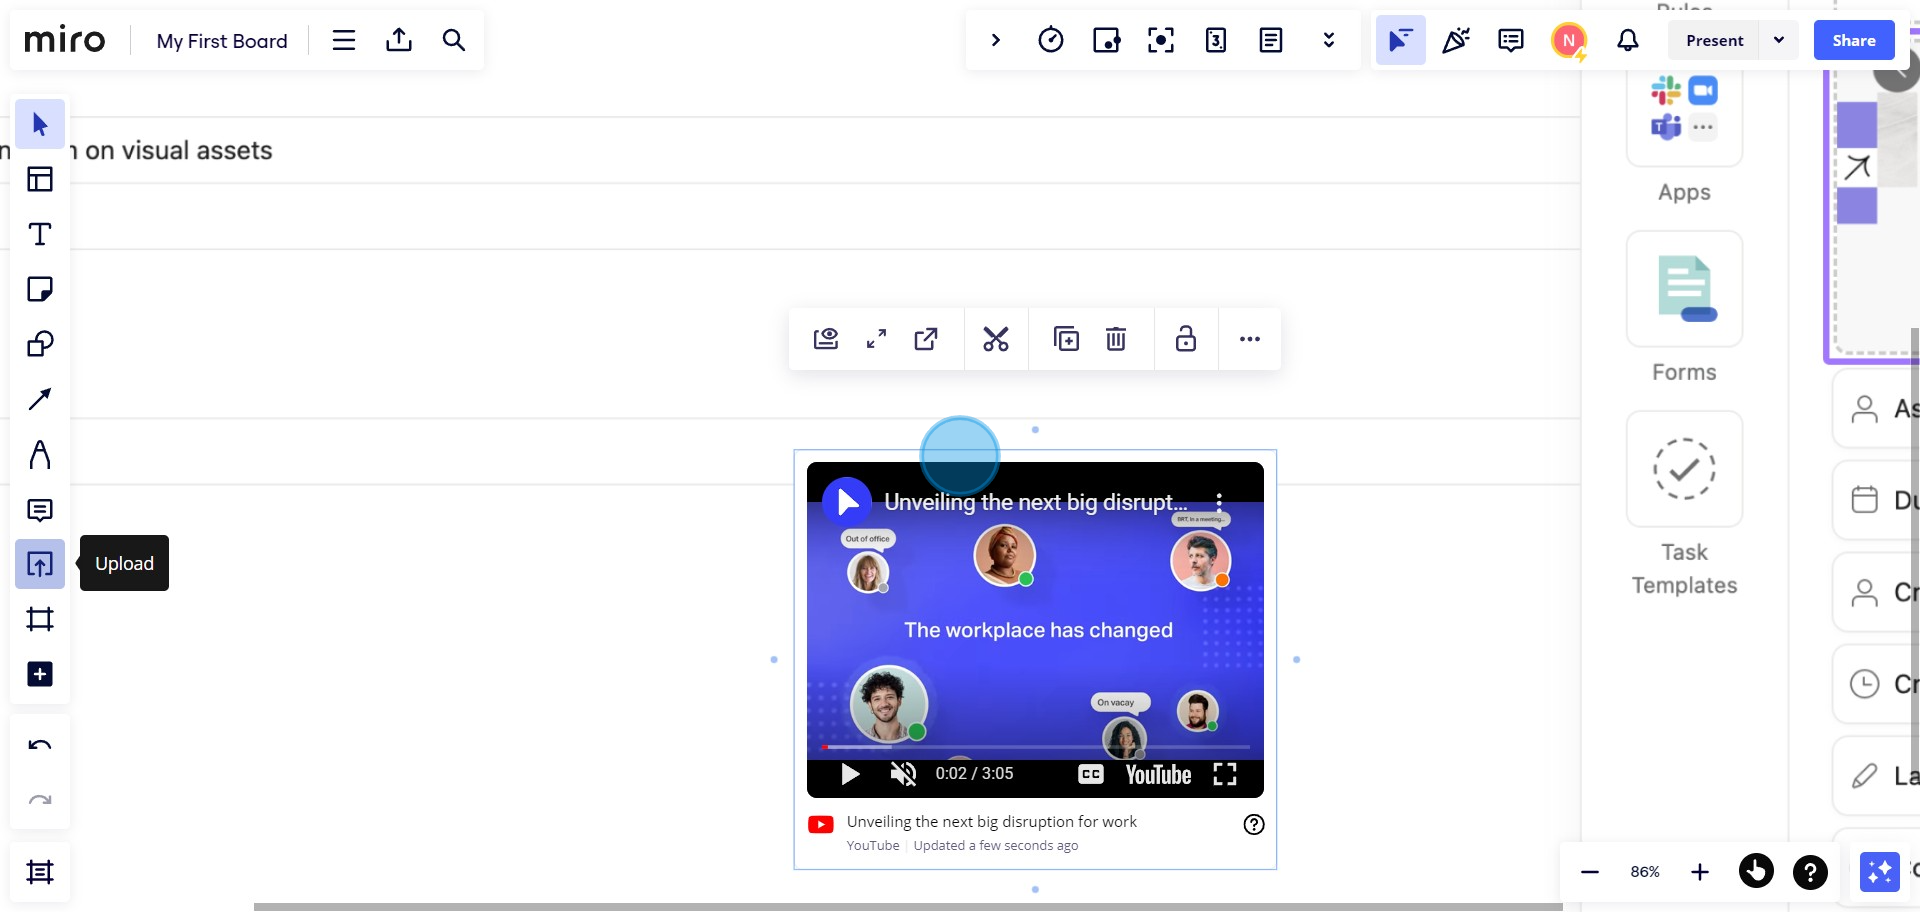
4. Choose 'Upload' from the available options
5. Proceed by dragging and pinning the 'Upload' bar
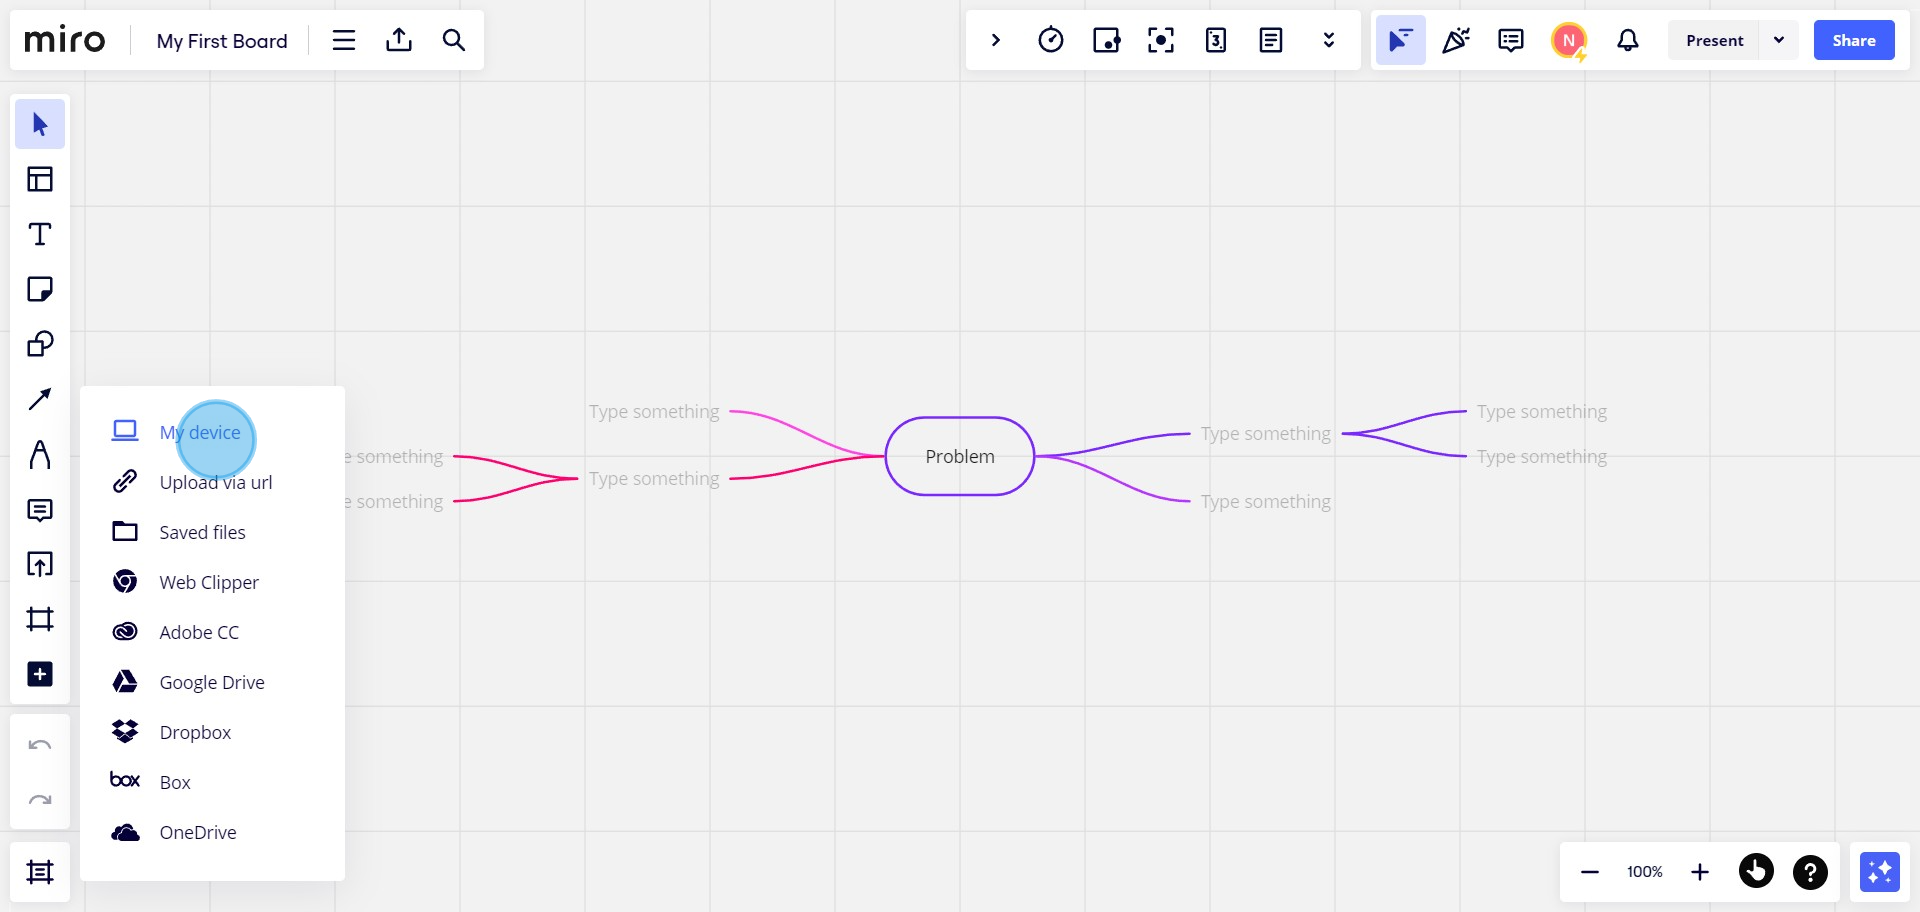
6. You may choose your desired file from 'My device' for upload
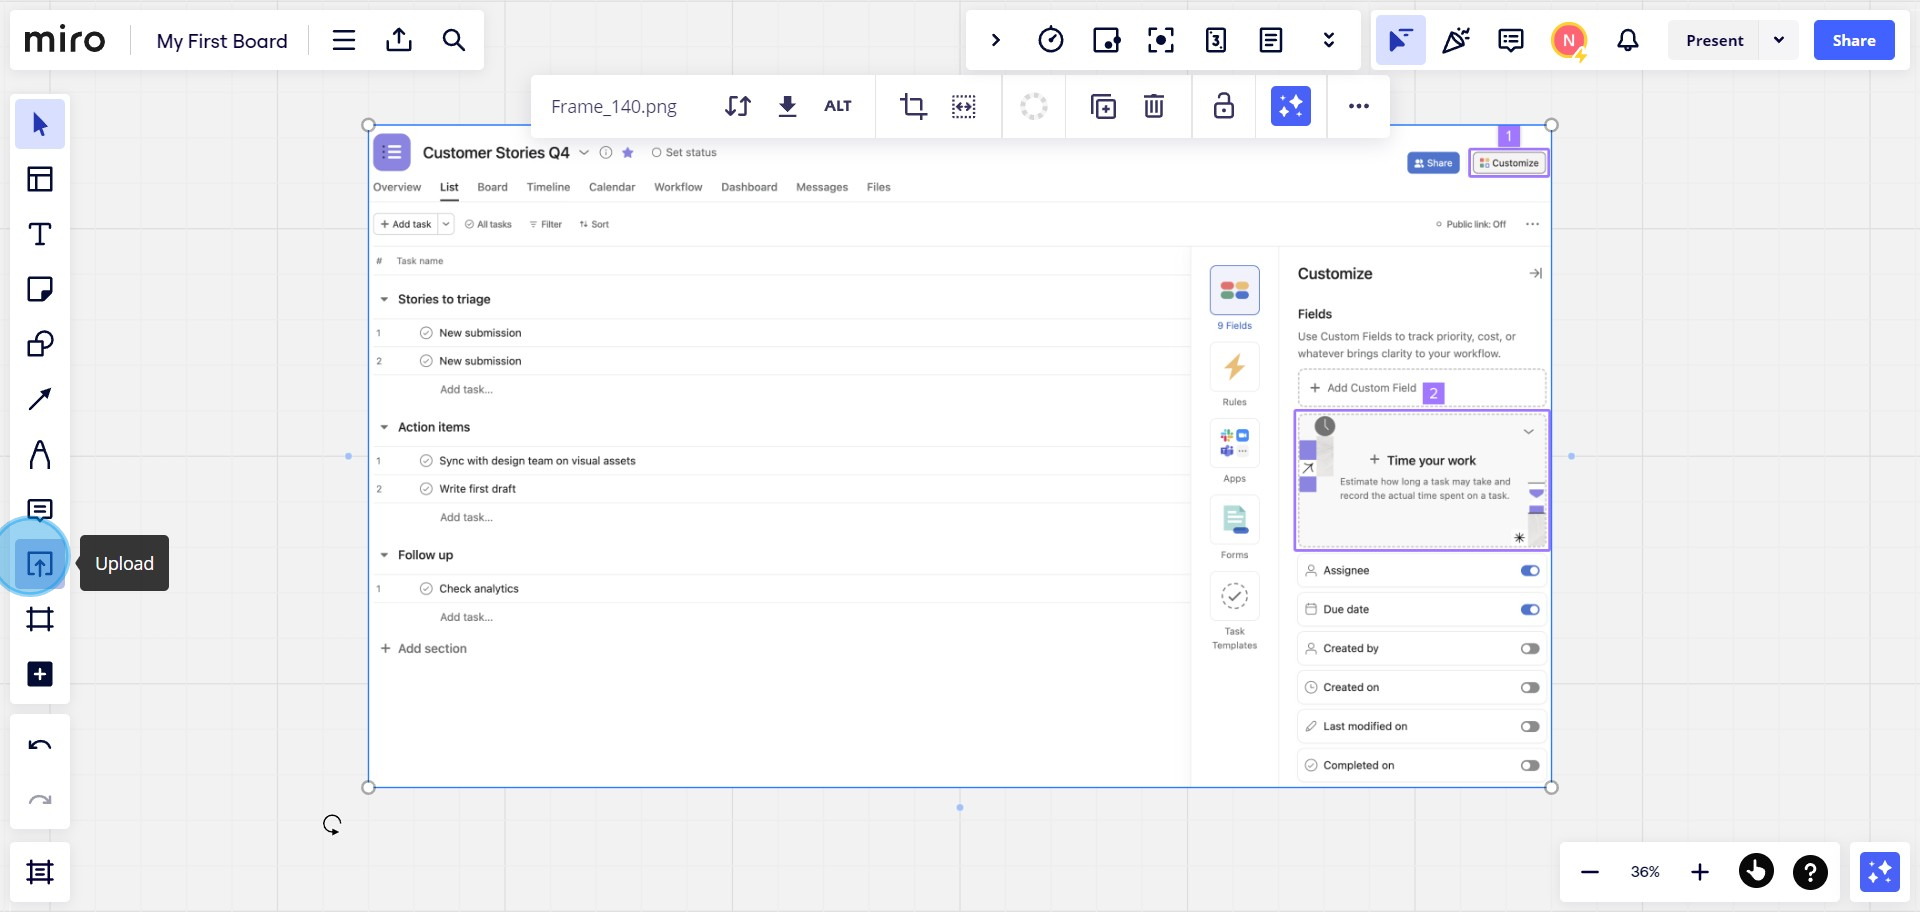
7. Other file upload options available can be explored with a click
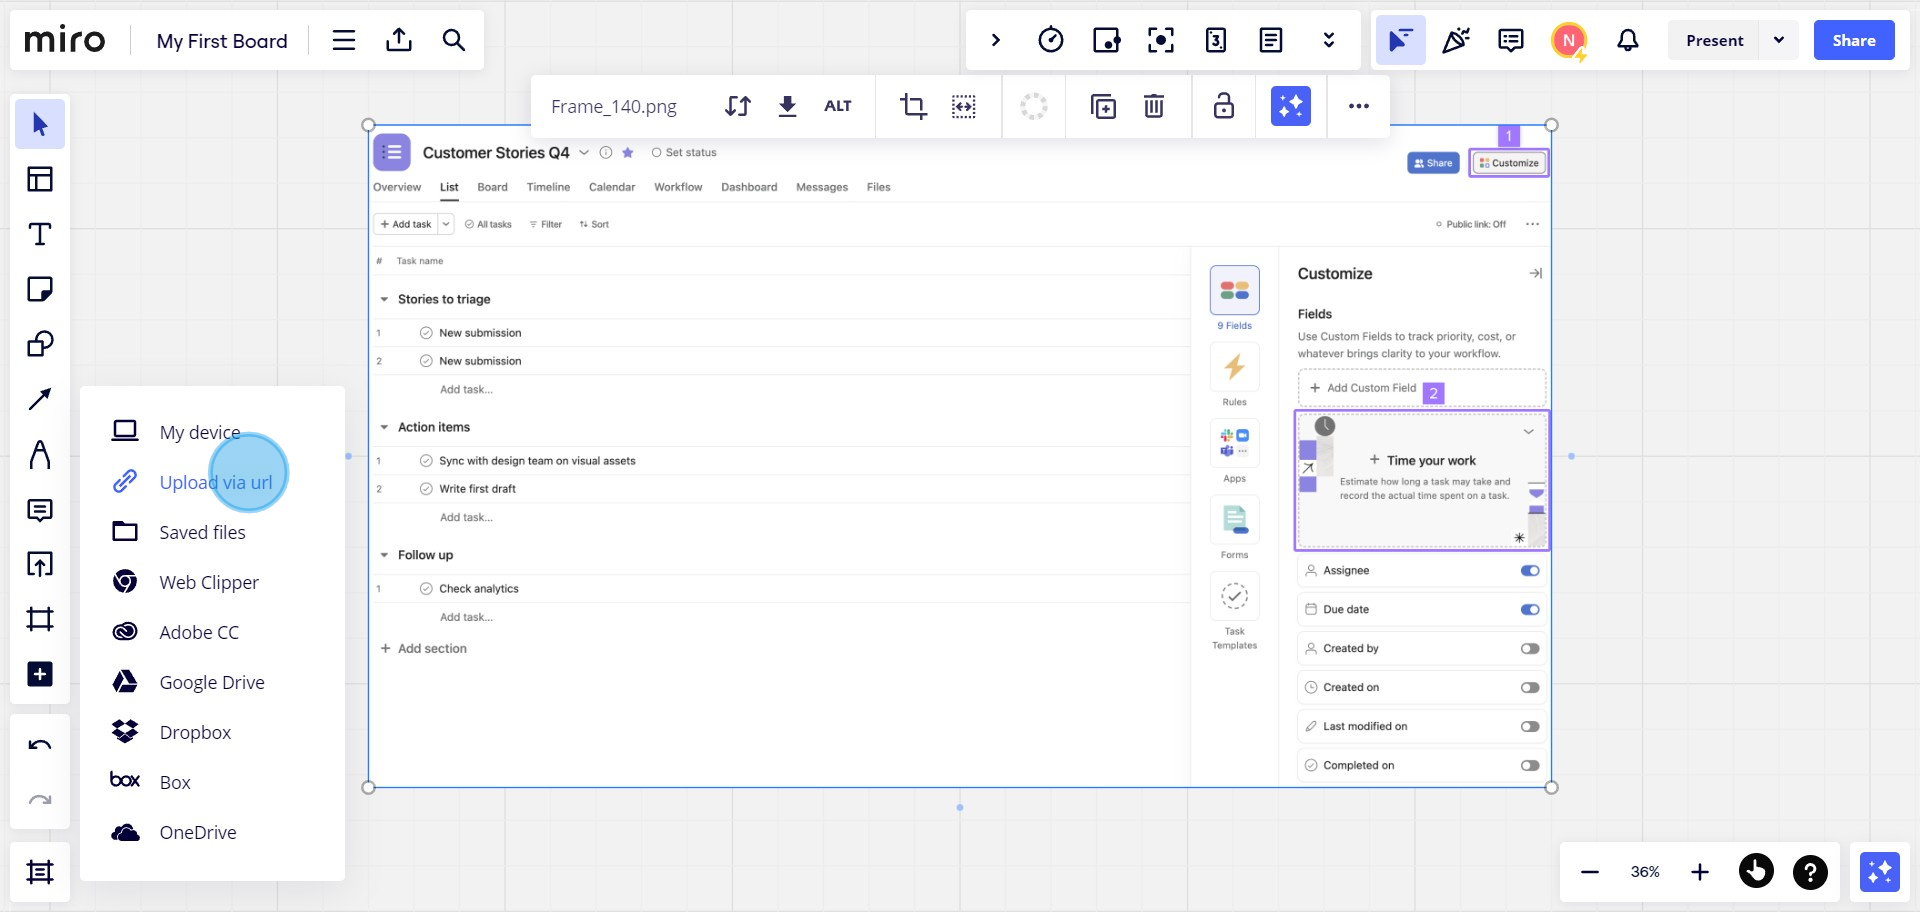
8. If needed, use the 'Upload via URL' option to paste file link
9. Congratulations, your video is now uploaded to the whiteboard
Create your own step-by-step demo
Scale up your training and product adoption with beautiful AI-powered interactive demos and guides. Create your first Supademo in seconds for free.
