Did you know that over 6 in 10 buyers say product demos help them when purchasing a product? Yet, many demos fail to connect because their demo scripts lack the ideal structure.
Learn how to craft a winning demo script that actually leads to higher engagement and more leads. Get a step-by-step guide to crafting a winning demo script, with examples, templates, and an easy checklist.
What is a demo script?
A demo script is a written outline that walks you through your product demo from start to finish. You use it to explain how your product works and why it solves a real problem.
You don’t need to memorize every line. But a script helps you stay organized. It lets you lead with value instead of features. And it helps you avoid missing key points during a live or recorded walkthrough.
A typical demo script includes: A strong opening to grab attention.
- A clear explanation of the main problem your product solves.
- Step-by-step guidance through key features.
- Examples of use cases or results.
- A closing message and call to action.
You can tailor your script for live demos, voiceovers, or video walkthroughs. The goal is to keep it focused, helpful, and relevant to your audience.
Why does an effective demo script matter?
You need a demo script if you want to get your message across without confusion or wasted time. It gives you confidence, keeps your delivery tight, and helps your audience stay engaged.
Here’s what a strong script does for you: Improves clarity - A script keeps your thoughts organized so you avoid rambling or skipping parts.
- Saves time - You cover exactly what matters and leave out what doesn’t.
- Reduces friction - A smooth demo avoids technical hiccups or awkward pauses.
- Drives conversions - A well-scripted message makes it easier for people to say yes.
If you wing it, you risk losing your audience halfway through. With a script, you guide the viewer every step of the way.
Important considerations when creating a software demo script
But before writing your software demo script, it’s important to take time to think through a few key things. These decisions shape how your demo looks, sounds, and flows. A few smart choices upfront save you from rewriting later or losing your audience halfway through.
Here’s what you need to cover before writing your first line.
1. Know your viewer
Your demo will land better when you know who’s watching. Write the script based on their role, experience level, and what matters most to them.
Ask these questions: Is this person technical or non-technical?
- Have they used a similar tool before?
- Are they evaluating you for purchase, onboarding, or training?
Tailor your examples, word choice, and focus to match. For instance, if your target customer is a product manager, they may want to see time savings. On the other hand, a sales leader may care more about conversion.
2. Focus on product–problem fit
Your product solves a problem. That problem should be front and center in the demo. Don’t start with every feature you offer. That overwhelms and confuses people more.
Instead: Start with a problem your audience faces every day.
- Show how your product solves it step by step.
- Tie each feature back to a benefit or outcome.
As
This approach helps the viewer connect your product to their real-world needs. That’s what helps them remember and take action.
3. Use real use cases and success stories
As Robert Cialdini, author of Influence, explains: “We view a behavior as more correct in a given situation to the degree that we see others performing it.”
In other words, social proof makes your demo more persuasive when prospects see peers succeeding with your product.
Bring in examples that match the viewer’s context.
You can include: Quick mentions of similar companies that saw results.
- Screens or workflows with realistic data.
- Common tasks they already do, now improved with your product.
You don’t need long stories. A simple phrase like “Teams like yours use this to cut down training time by half” goes a long way.
4. Know your demo format
Before writing your script, decide where and how it will run. Because this affects script length, tone, and depth.
Choose based on: Live vs recorded - Live demos allow more flexibility. Recorded ones need tighter scripting.
- With or without voiceover - If you’re adding narration, your script must sound natural when spoken.
- Tool or platform - Some tools let you pause, zoom, or branch. Others may be linear walkthroughs.
Match your script to the tool and format. If you’re using something like Supademo, you can keep the script modular. Viewers can move at their own pace while you guide them with chapters and hotspots.
5. Nail your timing
Most people drop off fast. And let’s face it, you don’t have time to cover everything. So, it is essential to keep your main message and most valuable feature early in the script.
Aim for: 1–2 minutes for a quick feature walkthrough.
- 3–4 minutes for onboarding or sales-focused demos.
- Under 7 minutes for full platform overviews.
Test your script with a timer. Cut anything that doesn’t support the core goal.
Shorter demos with clear messaging always perform better than longer ones that try to show too much.
Step-by-step guide to structuring your demo script
Now, the ideal way to structure a demo script doesn’t mean you need to include every feature inside it. Before you write anything, it is essential to understand the goal first.
Every high-converting demo has one single goal: to help the viewer understand your product easily, without wasting their time.
You’re trying to connect a real problem with how your product solves it. That means focusing on the message, not just the features.
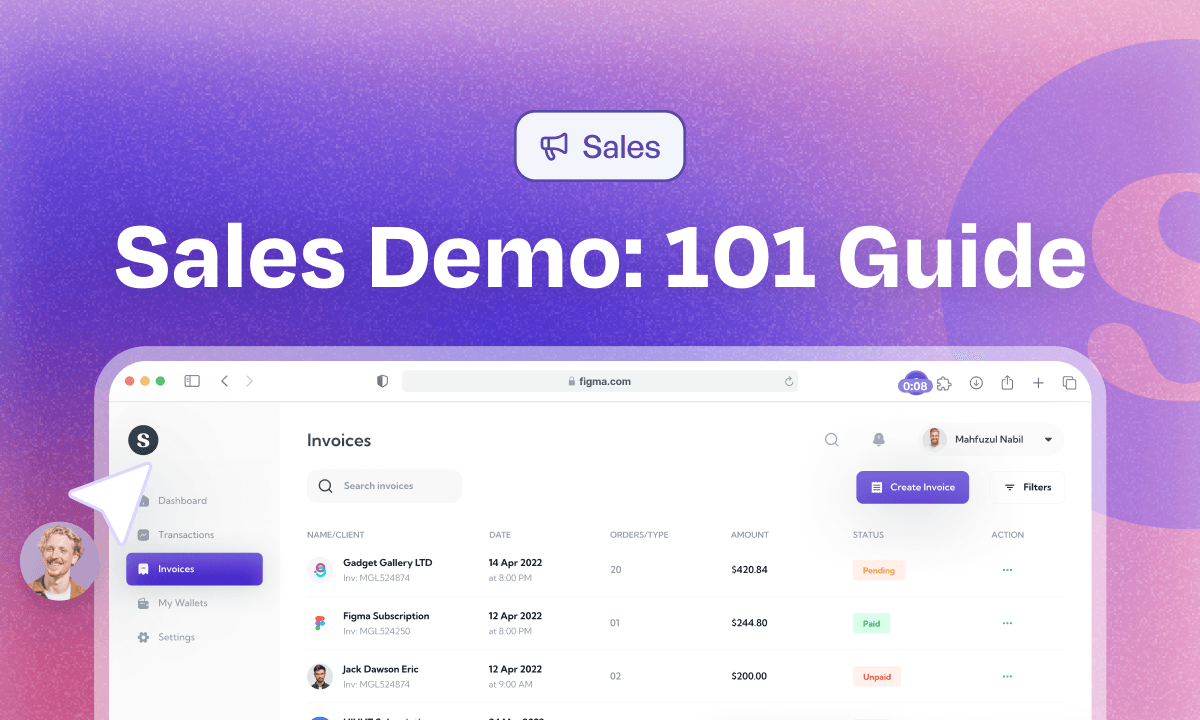
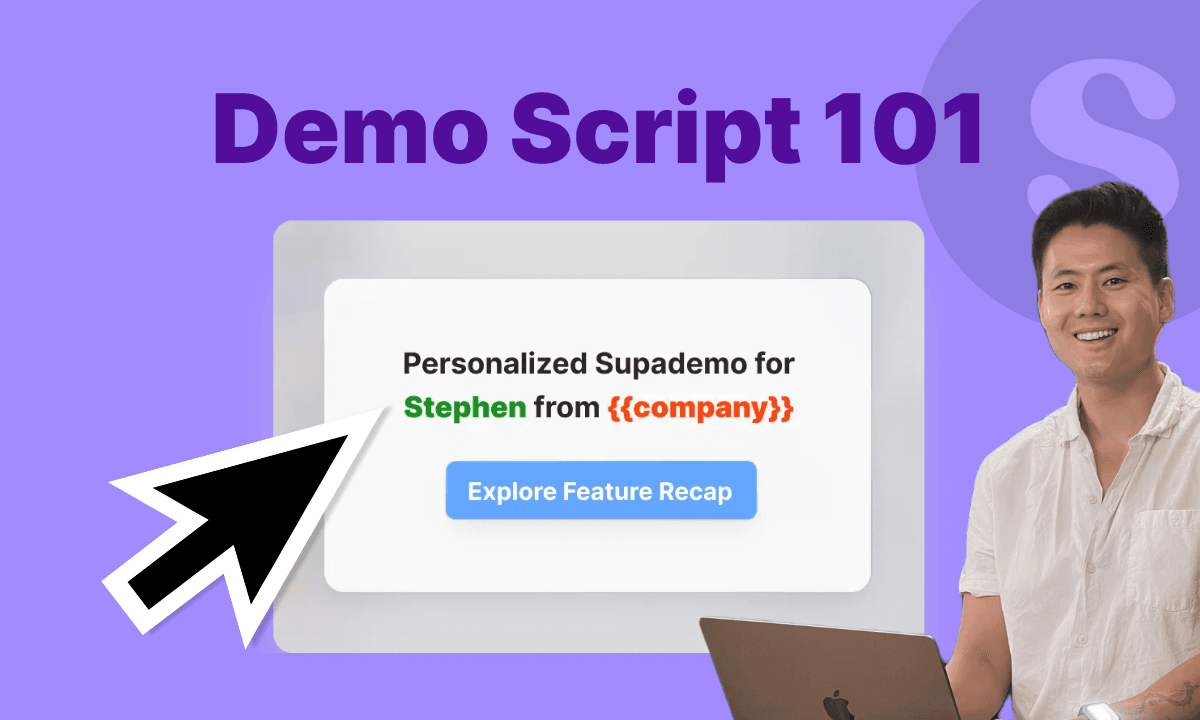
Let’s walk through how to structure a software demo script. We’ve used Supademo as an example to showcase how you can structure an effective demo script.
Step-1. Start strong with a clear opening
Your first 10 seconds matter a lot. Lead with a statement that shows you understand your viewer’s problem. This sets the context and earns attention. Don’t open with “Here’s our product” — that’s a quick way to lose them.
First, say what the product does and who it helps. For example:
“If you're spending hours creating walkthroughs or answering the same onboarding questions, Supademo helps you turn any product workflow into a guided, shareable demo in minutes.”
Now the viewer knows why they should care. You’ve made it about them.
Step-2. Identify and frame the pain point
Before jumping into features, explain what challenge you’re solving. Keep it relevant to their role or daily tasks.
You could say:
“Most teams use static screenshots or long videos to explain workflows. But those get outdated fast, lack context, and take too long to produce.”
So, now your audience sees that their current method isn’t working. You’ve built a gap they want to fix.
Step-3. Show what the product does — tied to outcomes
This is where you walk through your product. Break it into steps. At each point, tie the action back to a benefit.
Here’s how that could look for Supademo:
“Start by opening the Supademo Chrome extension.
Click ‘Record New Demo’ — you can choose screen, video, or HTML mode.
Click through your product just like a user would. Supademo captures each step.
Once you finish, you can add audio or text instructions on each slide.
If you want to personalize it, insert dynamic fields like first name or company.
You can also build branching paths based on viewer behavior — so one viewer sees a setup flow, another sees reporting features.
When you’re done, just share the demo as a link or embed it into your help center or onboarding doc.”
Each step focuses on an action and the value it brings.
Step-4. Highlight the turning point that shows your value
There’s always one moment in a demo where things click. This is when the viewer thinks, “This will actually help me.” You want to call that out clearly.
In Supademo, that moment is when they see how fast and flexible the editing and sharing process is, especially compared to recording and re-recording full videos.
You might say:
“What makes Supademo stand out is how easy it is to update. Need to change one step? Just re-record that screen, not the whole demo. And every time you update, the link stays the same.”
This makes your value obvious. You’re solving a real pain with a real feature.
Step-5. Close with a direct and useful next step
Finally, it’s time to end with a call to action. Don’t assume the viewer knows what to do next. Give them a clear path.
Say something like:
“You can create your first interactive demo in less than five minutes. Just install the extension, click through your workflow, and start sharing.”
Avoid generic lines like “Check us out” or “Let us know.” Tell them particularly what they can do today.
Putting it all together: Full example SaaS demo script template using Supademo
Below is how all of these pieces fit into a full demo script. You can use this as a template or guide for your own script.
[Opening]
“If you're spending hours creating walkthroughs or answering the same onboarding questions, Supademo helps you turn any product workflow into a guided, shareable demo in minutes.”
[Pain Point]
“Most teams use static screenshots or long videos to explain workflows. But those get outdated fast, lack context, and take too long to produce.”
[Step-by-Step Walkthrough]
“Start by opening the Supademo Chrome extension.
Click ‘Record New Demo’ — you can choose screen, video, or HTML mode.
Click through your product just like a user would. Supademo captures each step.
Once you finish, you can add audio or text instructions on each slide.
If you want to personalize it, insert dynamic fields like first name or company.
You can also build branching paths based on viewer behavior — so one viewer sees a setup flow, another sees reporting features.
When you’re done, just share the demo as a link or embed it into your help center or onboarding doc.”
[Turning Point Moment]
“What makes Supademo stand out is how easy it is to update. Need to change one step? Just re-record that screen, not the whole demo. And every time you update, the link stays the same.”
[Call to Action]
“You can create your first interactive demo in less than five minutes. Just install the extension, click through your workflow, and start sharing.”
5 Winning SaaS demo script templates
Need more inspiration for crafting effective demo scripts? Here are the top 5 example templates of demo scripts based on different needs:
1. New user onboarding demo script
Use this when: You’re helping a first-time user set up their account and complete a key task.
Script template:
“Welcome to [Product Name]. In this short walkthrough, you’ll learn how to [main action, e.g., create your first campaign or set up your dashboard] in just a few steps.
Let’s start at your main dashboard. Click the [CTA button name] in the top right to begin.
From here, choose [option A] or [option B], depending on your needs.
Add your basic details, like [name], [goal], and [timeline]. Then click Next.
Use the side menu to adjust [key setting] or add [optional feature].
When you’re ready, click Save and Launch to go live.
That’s it—you’ve just completed your first setup. You can now explore [related feature] or revisit this demo anytime under [navigation path].”
2. Sales demo script for prospects
Use this when: You’re showing a potential customer how your product solves a specific problem.
Script template:
“If you’re spending too much time on [common challenge], this demo will show how [Product Name] helps you fix that in just a few clicks.
Let’s begin at your dashboard. This is where you can track [main metric] and take action immediately.
Click [Primary Feature] to see how it works. Here, you can [describe function: e.g., generate reports, automate tasks, or visualize trends].
In just seconds, [Product Name] pulls your [data source] and creates [output].
You can filter this by [variable] or sort by [priority]. Most teams use this to [result: save time, cut errors, hit targets].
You’ll also notice [social proof: a quote, usage stat, or customer mention], which shows how other teams get value from this.
When you're ready, click [CTA] to get started or schedule a full walkthrough with our team.”
3. Support or help center demo script
Use this when: You’re helping users solve a specific issue or complete a support-related task.
Script template:
“If you're having trouble with [issue], follow this quick walkthrough to fix it.
Start by going to your [settings page or specific module].
Click [submenu or button], then scroll down to [relevant section].
Make sure [toggle, permission, or field] is set to [correct value or setting].
If you still see an error, click Reset and then reapply your changes.
This resolves the issue in most cases. You can also check [additional resource or setting] if needed.
Still stuck? Contact support directly through the Help button in the bottom right corner.”
4. Feature walkthrough for existing users
Use this when: You’re introducing an advanced feature that your users may not have used before.
Script template:
“Here’s a quick look at how to use [Feature Name] to [specific outcome, like boost reporting, streamline tasks, or customize output].
Go to the [Feature tab] in your left menu.
Click Create New and select your inputs. You’ll see options for [setting A], [setting B], and [setting C].
Choose the one that fits your use case, then customize the fields.
You can preview the result before saving it. Use the Preview button to test different configurations.
Once everything looks right, click Apply. This will activate the feature across your workspace.
Tip: You can always revisit this flow from [navigation path] or set it as a default for new users.”
5. Internal demo for stakeholders or executives
Use this when: You’re presenting your product to internal teams, investors, or leadership to show impact or progress.
Script template:
“This demo gives you a quick look at how [Product Name] supports [key business objective or initiative].
We’ll start with live metrics from the dashboard. As you can see, [highlight stat or growth trend] shows recent traction.
Next, let’s walk through how teams use [core feature] to complete [task or workflow].
Click into the [Feature panel], and you’ll see how [data or task] flows through the system.
Notice how [customization, automation, or alerting] is built in, which helps reduce manual work.
We’ve also added [new update or result], which cut time spent by [metric or percent].
Questions or feedback are welcome—this is a great point to align on next steps or improvements.”
Tips for writing an effective software demo script (with a checklist)
Writing a strong demo script doesn’t mean you need to sound polished or perfect every time. It means your message should land, your flow should make sense, and your viewer should know exactly what they’re looking at and why it matters.
Here’s an easy checklist that’ll help you write your next demo script:
1. Focus on one main message
Before writing anything, decide what you want the viewer to take away. Don’t try to show every feature. Pick the one thing that matters most for this viewer. Build your script around that.
Ask yourself: What problem are they trying to solve?
- What part of the product helps them do that best?
If your message is unclear, the demo won’t stick, no matter how many features you show.
2. Keep it tight and goal-driven
Every part of your script should have a job: The intro should name the problem.
- The walkthrough should show the fix.
- The close should drive an action.
Don’t let any section drag. Cut anything that doesn’t help the viewer take the next step or better understand the product.
3. Match tone to your audience
Your script should feel natural and useful to the person watching. Avoid stiff or generic lines like “Our robust platform empowers users.” Instead, write the way you’d explain it in a real conversation.
For example: Instead of “Utilize our dashboard to access data,” say “Click the dashboard to see your latest numbers.”
4. Use short, clear steps
Break your walkthrough into steps with just one action per line. This helps your viewer follow along without getting overwhelmed.
Example: Go to your dashboard.
- Click “New Project.”
- Choose your template.
- Add your content and hit “Save.”
Avoid cramming multiple actions or instructions into one sentence. Think in logical, simple progressions that make sense on their own.
5. Include visual or interaction cues
If your demo includes visuals, voiceover, or an interactive layer, write with that in mind. Call out key areas the viewer should notice.
For example: “Look at the top right corner—this is where you’ll see alerts as they come in.”
You can also guide interaction: “Hover over each item to see a quick summary before clicking through.”
These small cues help viewers stay on track and engage with the content.
6. Write for spoken delivery if using voiceover
If your demo includes narration, read your script out loud while writing. It should sound like something you’d actually say, not something you’d read from a slide.
If you're stuck on the initial draft, an AI script generator can help you get a solid starting point that you can then refine to match your natural voice.
Watch for: Long or clunky sentences.
- Repeating words or filler.
- Tone shifts that feel off or forced.
People engage better with spoken content that sounds human and clear.
7. Anticipate user friction and offer clarity
As you write, think about where someone might get confused. Use your script to call out those areas and offer guidance.
Examples: “If this screen looks different, you might be on an older version—click here to update.”
- “If nothing loads, make sure you’ve connected your data first.”
These small notes save time and show that you understand the user’s context.
8. Finish strong with a specific CTA
End with a call to action that tells the viewer what to do next. Be clear. Don’t just say “Learn more” or “Check it out.”
Use something like: “Try this in your account now—just go to [page].”
- “Click ‘Get Started’ to launch your first demo.”
- “Schedule a walkthrough with our team to customize this for your workflow.”
The CTA should match the viewer’s intent, whether they’re ready to explore, compare, or ask questions.
Create great demos with Supademo
A demo script helps you stay focused and build trust. It lets you take control of your message and guide your viewers without overloading them. Even if you know your product inside out, a script helps you say it better.
If you’re working with a team, scripts also create consistency. Everyone can stick to the same structure, tone, and main message. That saves time, especially when you’re sharing demos across sales, support, and marketing.
With Supademo, you can take all of this and make it interactive.
Instead of only writing a script, you can turn it into a guided walkthrough. You can add voiceovers, branches, chapters, and translations, all without re-recording.
You don’t need hours of editing or scripting to create a demo that works. Just record, edit, and share.
Try Supademo today and see how fast you can create your demos!
FAQs
Commonly asked questions about this topic.
How long should an effective demo script be?
Should I take my entire demo script word-for-word?
How do I customize demo scripts for different audiences?
What's the biggest mistake to avoid when writing demo scripts?
Prit Centrago
Prit is a Freelance Content Writer at Supademo with 5+ years of expertise in B2B SaaS content, helping multiple brands grow online. When not writing, he enjoys reading books with a cup of coffee.