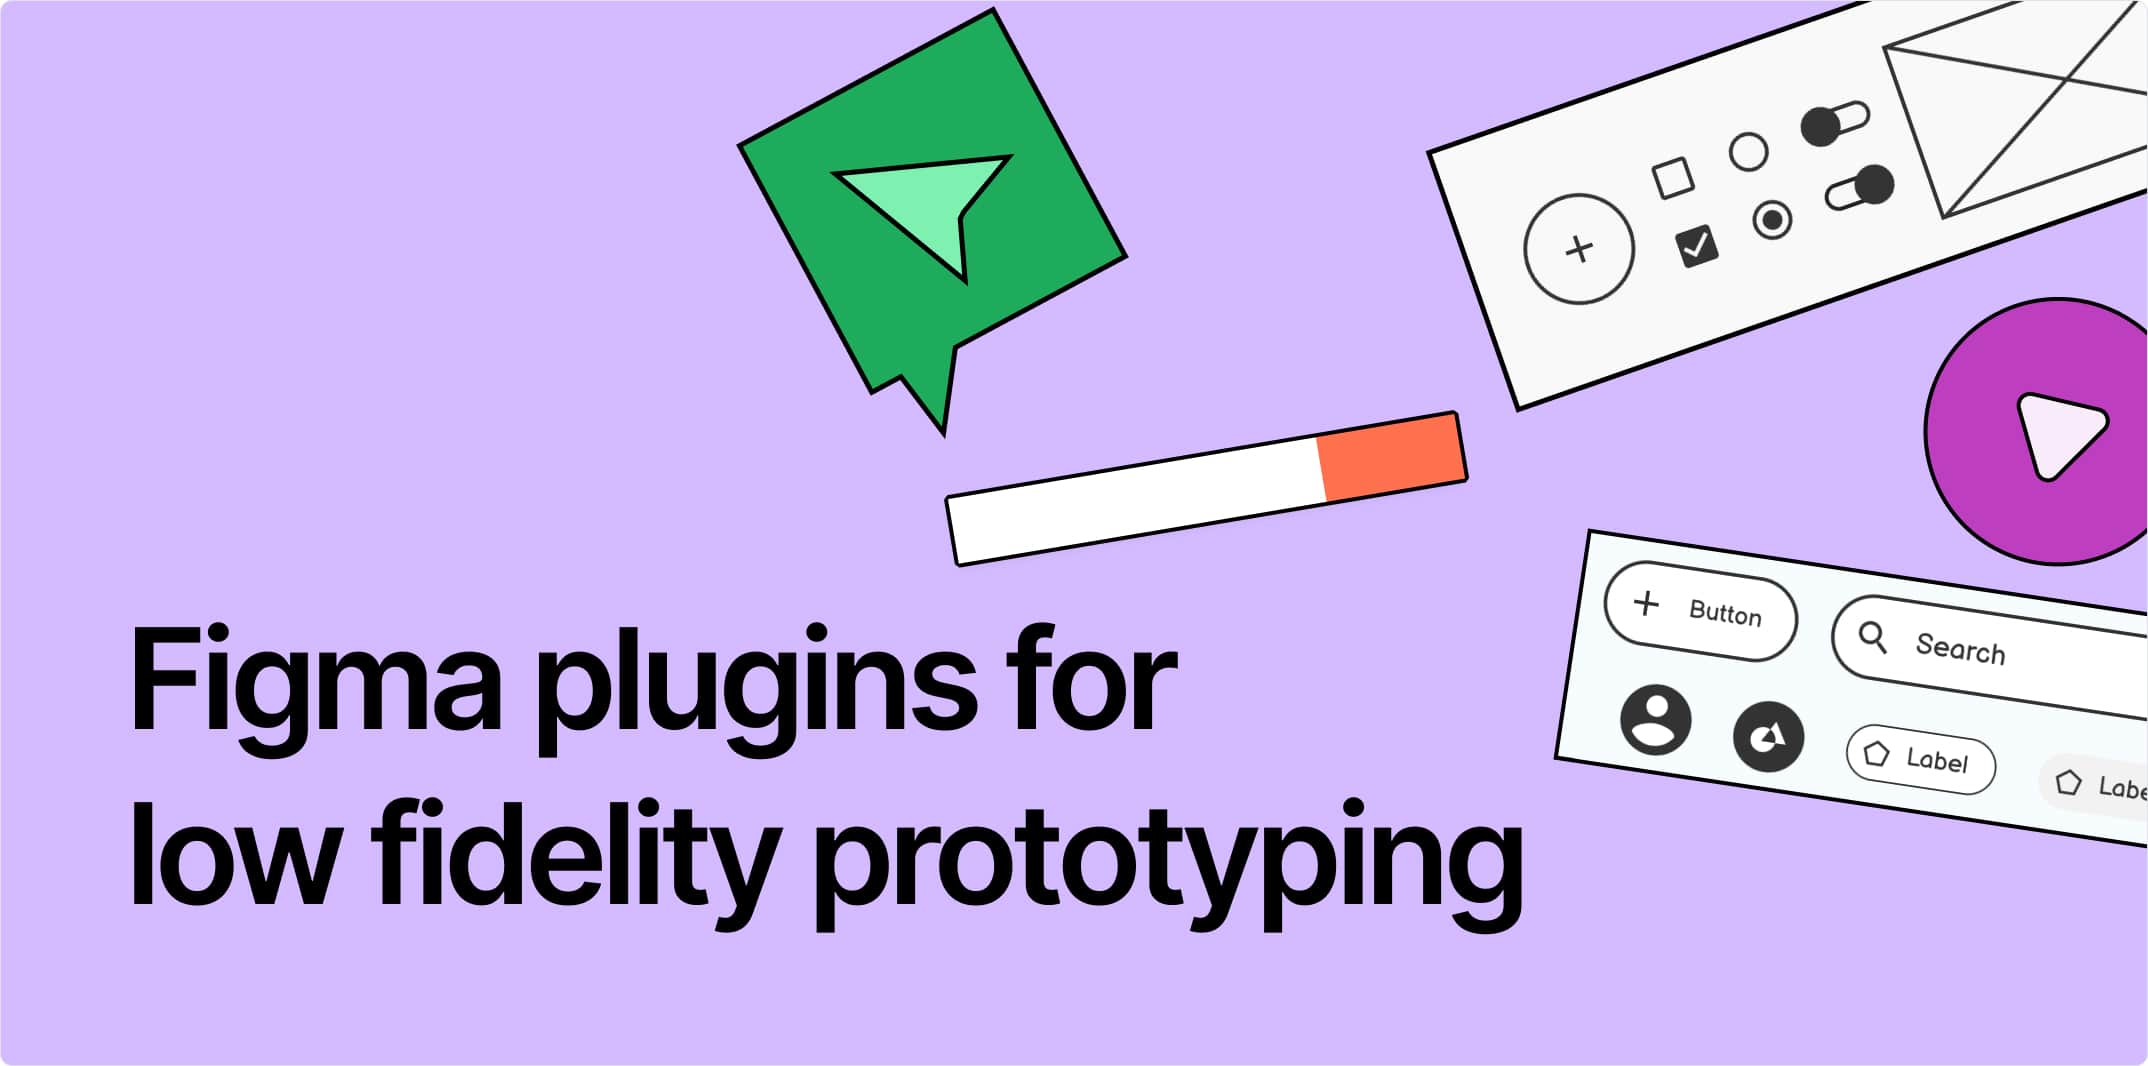
What is a low-fidelity prototype?
A low-fidelity prototype is a basic representation of screens and flows in an early-stage product design or concept. It's a crucial step in UX design, allowing teams to quickly test ideas, identify potential issues, and refine product designs before investing significant engineering time and resources.

Low-fidelity prototyping is used by founders, product designers, and product managers to quickly validate their ideas, articulate new features internally, and ultimately reach product-market fit faster.
Other key use cases for low-fidelity prototypes include: Rapid ideation: They enable designers to quickly visualize and iterate on concepts.
- Early feedback: Teams can gather user input at the initial stages of design.
- Cost-effective testing: Major usability issues can be identified and addressed early in the process.
Three types of low-fidelity prototypes
There are three main types of low-fidelity product prototypes -
1. Paper prototypes
These involve sketching user interfaces on paper or whiteboards. They're ideal for capturing quick ideas and facilitating discussions among team members in real-world settings. Unfortunately, they don't usually translate well to async or distributed communication.

2. Wireframes
These are simple digital blueprints that outline layouts and content hierarchy. Lo-Fi wireframes can demonstrate basic user flows and are useful for initial usability testing.
While they have the requisite detail and can be shared online, it can quickly become daunting and complicated to showcase – requiring a ton of context and explanation on user flows, screens, etc.

3. Interactive prototype demos
This newer approach allows designers to create realistic, interactive product demos of product features. These prototype demos can be shared a link or embedded anywhere online.
Unlike traditional low-fidelity methods, interactive prototype demos can look polished – with powerful tools like custom hotspots, chapters, voiceovers, or branching — all while still being quick to produce. They're particularly effective for showcasing user flows and gathering feedback on specific features.
Low-fidelity prototyping is an essential step in the design thinking process. It drives innovation by allowing teams to explore multiple ideas quickly and efficiently before committing to a final design direction.
While Figma does offer built-in prototyping, it can be quite complex – especially for founders, product managers, and marketers.
Read our guide on how to overcome interactive prototyping challenges on Figma.
Top 5 Figma Plugins for Low-Fidelity Prototyping
1. Autoflow

Autoflow is a powerful lo-fi Figma plugin designed to simplify the creation of flow diagrams, user journeys, and visual representations of processes.
With its intelligent features, Autoflow automatically generates arrows and connections between design elements, saving designers valuable time and effort. The plugin offers both hand-drawn and minimalist styles, allowing users to choose the aesthetic that best fits their project needs.
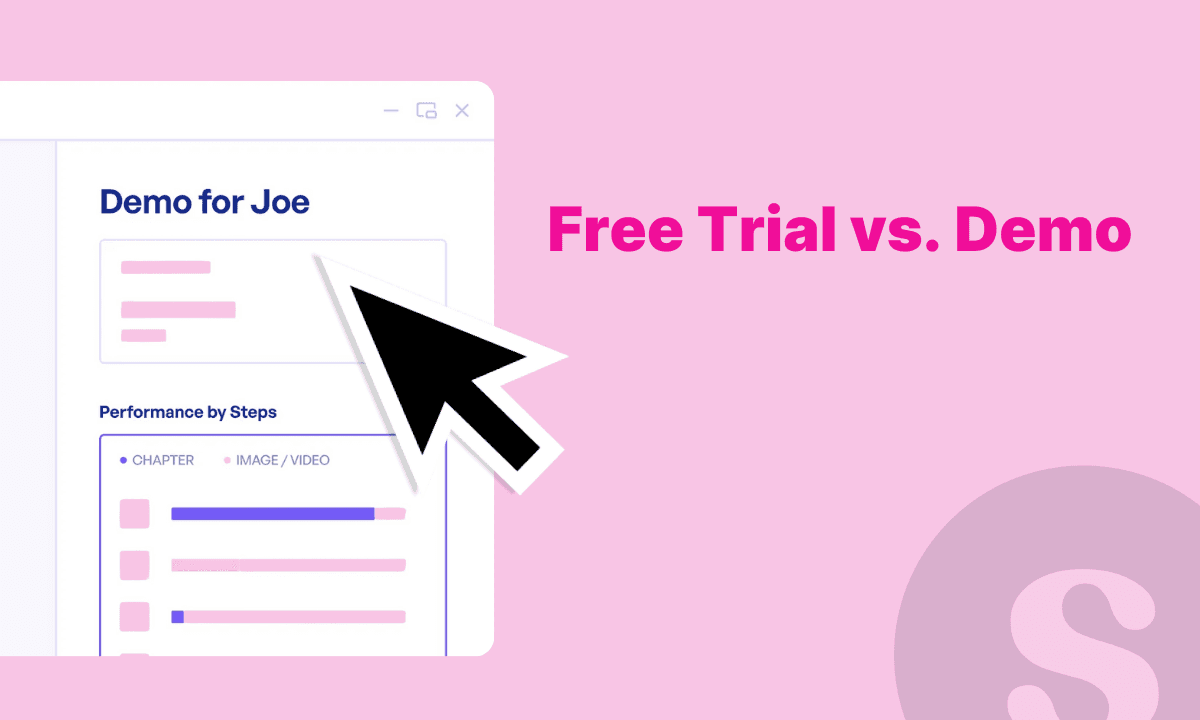
2. Supademo
Supademo improves the prototyping process by allowing designers to quickly and easily transform their static Figma frames into interactive, shareable prototypes.
This must-have Figma plugin bridges the gap between design and user testing, offering a range of features to enhance prototype functionality and gather valuable user insights.
With Supademo, designers and PMs can create engaging, personalized prototypes that can be shared across various platforms, streamlining the design feedback, validation, and testing processes.
Here's an example of an interactive Figma prototype demo made using Supademo:
3. Wireframer

Wireframer creates unique SVG placeholders for your low-fidelity wireframes, adding a touch of creativity to your mockups. Wireframer also helps in crafting isometric illustrations.
4. Ink Wireframe

Ink Wireframe is a standout plugin for quickly creating lo-fi wireframes. With over 700 unique variants, it enables rapid prototyping and design exploration.
Its intuitive interface and minimal learning curve make it valuable for designers and project managers. Ink Wireframe streamlines wireframe creation and user flow prototyping, speeding up iterations and reducing errors in large projects.
5. Wire Box

Wire Box's primary function is to transform detailed designs into simplified wireframes with a single click. This tool allows designers and their teams to shift their attention from intricate UI elements back to the fundamental UX structure.
By stripping away visual embellishments, Wire Box enables designers to critically evaluate layout, information hierarchy, and overall user experience. This can be particularly useful during collaborative sessions, design reviews, or when refining complex interfaces.
Benefits of Low-Fidelity Prototypes in Figma
Figma Low-fidelity prototypes offer significant advantages in the product development process, especially for product managers seeking quick idea validation and MVP creation. Here's why they're valuable: Rapid feedback collection: Users feel more comfortable critiquing rough concepts, leading to honest and actionable insights early in the design process.
- Risk reduction: Identifying and addressing user interface issues at the outset minimizes costly revisions later.
- Efficient workflows: Quick iterations save time and resources, allowing teams to explore multiple ideas without significant investment.
- Agile adaptability: Changes can be made on the fly, supporting an iterative design approach.
- Cross-team collaboration: Low-fidelity prototypes are accessible to non-designers, fostering input from various team members.
Interactive Demo Tools: The Game-Changer in Low-Fidelity Prototyping
The low fidelity prototype barely holding on pic.twitter.com/MXomKfQ6jX— Wolfe Erikson (@BoyCriedWolfe) October 8, 2022
While traditional methods like paper sketches and wireframes have their place, interactive demo tools are revolutionizing low-fidelity prototyping, especially for product managers: Simplicity: Create functional prototypes without coding or design skills.
- Speed: Quickly build and share interactive demos for immediate feedback.
- Realism: Offer a more engaging user experience than static wireframes.
- Versatility: Ideal for concept validation, user testing, and stakeholder presentations.
- Iteration-friendly: Easily modify and update based on feedback.
- Remote-ready: Perfect for distributed teams and remote user testing.
For product managers, founders, or marketers focused on rapid idea validation and MVP development, interactive demo tools provide the perfect balance of speed, functionality, and user engagement.
They allow for quick concept testing while offering a more polished feel than traditional low-fidelity methods, making them an invaluable asset in the early stages of product development.
How to Build a Low-Fidelity Prototype in Figma in 5 Steps
Creating a low-fidelity prototype is a straightforward process that any team can follow.
Here's a guide to help you get started:
1. Define the problem
Begin by clearly outlining the problem you're trying to solve. Work with your team to create a concise problem statement that captures your design goals and user needs.
2. Outline core functionality
Identify the essential design elements and interactions. Sketch out a basic user flow or storyboard to visualize the structure and sequence of your concept.
3. Design your frames
Start creating rough outlines of your screens. Keep it simple and high-level, focusing on layout and content hierarchy rather than detailed visuals. Use paper, whiteboards, or digital tools - whatever works best for your team.
4. Create the low-fidelity prototype
With Supademo, creating an interactive prototype becomes a breeze. In just a few minutes, you can easily transform your static designs into an engaging, clickable prototypes using an intuitive Figma plugin.
Here's how to create an interactive low-fidelity prototype in minutes:
1. Install and log in to the Supademo plugin in Figma
2. Select the frames you want to include
3. Add text or voice annotations to guide users through each step
4. Enhance your prototype with voiceovers, animations, or branching paths
5. Share your interactive demo with a trackable link or embed
6. Track unique viewer analytics, collect feedback, and iterate!
This final step elevates your low-fidelity prototype, making it more engaging and easier to test with users or present to stakeholders. It bridges the gap between rough sketches and functional prototypes, allowing for more meaningful feedback without the time investment of high-fidelity designs.
Once you have your interactive prototype, make sure you follow these 7 simple tips to make your prototype demo more engaging for your audience.
In conclusion...
Founders, product managers, marketers and product designers are increasingly looking for simple, fast ways to create low-fidelity, interactive Figma prototypes. By using the Supademo's Figma plugin or by uploading your existing Figma screens to Supademo, product professionals can rapidly create high-converting interactive prototypes and validate new features seamlessly.
Ready to try creating interactive Figma prototypes with Supademo? Download the free plugin here, no credit card required!
Frequently Asked Questions about top 5 figma plugins for low-fidelity prototyping
Commonly asked questions about this topic.
Who should invest in figma plugins?
How do you get leadership buy-in for figma plugins?
What's the best tool for figma plugins?
What are figma plugins?
What are the best strategies for figma plugins?
What mistakes should you avoid with figma plugins?
What's the best way to train a team on figma plugins?
Hiba Fathima
Hiba Fathima is the first Product Marketer at Supademo. She previously led product marketing at top Indian tech firms and loves turning complex products into clear, compelling stories.