

Overview:
Enhance your Calendly experience by learning how to seamlessly incorporate custom URLs into your events. This guide empowers you to optimize your scheduling workflow, providing step-by-step instructions to add personalized links to your Calendly events. Elevate user engagement and simplify navigation, ensuring a user-friendly experience for both you and your invitees. Streamline your scheduling process with this comprehensive guide on customizing URLs in Calendly, optimizing efficiency and clarity in event management.
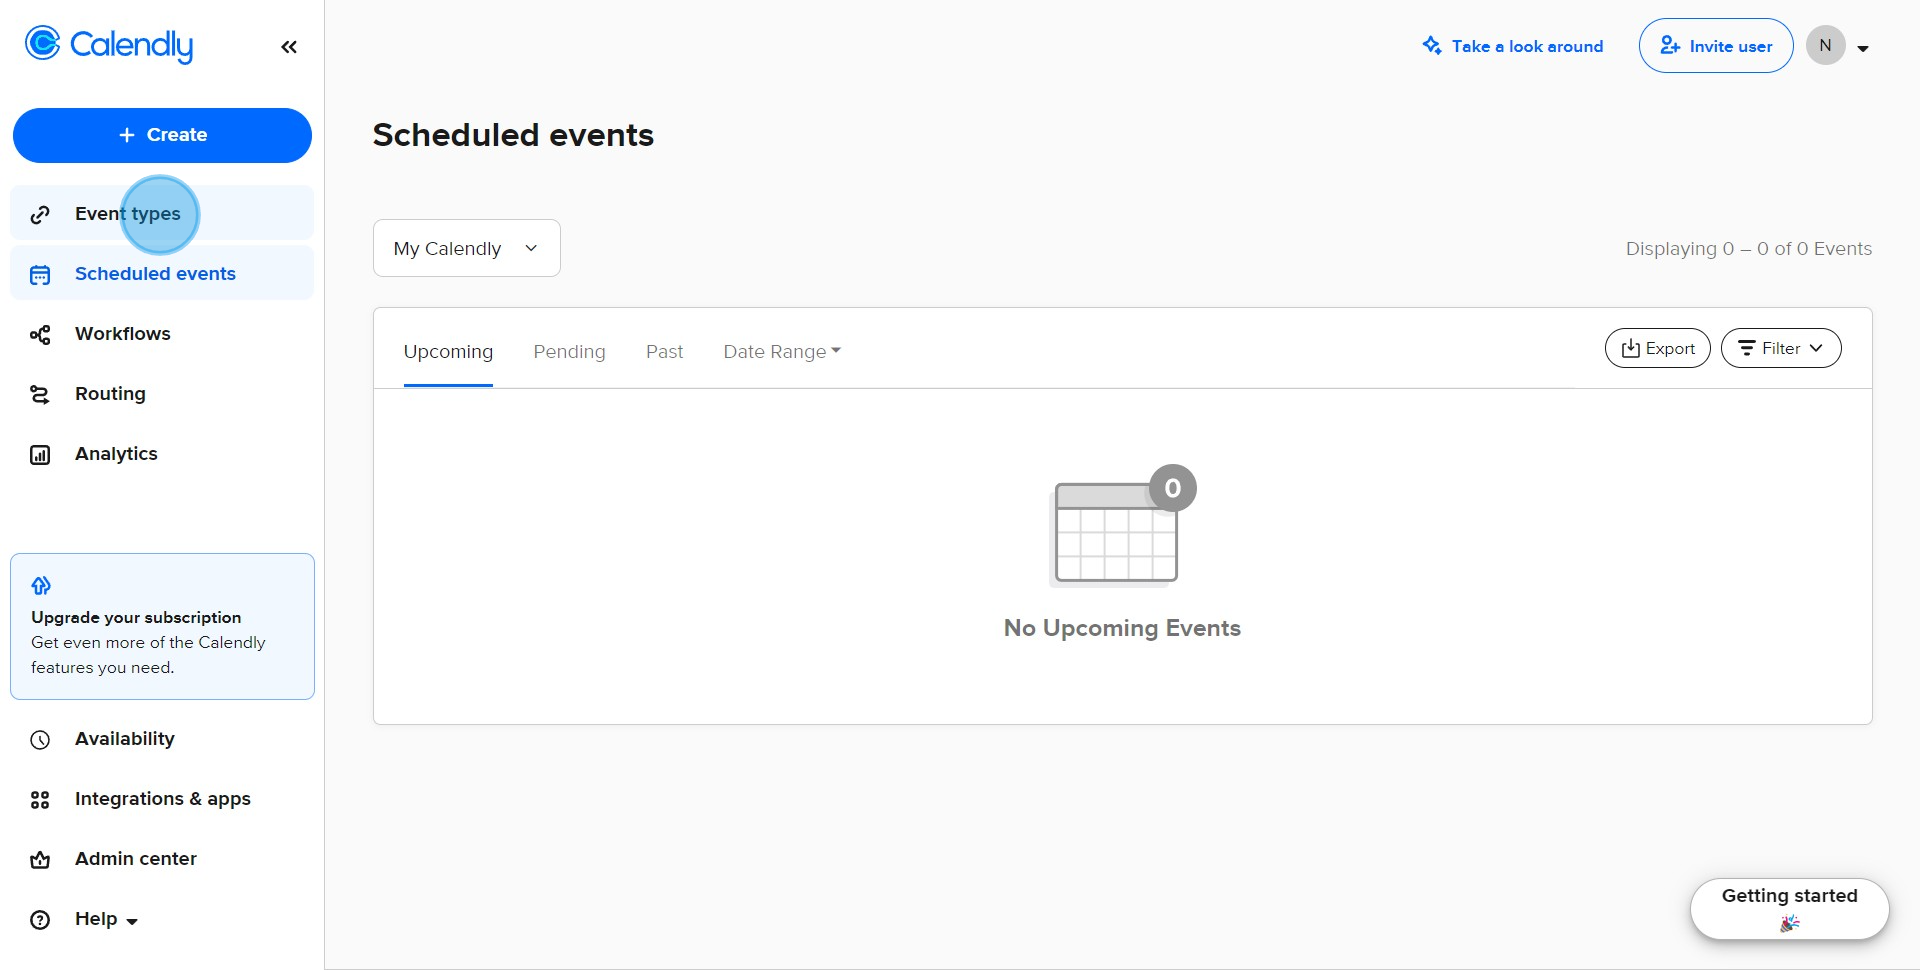
1. Navigate to your Event types.
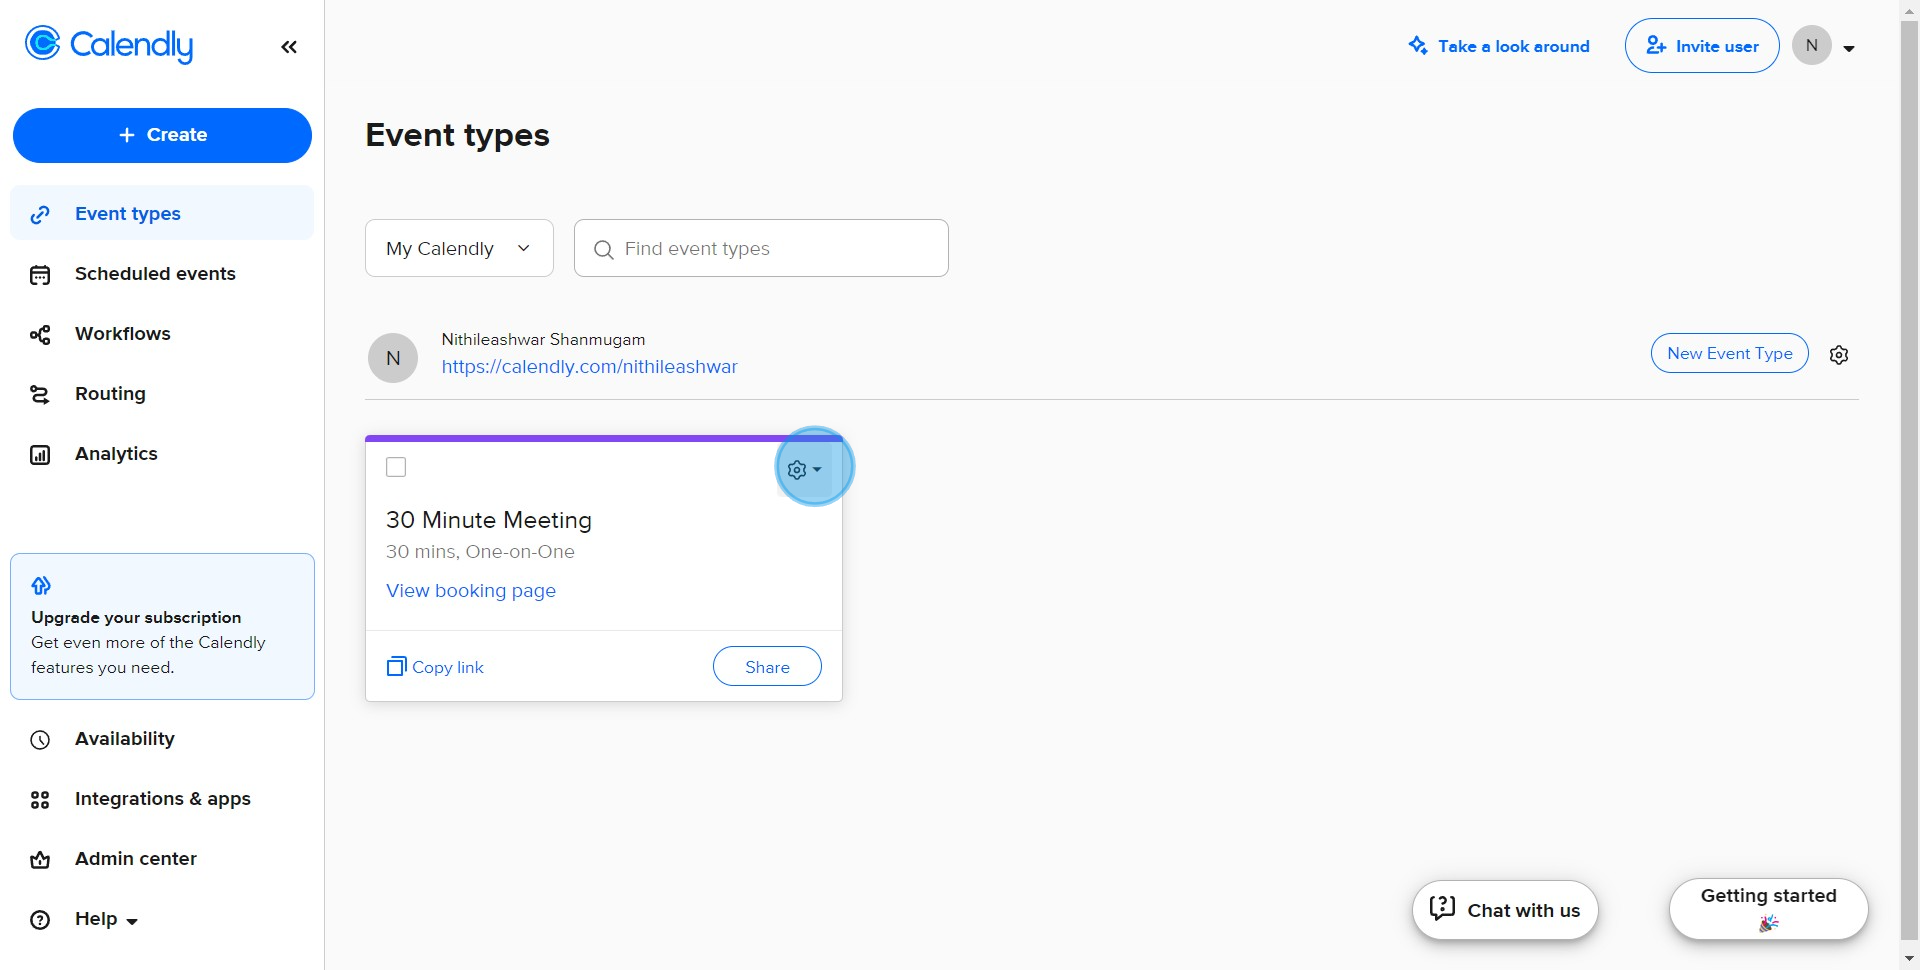
2. Access the event's settings.
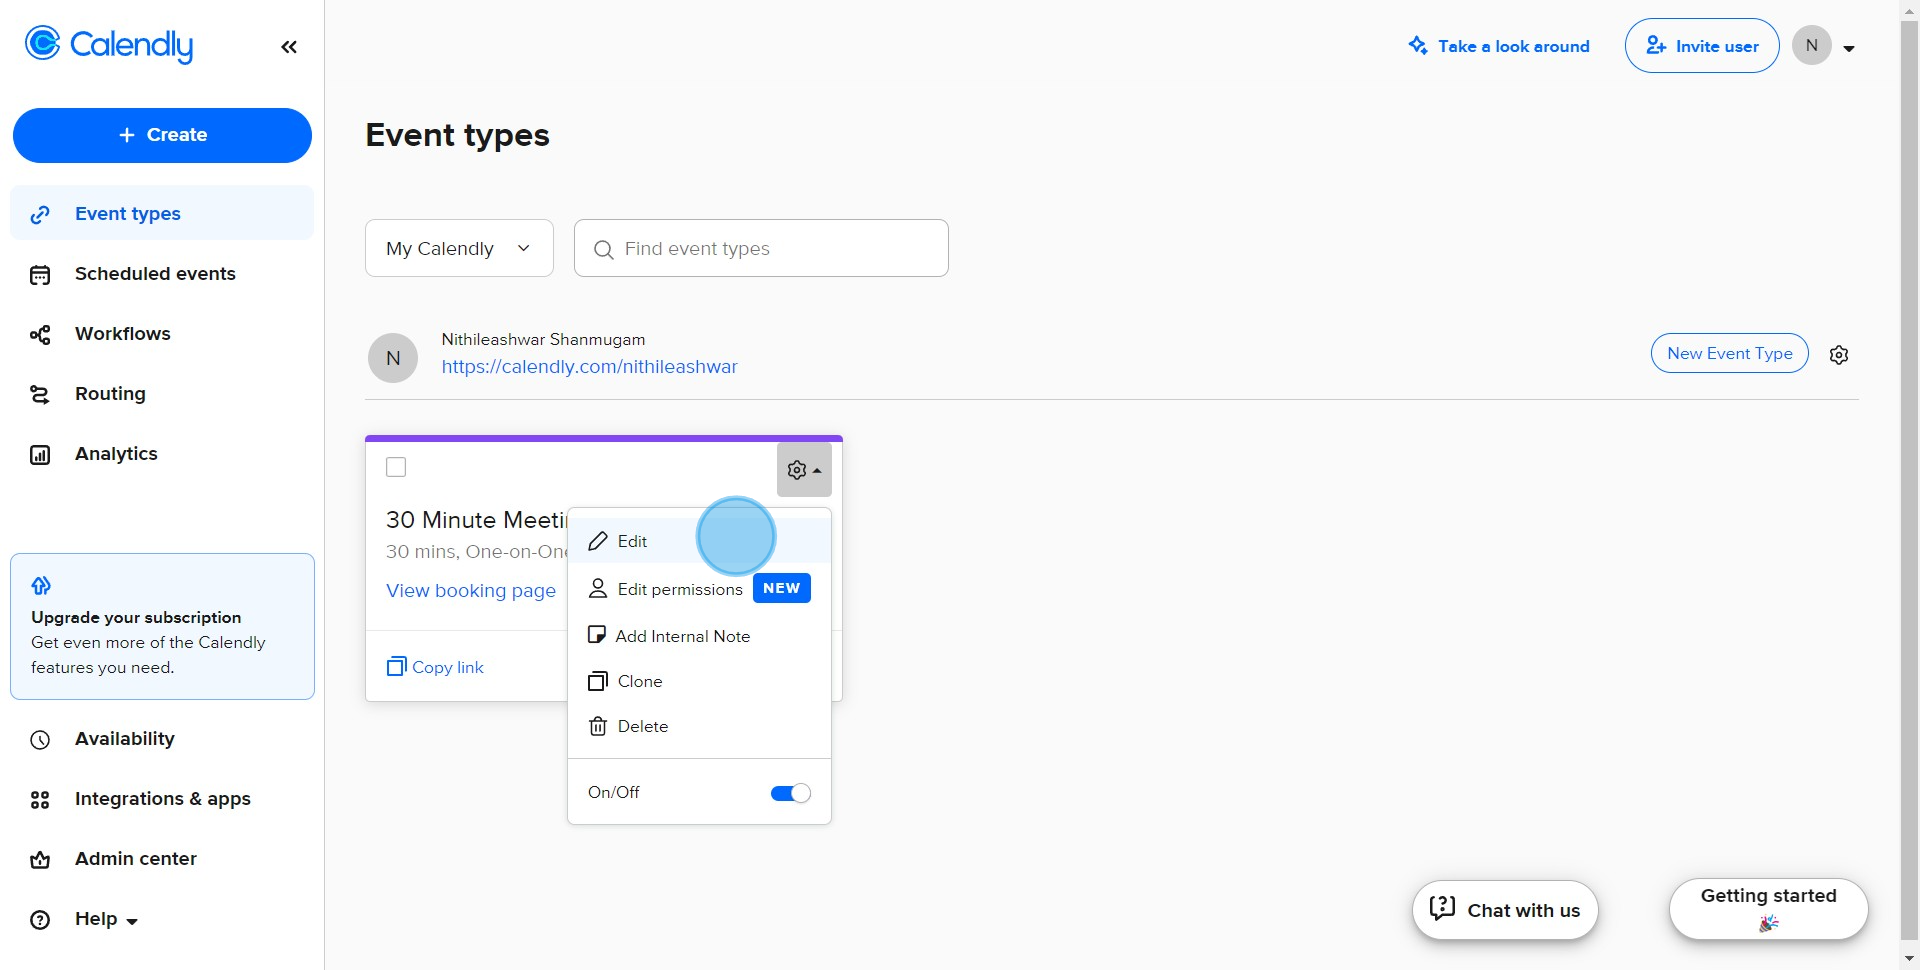
3. Select Edit for more options.
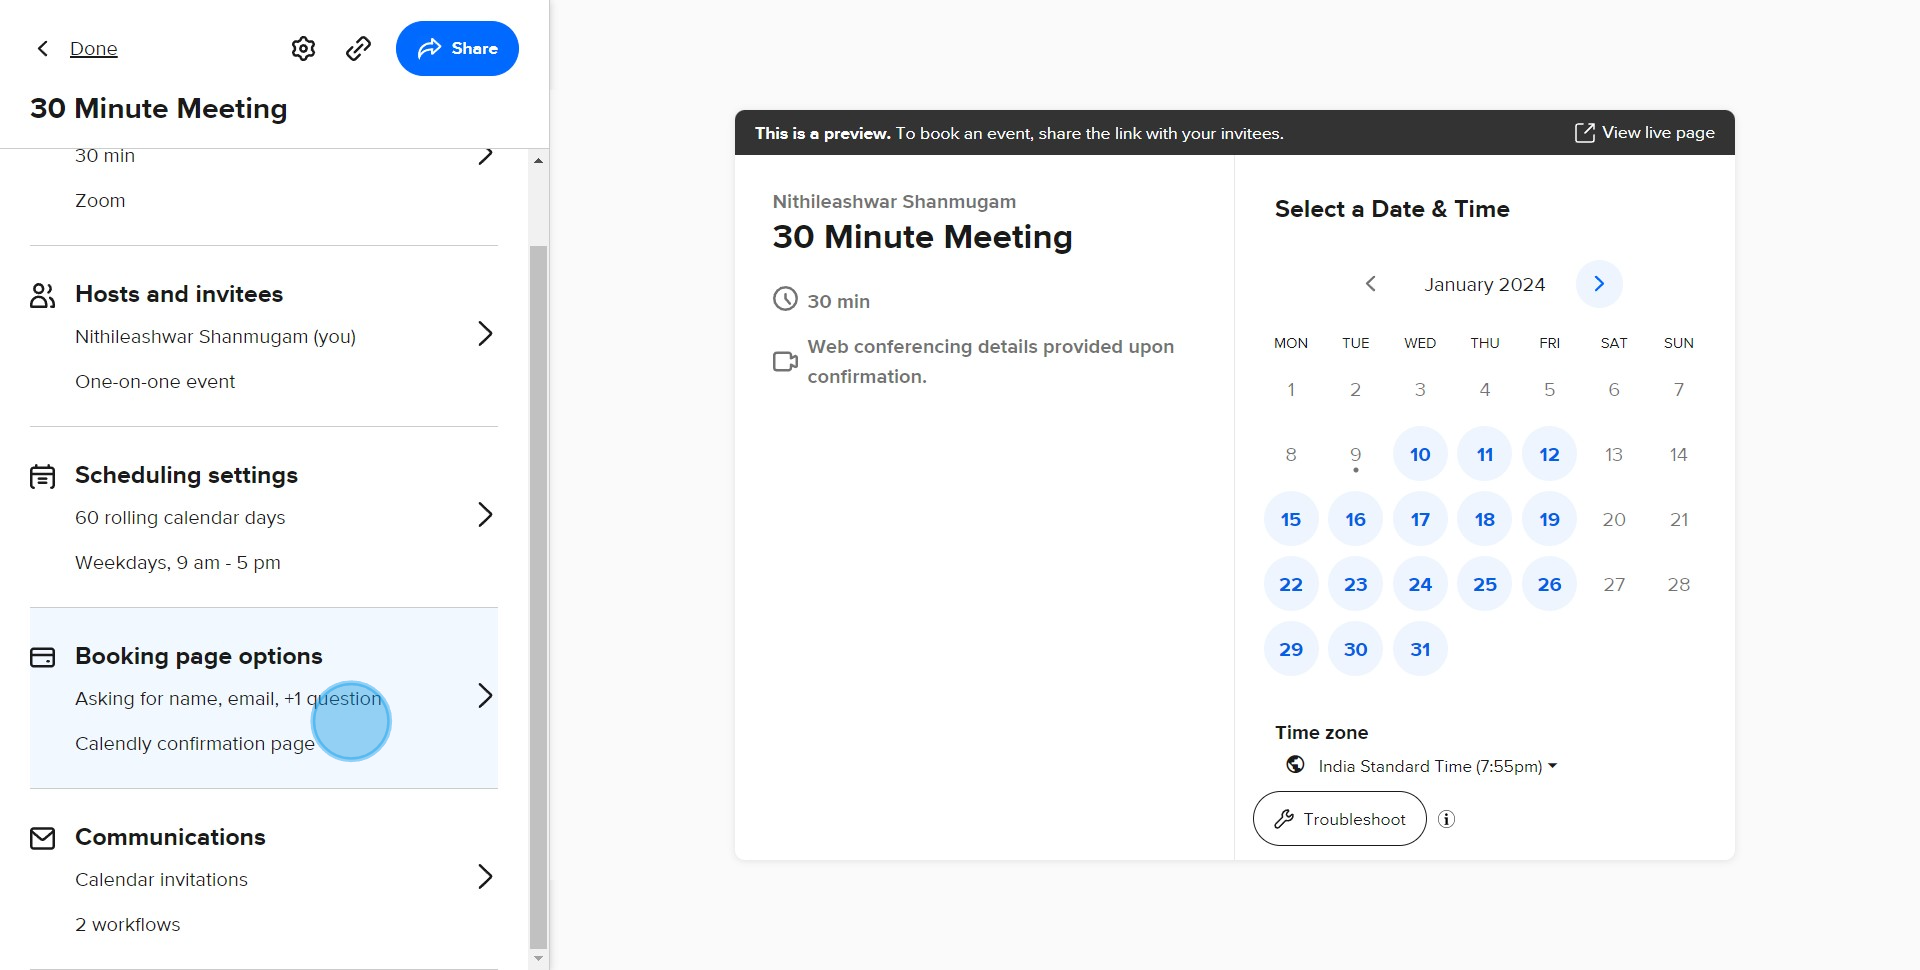
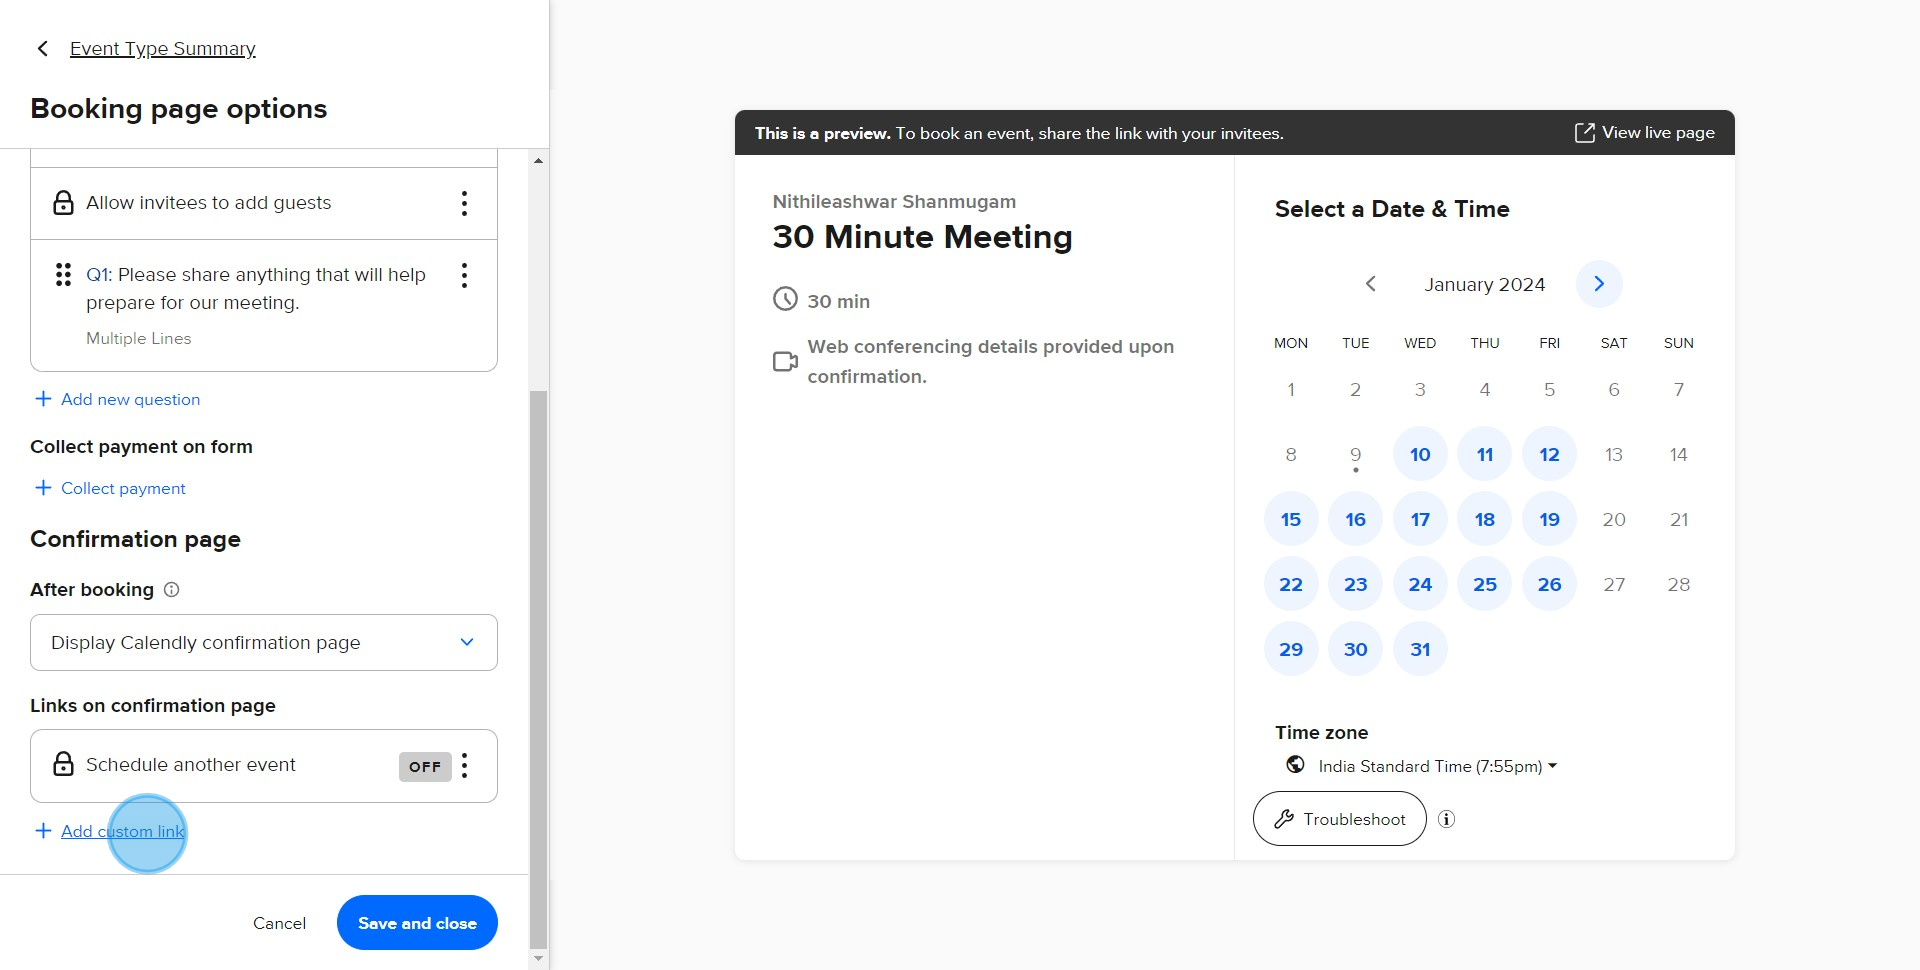
4. Proceed to Booking page options.
5. Choose to Add custom link.
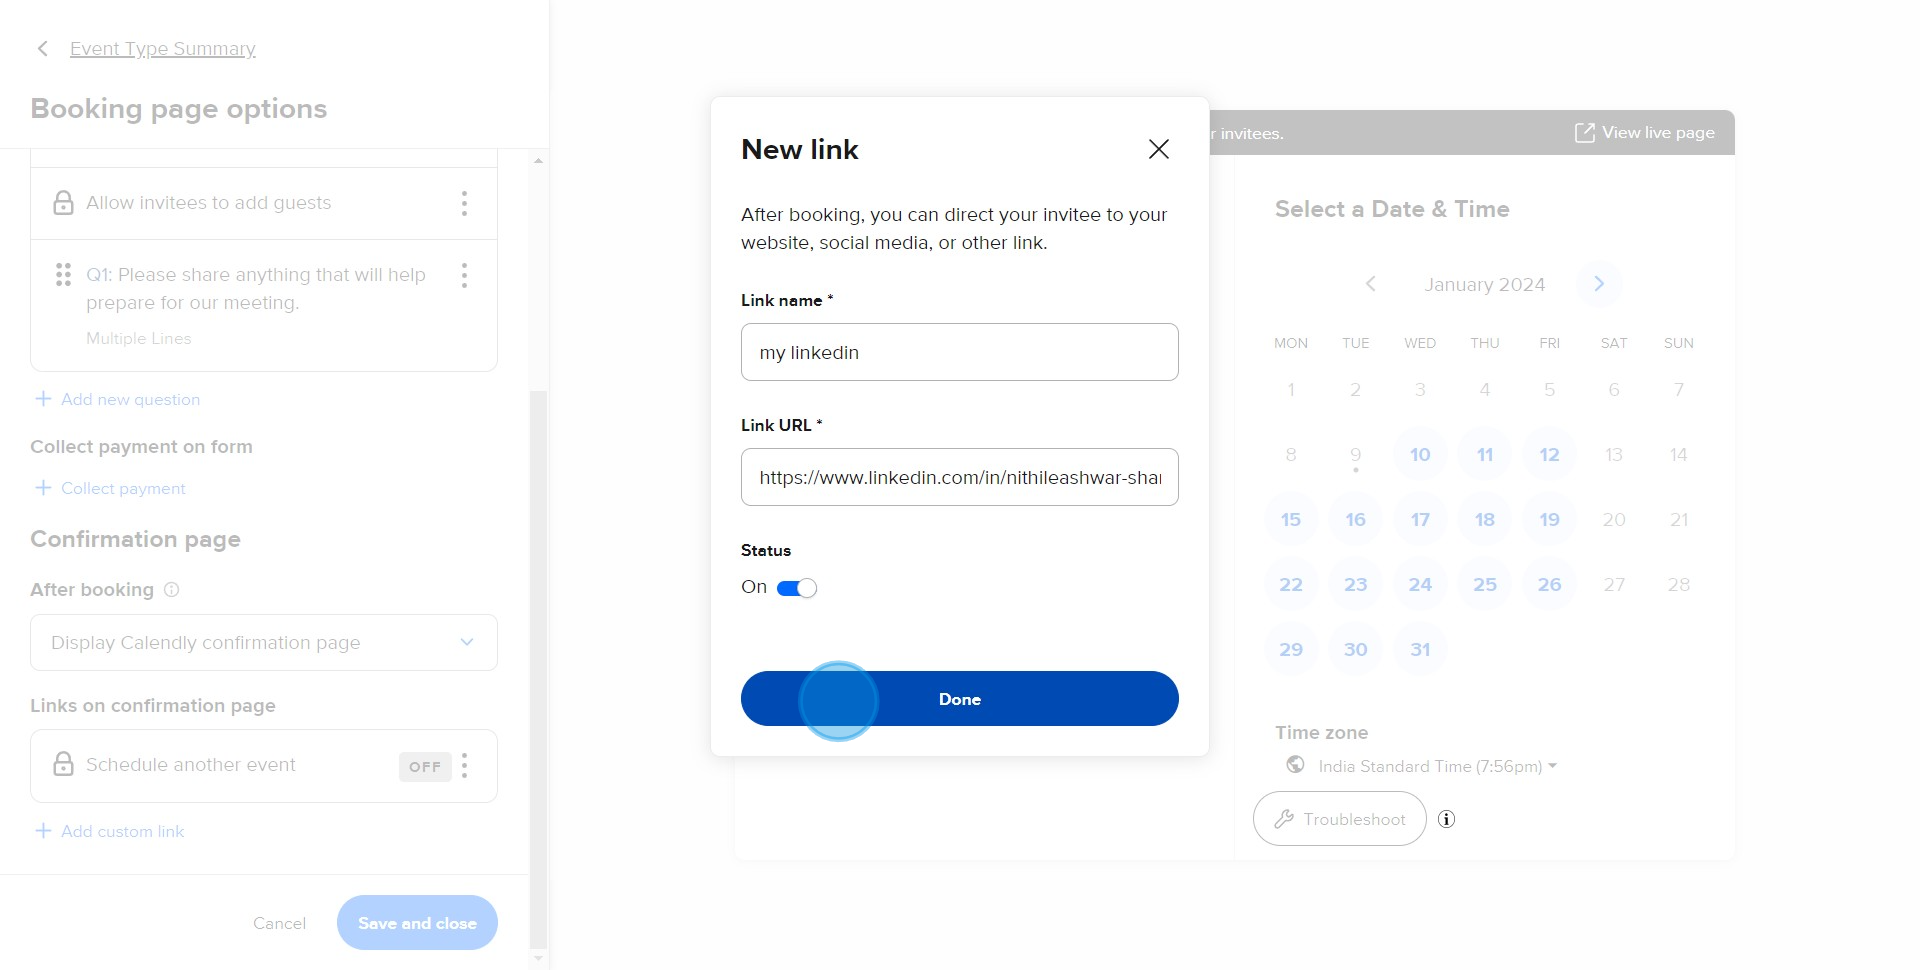
6. Input the custom link in the textbox provided.

7. Validate your action by clicking on Done.
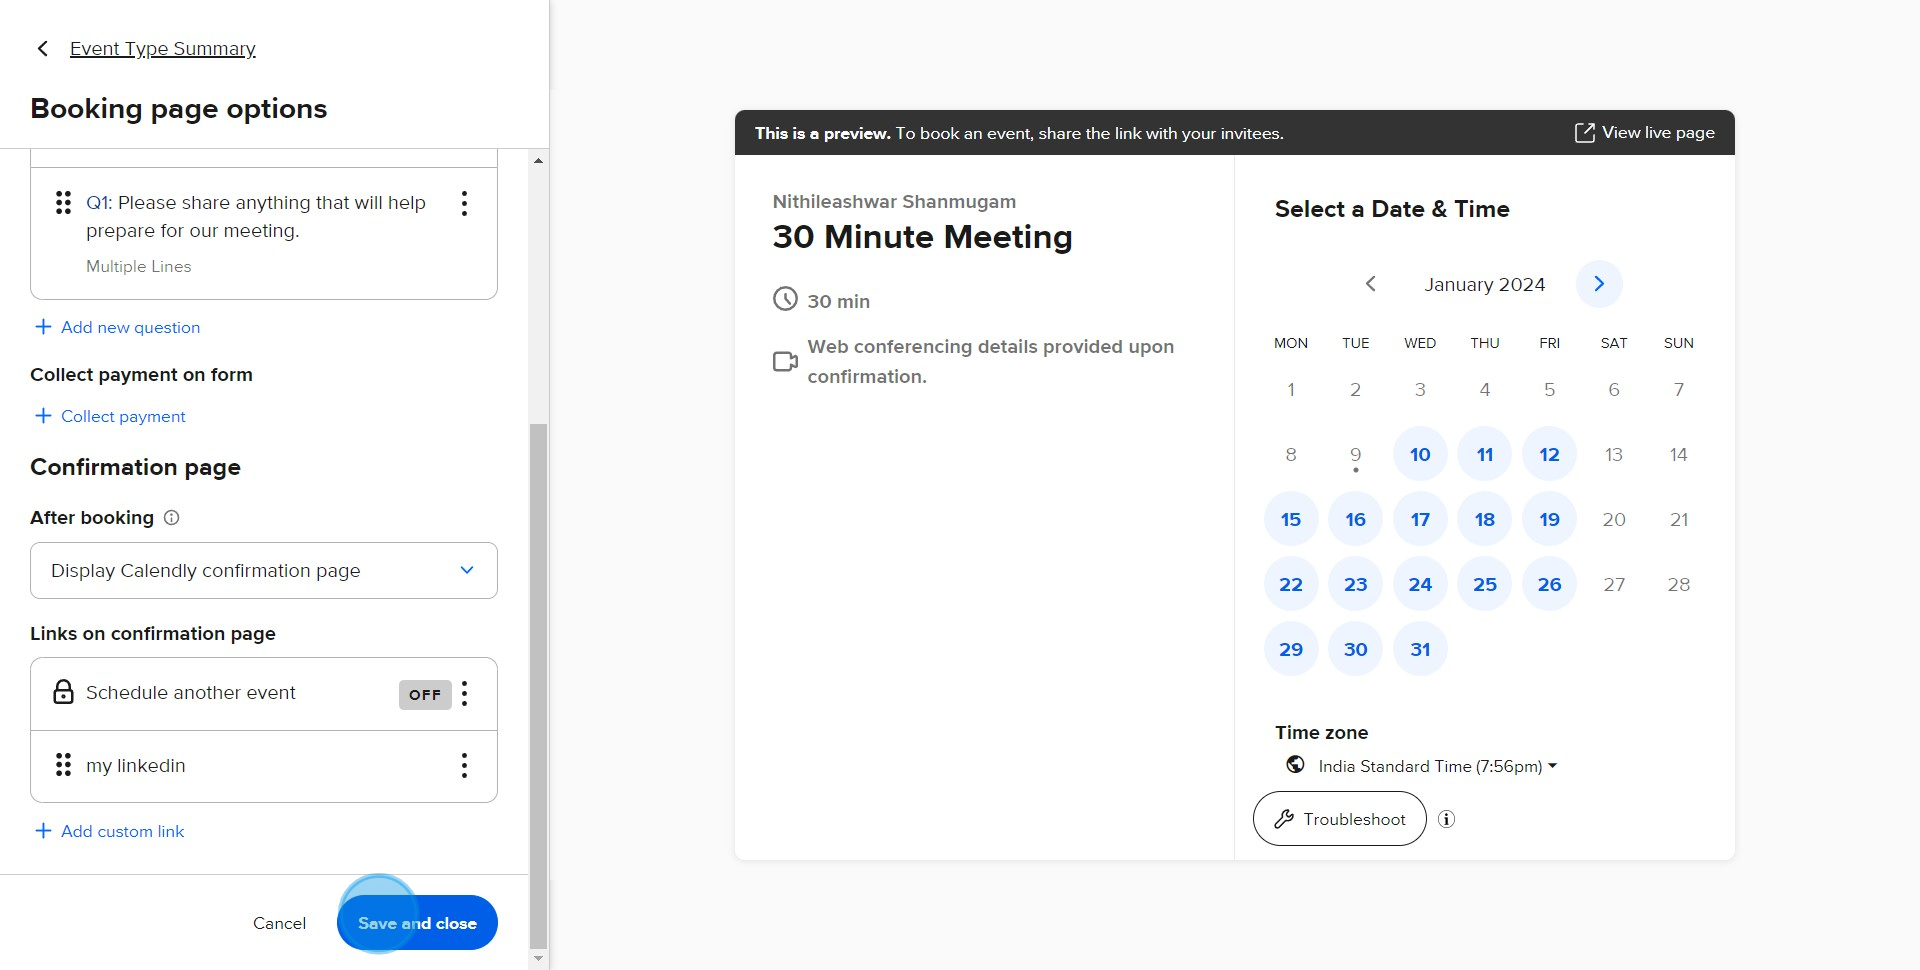
8. Finish the process by hitting Save and close.
Create your own step-by-step demo
Scale up your training and product adoption with beautiful AI-powered interactive demos and guides. Create your first Supademo in seconds for free.