

Overview:
Elevate your ClickUp documentation with a professional touch by adding covers effortlessly. Enhance user engagement and simplify document navigation by incorporating relevant covers for easy identification. This guide offers a seamless step-by-step process to effectively add covers to your ClickUp Docs, ensuring a polished and organized presentation. Boost efficiency and clarity in document management within the ClickUp platform with this user-friendly guide.
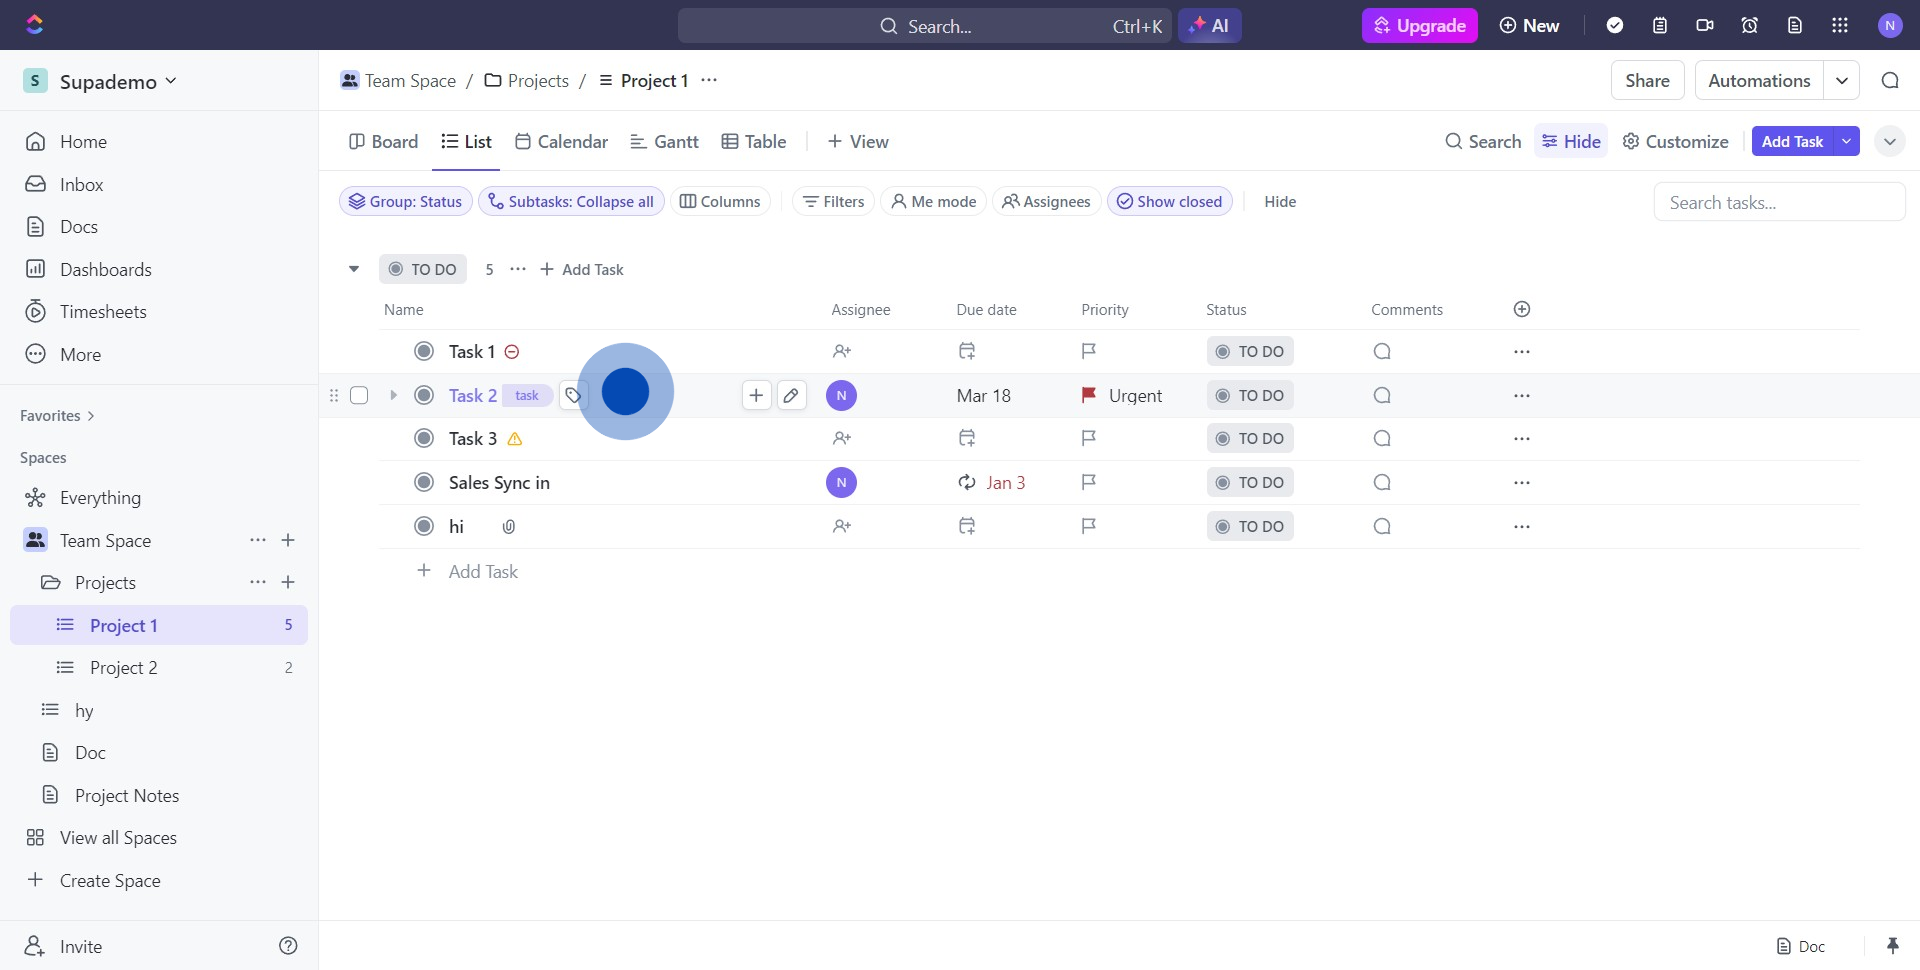
1. Open a task from your list.
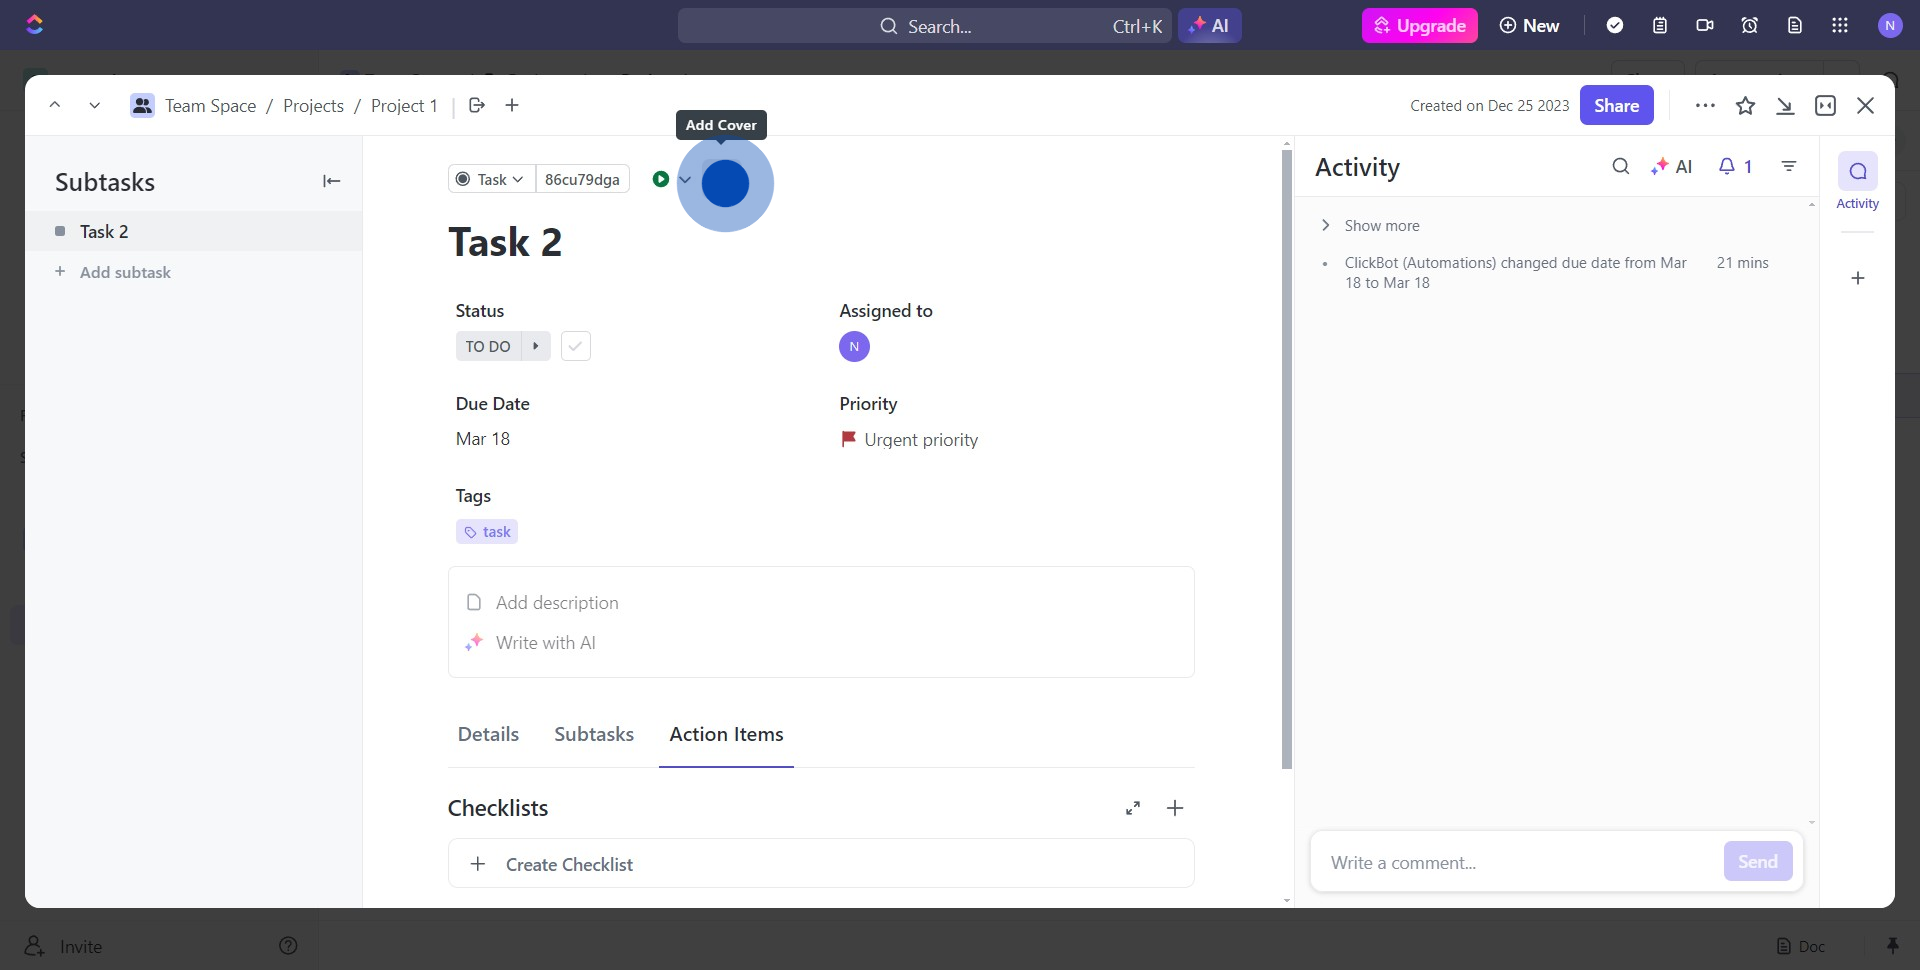
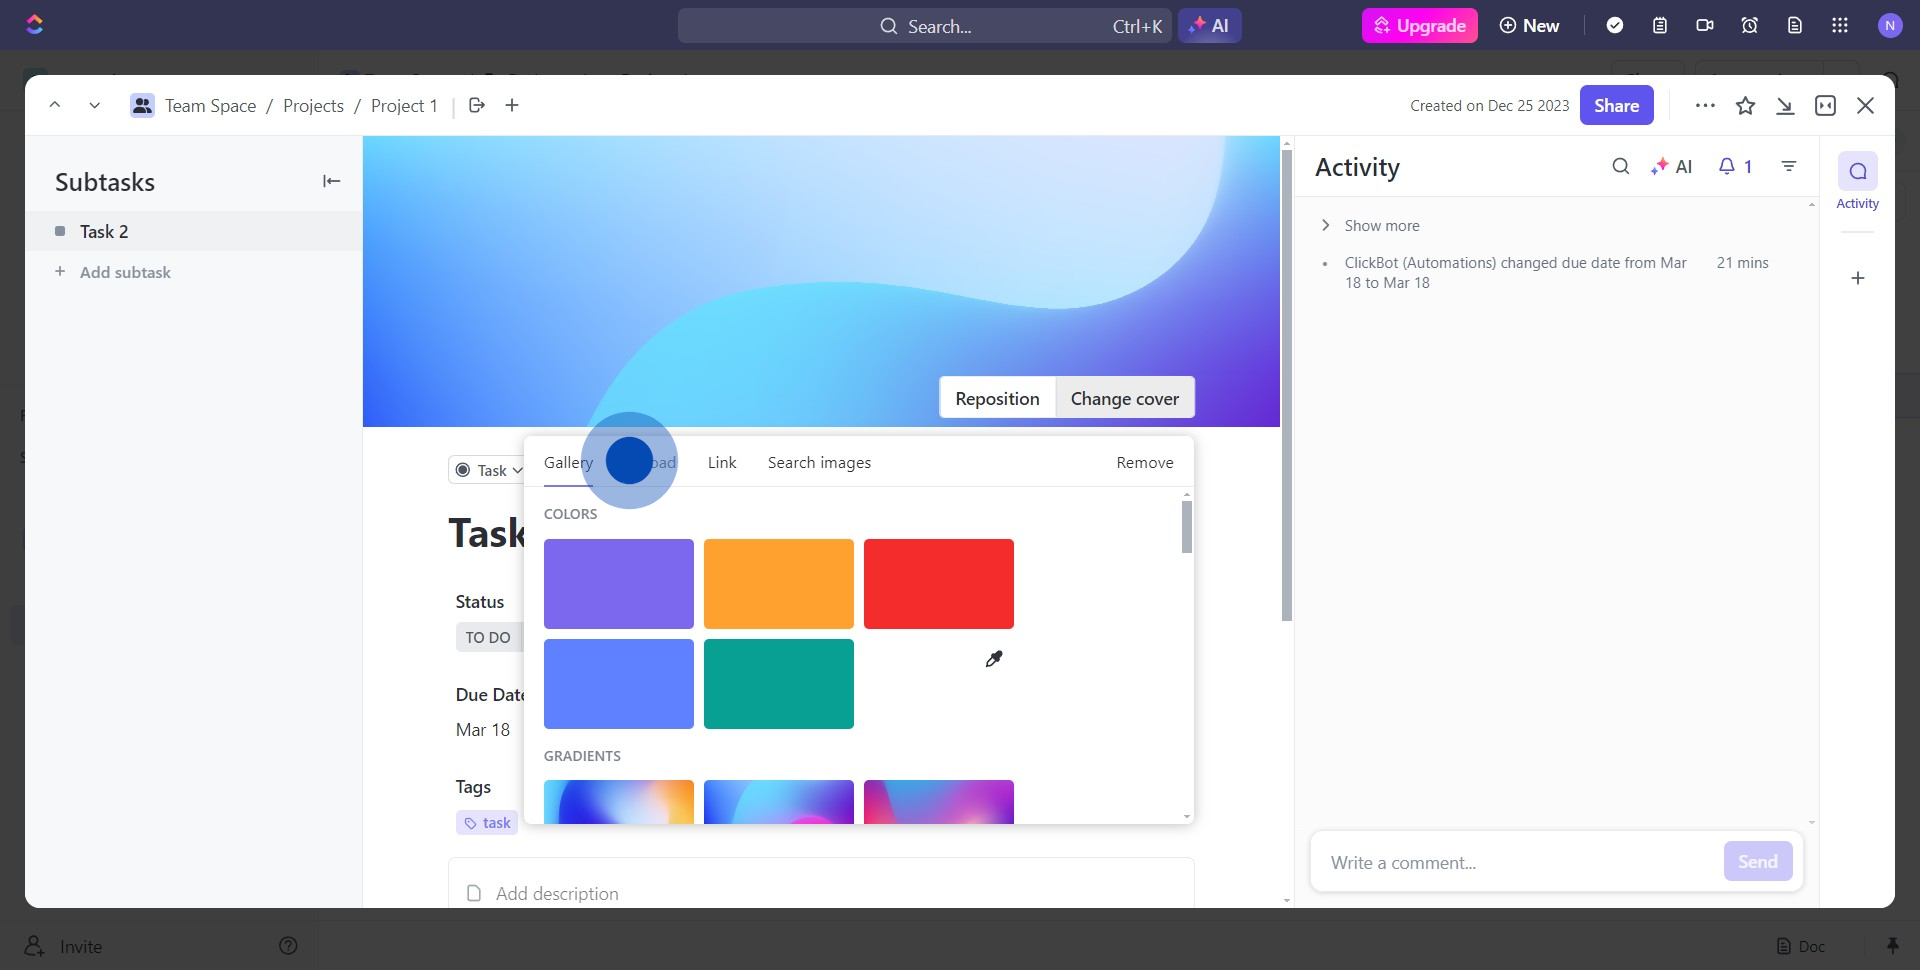
2. Locate the icon for adding a cover page
3. Look at the cover options presented, and pick one you like.
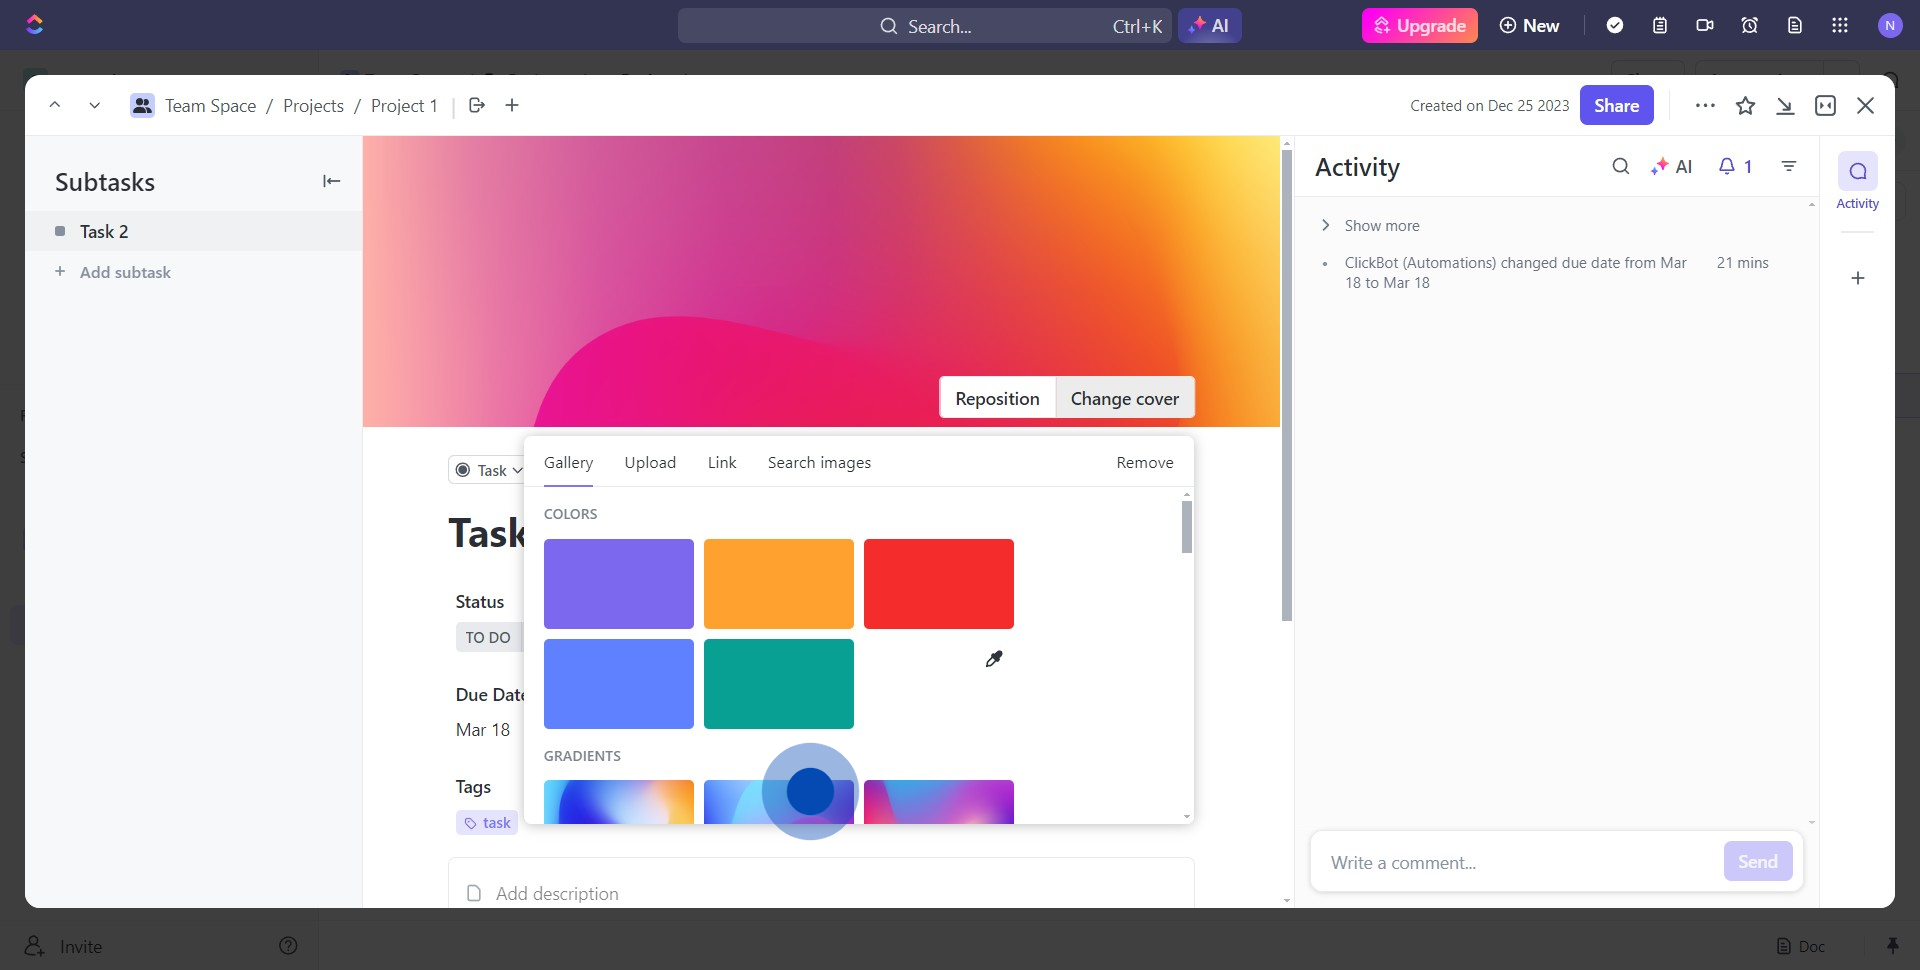
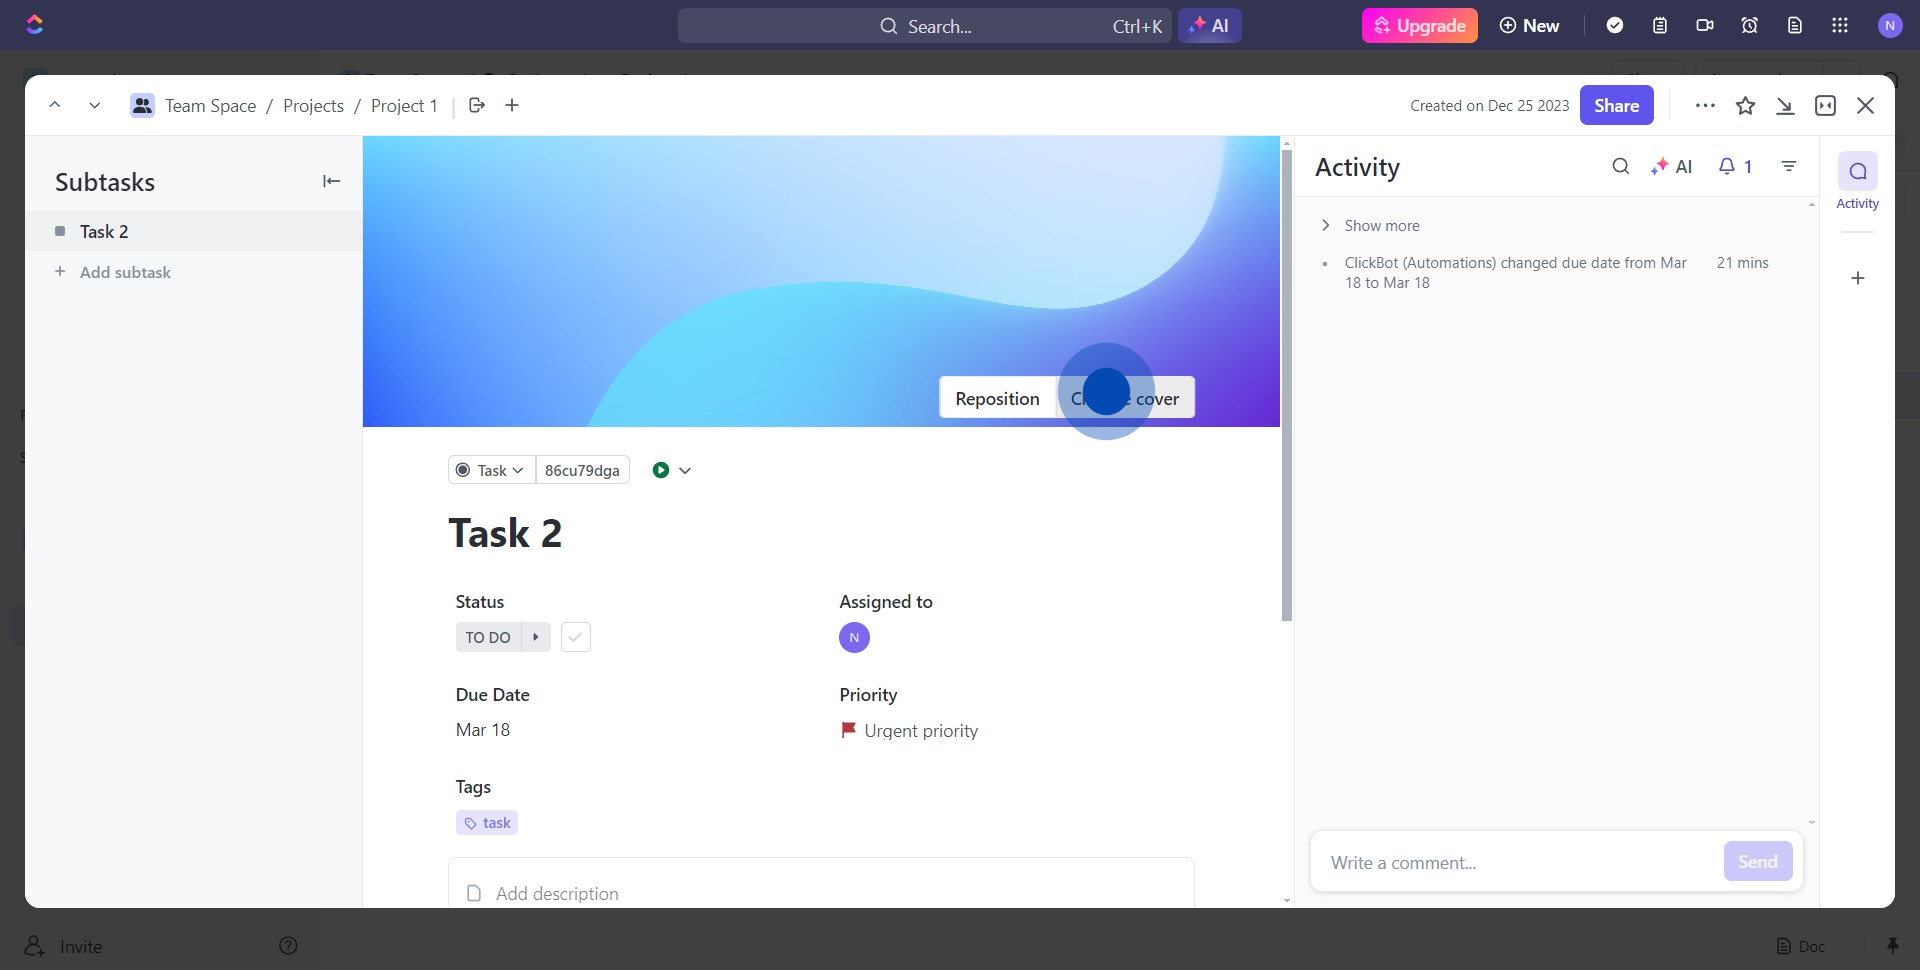
4. Now, find and press the Change cover button to alter the cover.
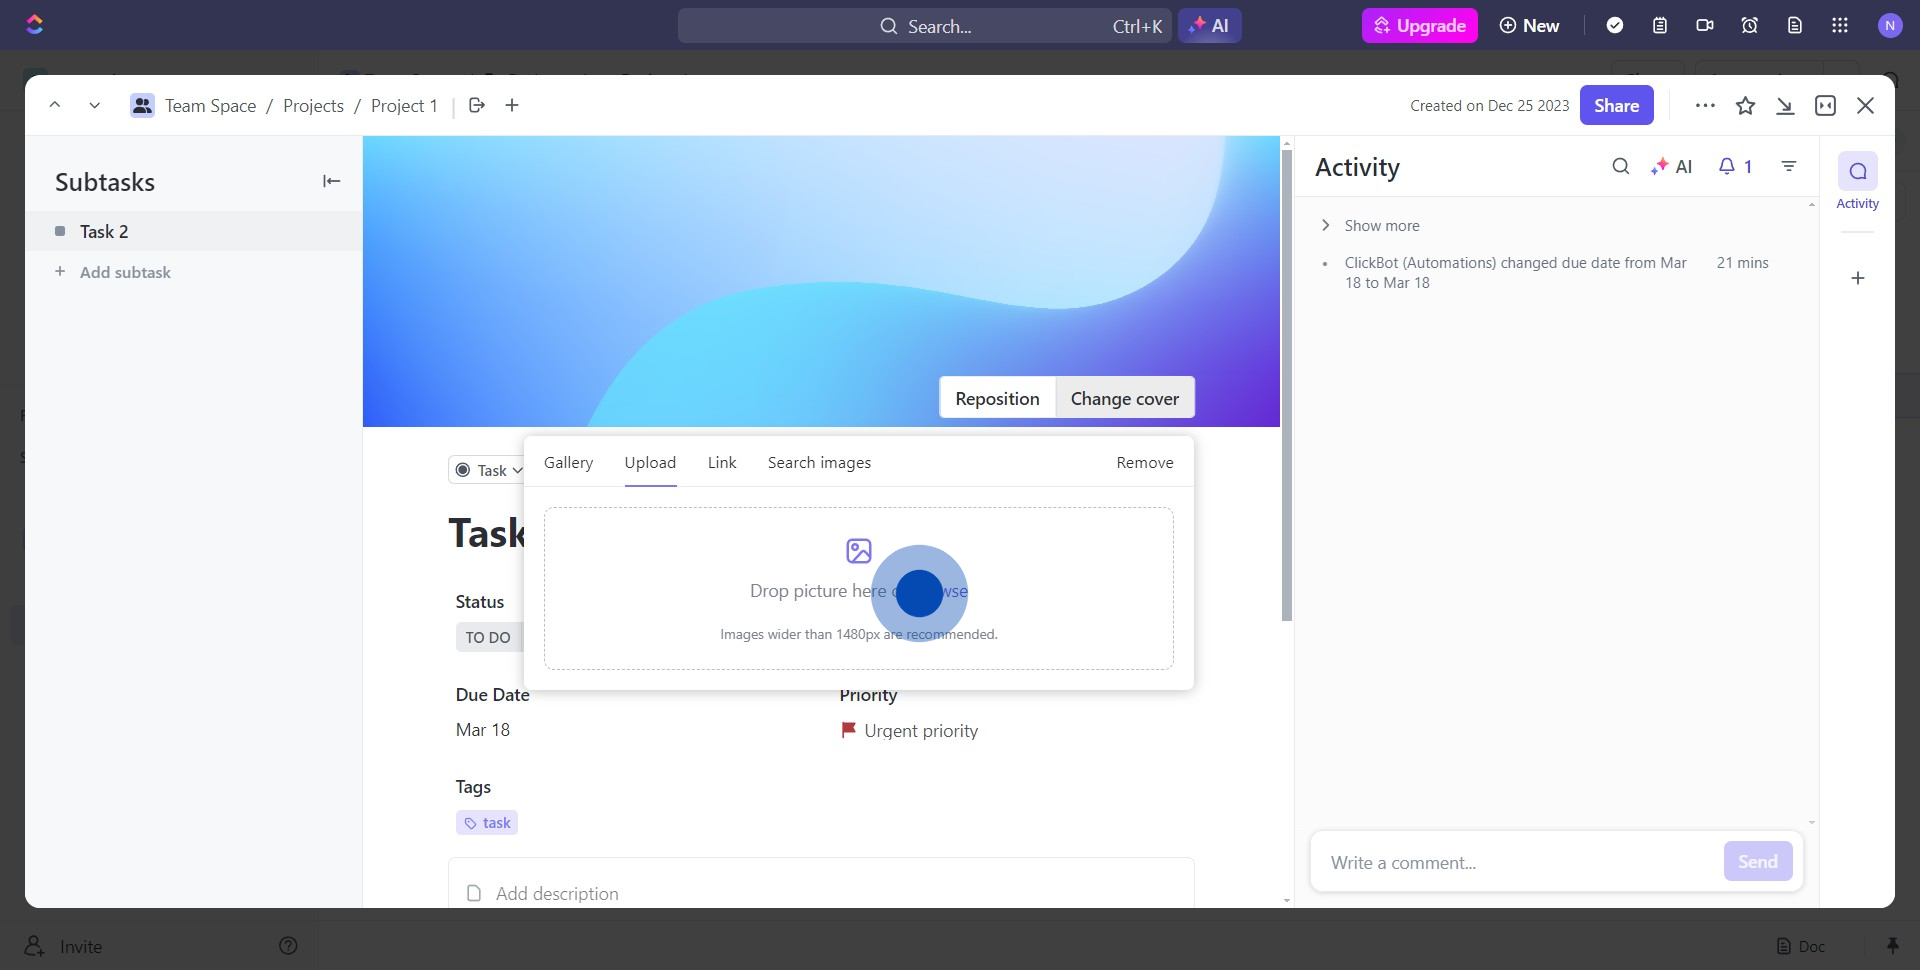
5. In the next page, choose the Upload option to use your own image.
6. Get ready to select your file
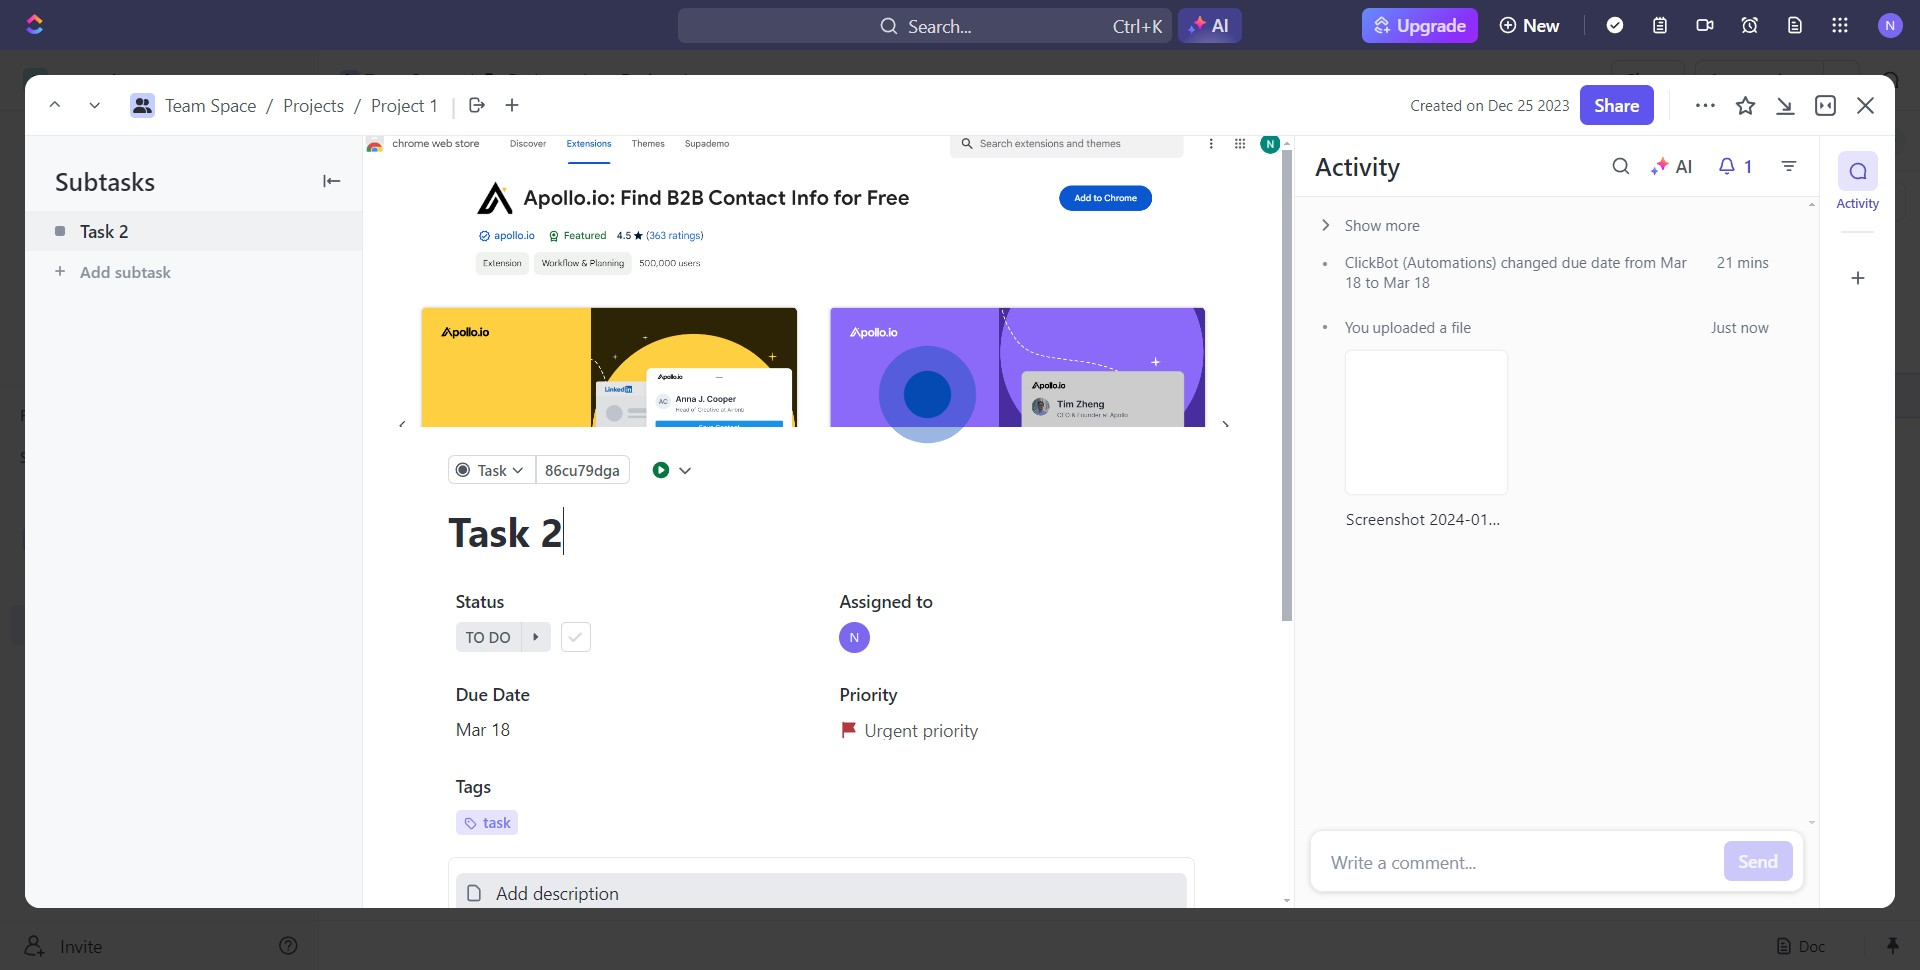
7. Congrats you've successfully changed your Cover
Create your own step-by-step demo
Scale up your training and product adoption with beautiful AI-powered interactive demos and guides. Create your first Supademo in seconds for free.