
Overview:
Effortlessly enhance your collaborative experience on Miro Whiteboard by integrating Google Images. Streamline your workflow as this guide walks you through the seamless process of incorporating Google Images into your whiteboard, fostering a visually rich and dynamic collaboration environment. Elevate your creativity and clarity in content creation, ensuring an optimized and efficient integration within the Miro platform.
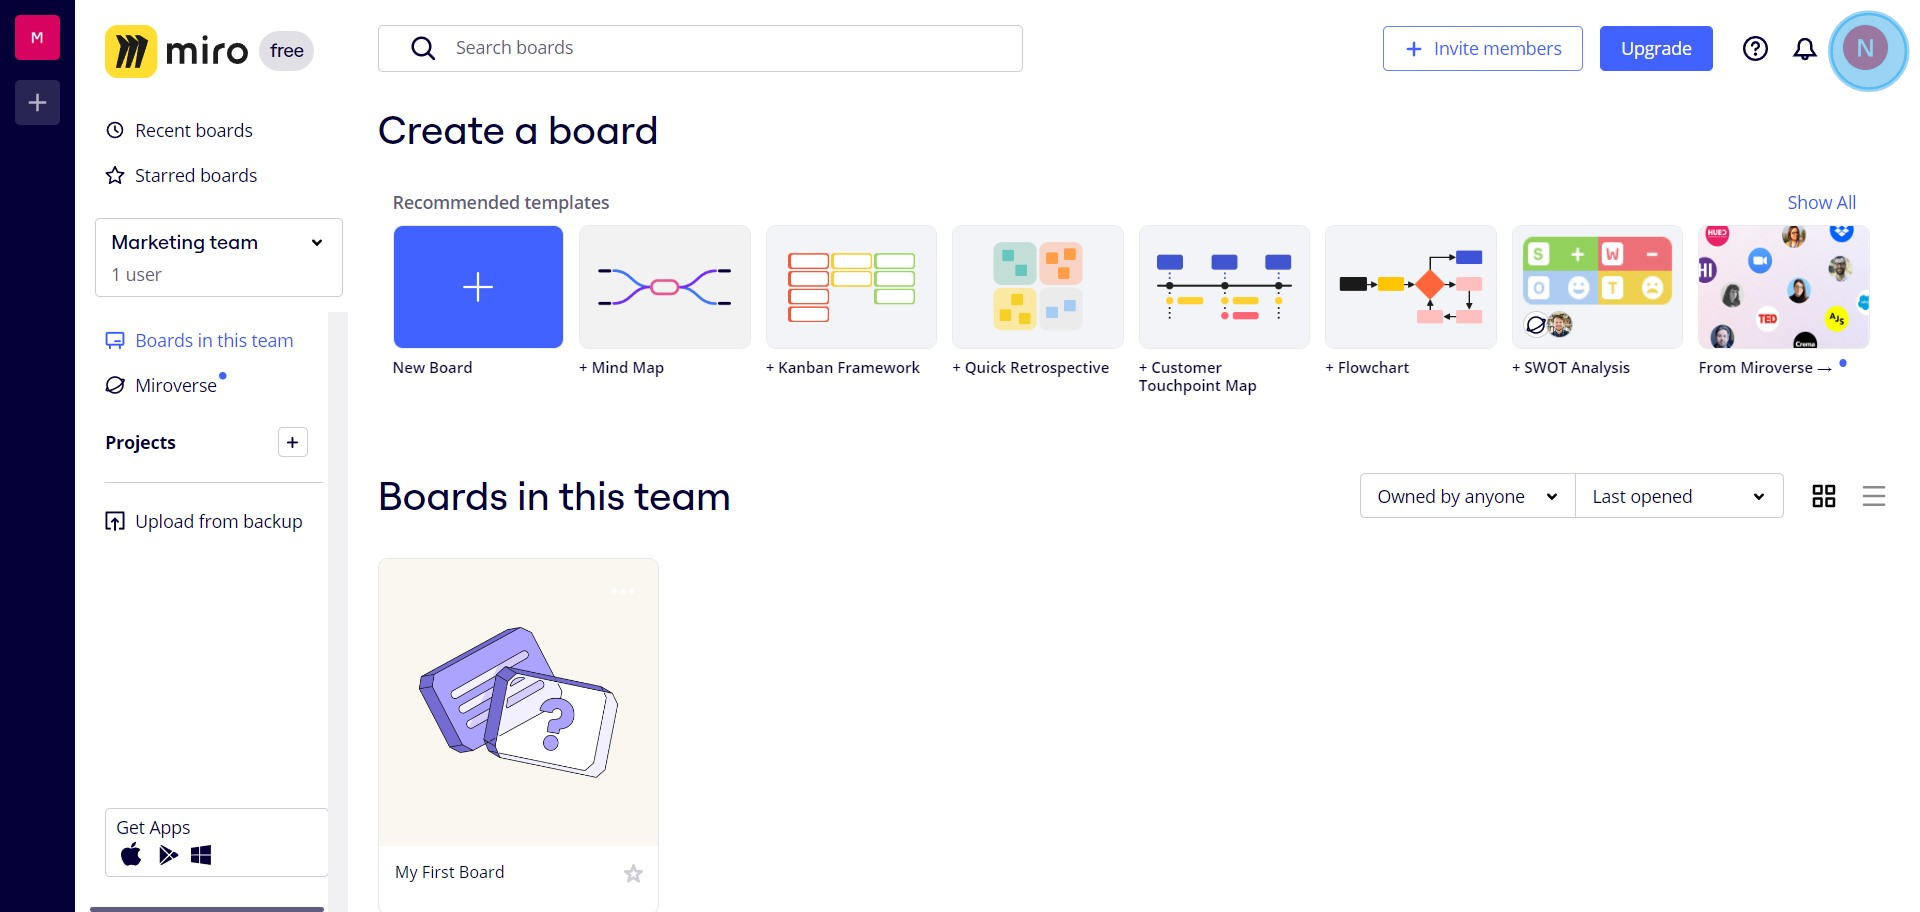
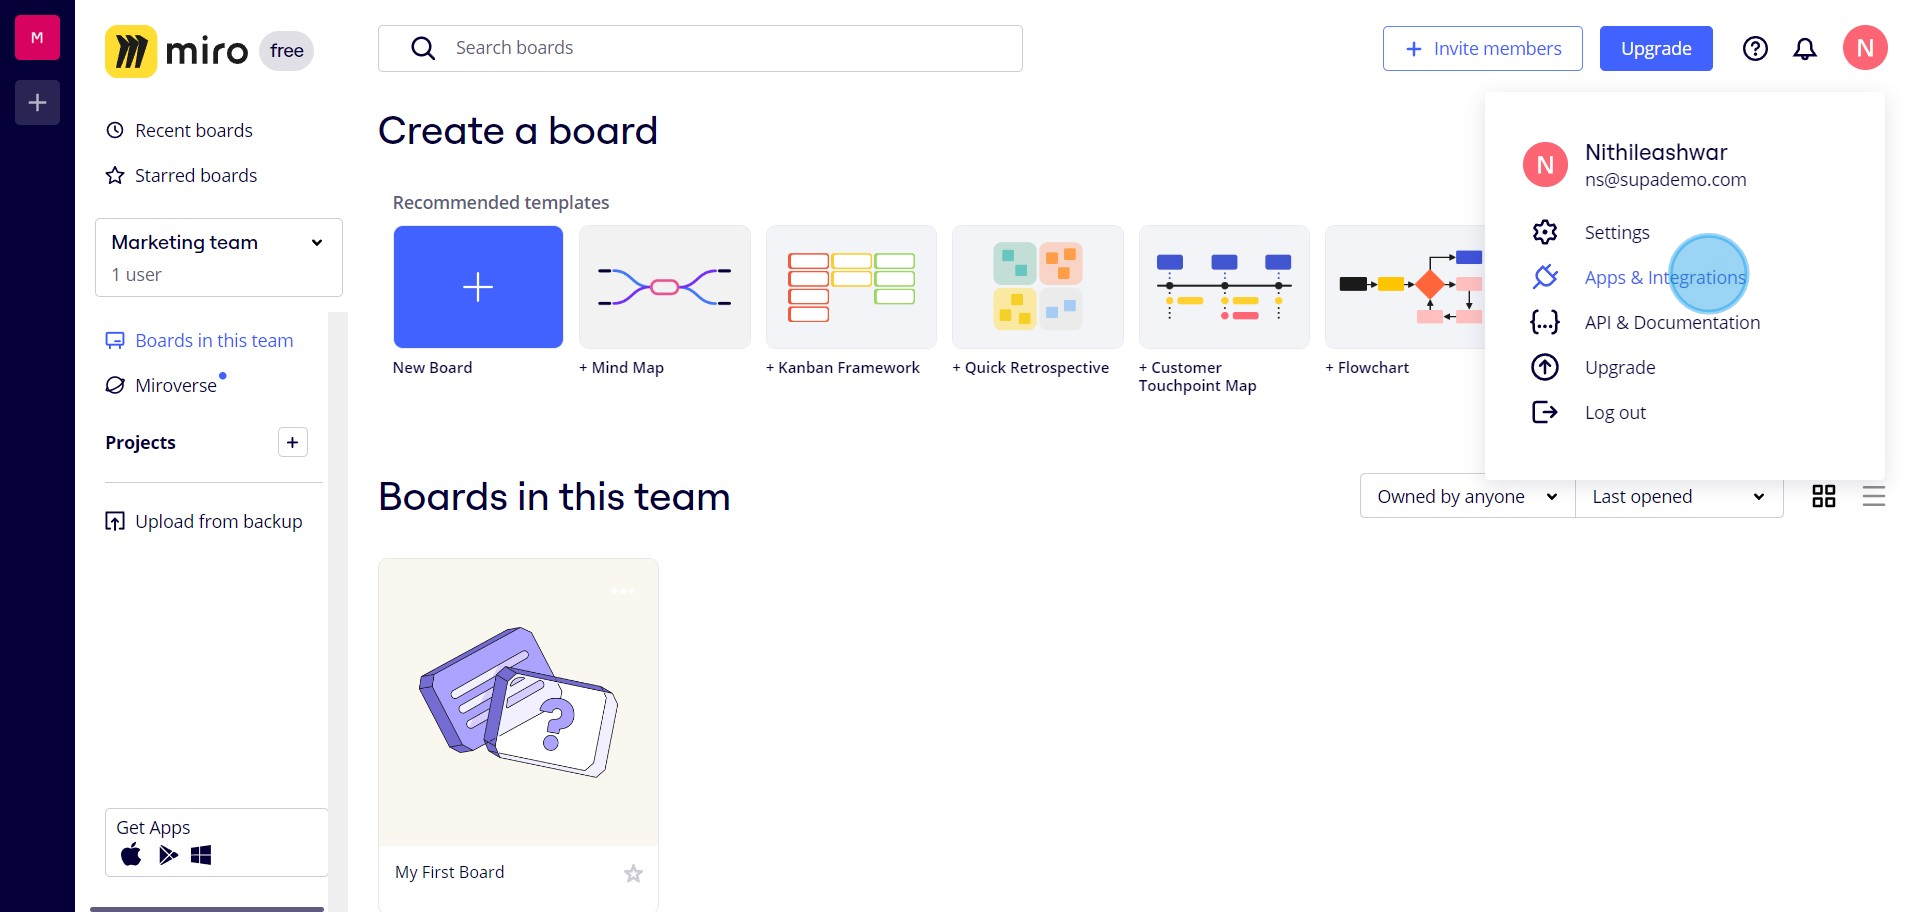
1. Navigate to your user profile.
2. Access 'Apps & Integrations' section.
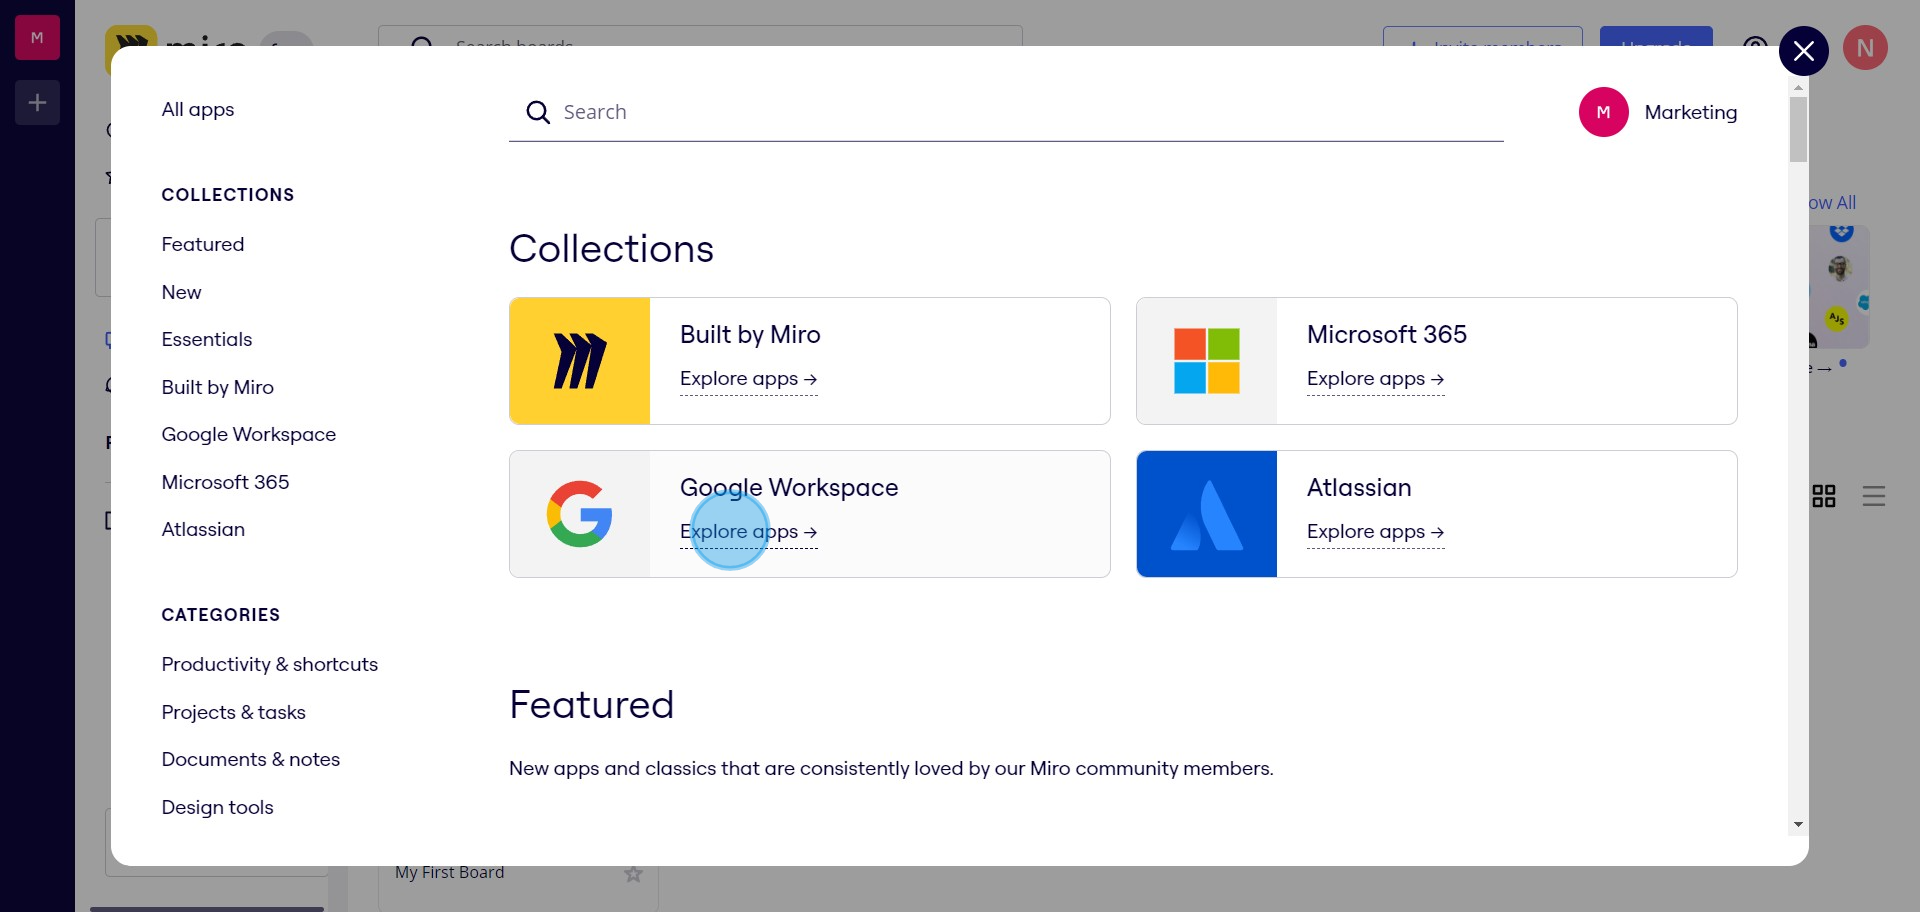
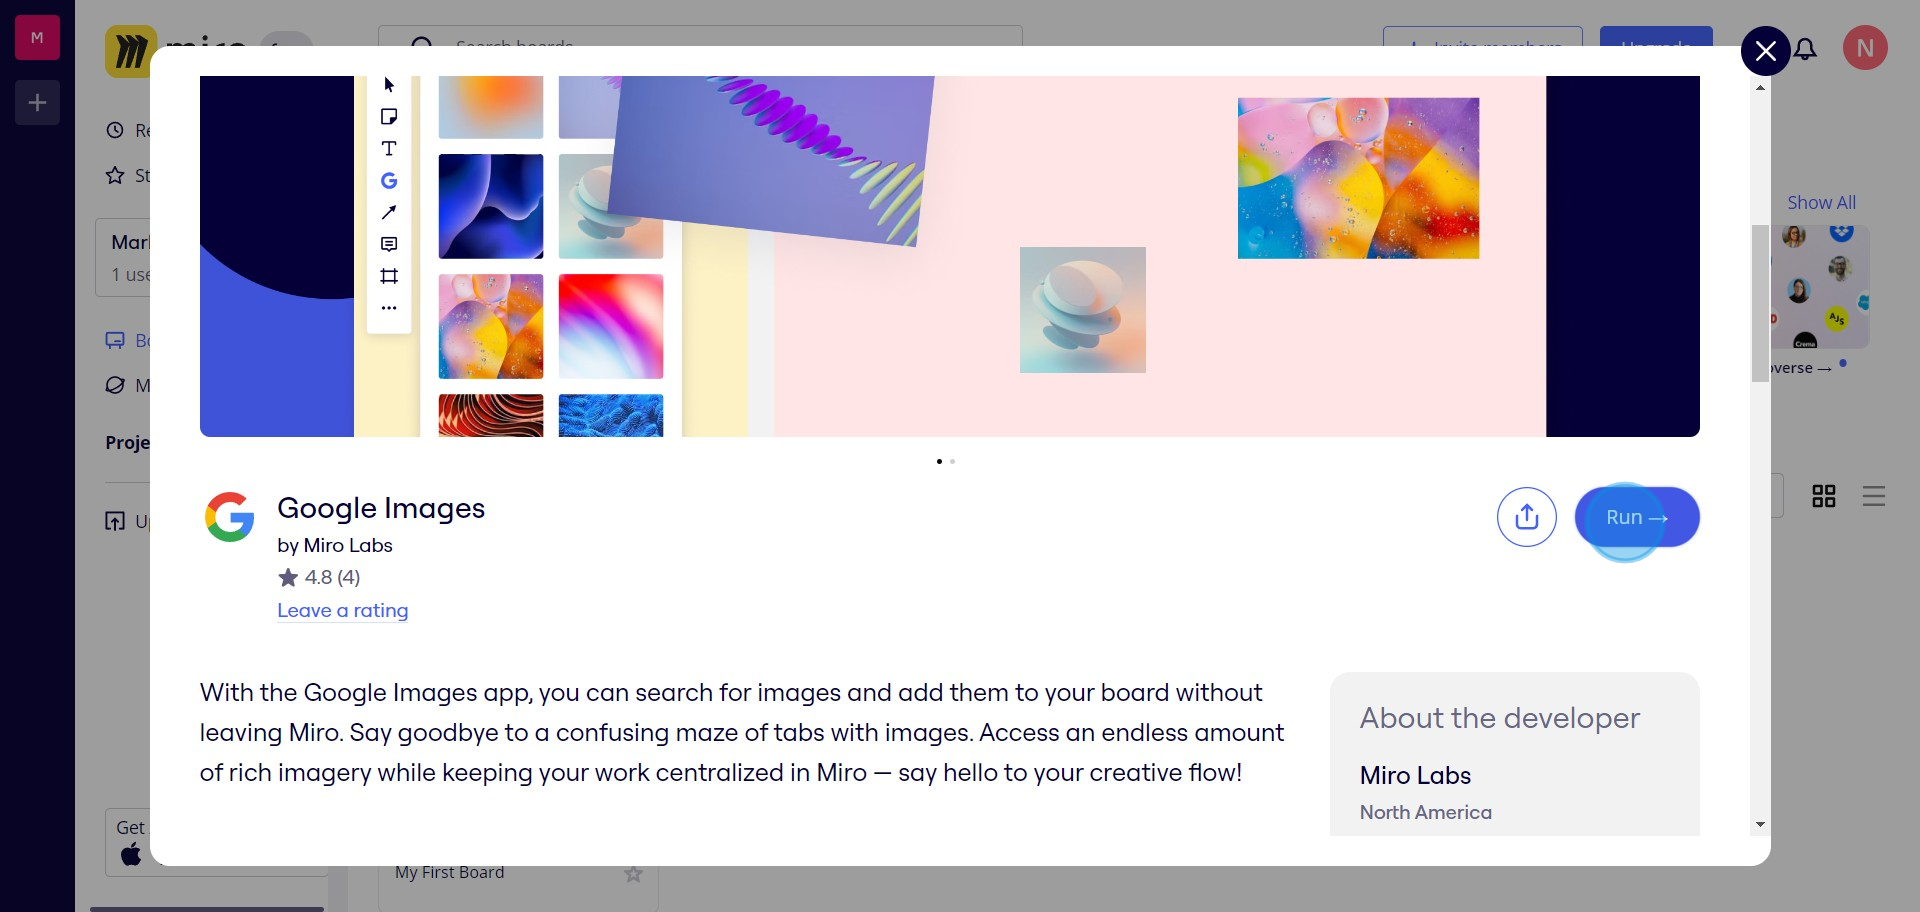
3. Explore 'Google Workspace' applications.
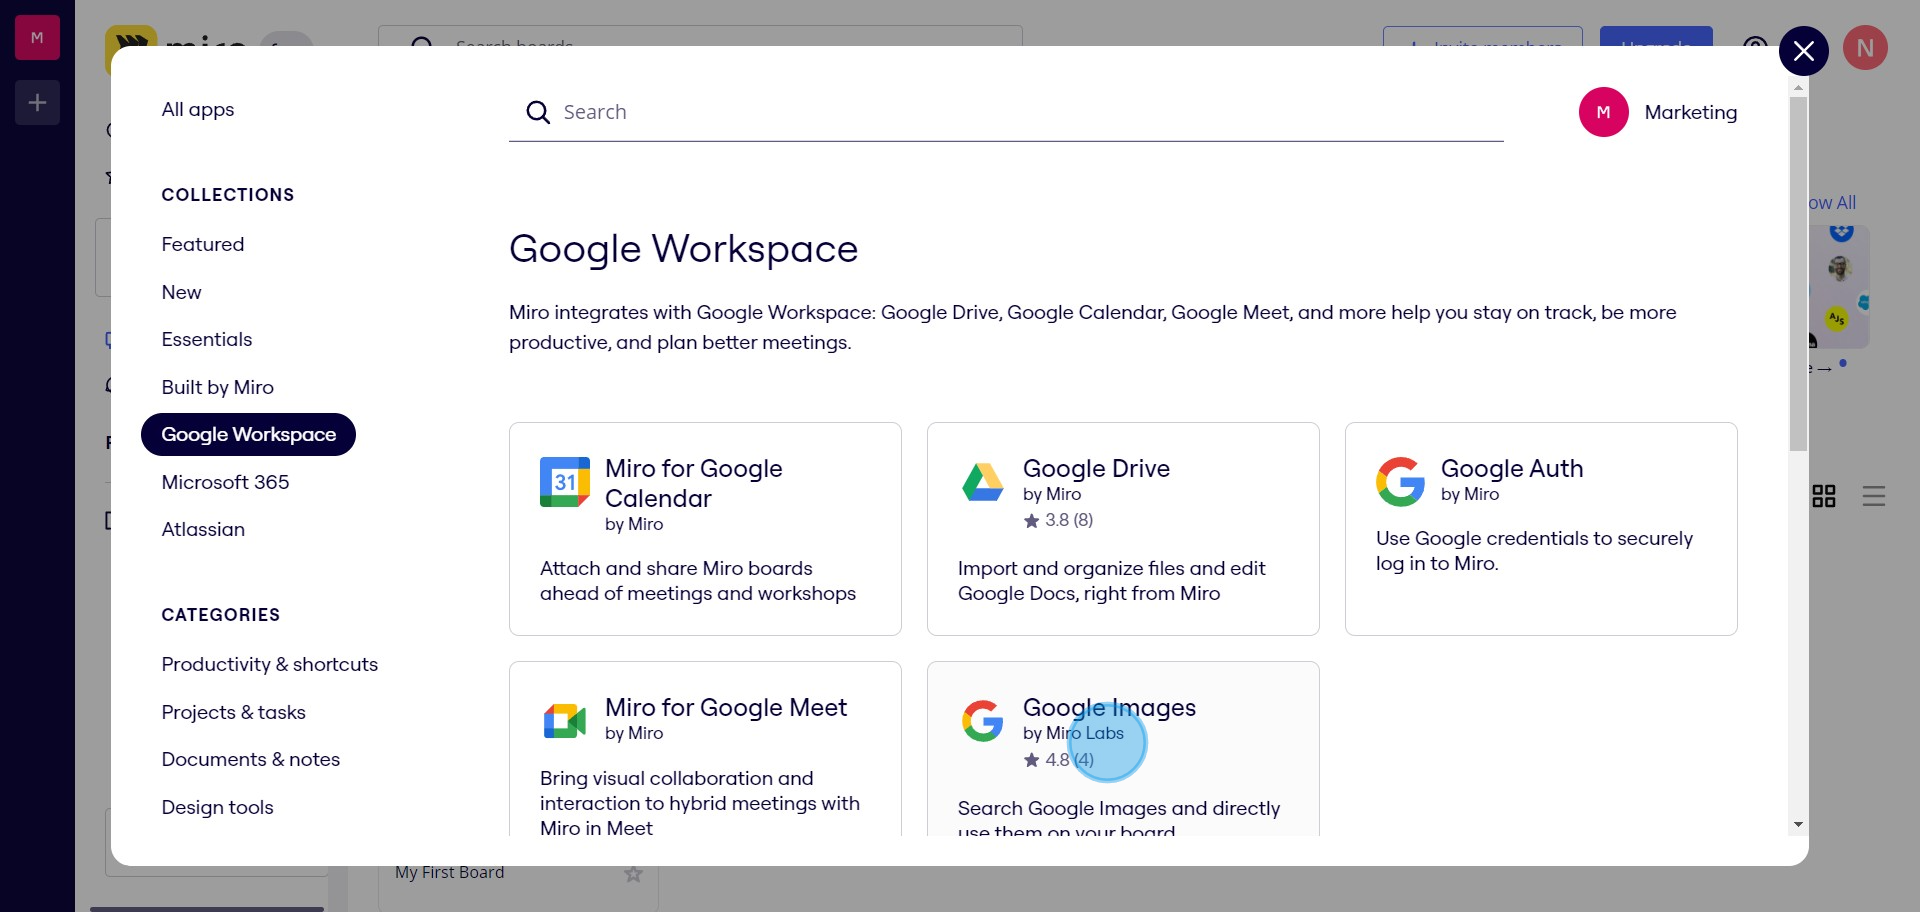
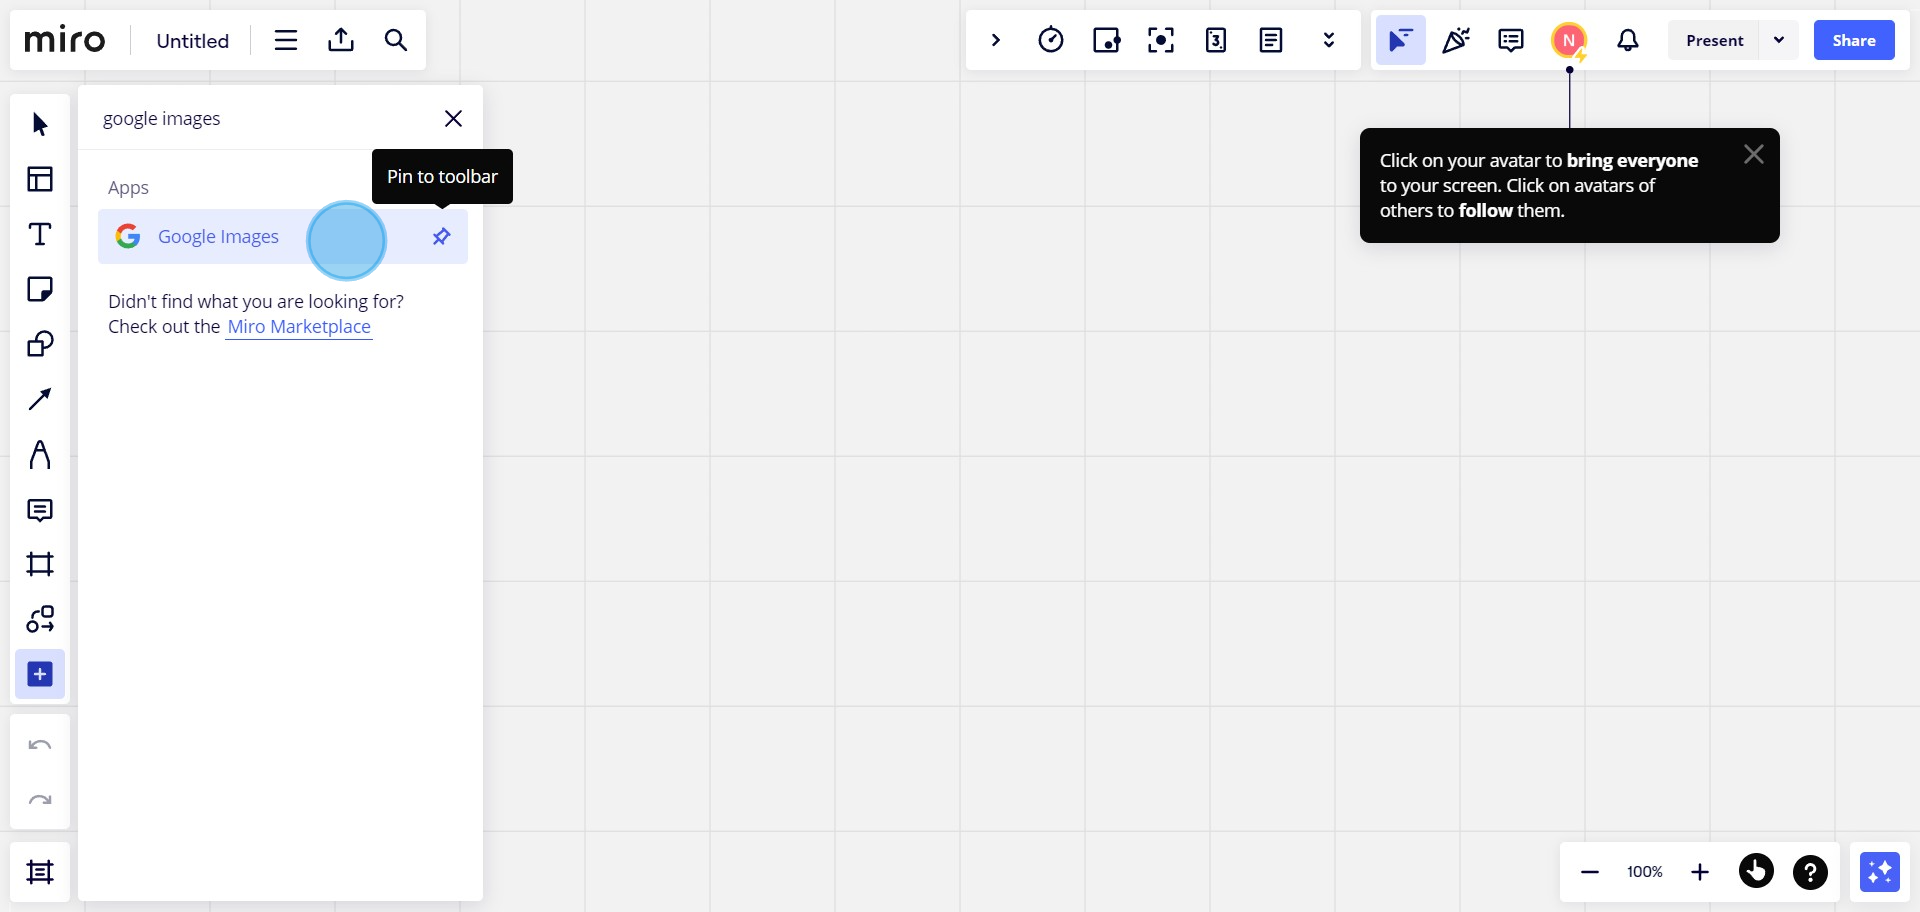
4. Select 'Google Images' by Miro Labs.
5. Click 'Run' to install the Google Images integration.
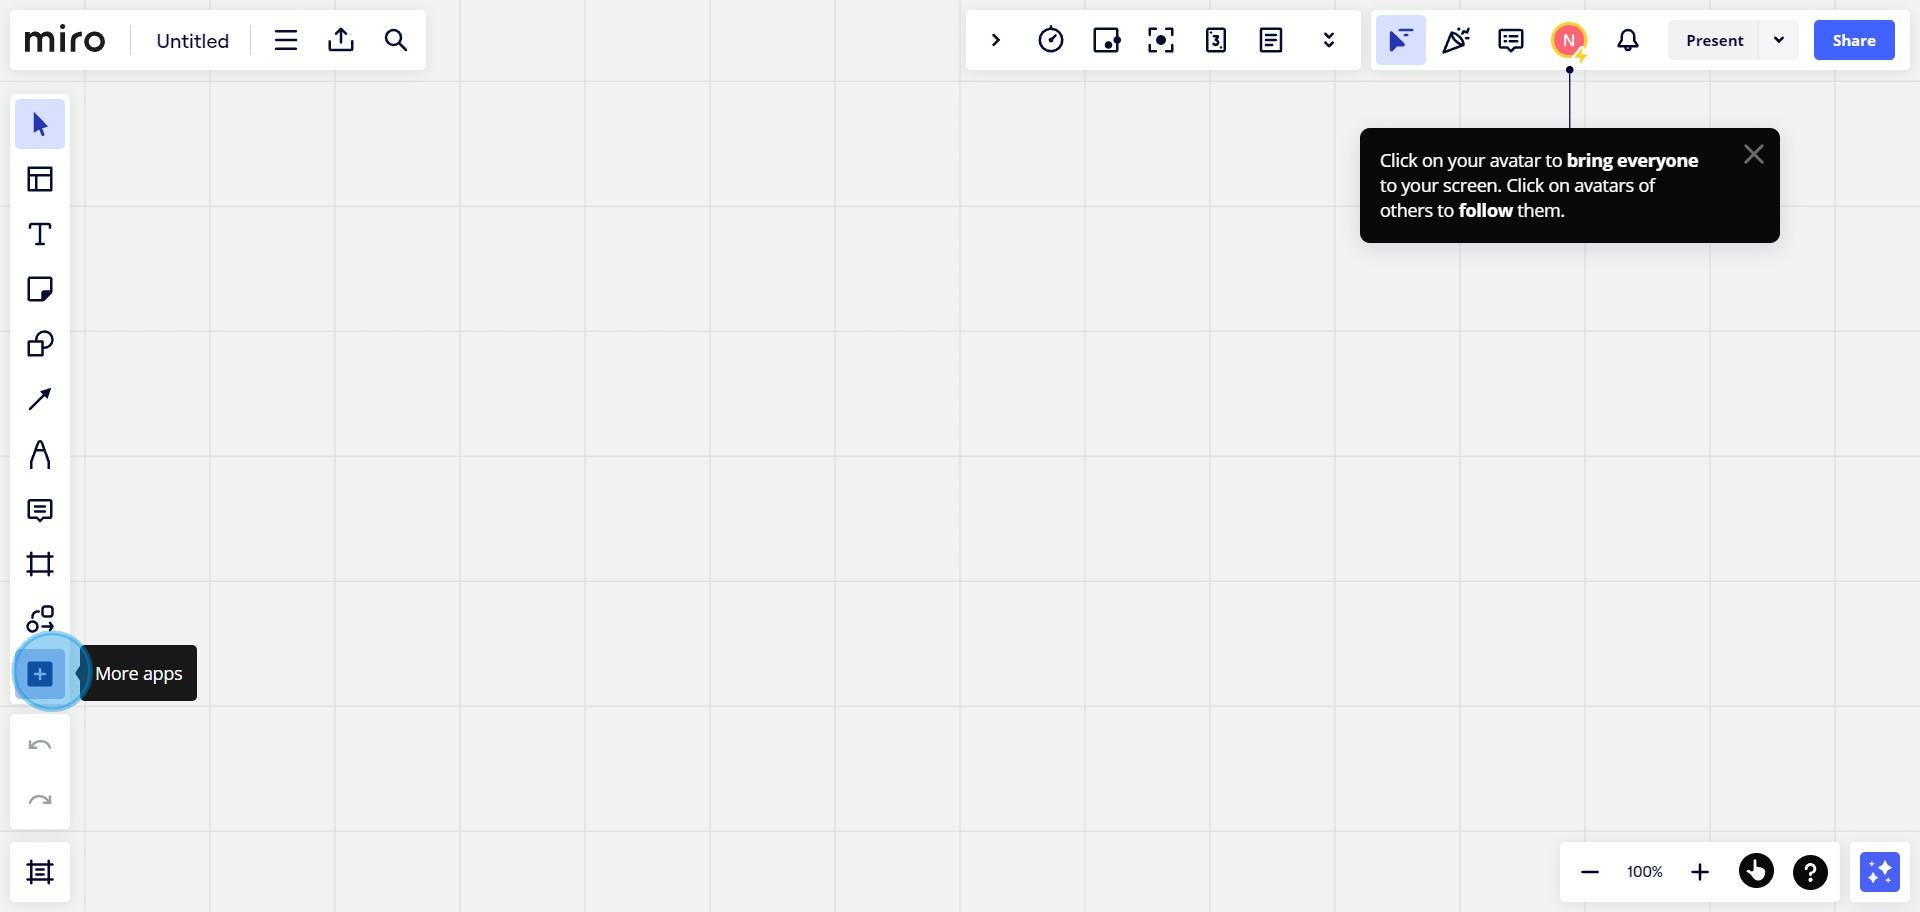
6. Choose the project where you want to add Google Images.
7. Open 'More apps' to find Google Images option.
8. Search 'Google Images' in the search bar.
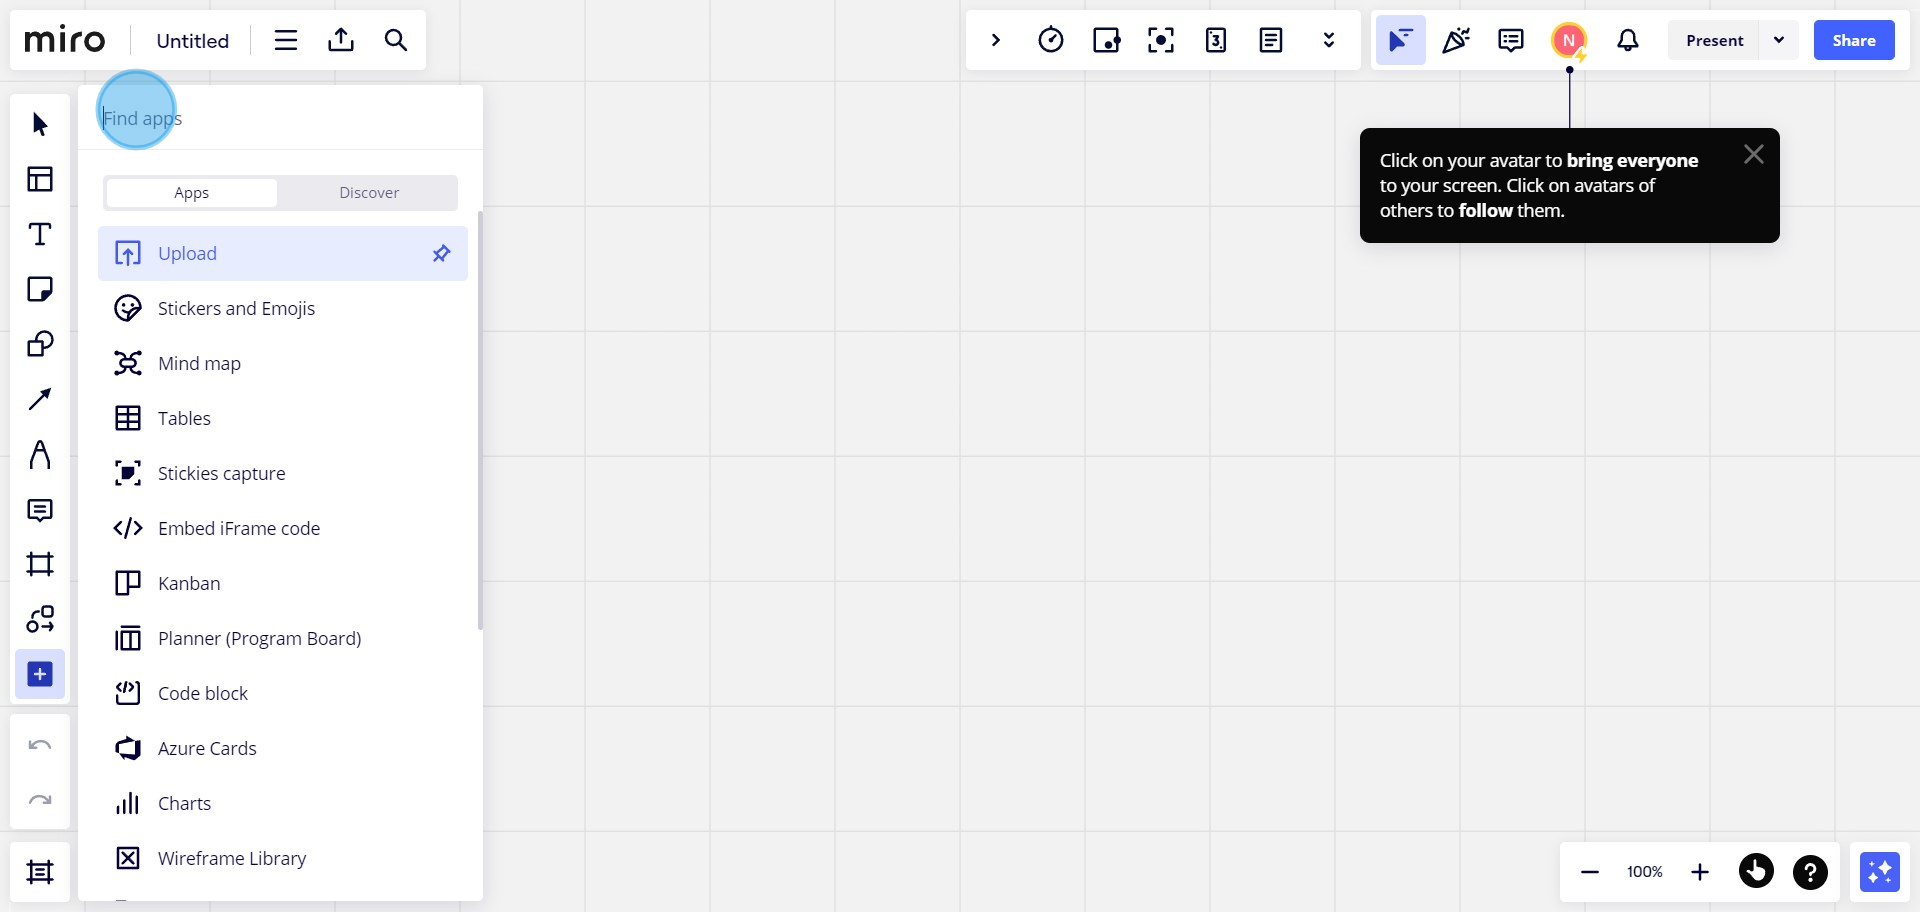
9. Select the Google Images option from the dropdown.
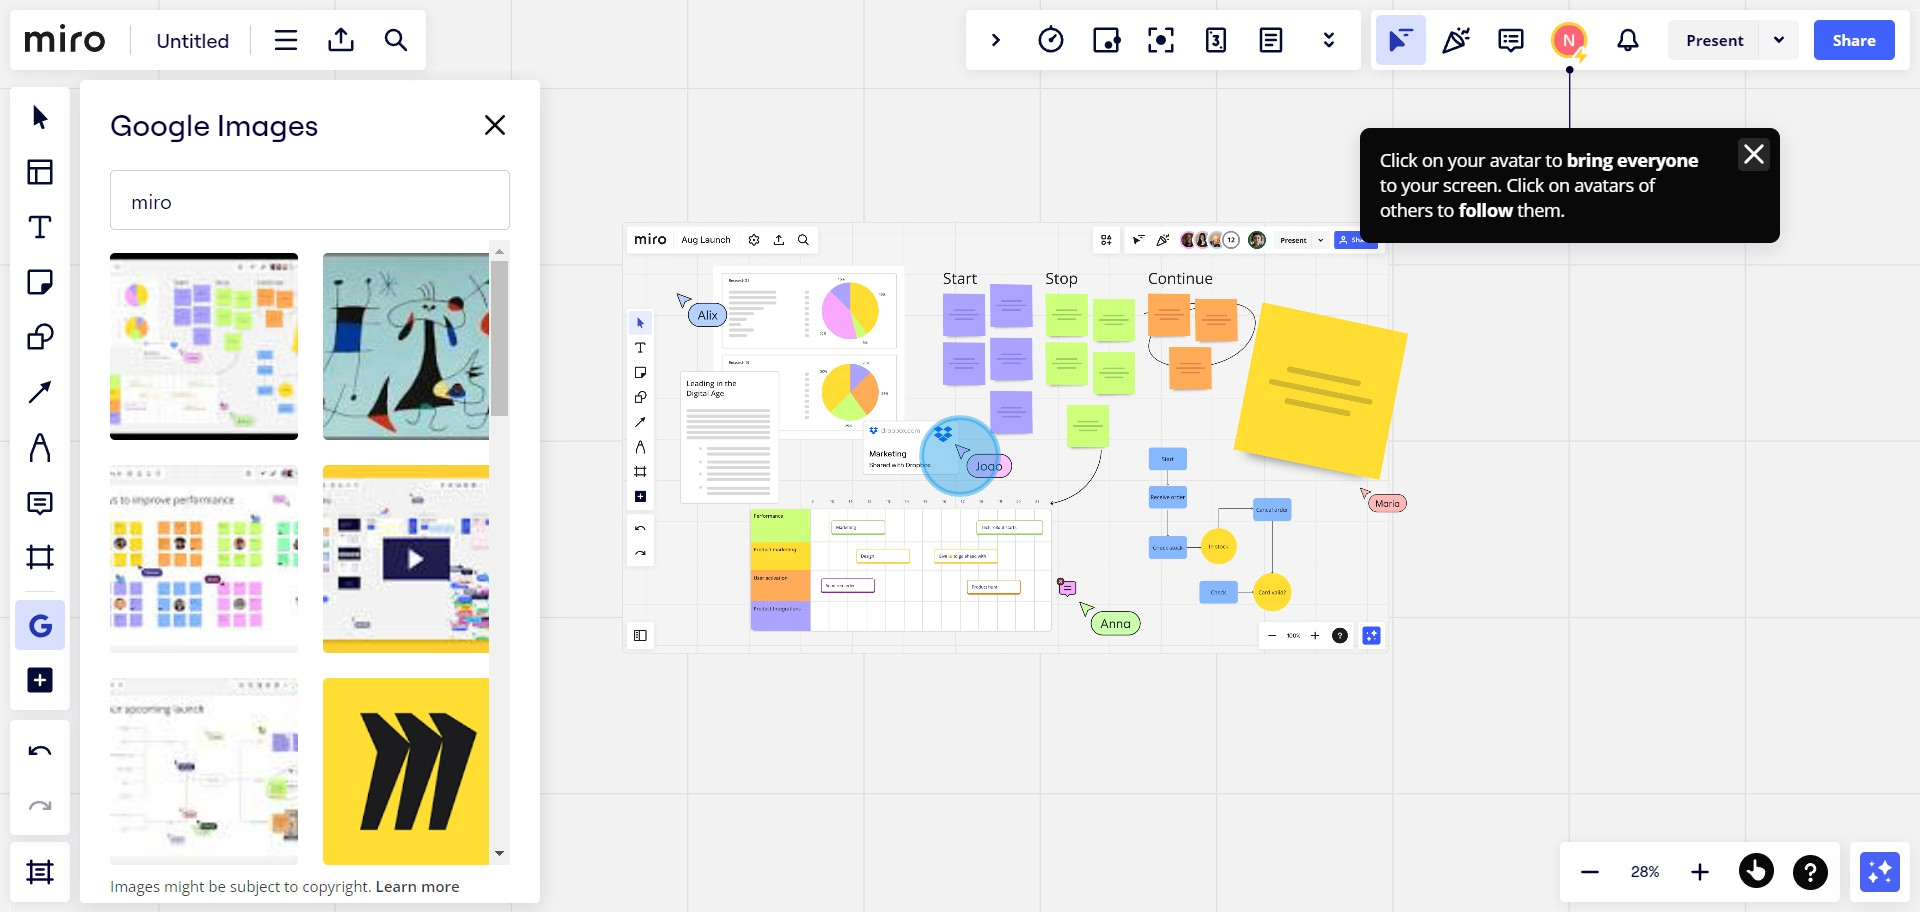
10. Enter your desired search term.
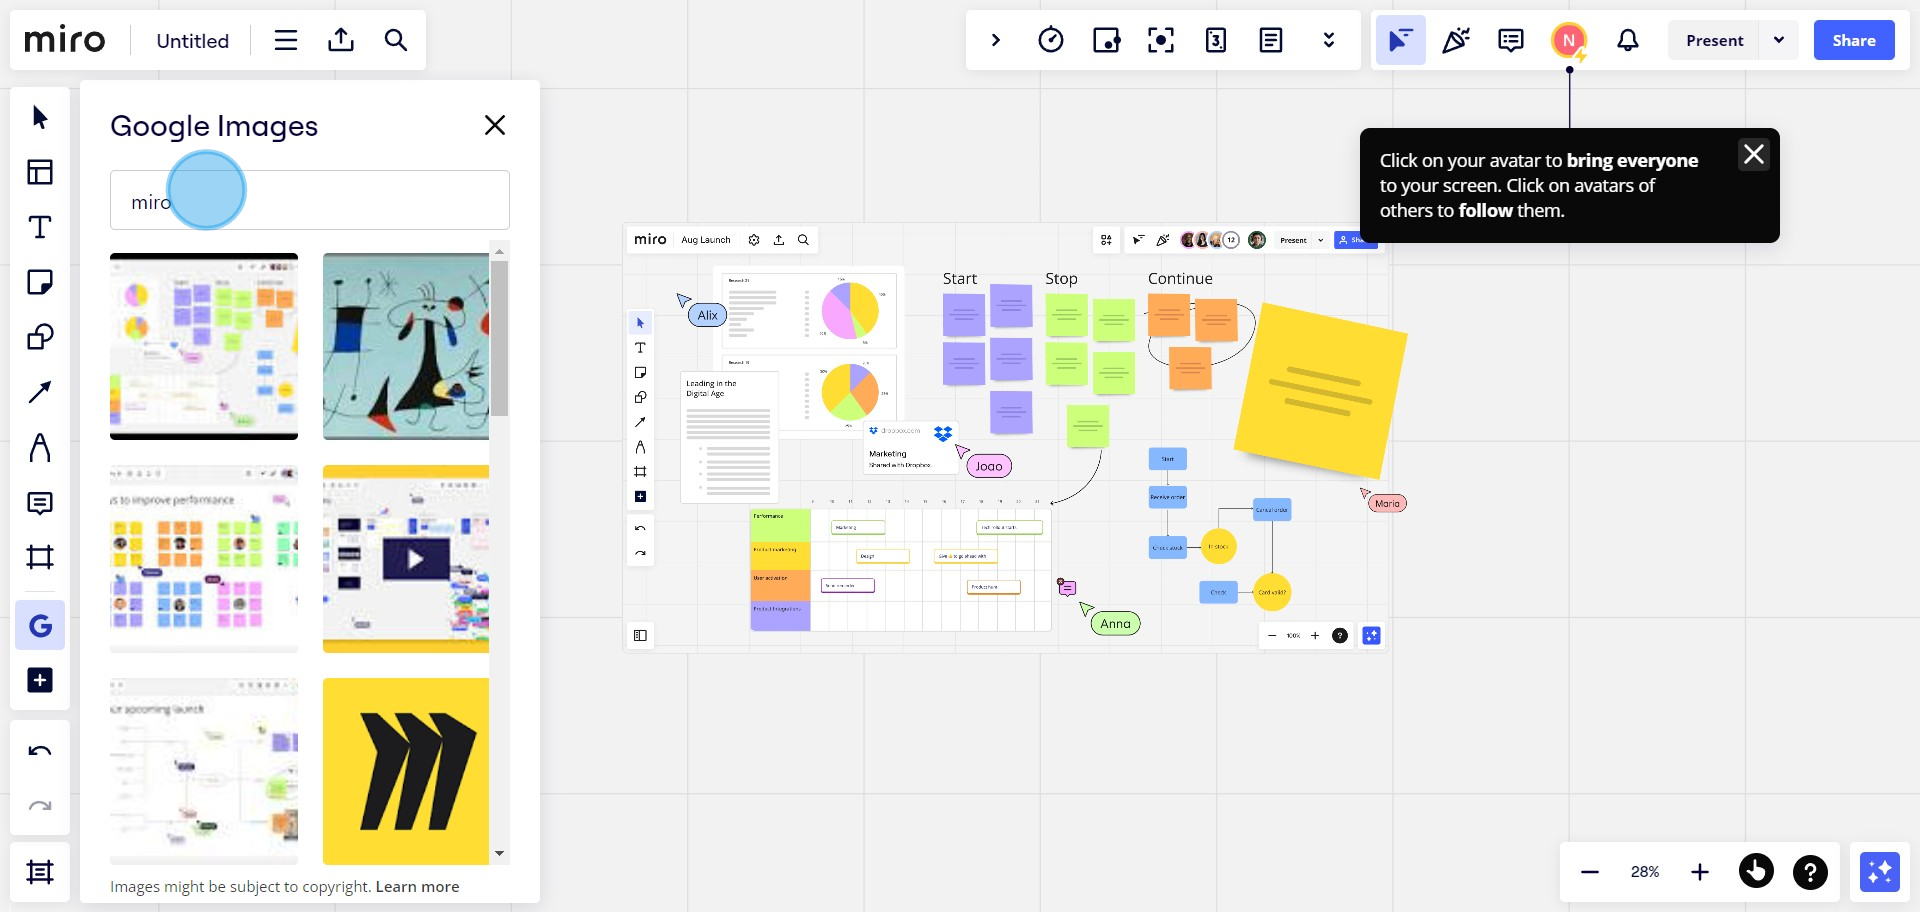
11. Upon finding the image, drag and drop it into your Miro board.
Create your own step-by-step demo
Scale up your training and product adoption with beautiful AI-powered interactive demos and guides. Create your first Supademo in seconds for free.
Frequently Asked Questions about how to integrate google images to miro whiteboard
Commonly asked questions about this topic.
Is Google suitable for enterprise-scale integrating Google Images to Miro whiteboard?
Why would I want to add Google Images to my Miro whiteboard?
What common mistakes should you watch for with integrate google images?
What should a well-structured Google Images to Miro whiteboard include?
How frequently should I refresh the Google Images in my Miro boards?
What's the best way to onboard new team members to integrating Google Images to Miro whiteboard?
How can integrate google images work?
Content Marketer
Nithil is a startup-obsessed operator focused on growth, sales and marketing. He's passionate about wearing different hats across startups to deliver real value.


