

Overview:
Streamline your Figma design process with ease by learning how to efficiently rename multiple layers. Elevate your organization and clarity within your projects by following this guide, which provides a seamless step-by-step process for renaming multiple layers in Figma. Enhance your workflow, save time, and ensure precision in your design management within the Figma platform.
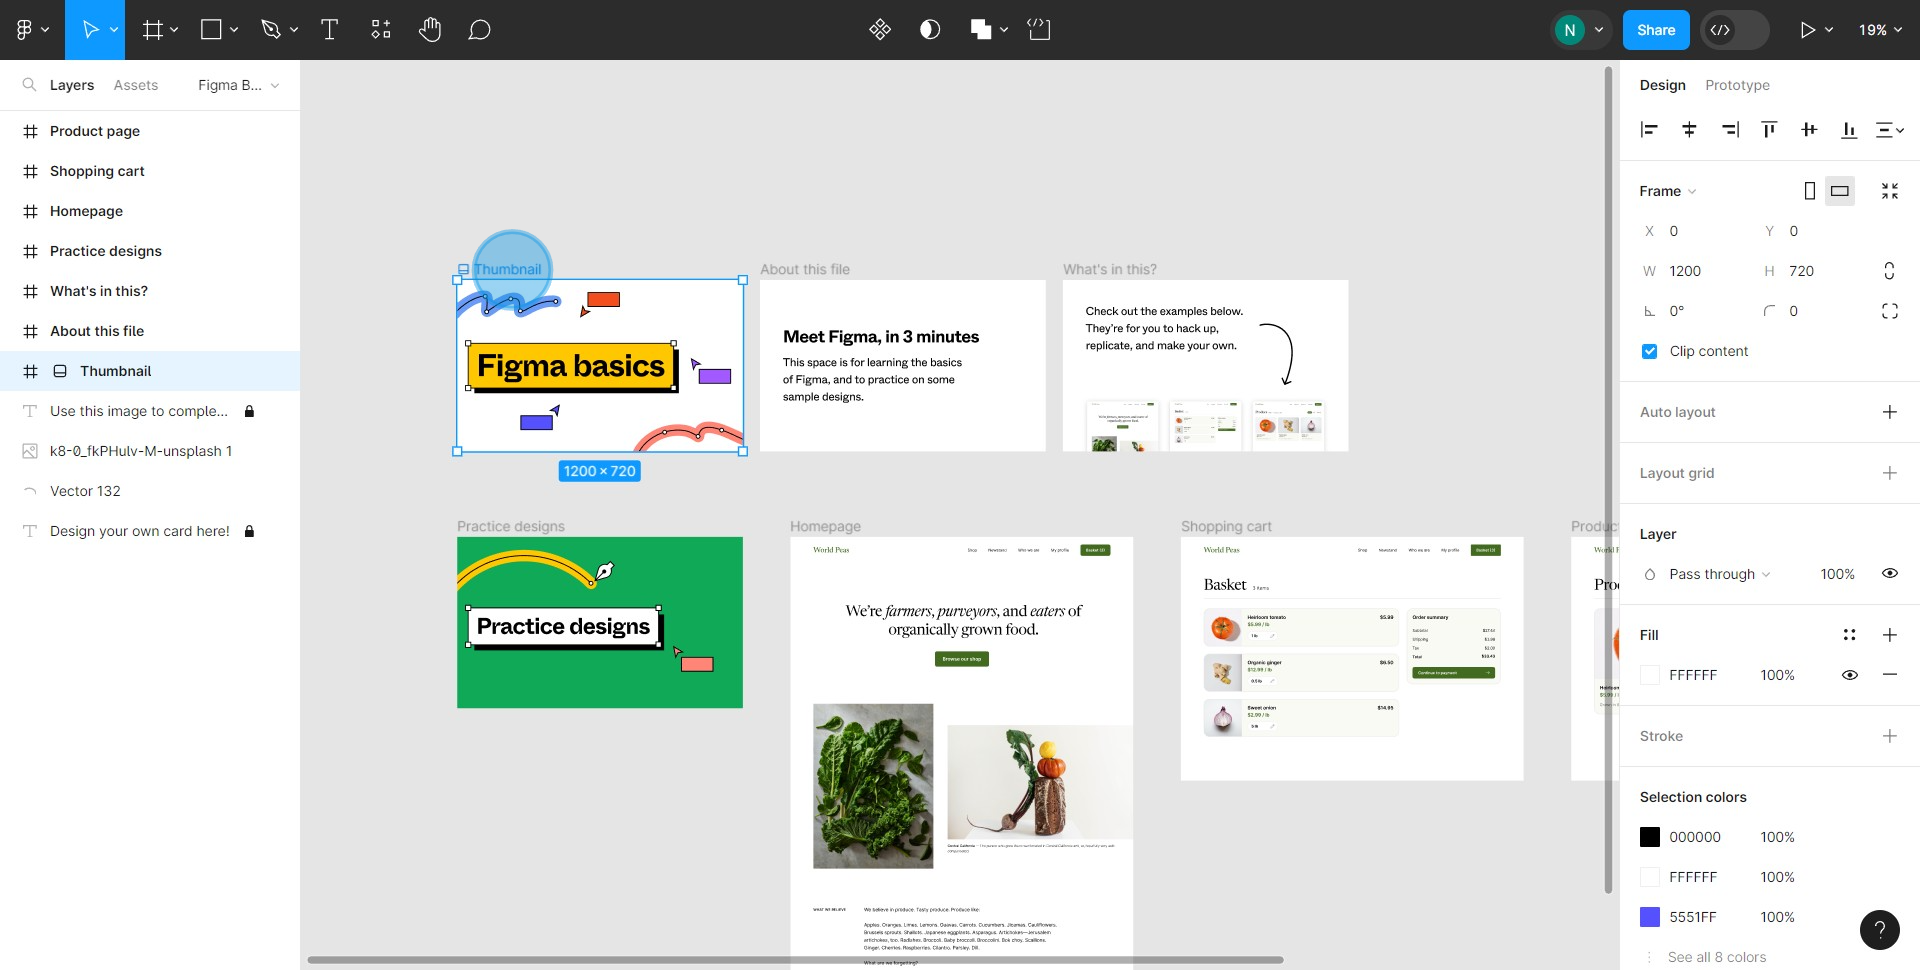
1. Choose the first layers you want to modify one by one.
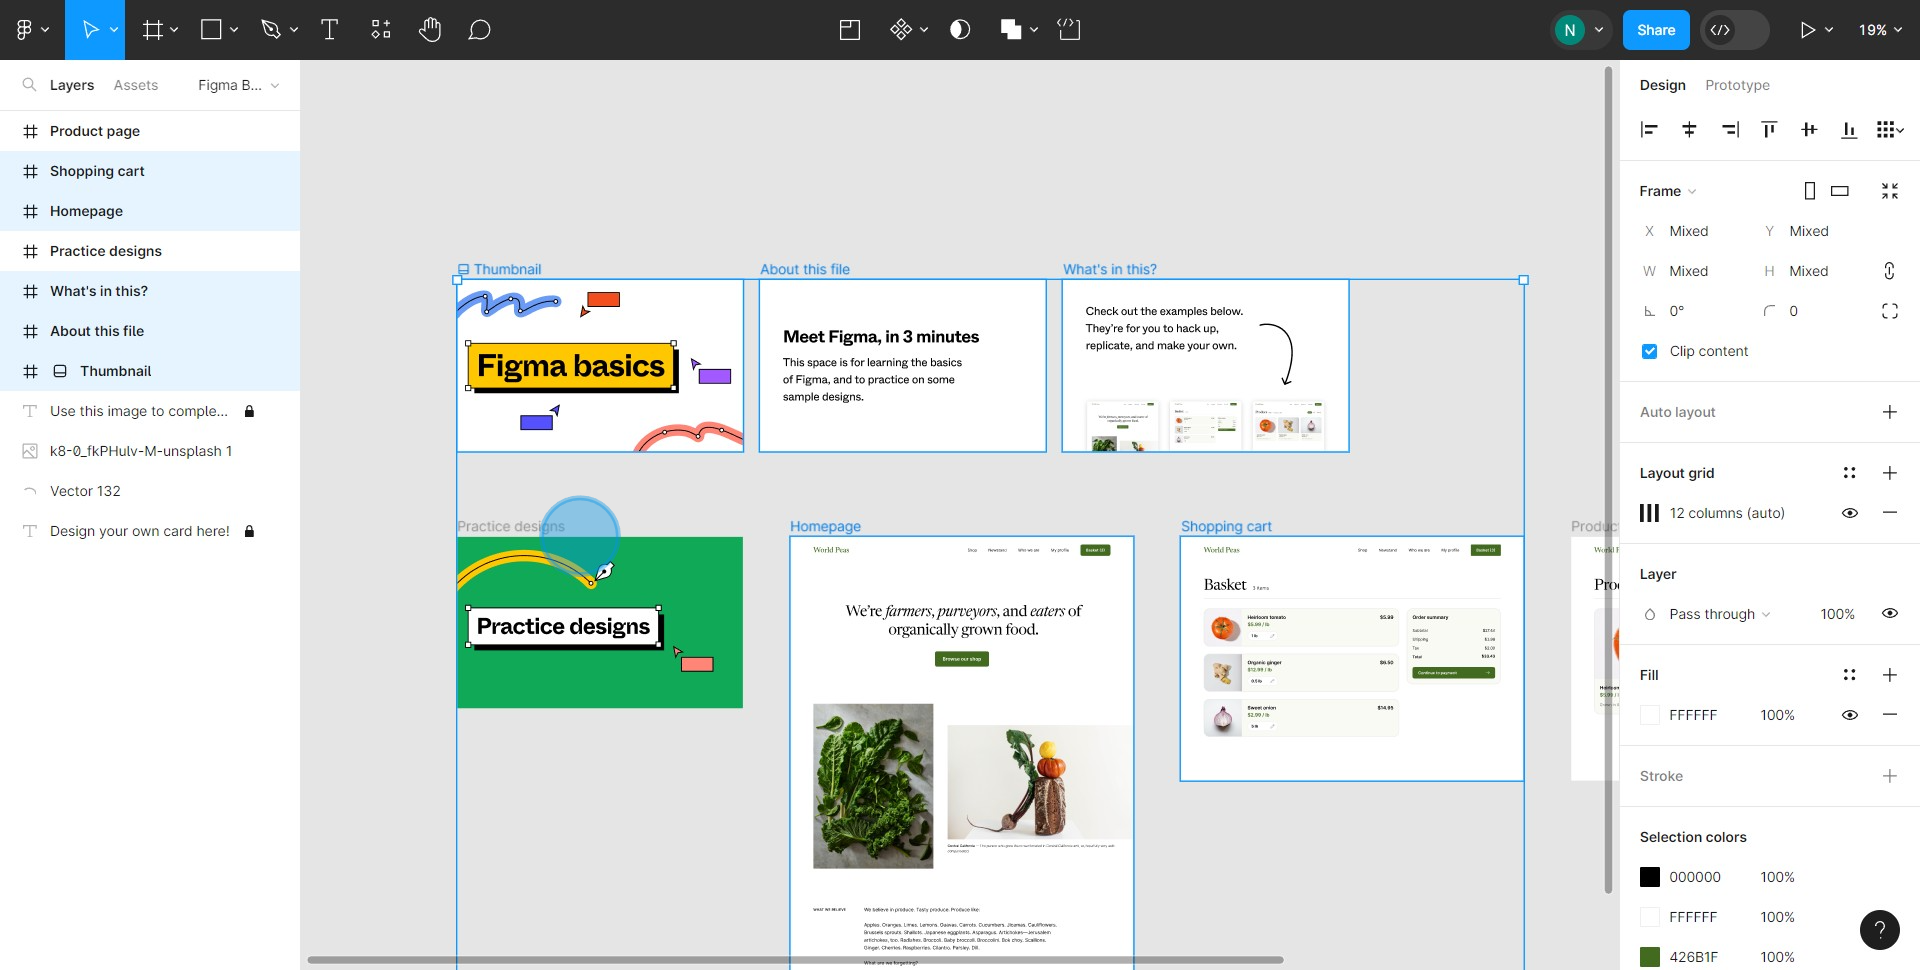
2. Or click and drag your cursor across multiple frames.
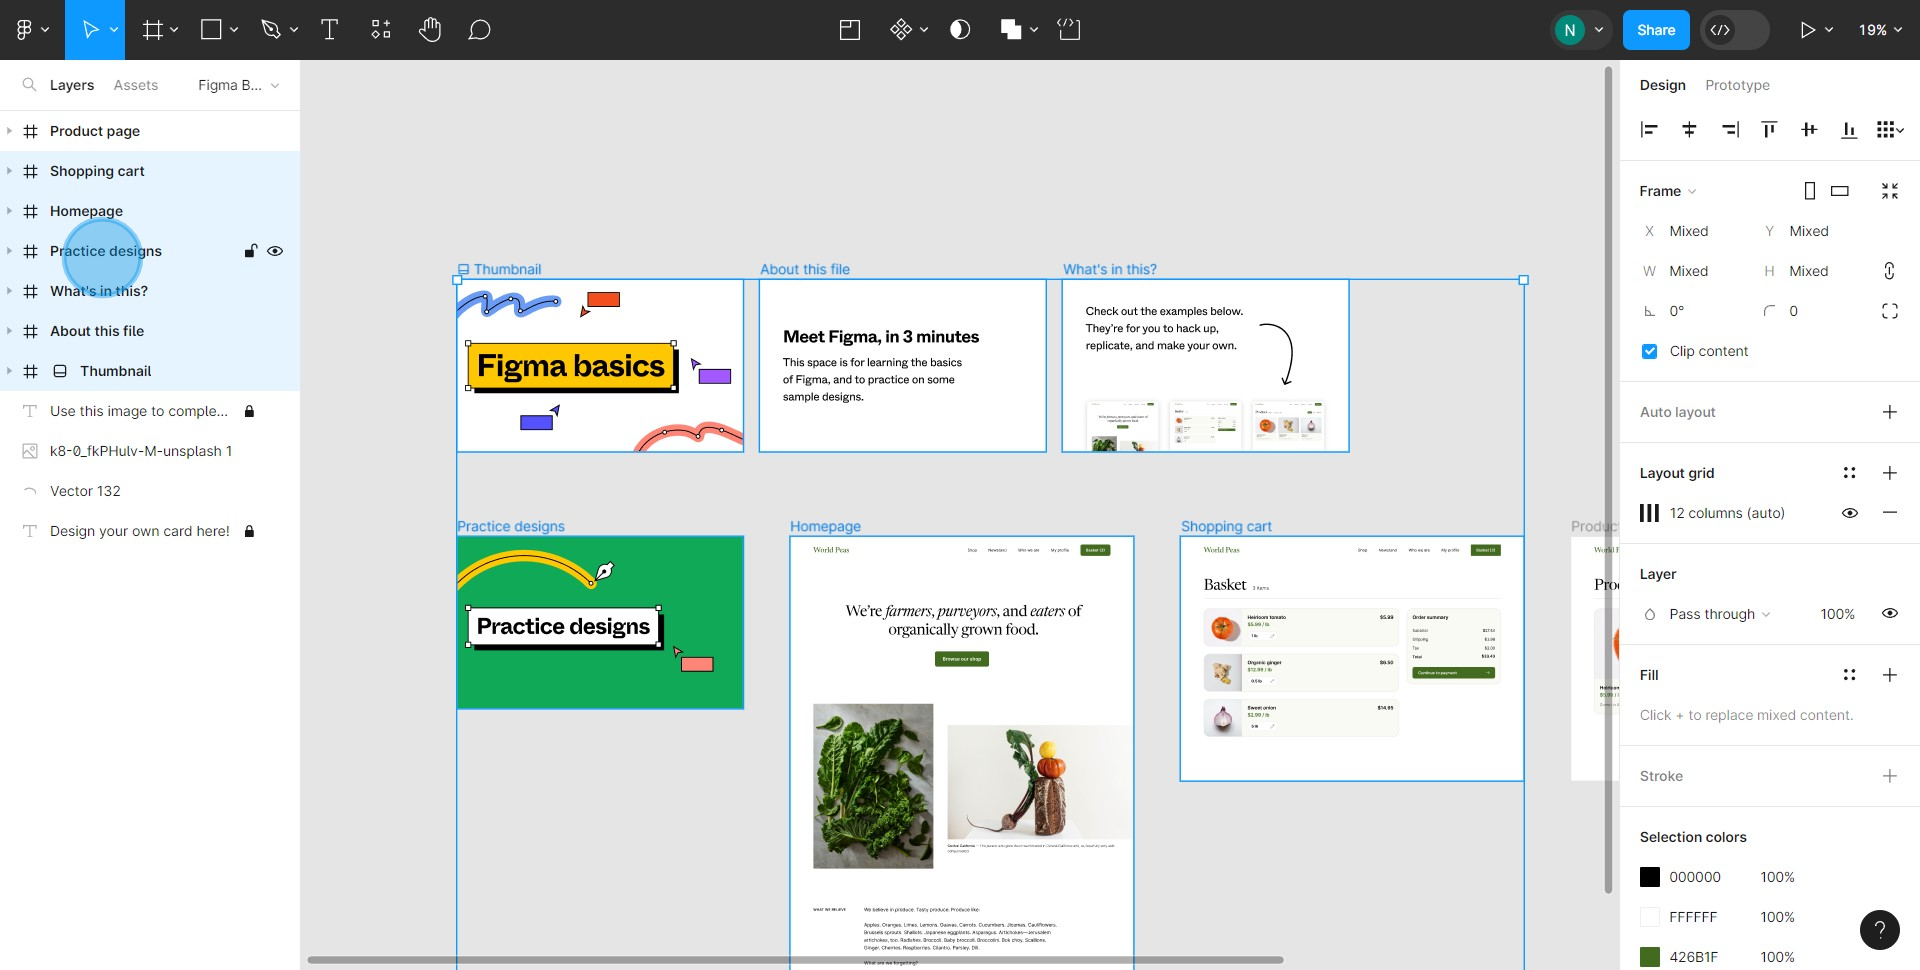
3. Now, perform a right-click on any selected design.
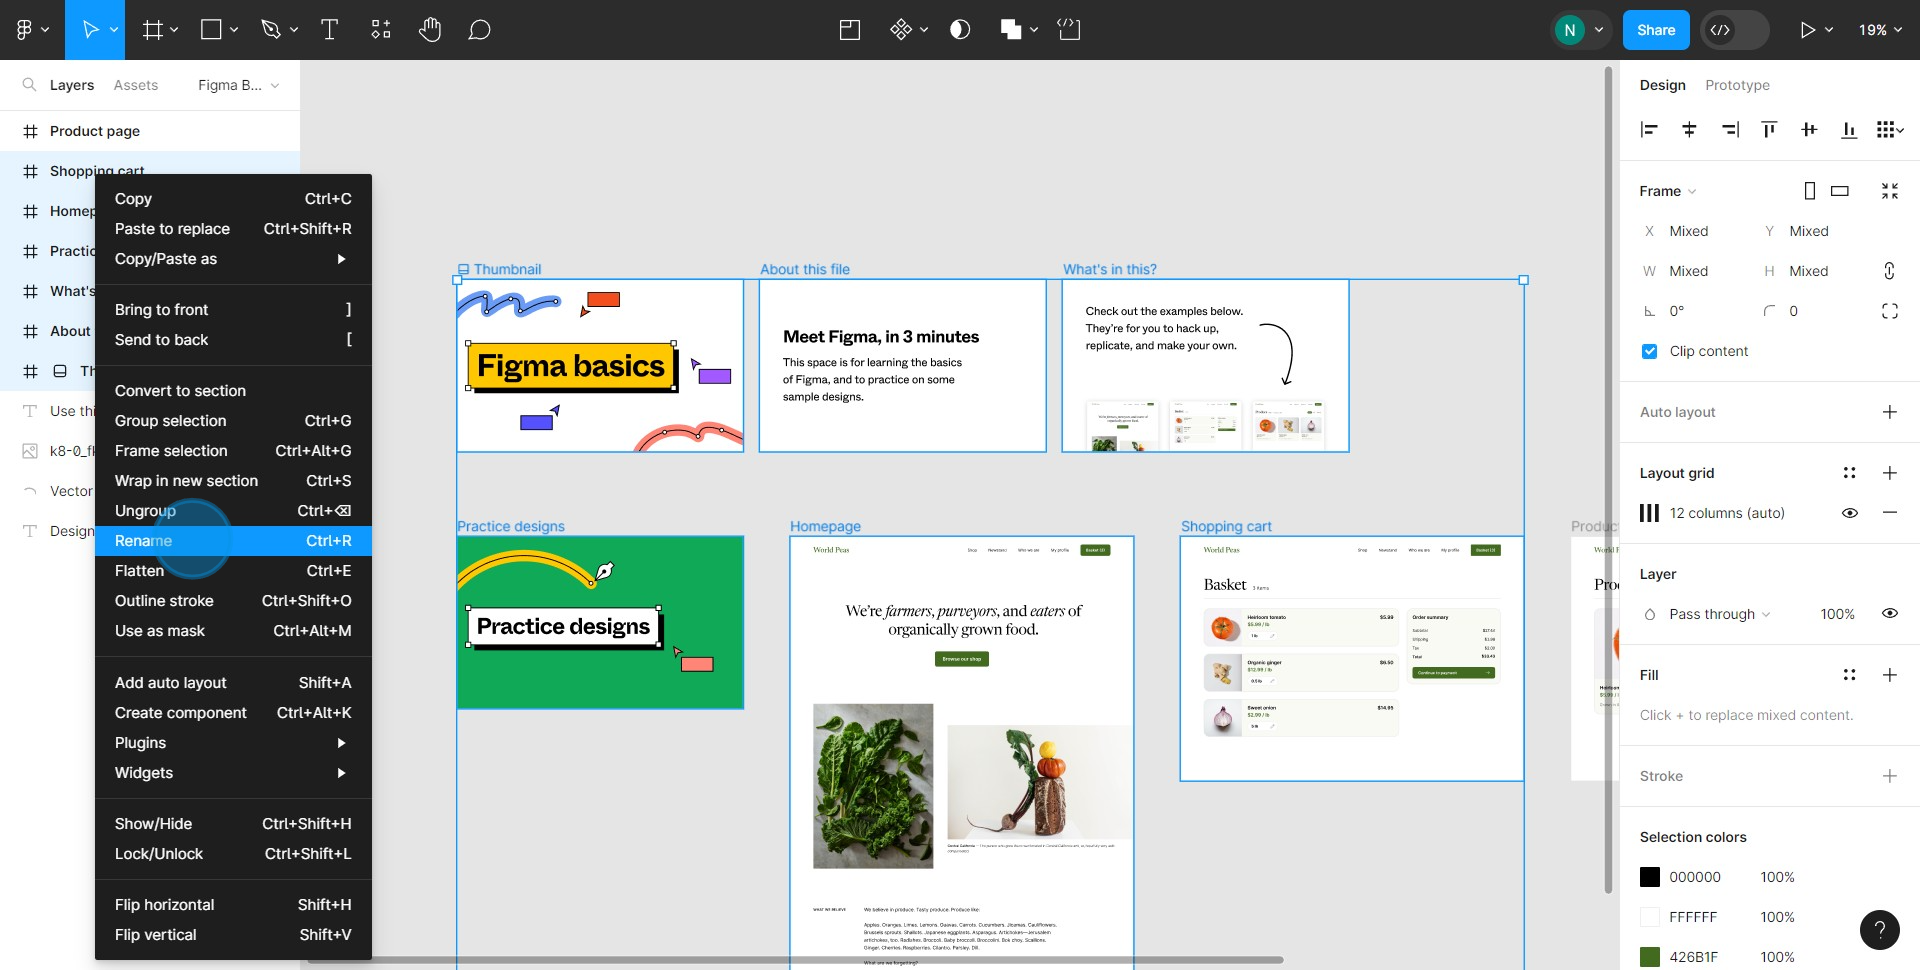
4. In the drop-down menu, hit the 'Rename' option.
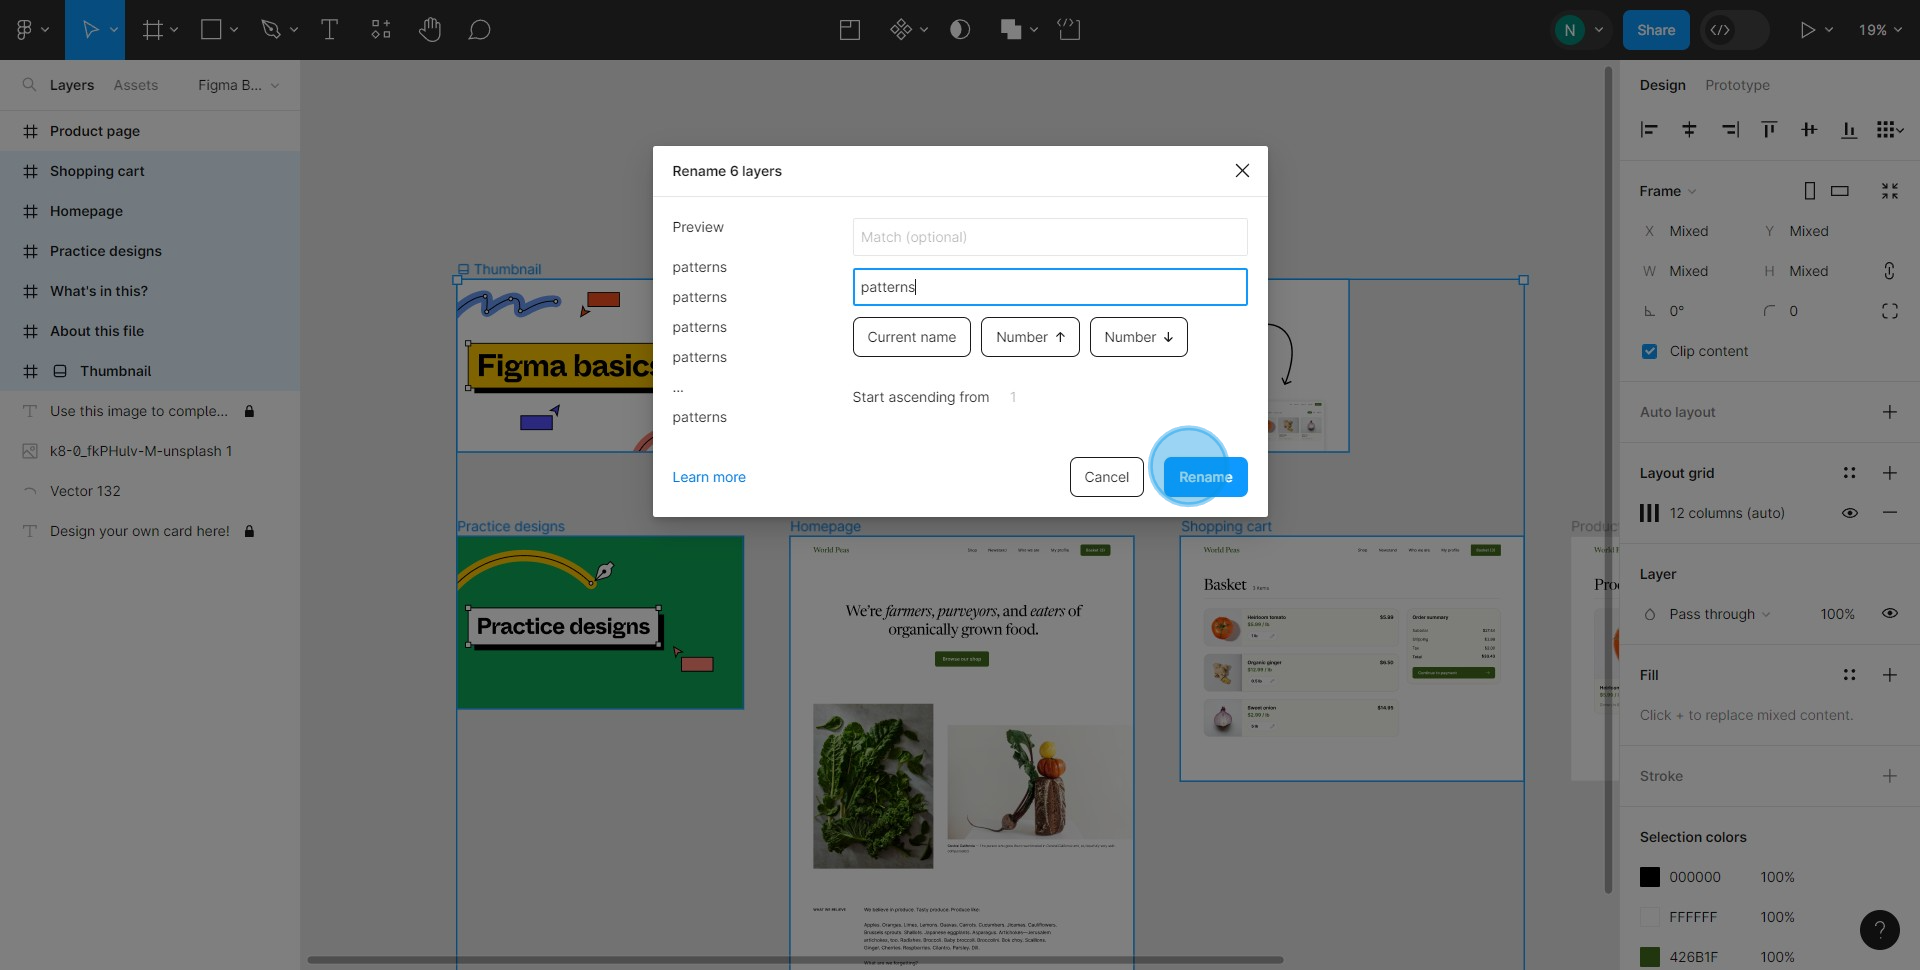
5. Assign a new name and tap the 'Rename' button.
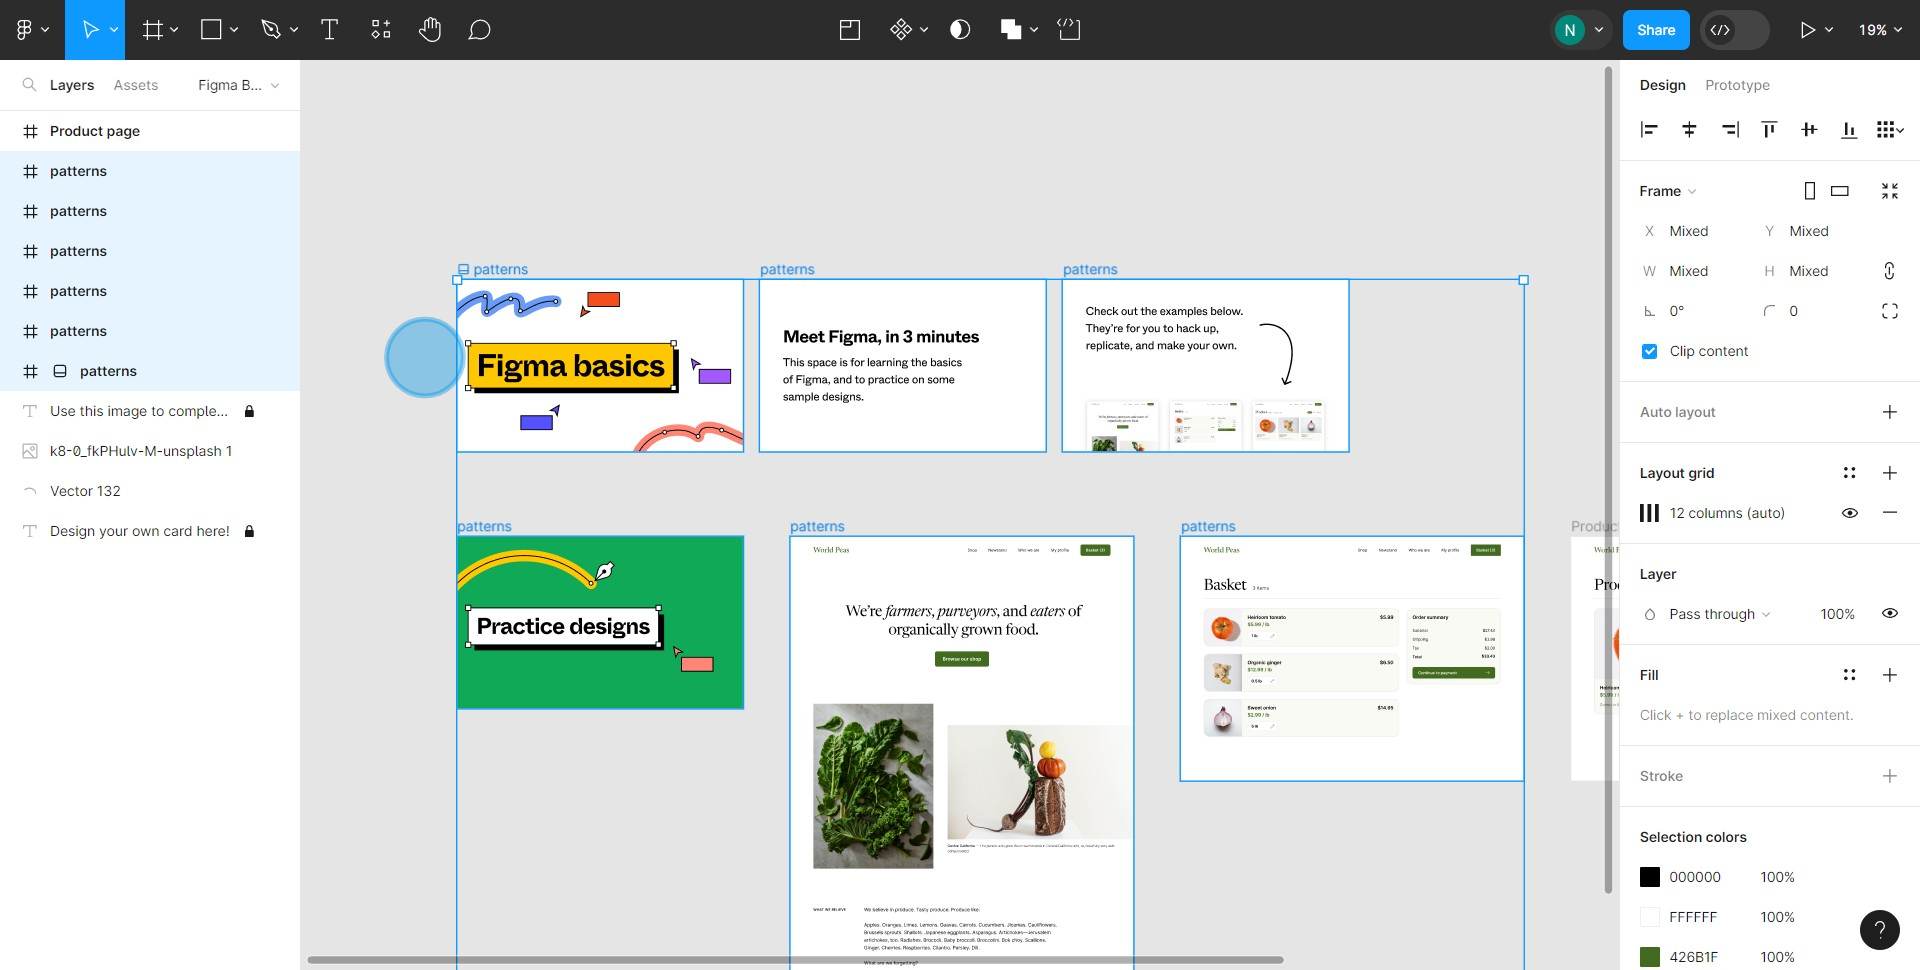
6. Congratulations! You've successfully renamed all layers.
Create your own step-by-step demo
Scale up your training and product adoption with beautiful AI-powered interactive demos and guides. Create your first Supademo in seconds for free.