Overview
Streamline your Google Docs experience with our guide on rotating and inserting checkboxes. Enhance document organization by efficiently rotating checkboxes to suit your layout preferences. Improve clarity and user interaction by seamlessly inserting checkboxes, optimizing your workflow for effective collaboration within Google Docs. This guide offers a straightforward process to help you easily manage and customize checkboxes, ensuring a more efficient and user-friendly document creation experience.
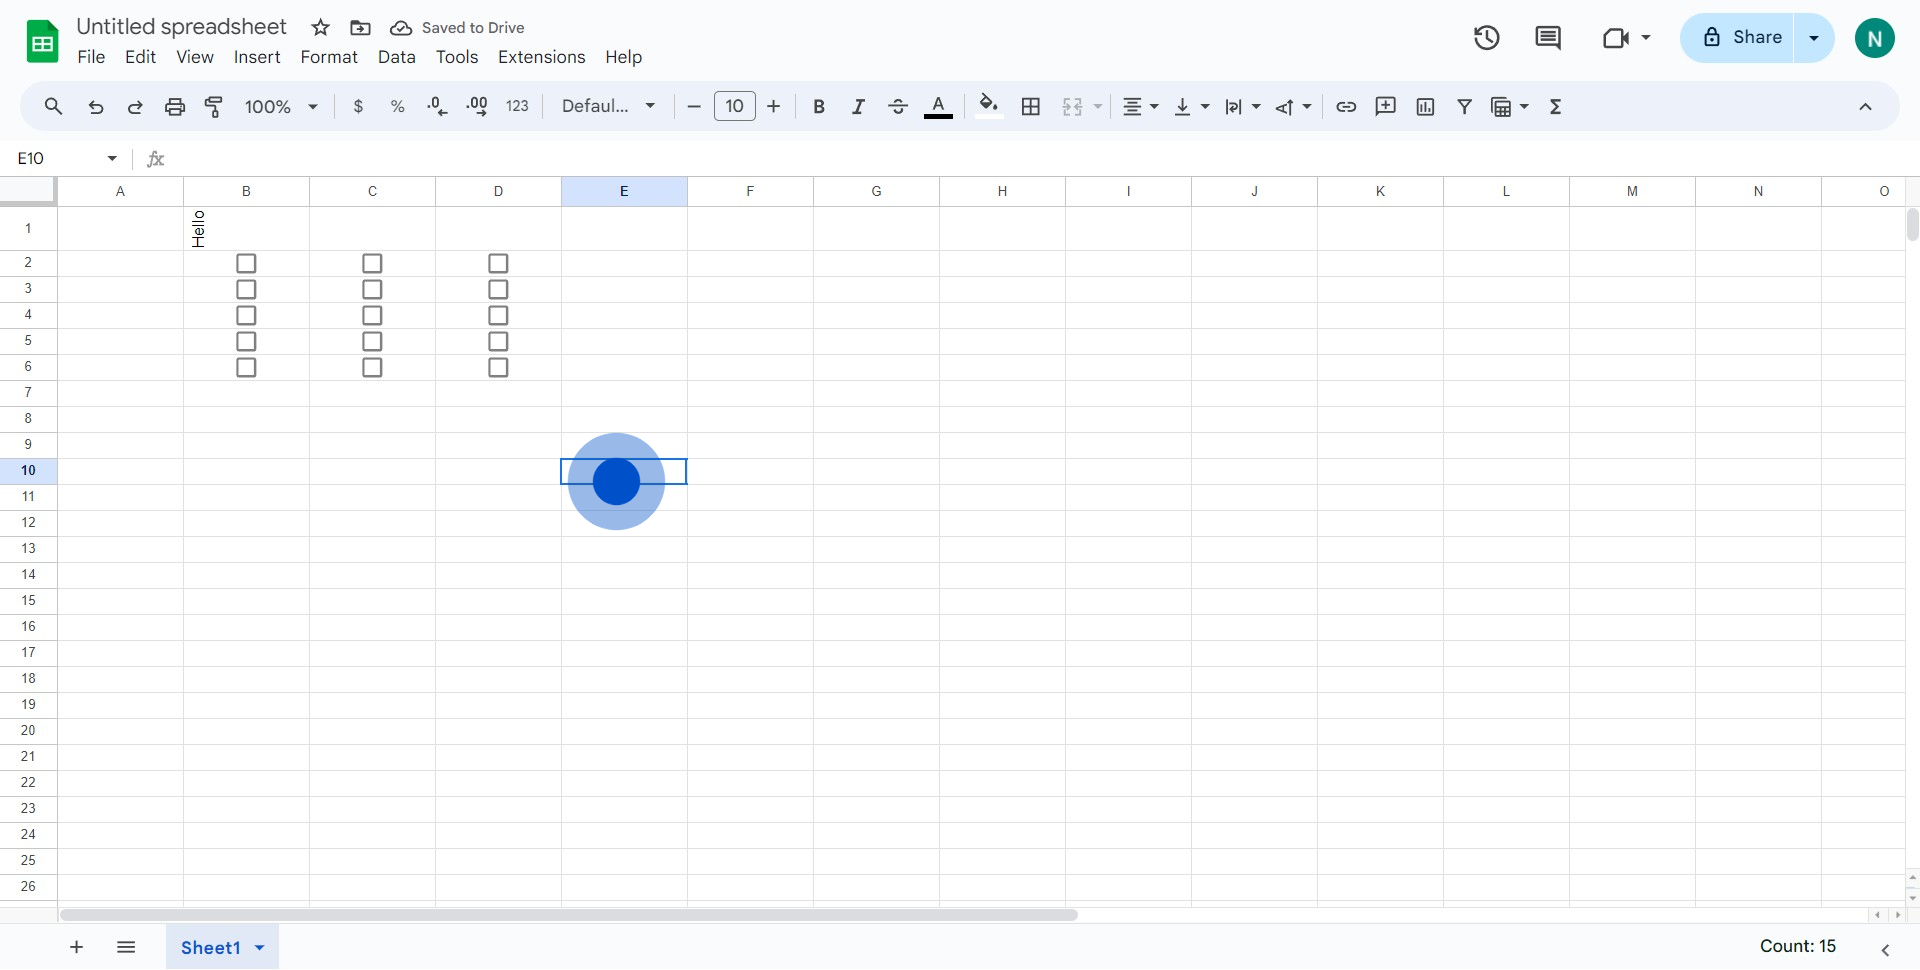
1. Start by selecting the element on the screen.
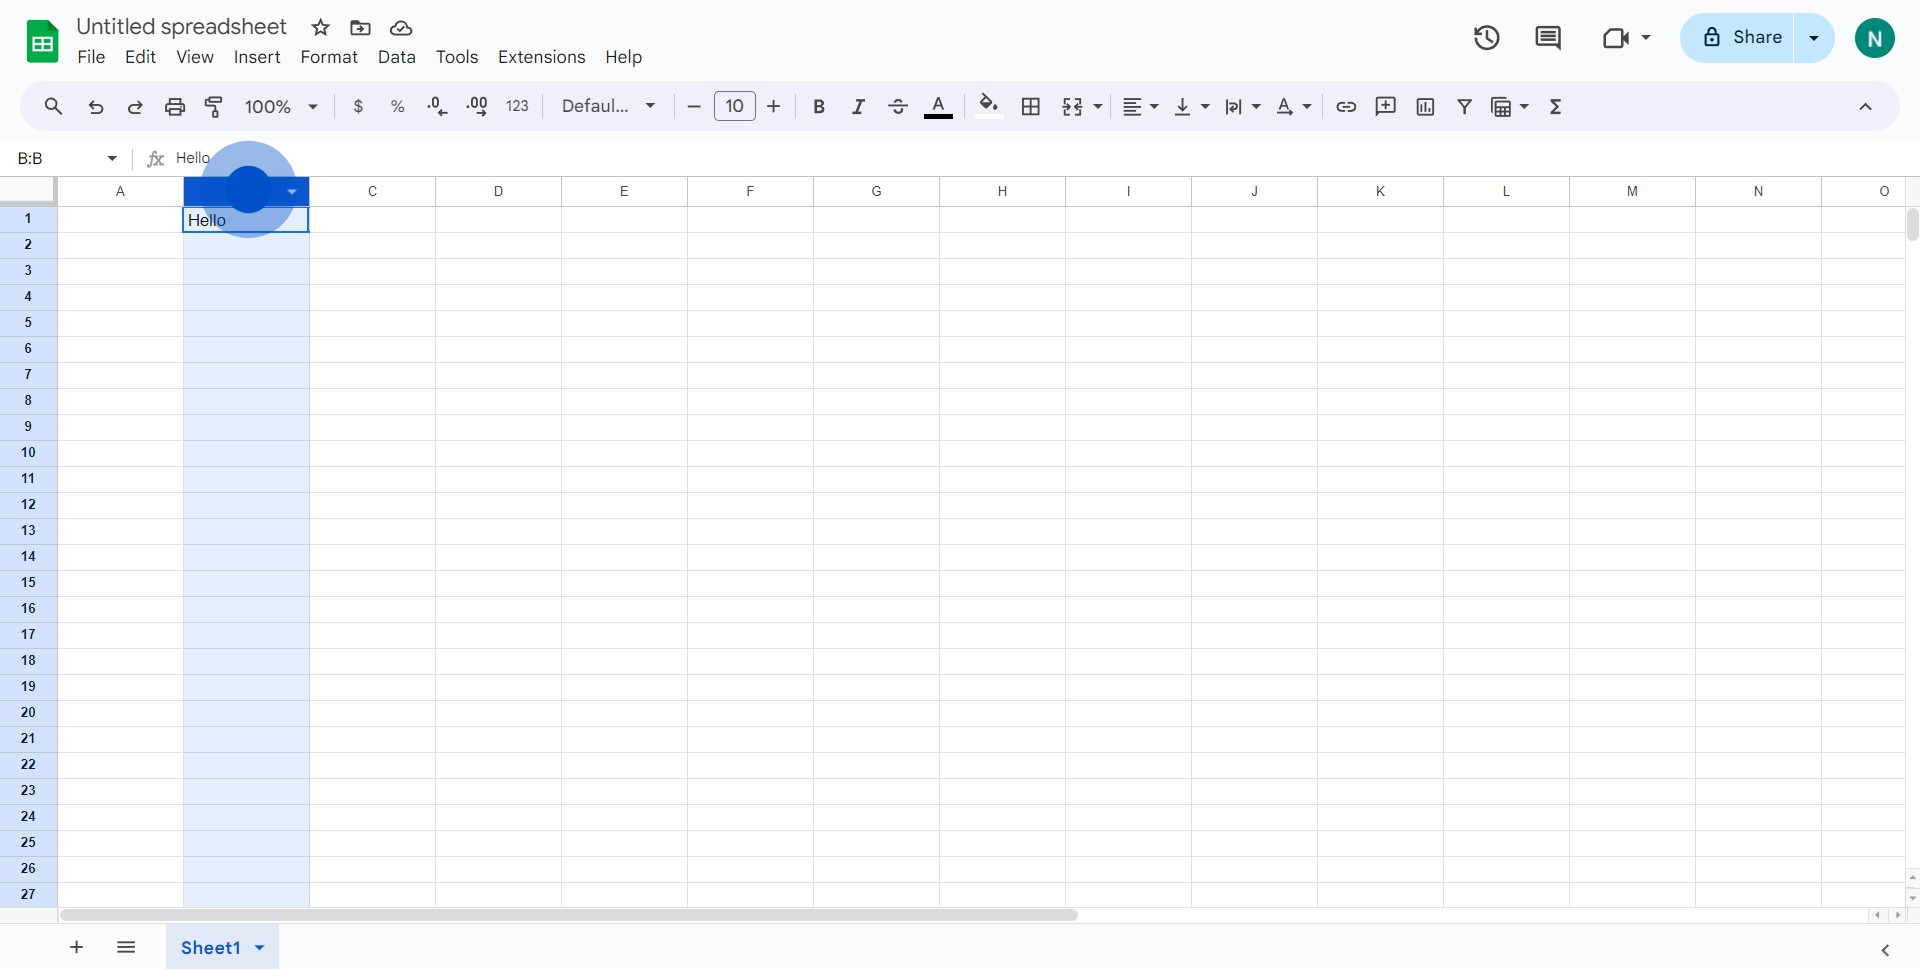
2. Next, locate and select the 'Format' option.
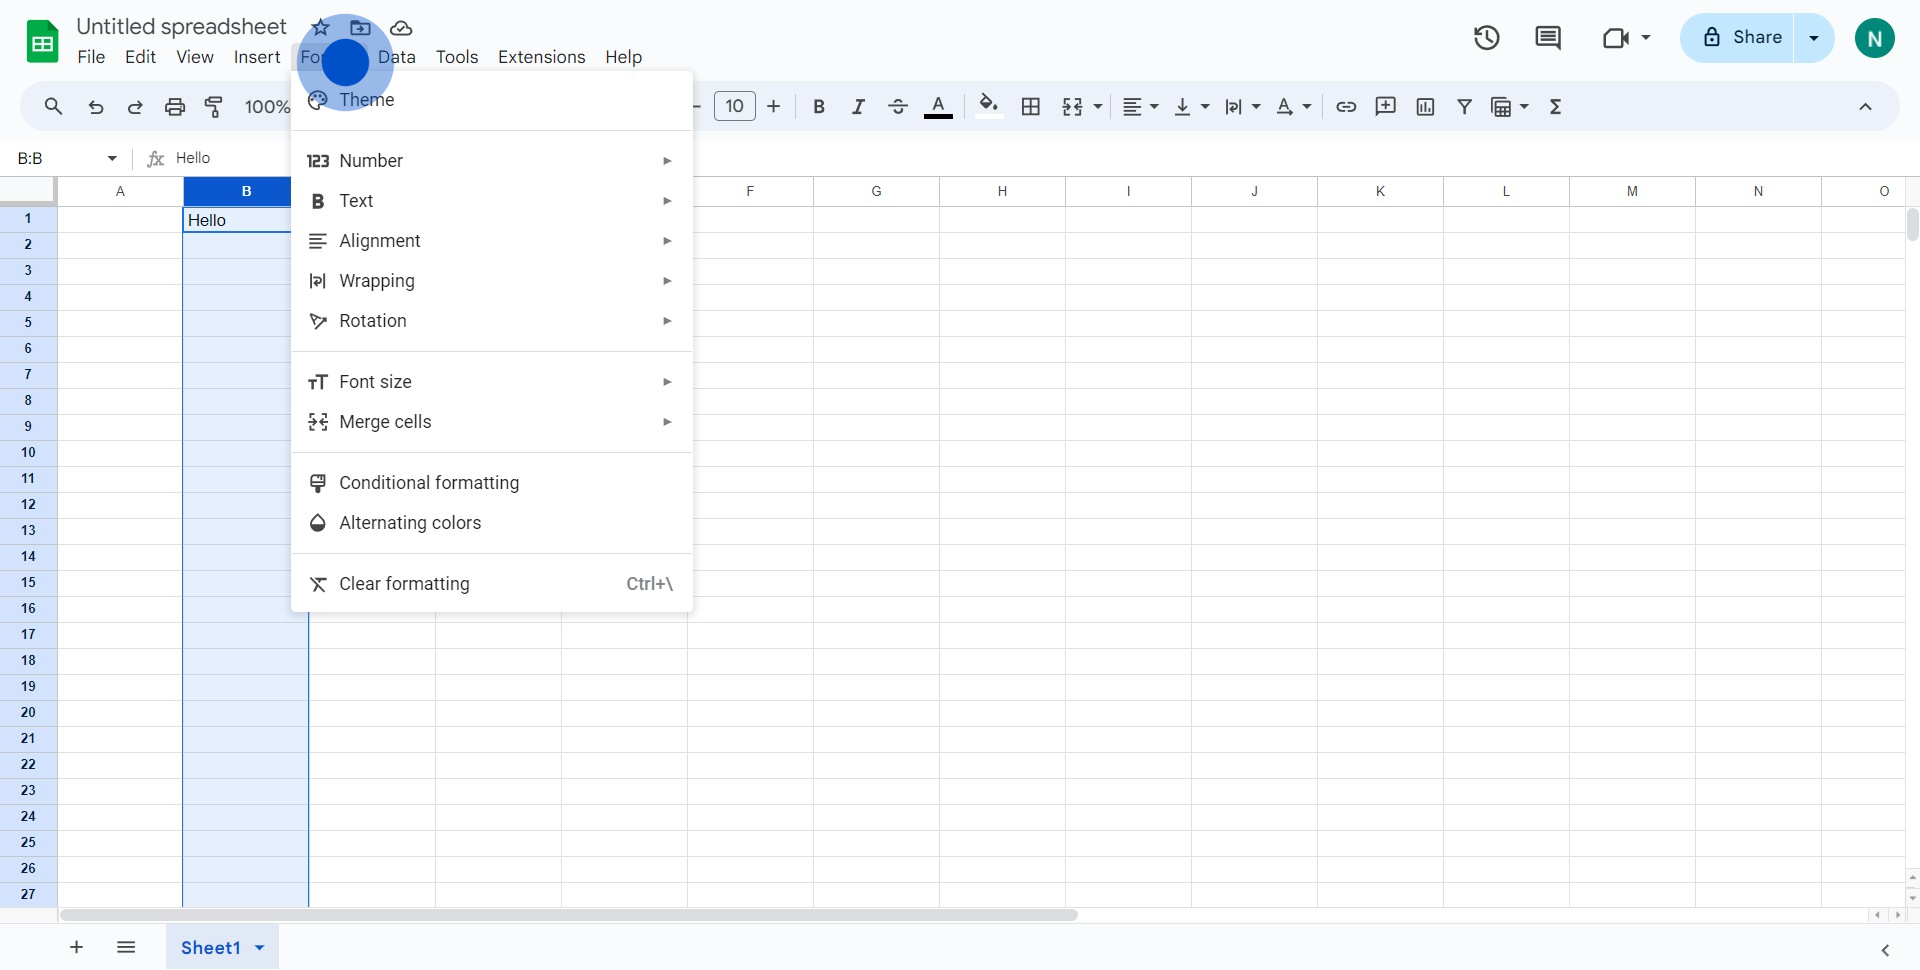
3. From the dropdown menu, find and click the 'Rotation' selection.
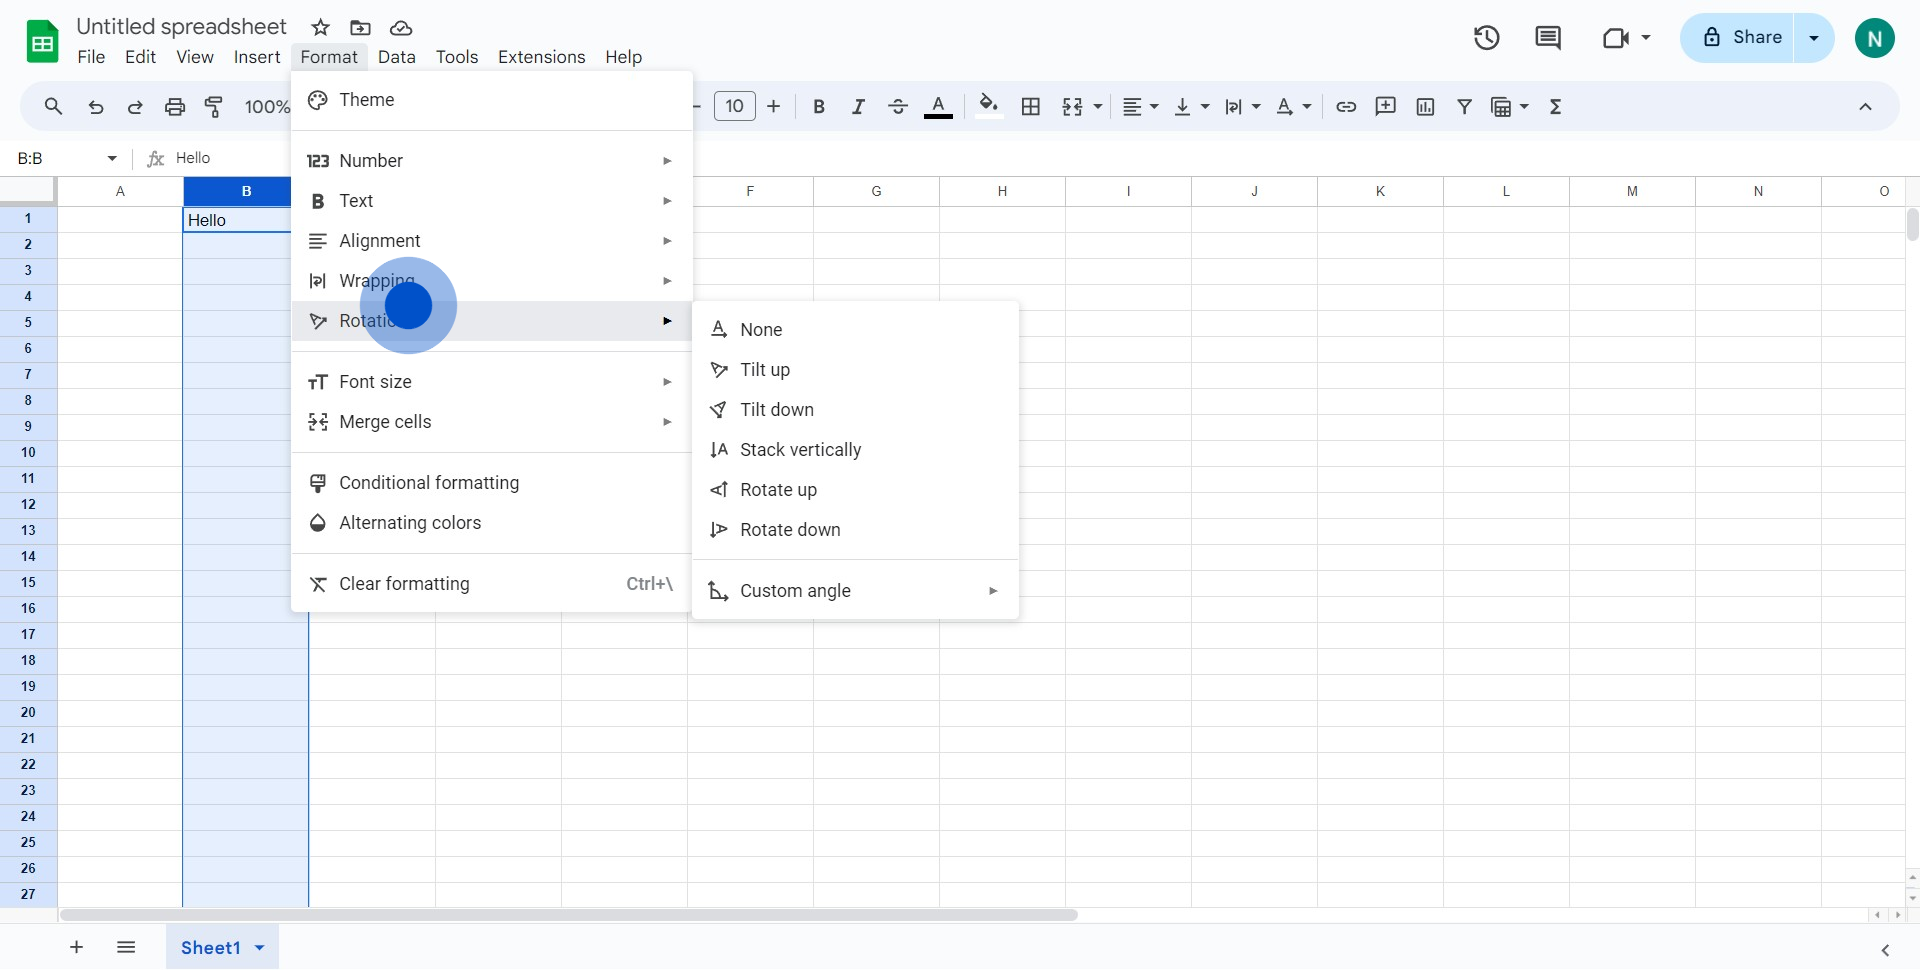
4. You will see another dropdown, choose 'Rotate Up' in there.
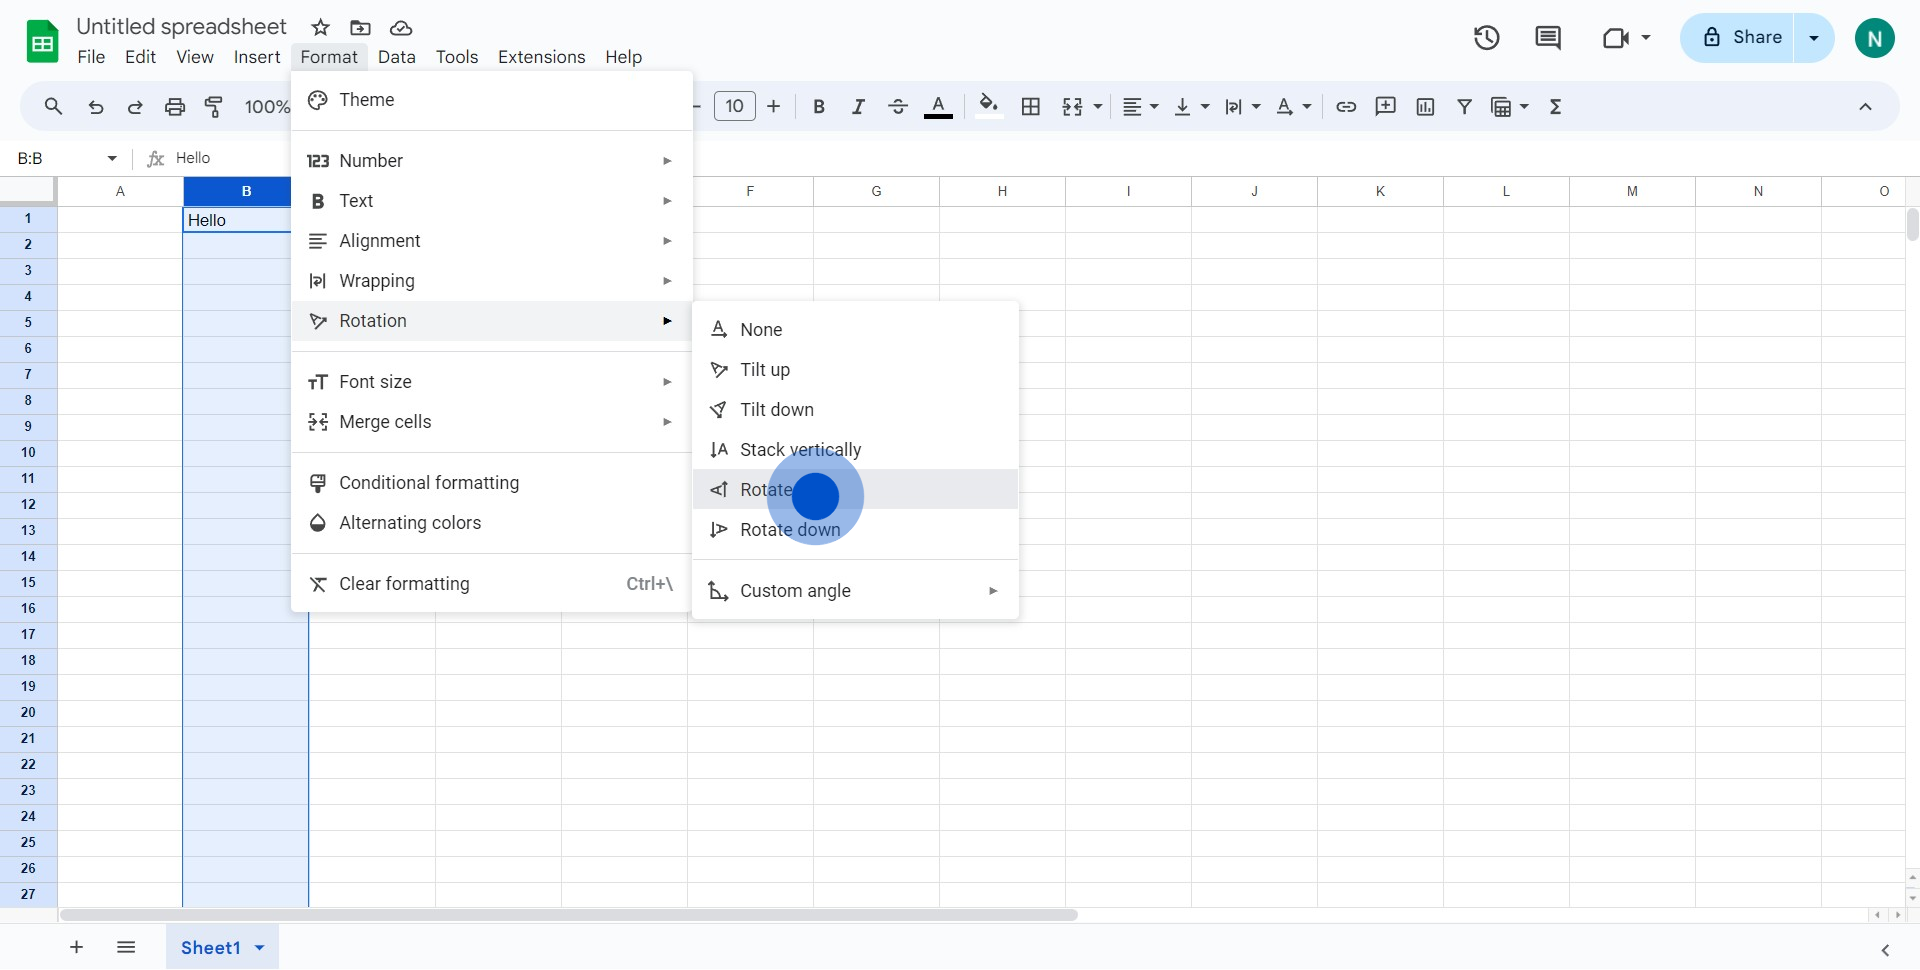
5. Once rotated, select the element again on the screen.
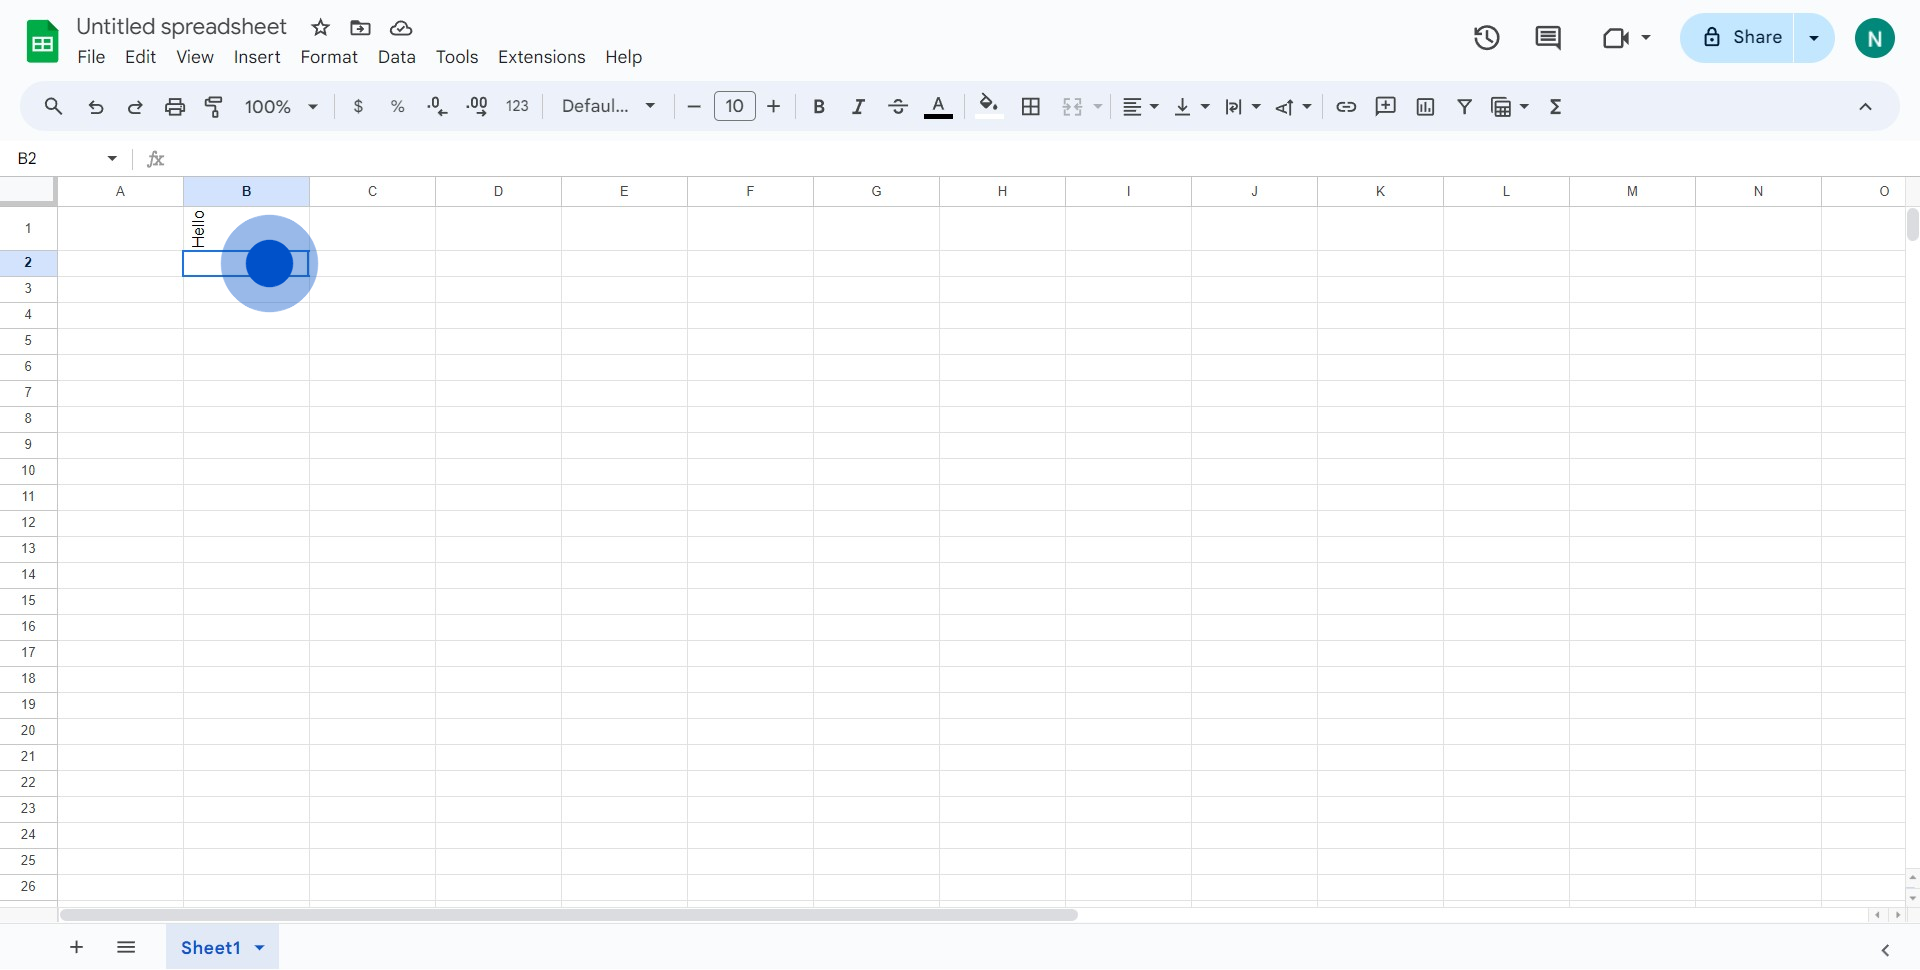
6. Now, determine the number of checkboxes you'd like to insert.
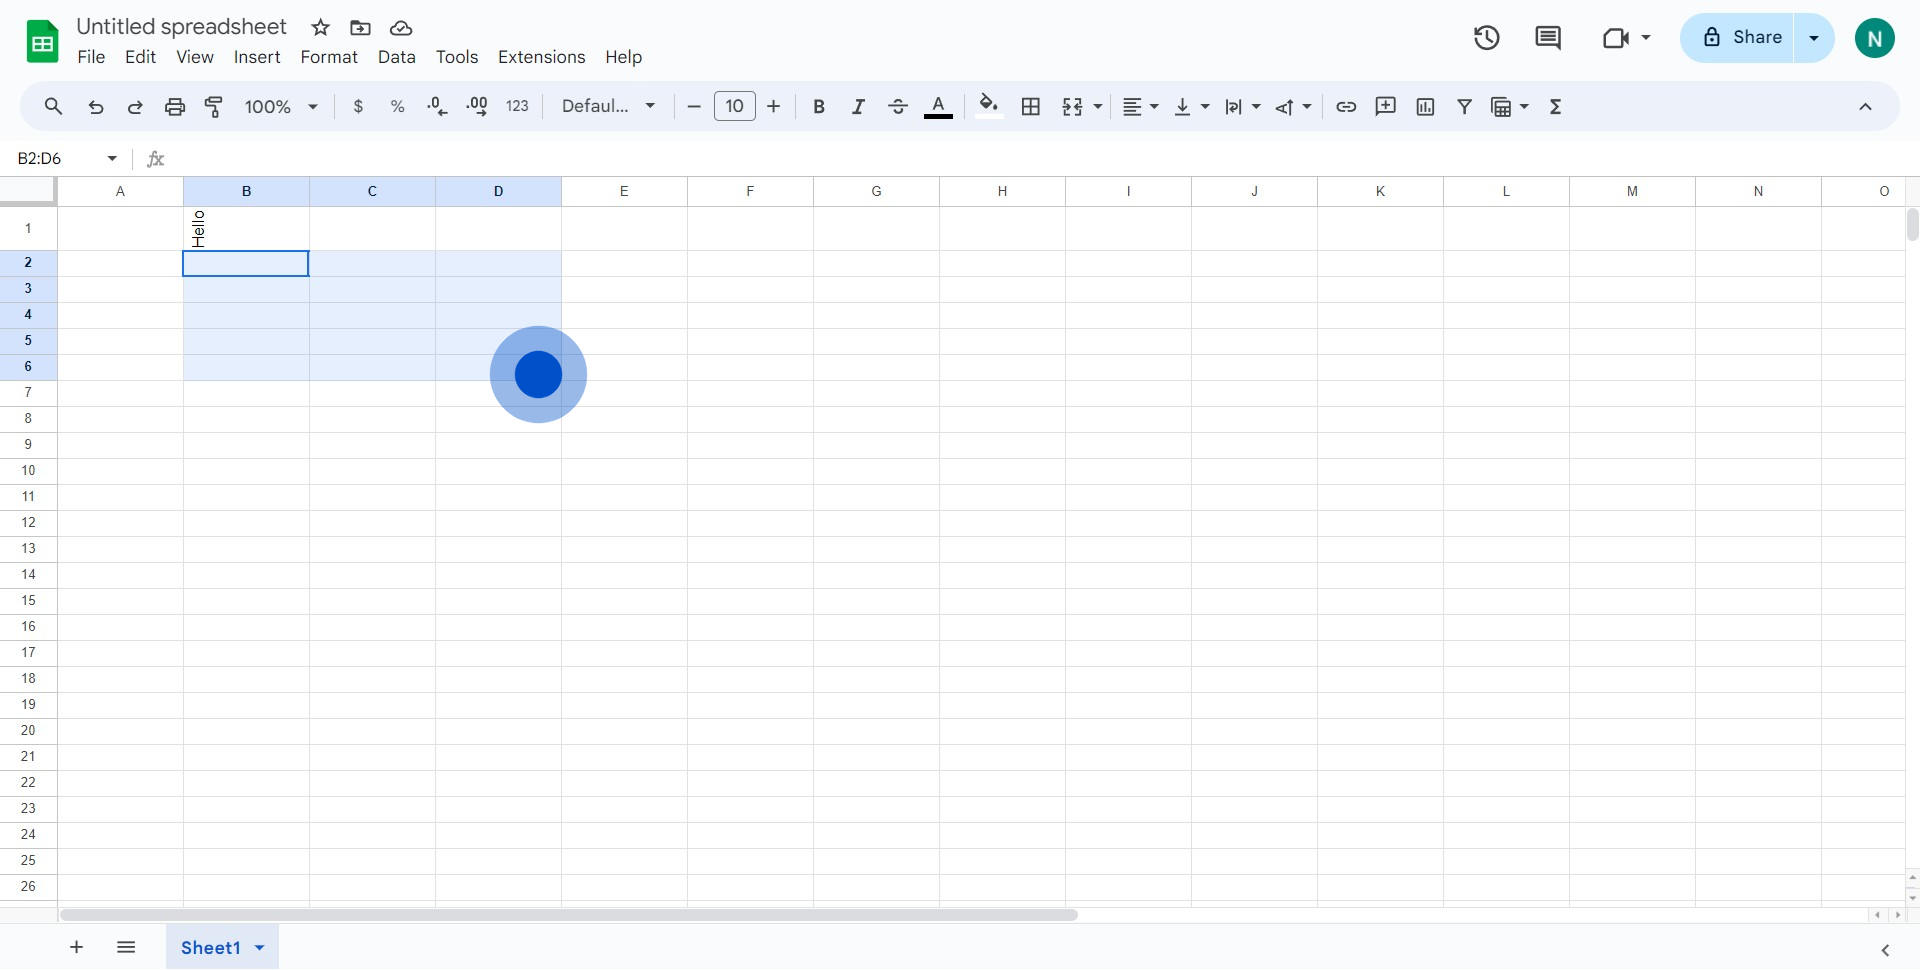
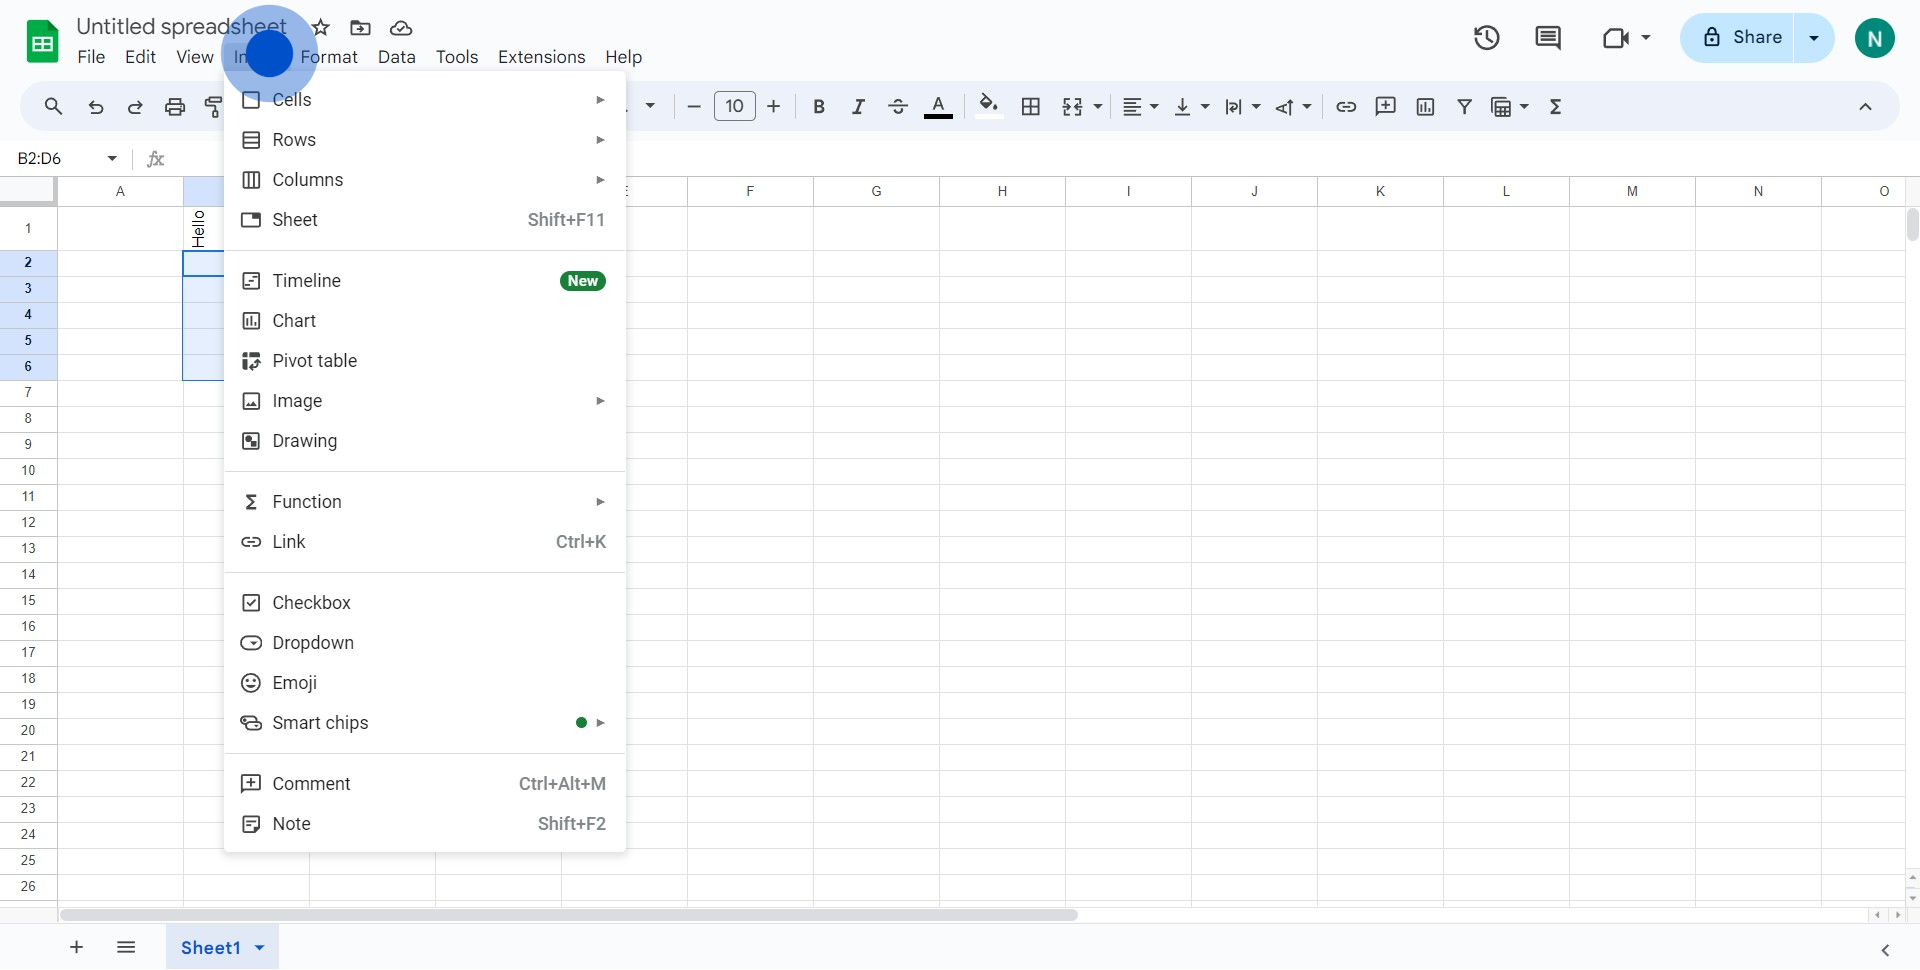
7. Find and click the 'Insert' function from the toolbar.
8. In the dropdown, look for and select the 'Checkbox' option.
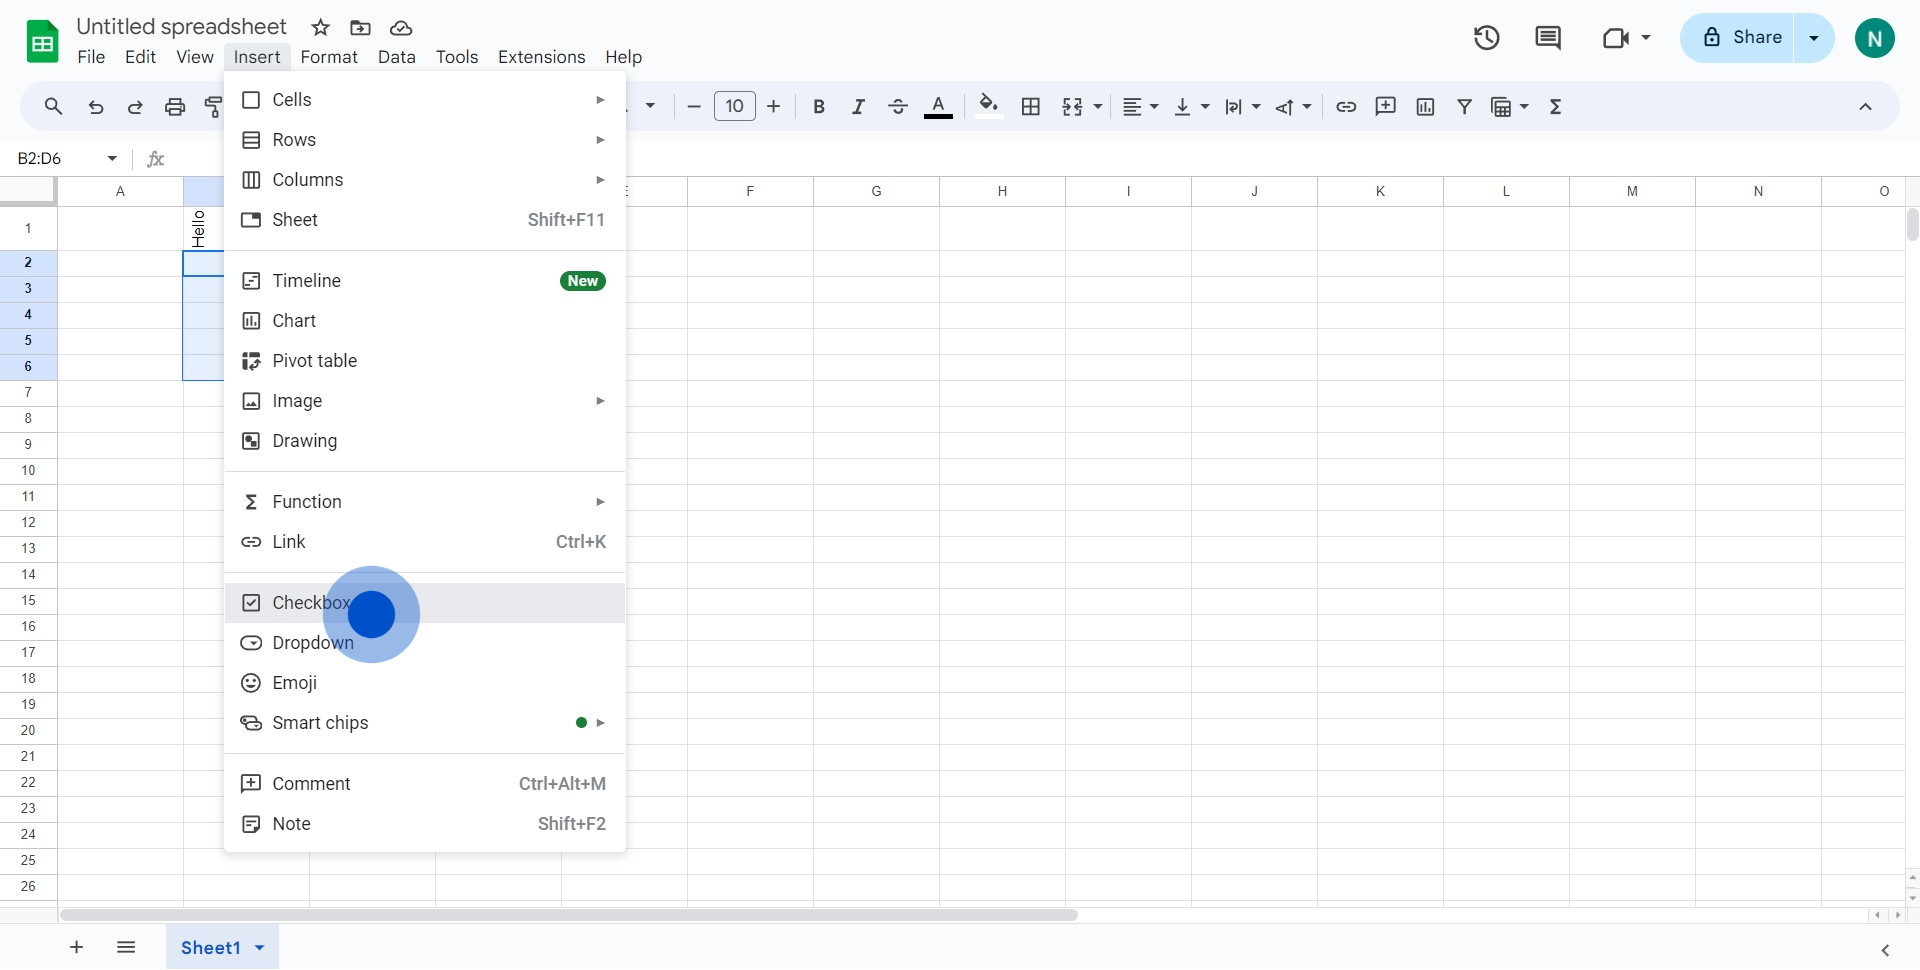
9. Congratulations! You've successfully rotated the element and inserted checkboxes.
Create your own step-by-step demo
Scale up your training and product adoption with beautiful AI-powered interactive demos and guides. Create your first Supademo in seconds for free.


