

Overview:
Elevate your Canva design experience with our guide on seamlessly adding frames. Optimize your workflow by organizing and enhancing visuals with ease. This comprehensive tutorial walks you through the simple process of incorporating frames, ensuring efficient and clear design management within the Canva platform. Improve your creative process and bring clarity to your designs with this step-by-step guide.
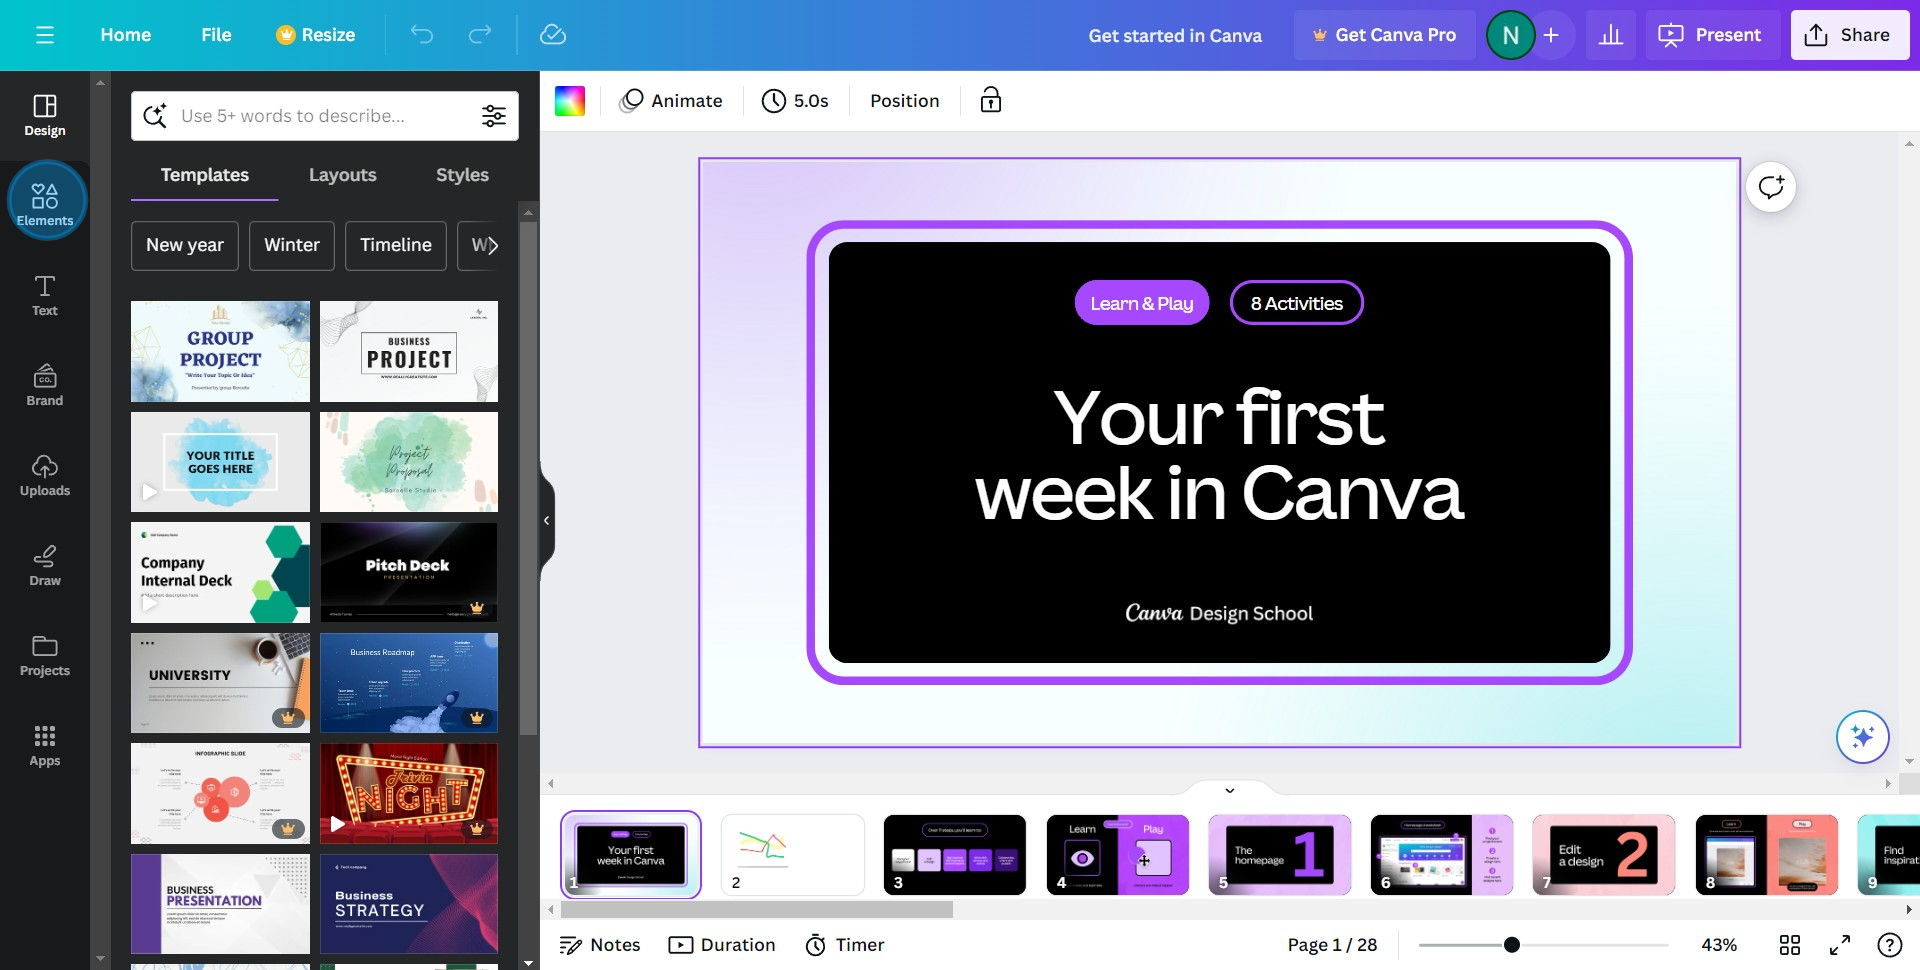
1. Let's get creative! Begin by selecting the Elements option.
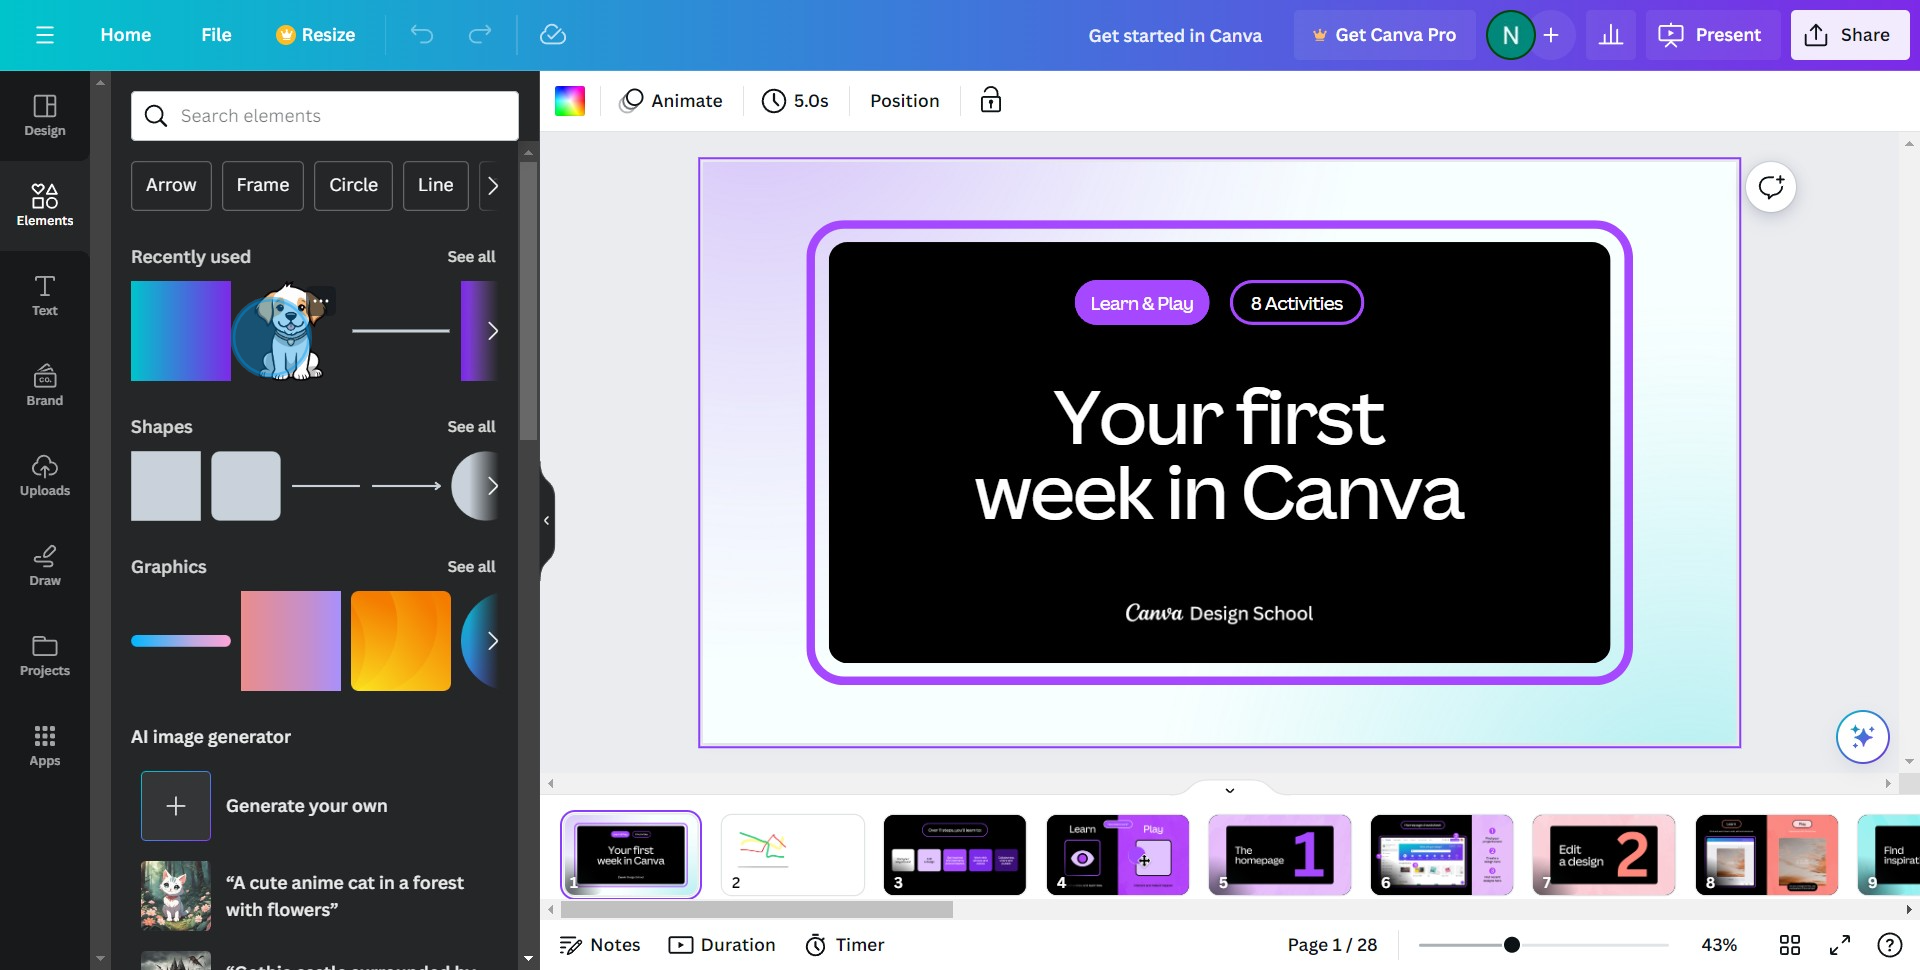
2. Now, it's time to upload or select the picture you'd like to work with.
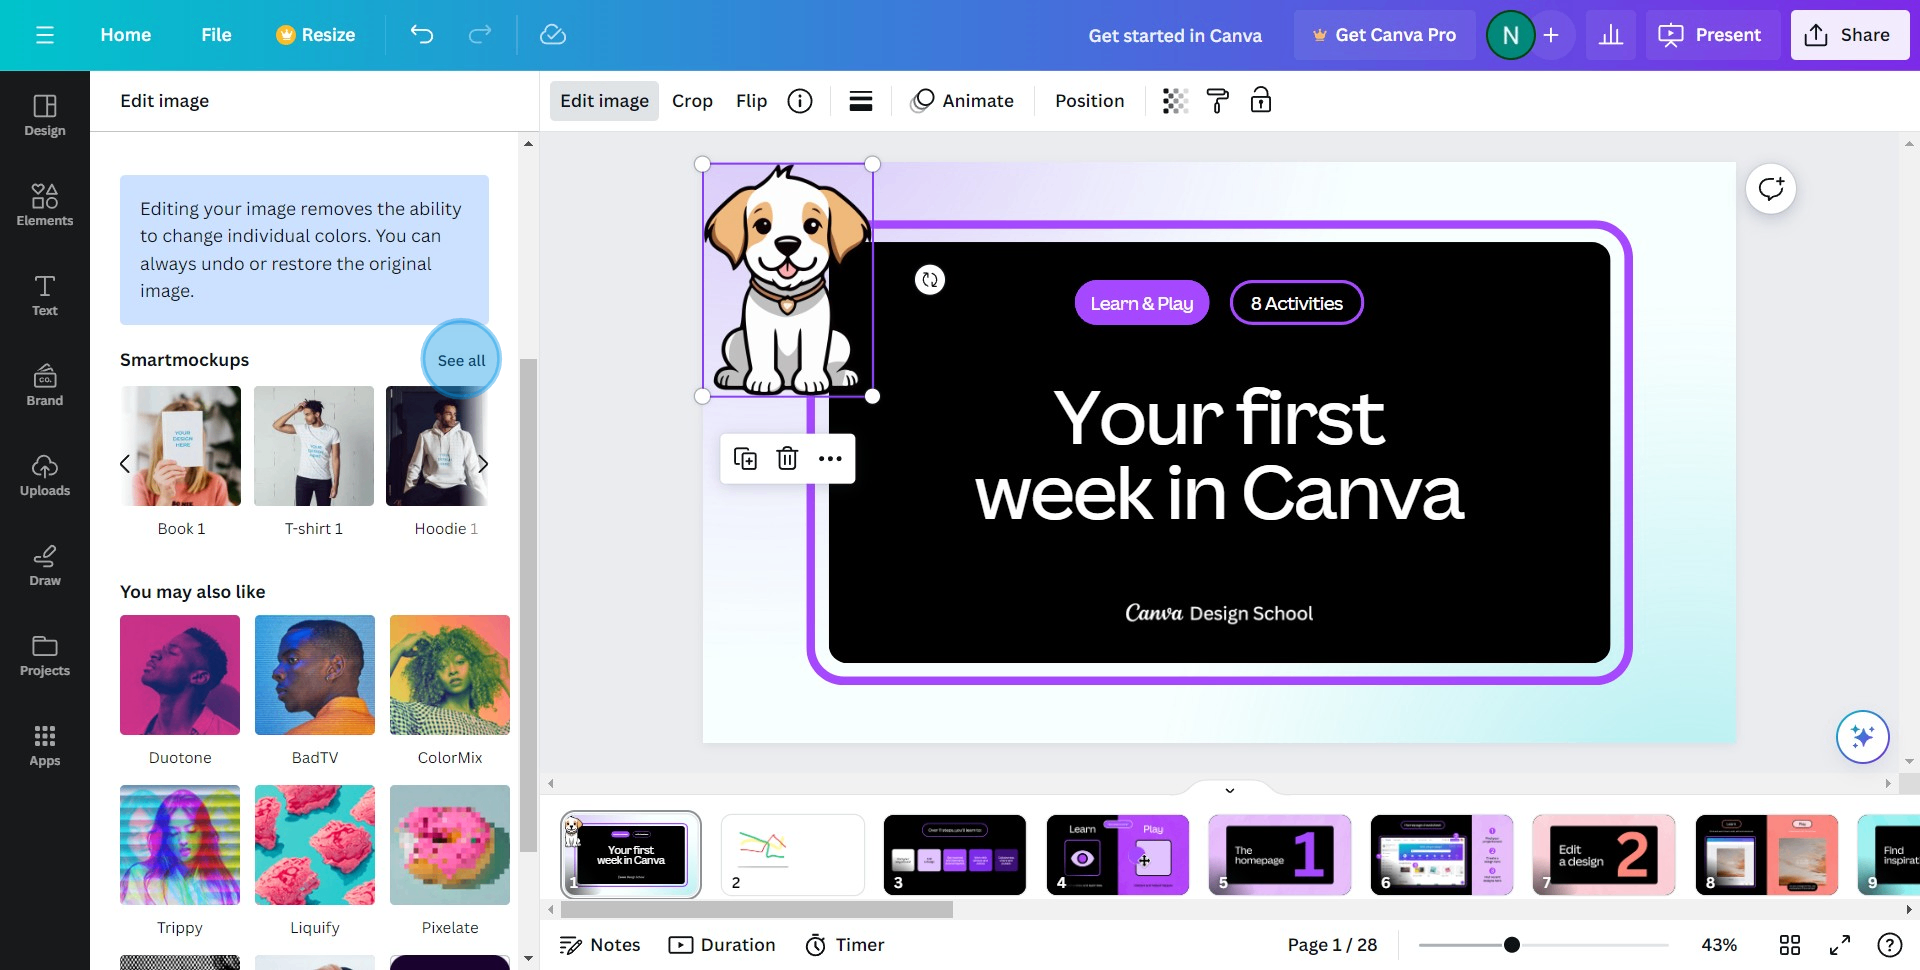
3. You've chosen your image! Proceed by clicking on Edit image.

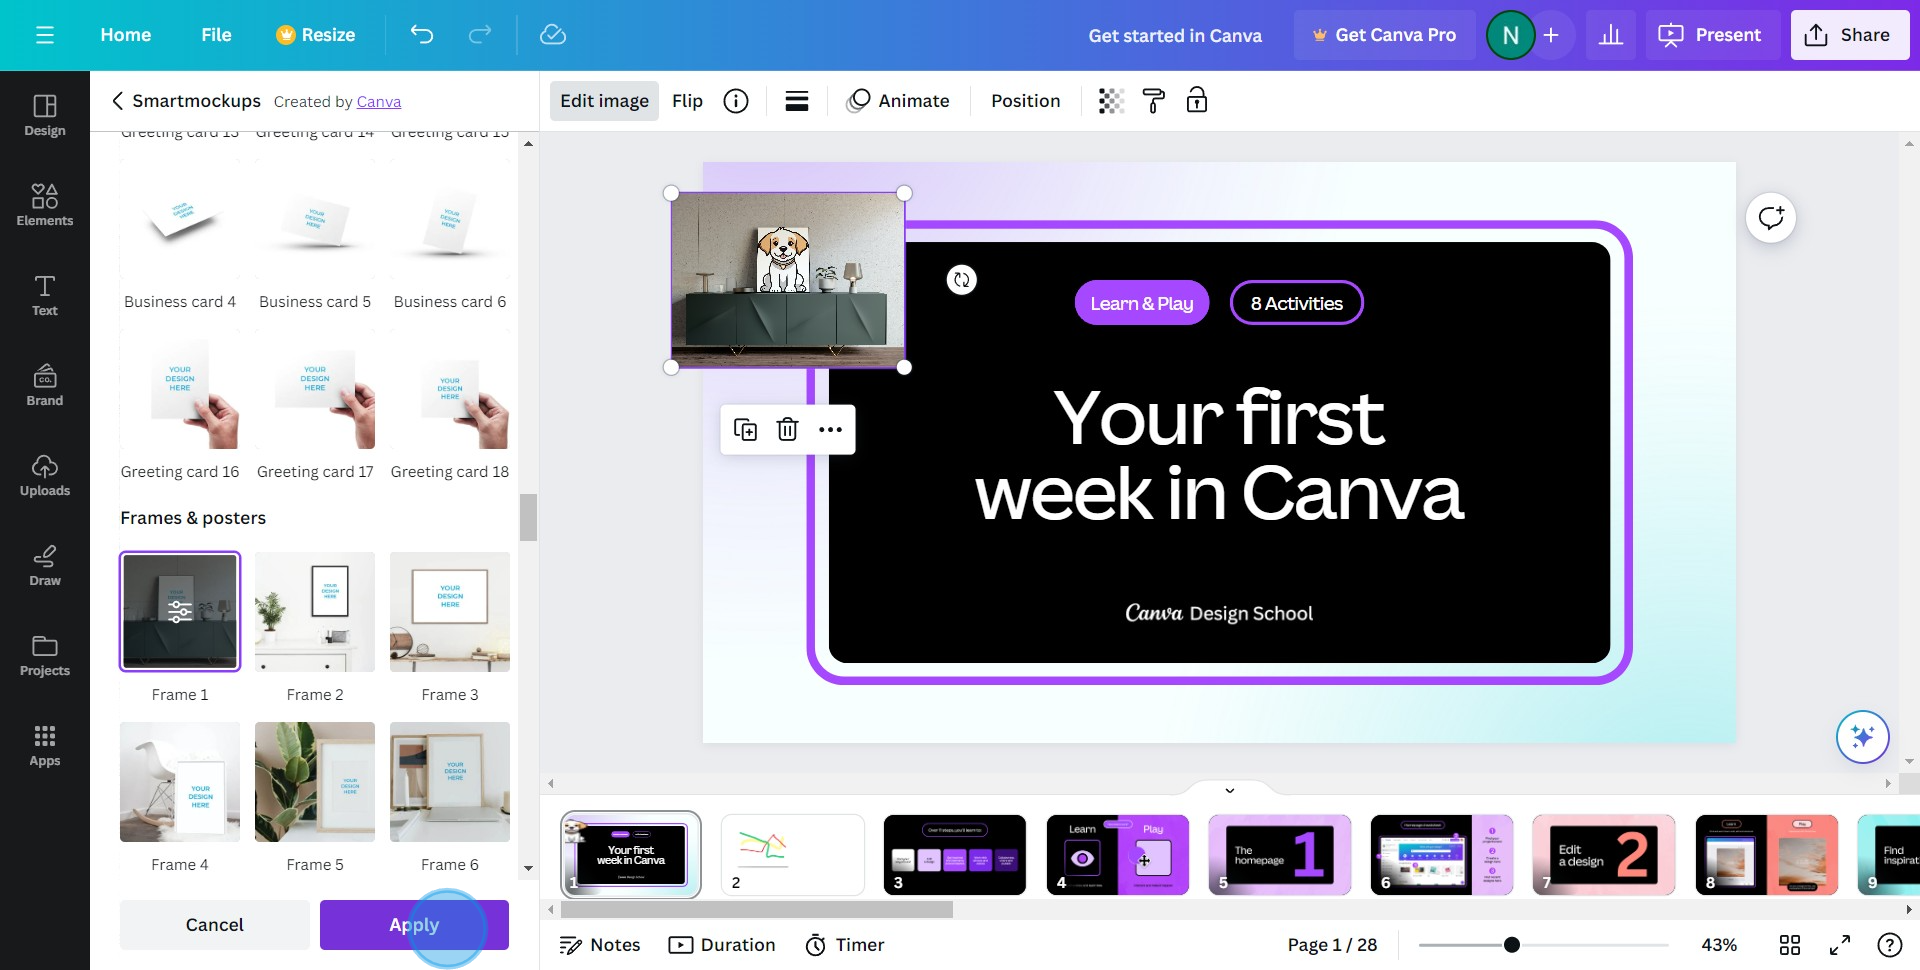
4. Want more editing options? Simply click on See all.
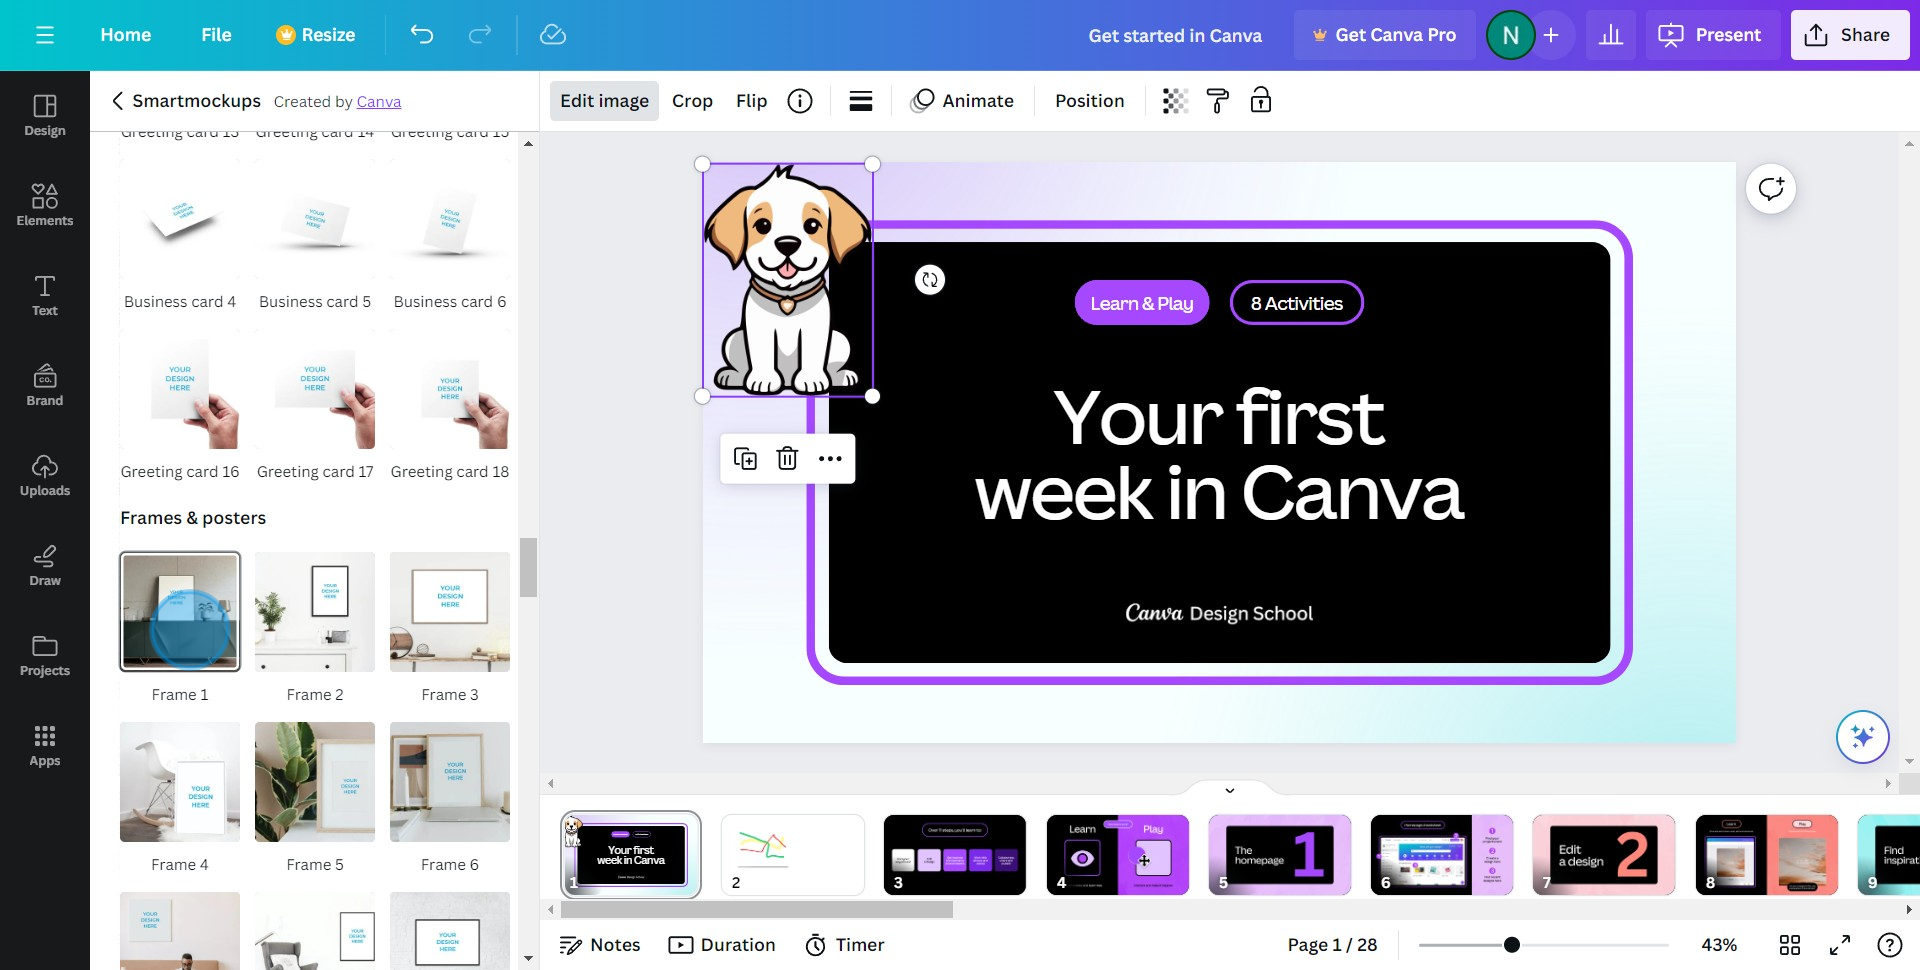
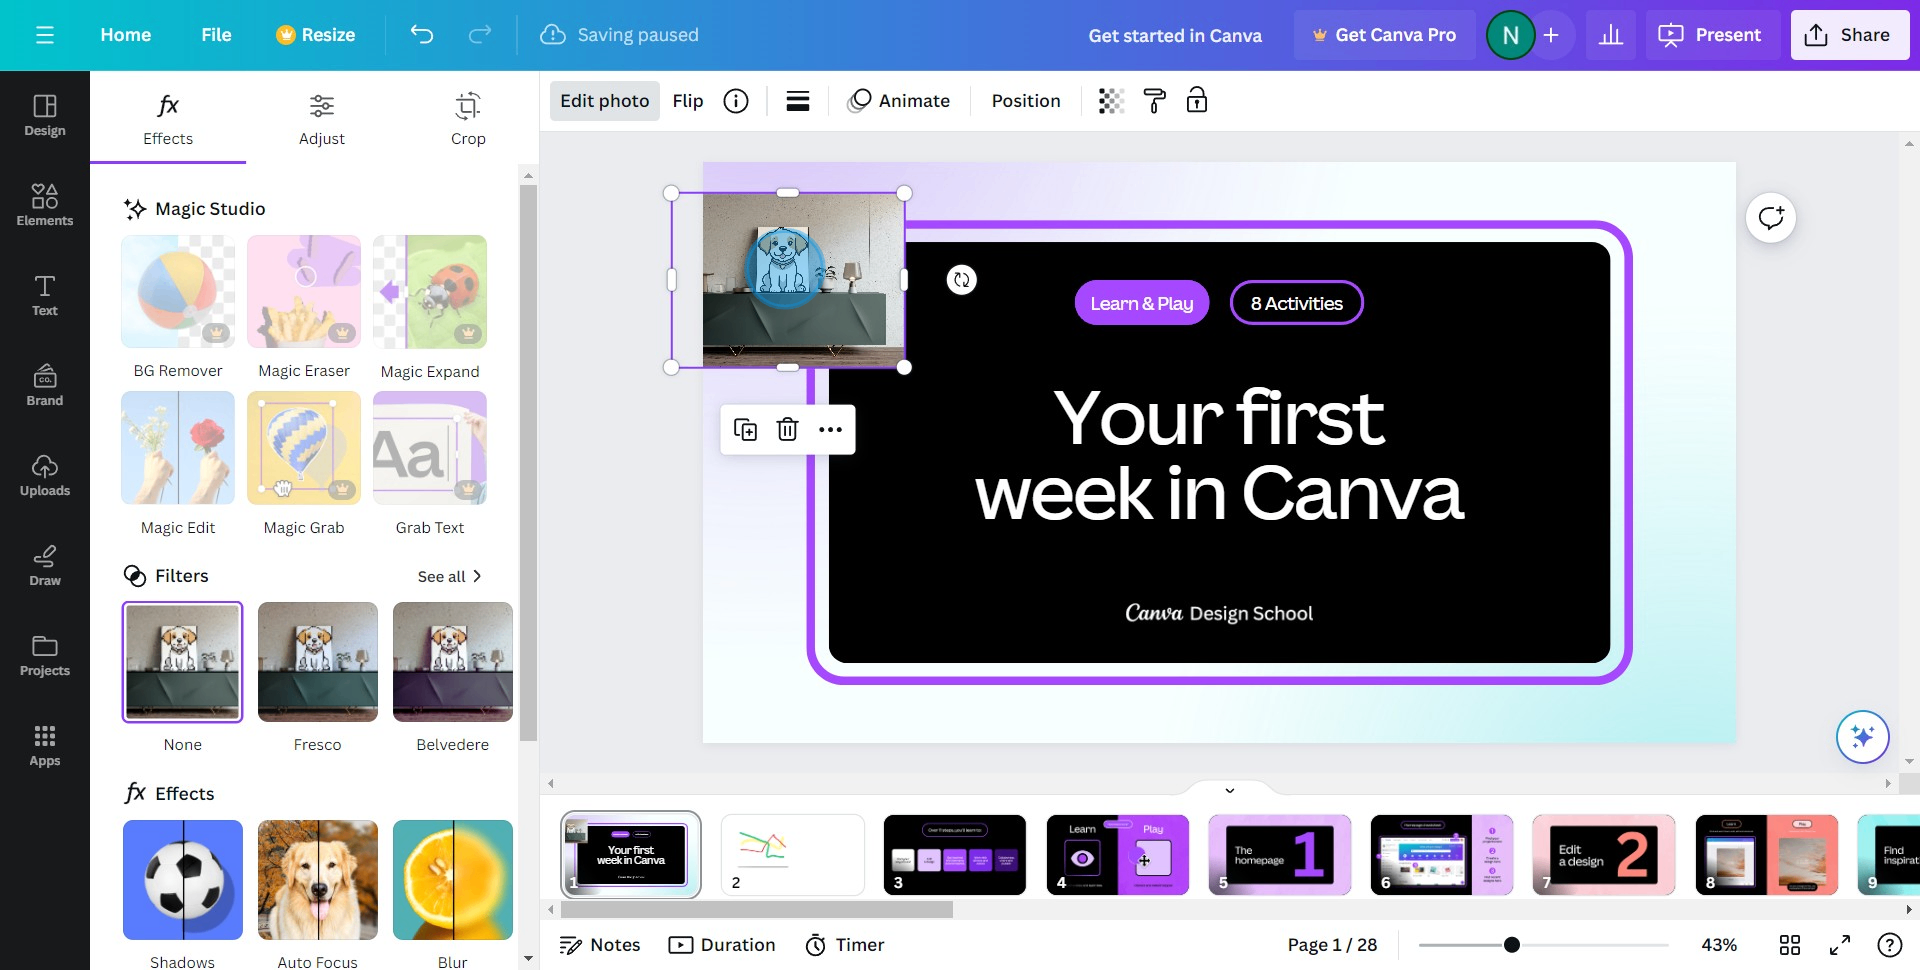
5. From the options available, choose the filter you'd like to apply to your image.
6. Perfect! Now click Apply to confirm your filter selection.
7. Congratulations! You've successfully edited and applied a filter to your photo
Create your own step-by-step demo
Scale up your training and product adoption with beautiful AI-powered interactive demos and guides. Create your first Supademo in seconds for free.