

Overview:
Streamline your data organization in Airtable with our step-by-step guide on creating tables. Enhance user experience by efficiently categorizing information and simplifying navigation using relevant tables. This comprehensive guide walks you through the seamless process of table creation in Airtable, empowering you to optimize data management for increased efficiency and clarity within the platform.
1. Let's begin by creating a new table from scratch
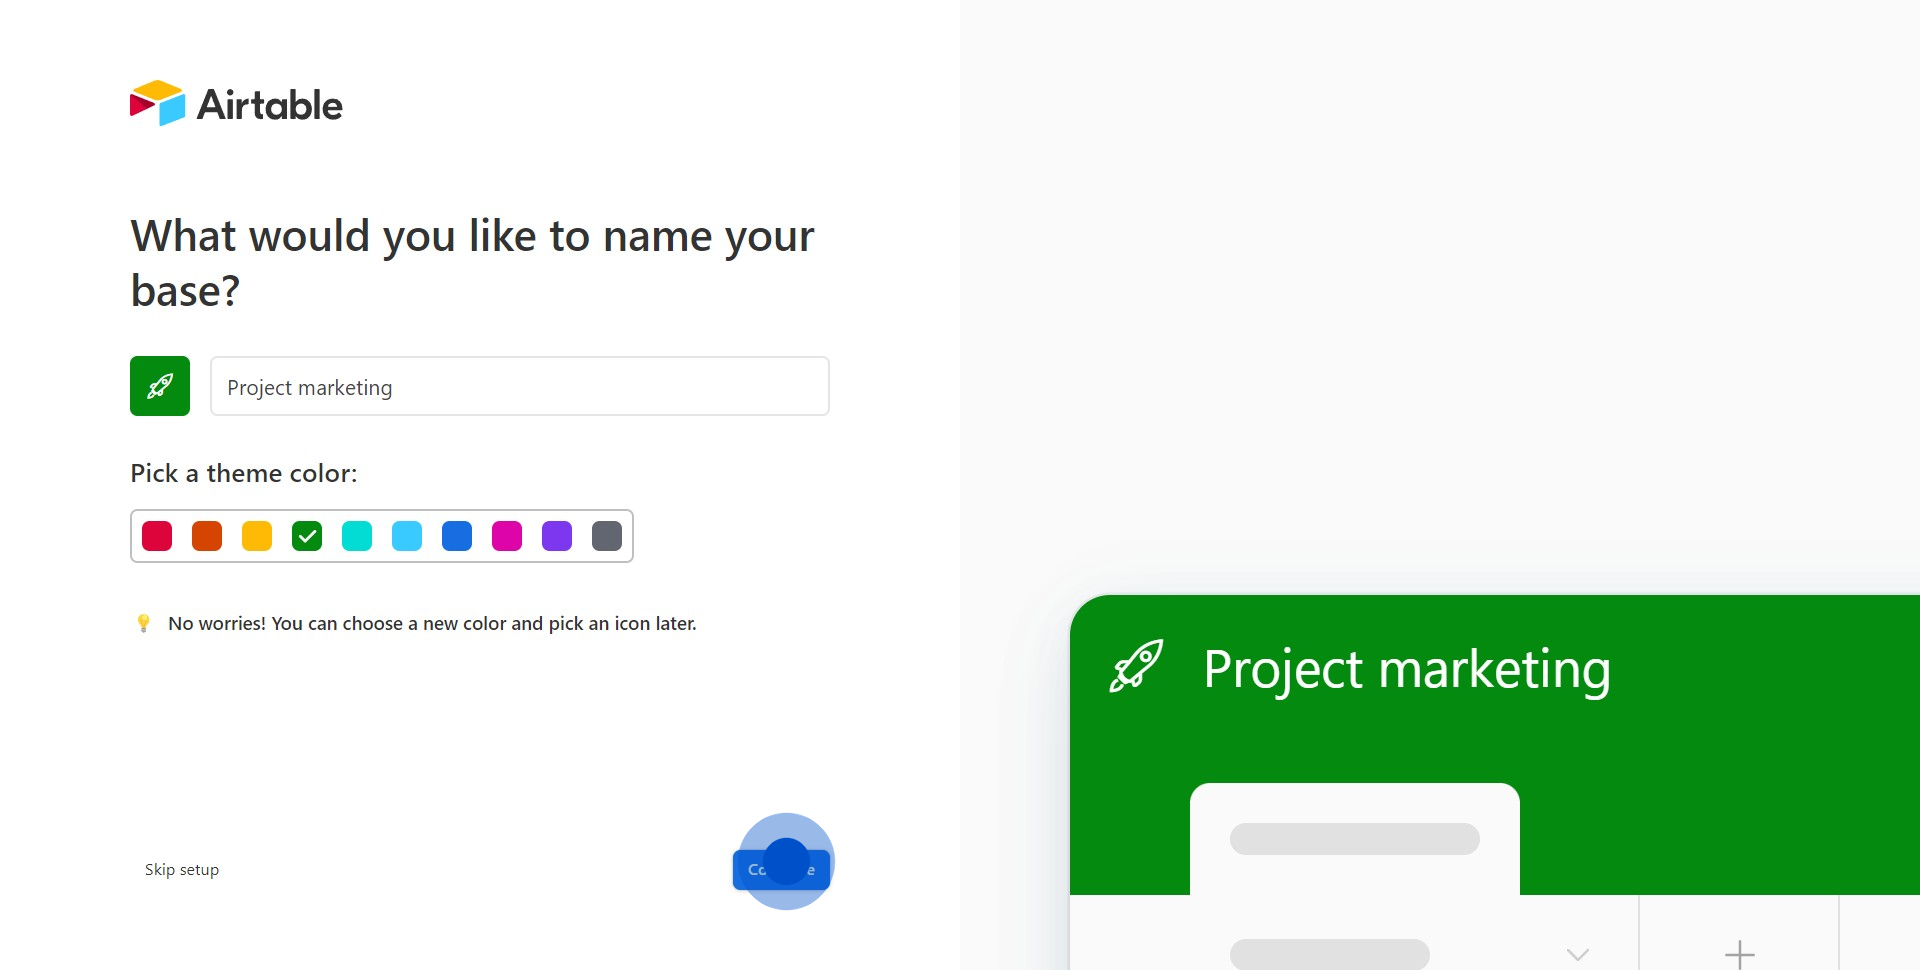
2. Reflect on your project's unique name.
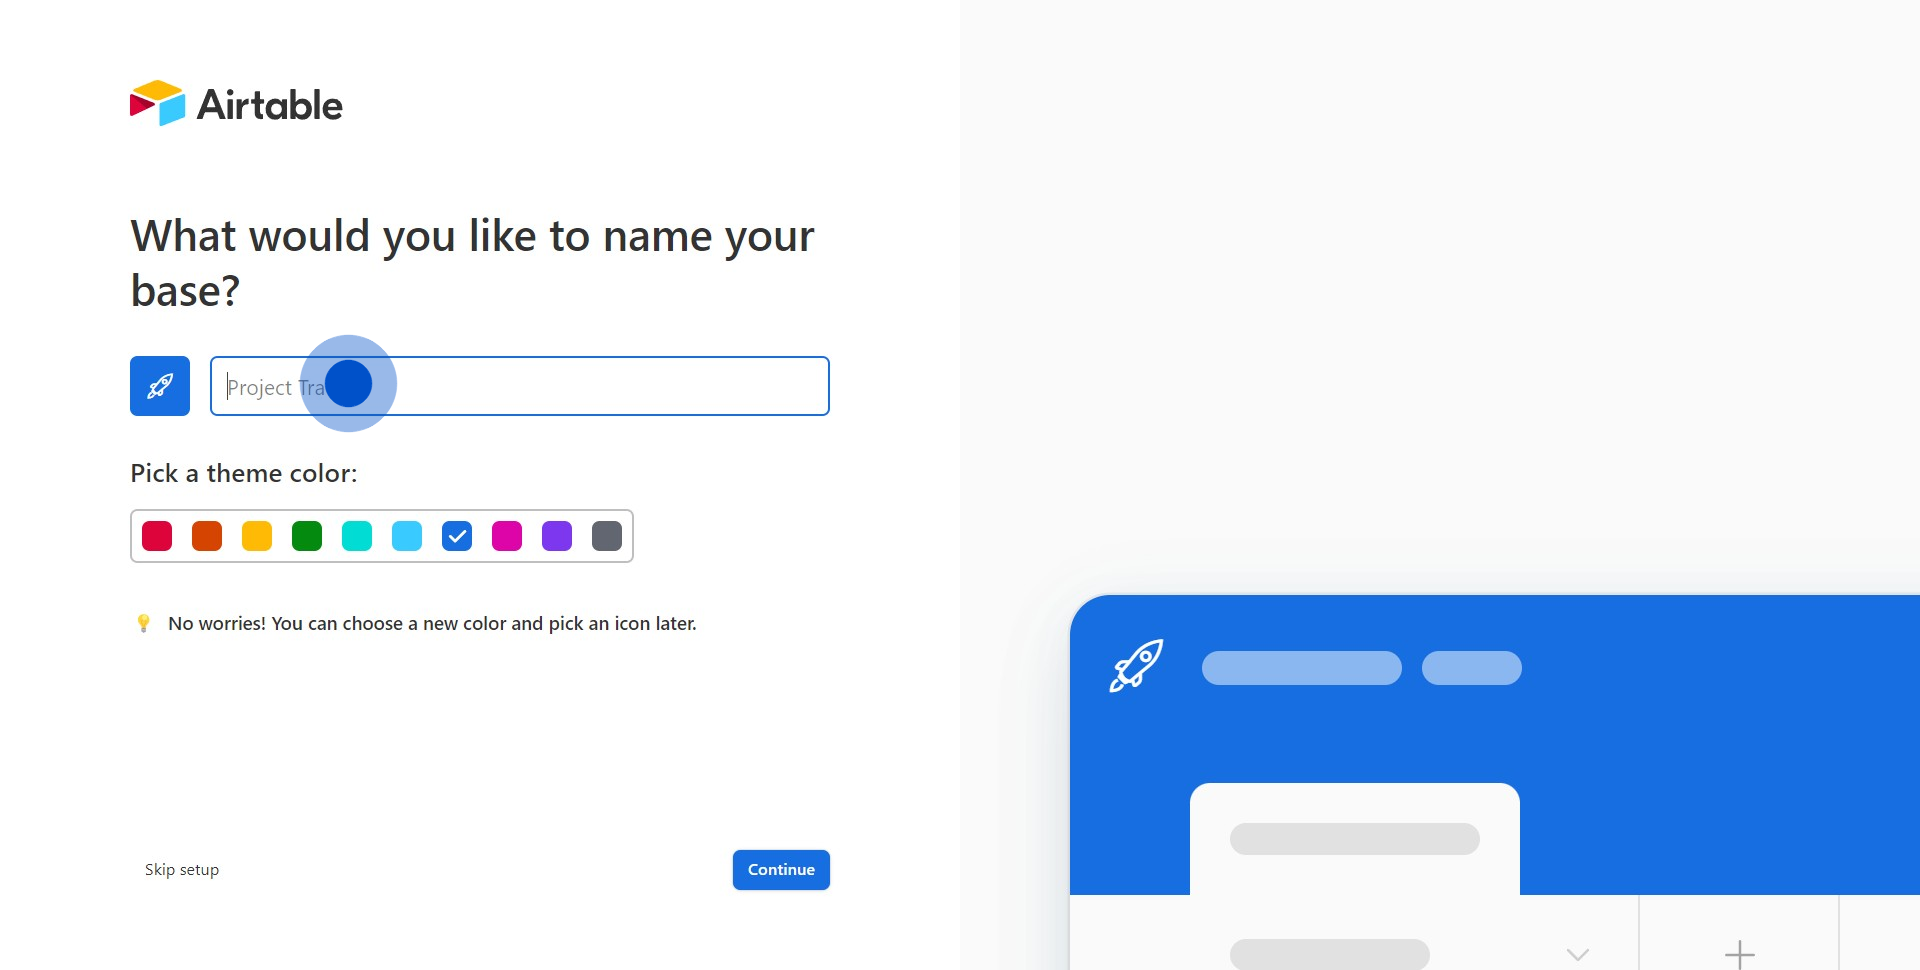
3. Set the appealing background color and proceed.
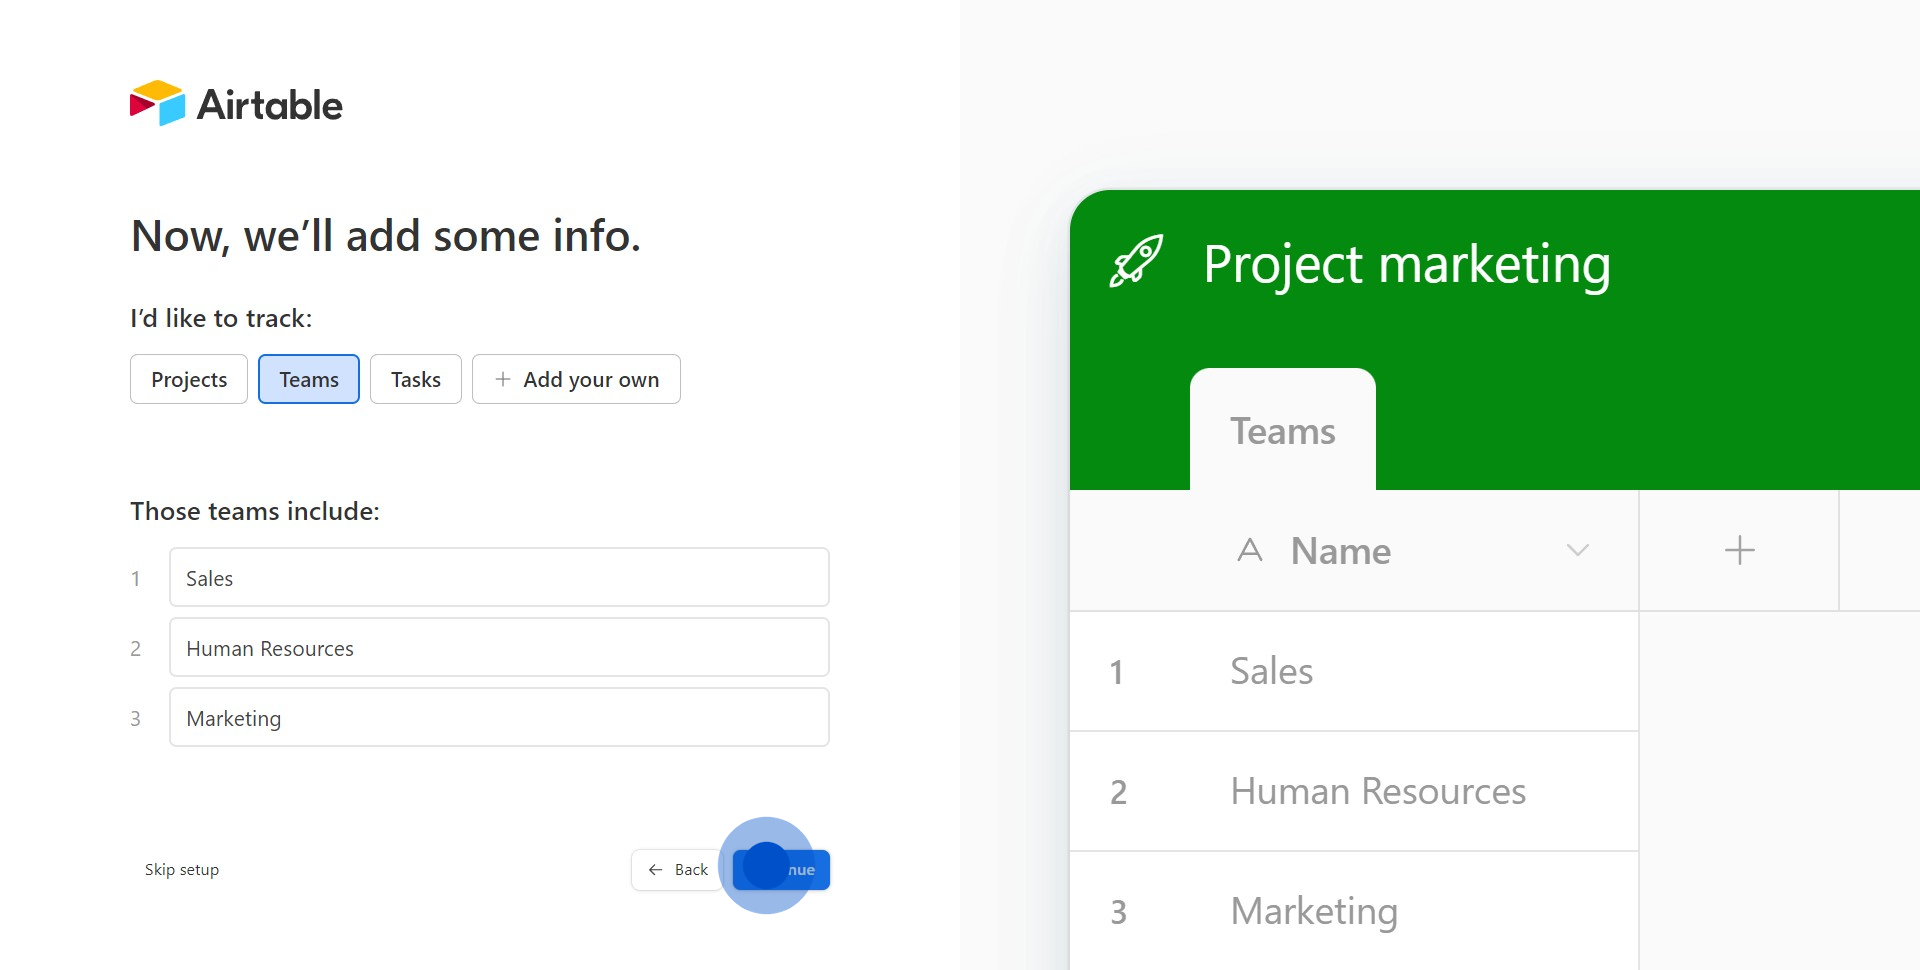
4. Consider what stuff you want to track in your table.
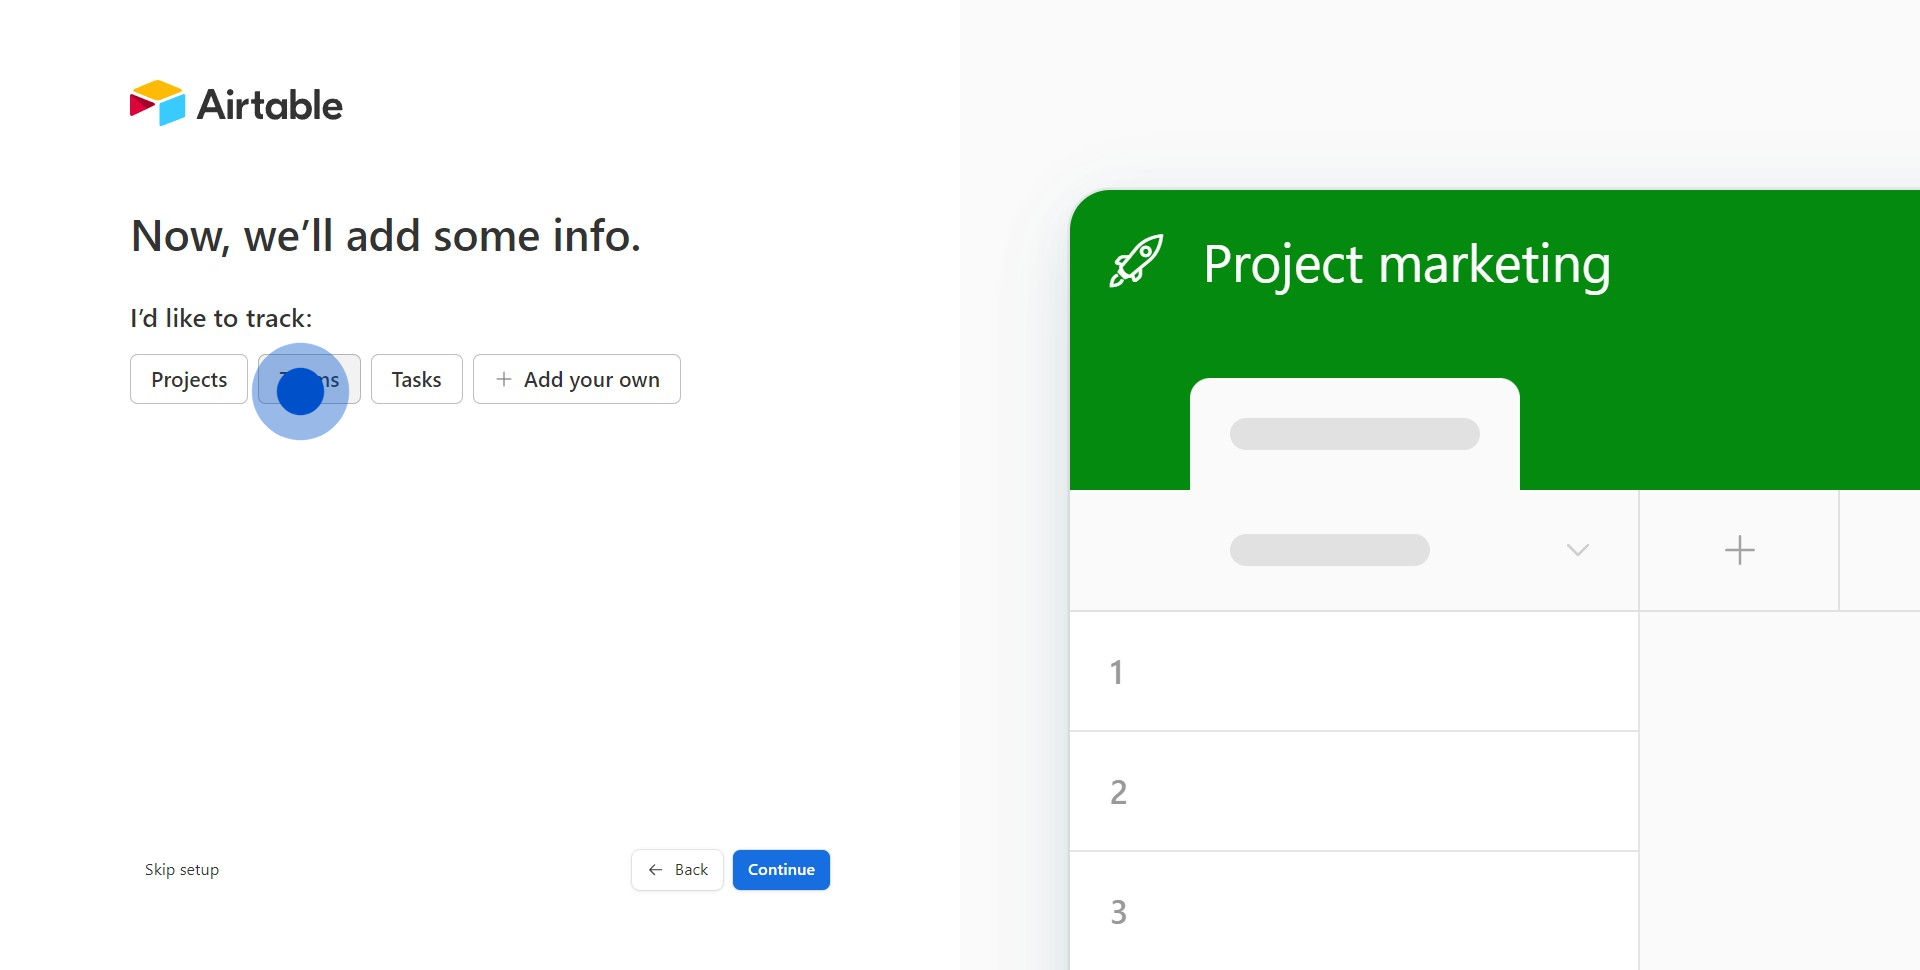
5. Specify the teams to be included in your project.

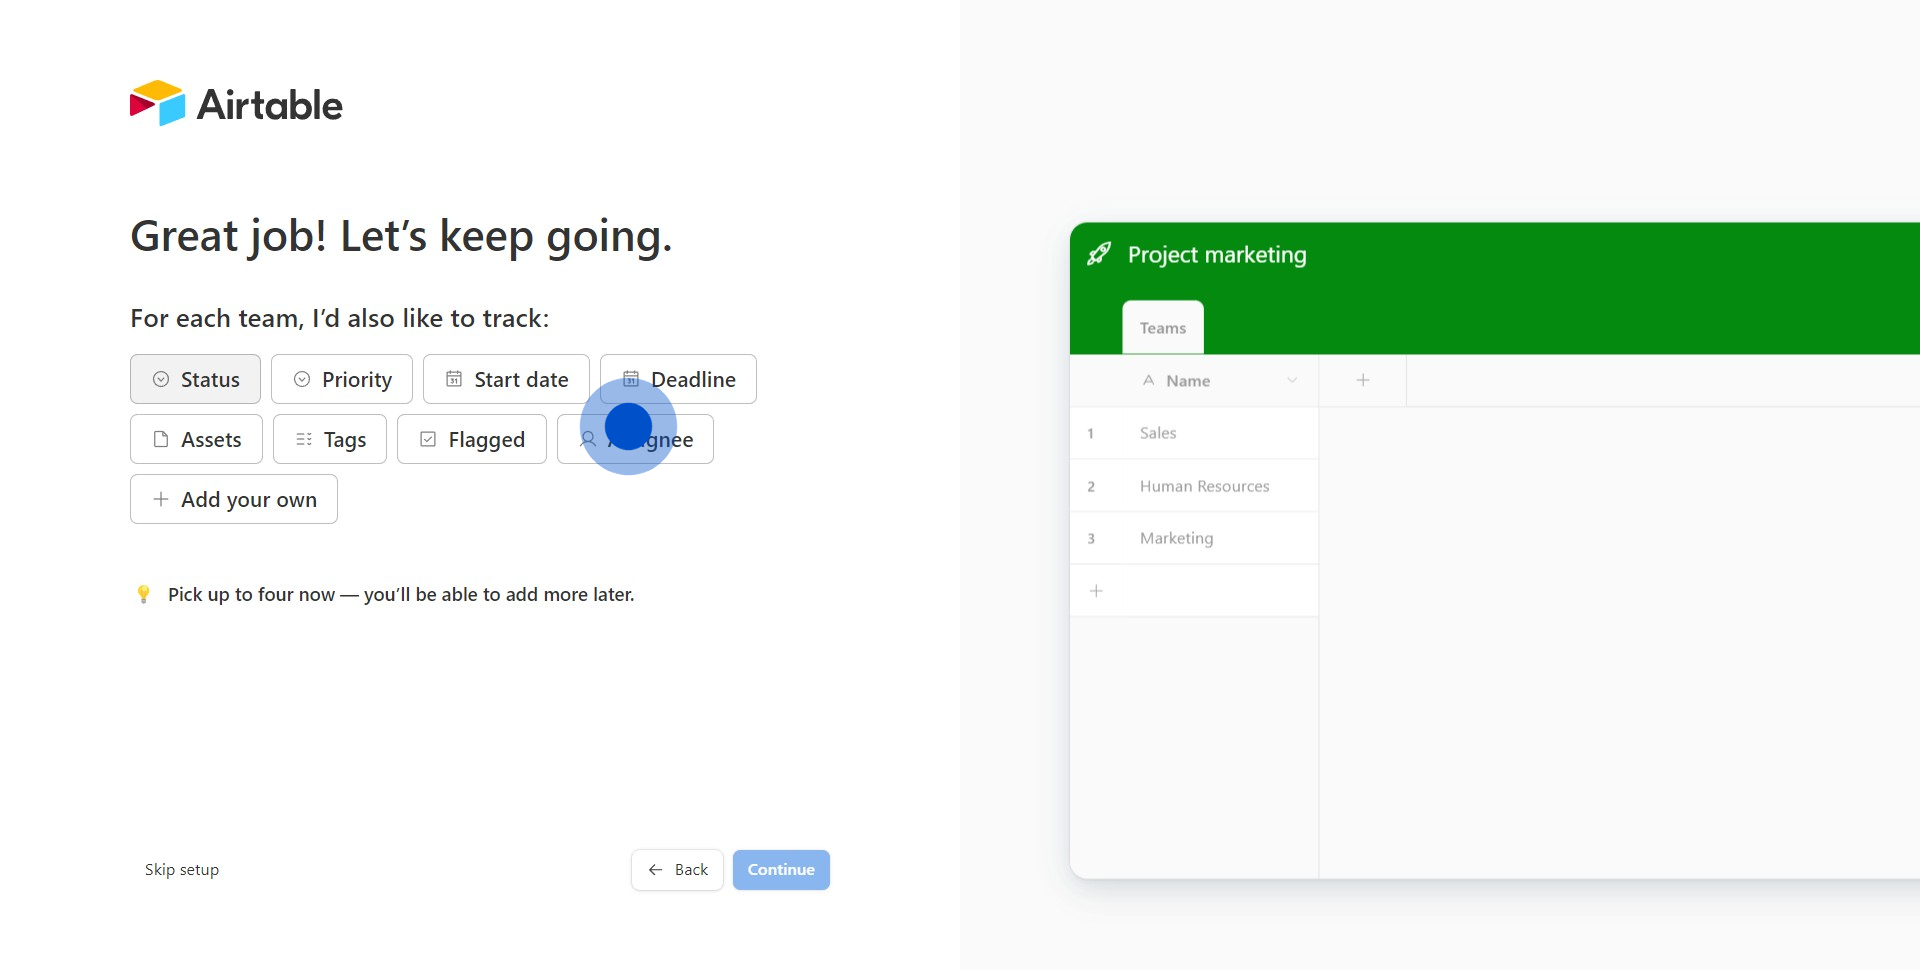
6. Great work! It's time now to move forward.
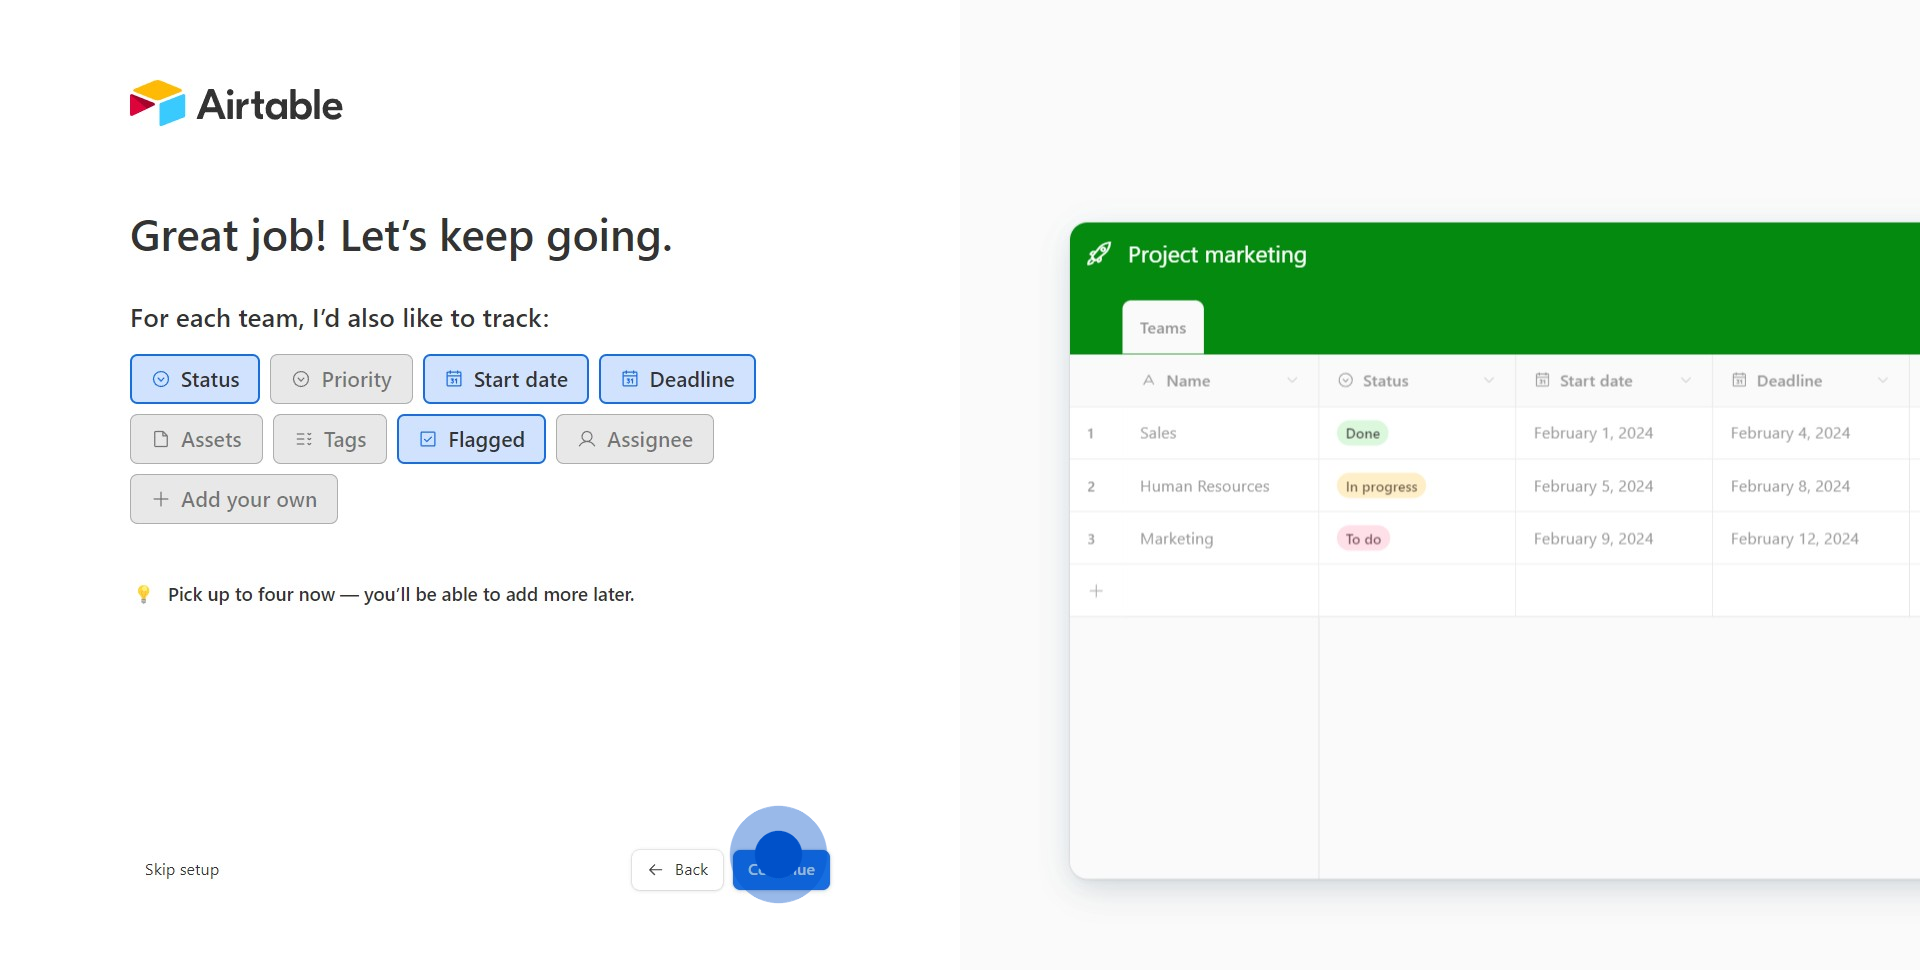
7. What sub-items do you wish to monitor for each team?
8. Good job! Let's continue to the next phase.
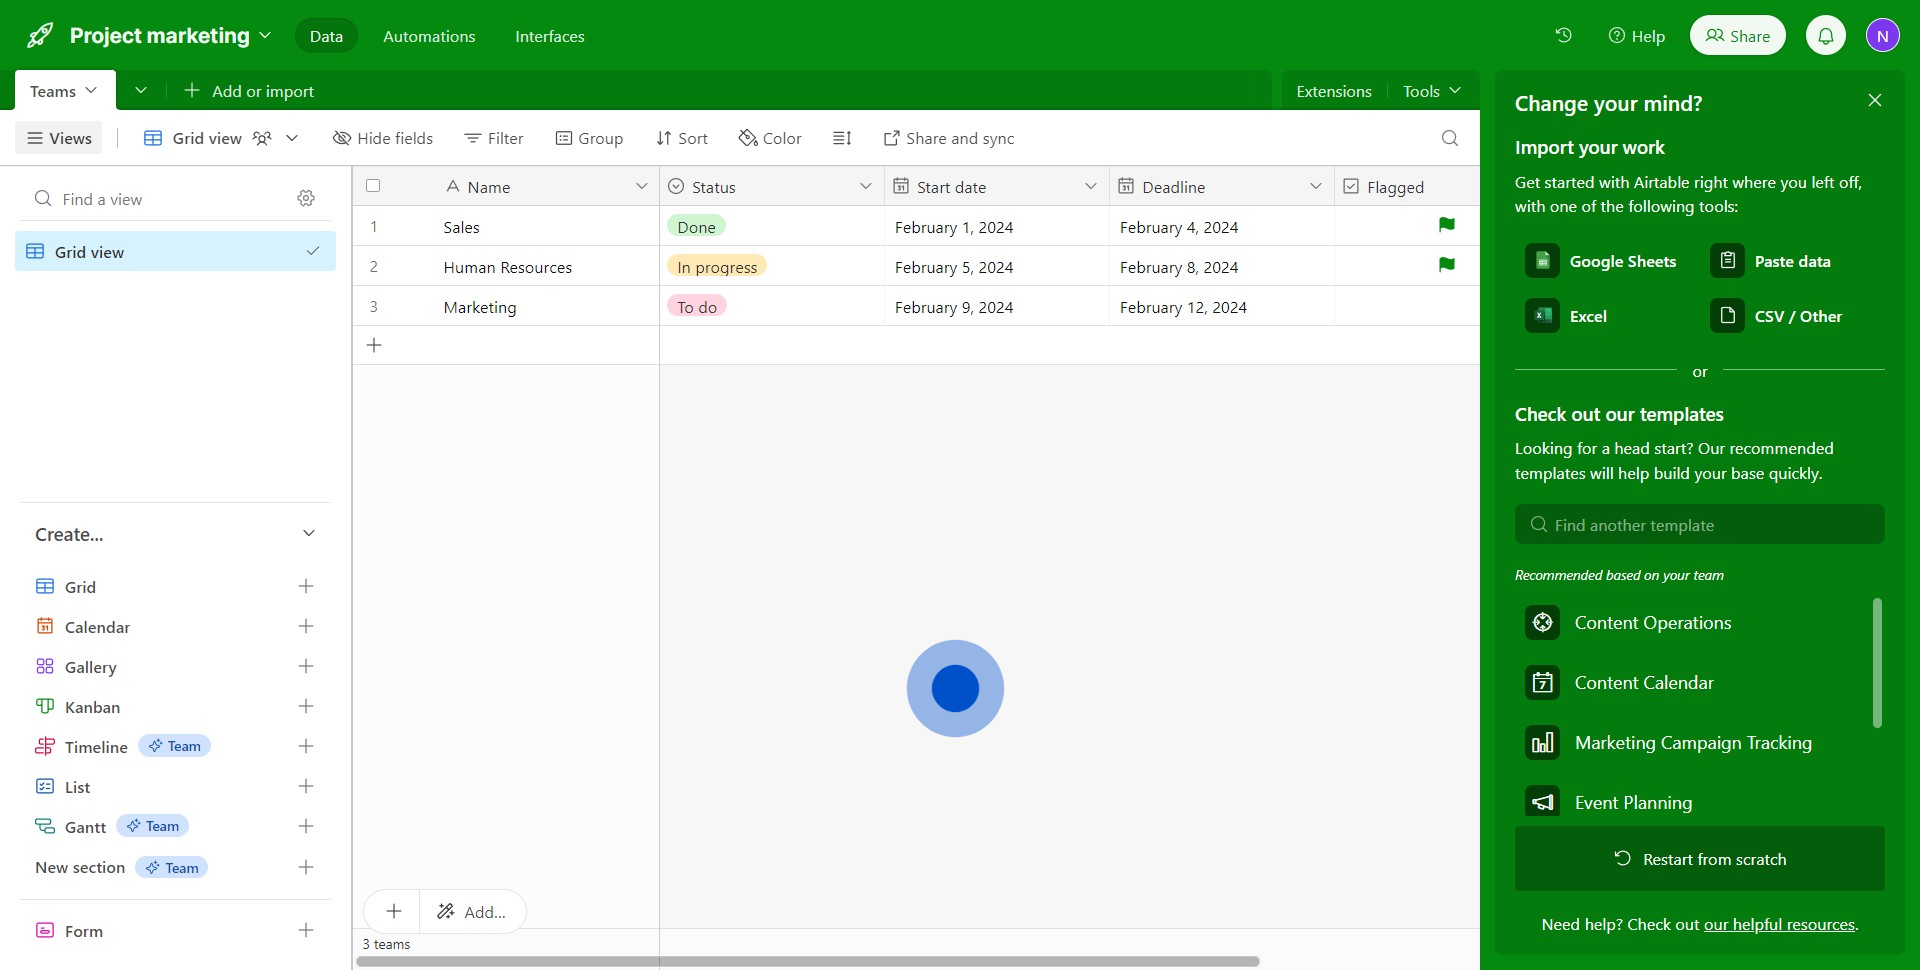
9. Congratulations! You have successfully created a new table in Airtable.
Create your own step-by-step demo
Scale up your training and product adoption with beautiful AI-powered interactive demos and guides. Create your first Supademo in seconds for free.