

Overview:
Streamline your workflow in Airtable by leveraging the power of record grouping. Enhance user experience and simplify navigation by grouping related records with ease. This comprehensive guide walks you through a seamless process to create and utilize record groups in Airtable, optimizing efficiency and clarity in data management within the platform. Elevate your organization and achieve a more organized and accessible database with this step-by-step guide.
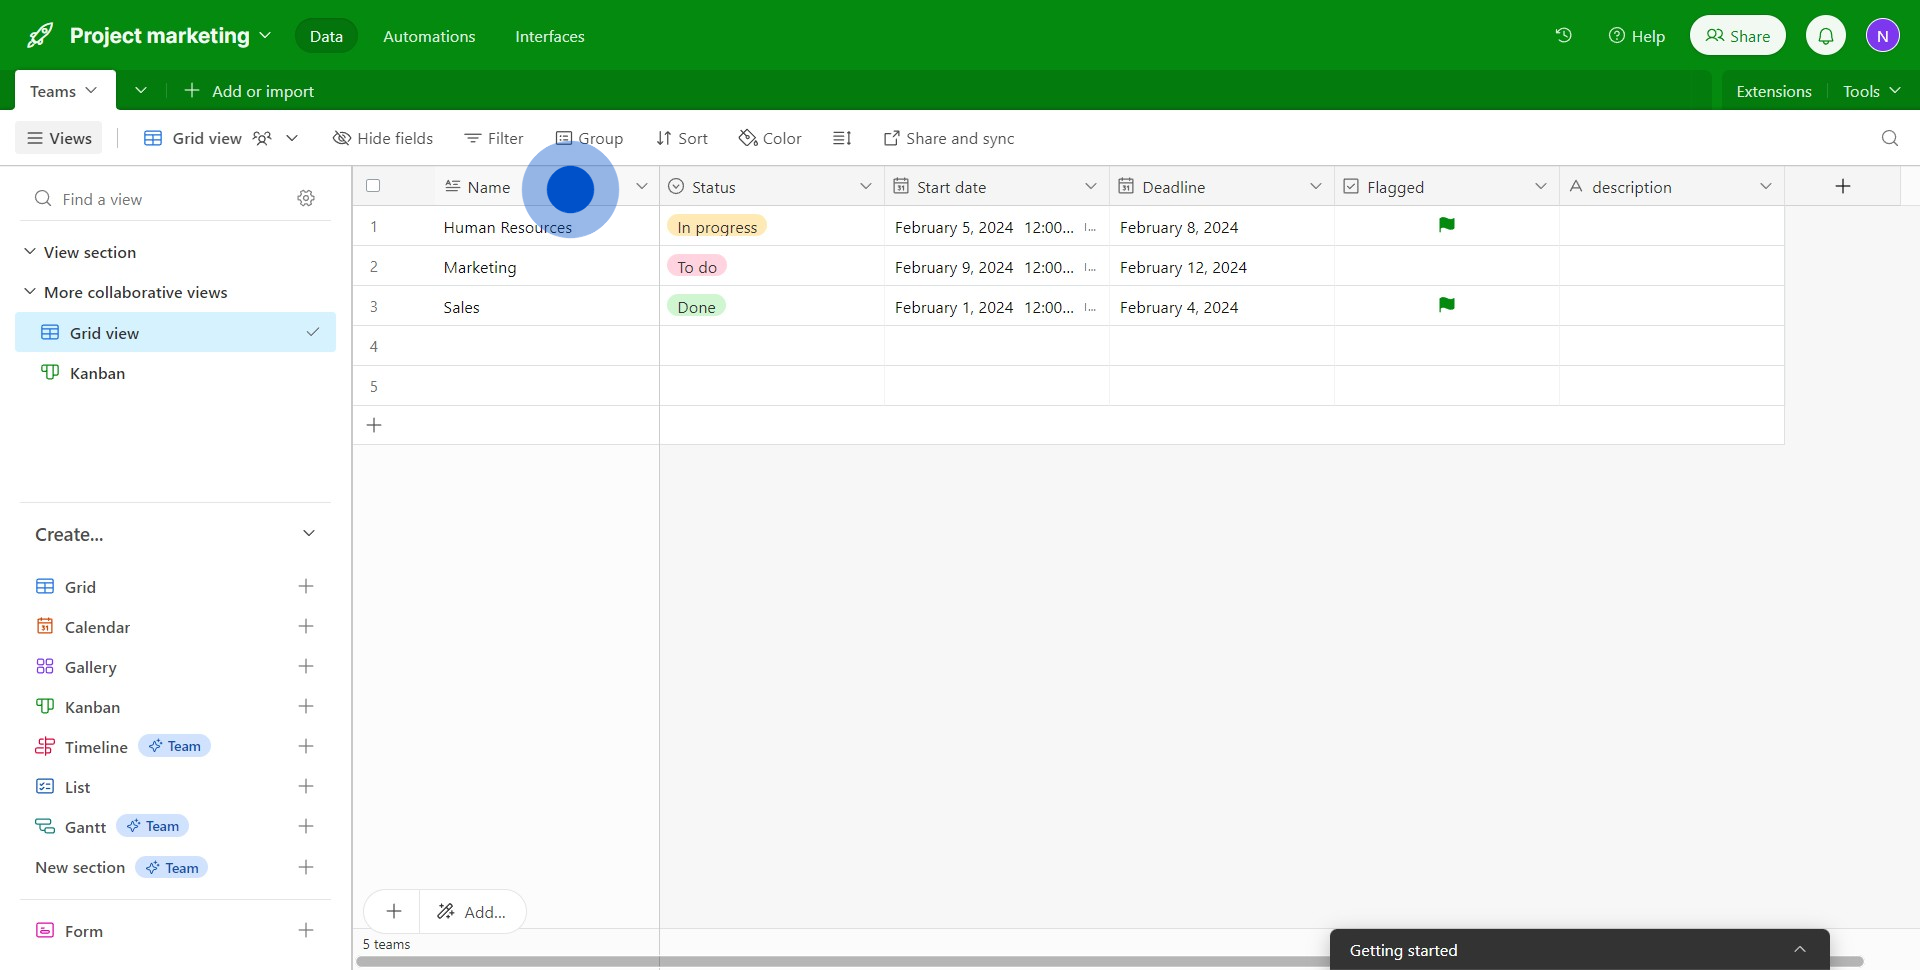
1. Start by selecting the record you want to group.
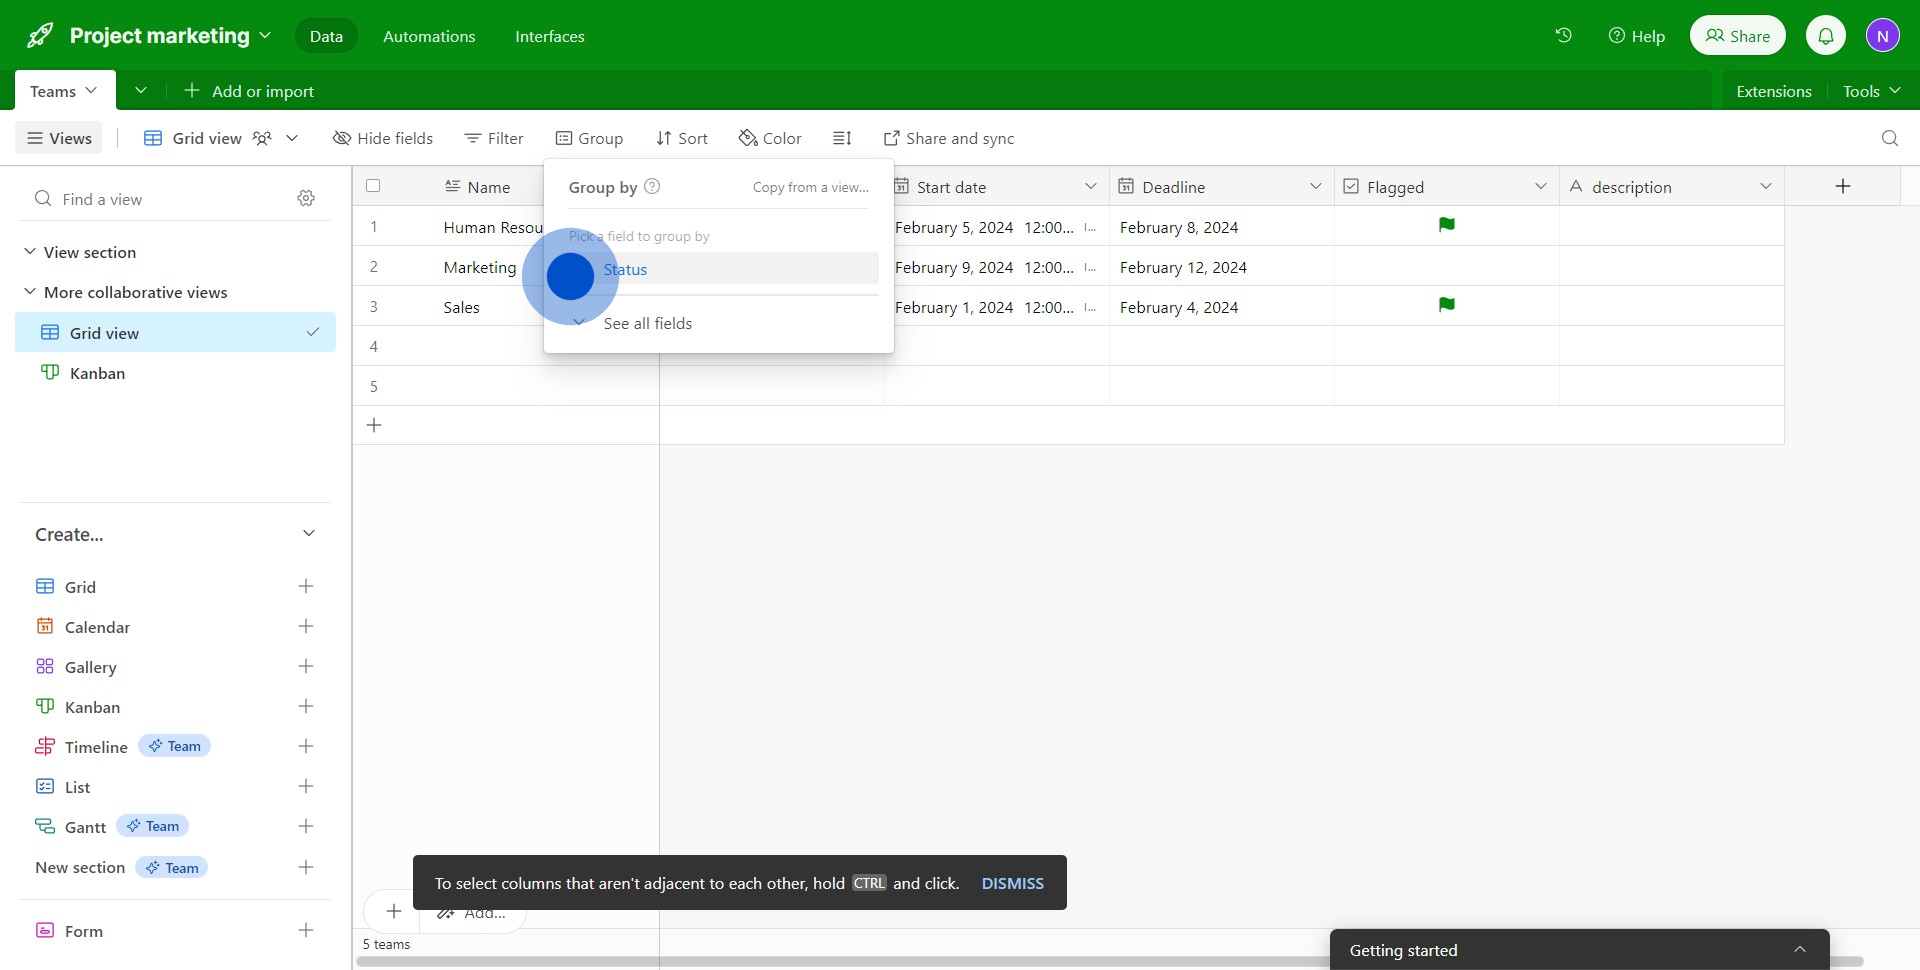
2. Next, look for the grouping option and select it.

3. Afterwards, choose the appropriate options to process the group.
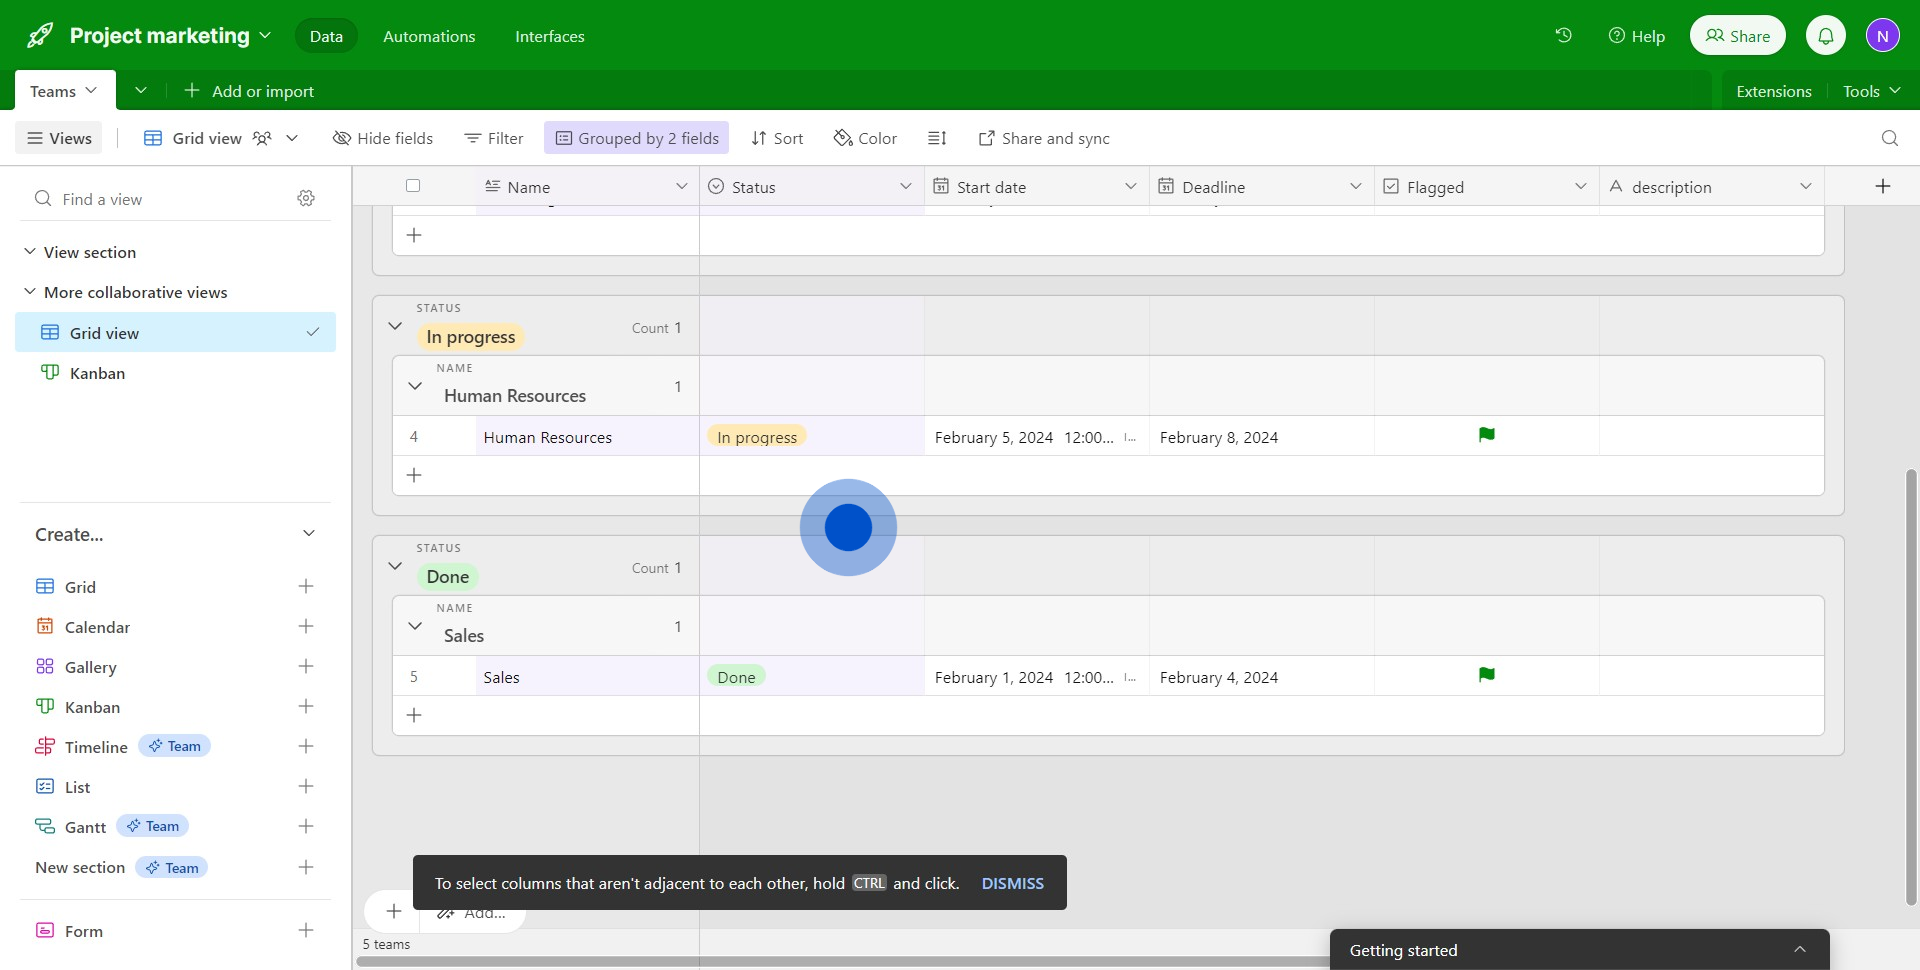
4. Then, look for the 'Add subgroup' button for further record grouping.
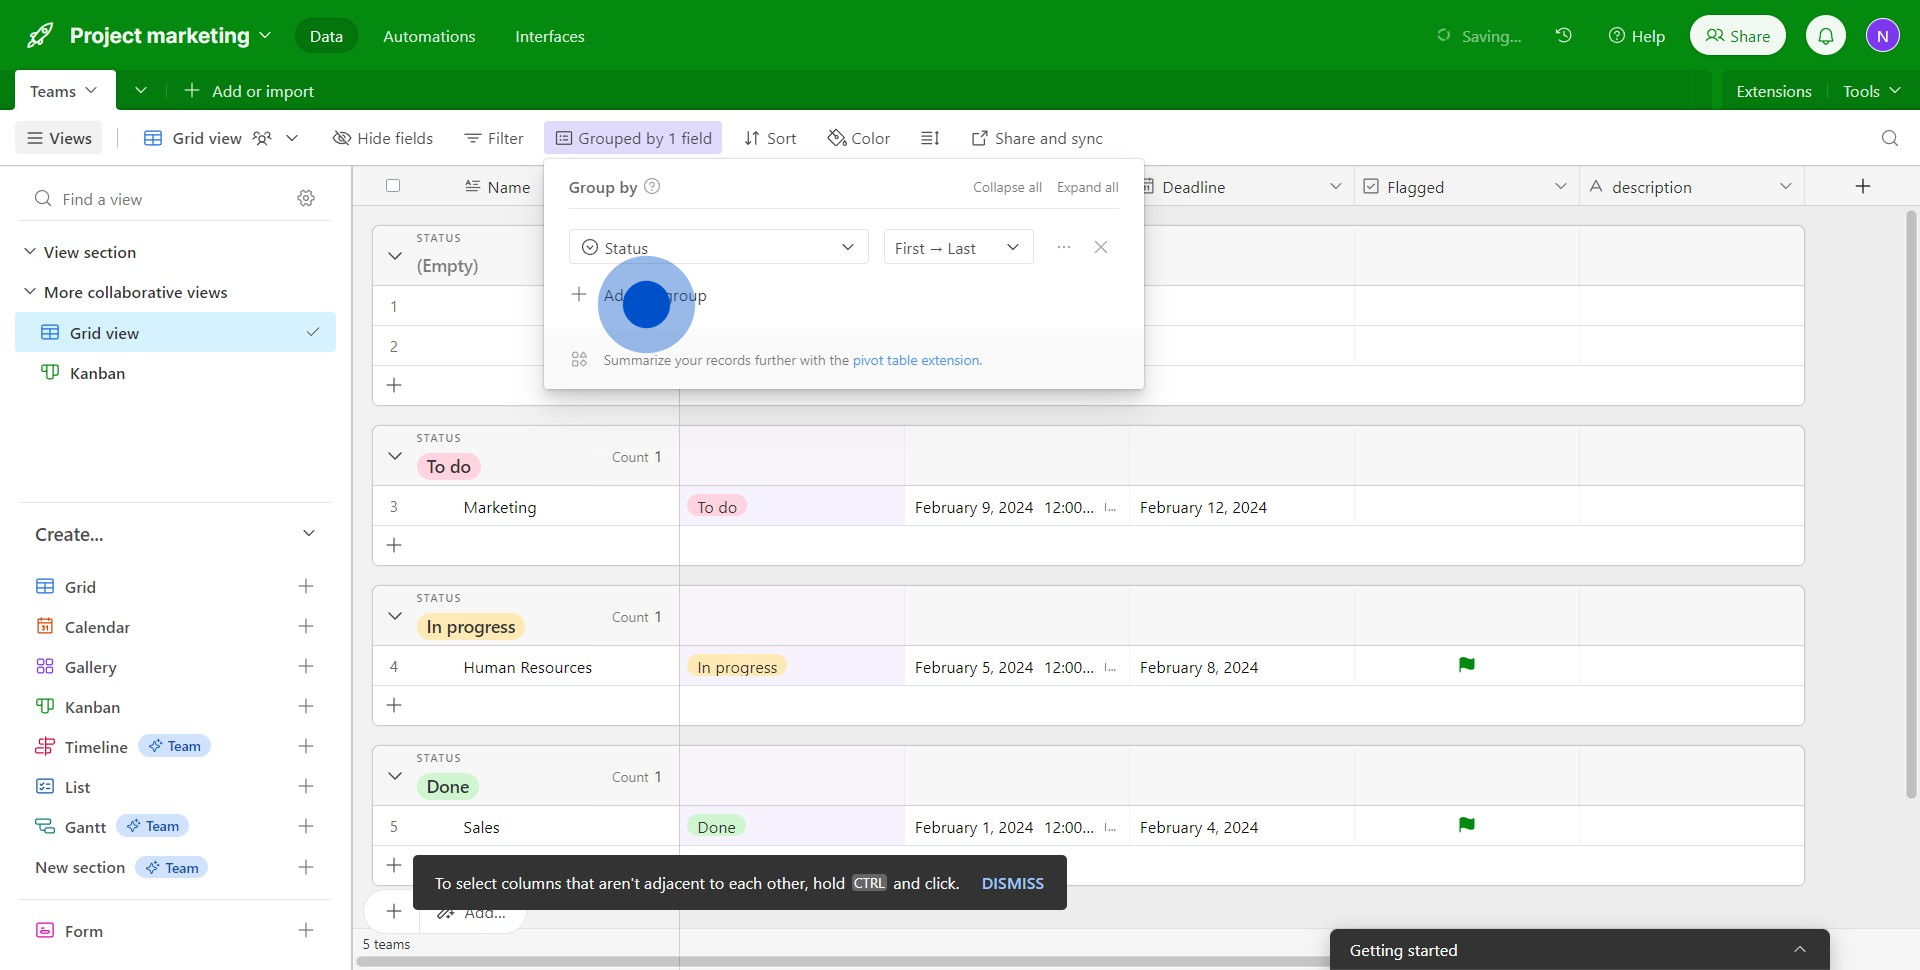
5. Now, your records are grouped based on the parameters you chose.
Create your own step-by-step demo
Scale up your training and product adoption with beautiful AI-powered interactive demos and guides. Create your first Supademo in seconds for free.