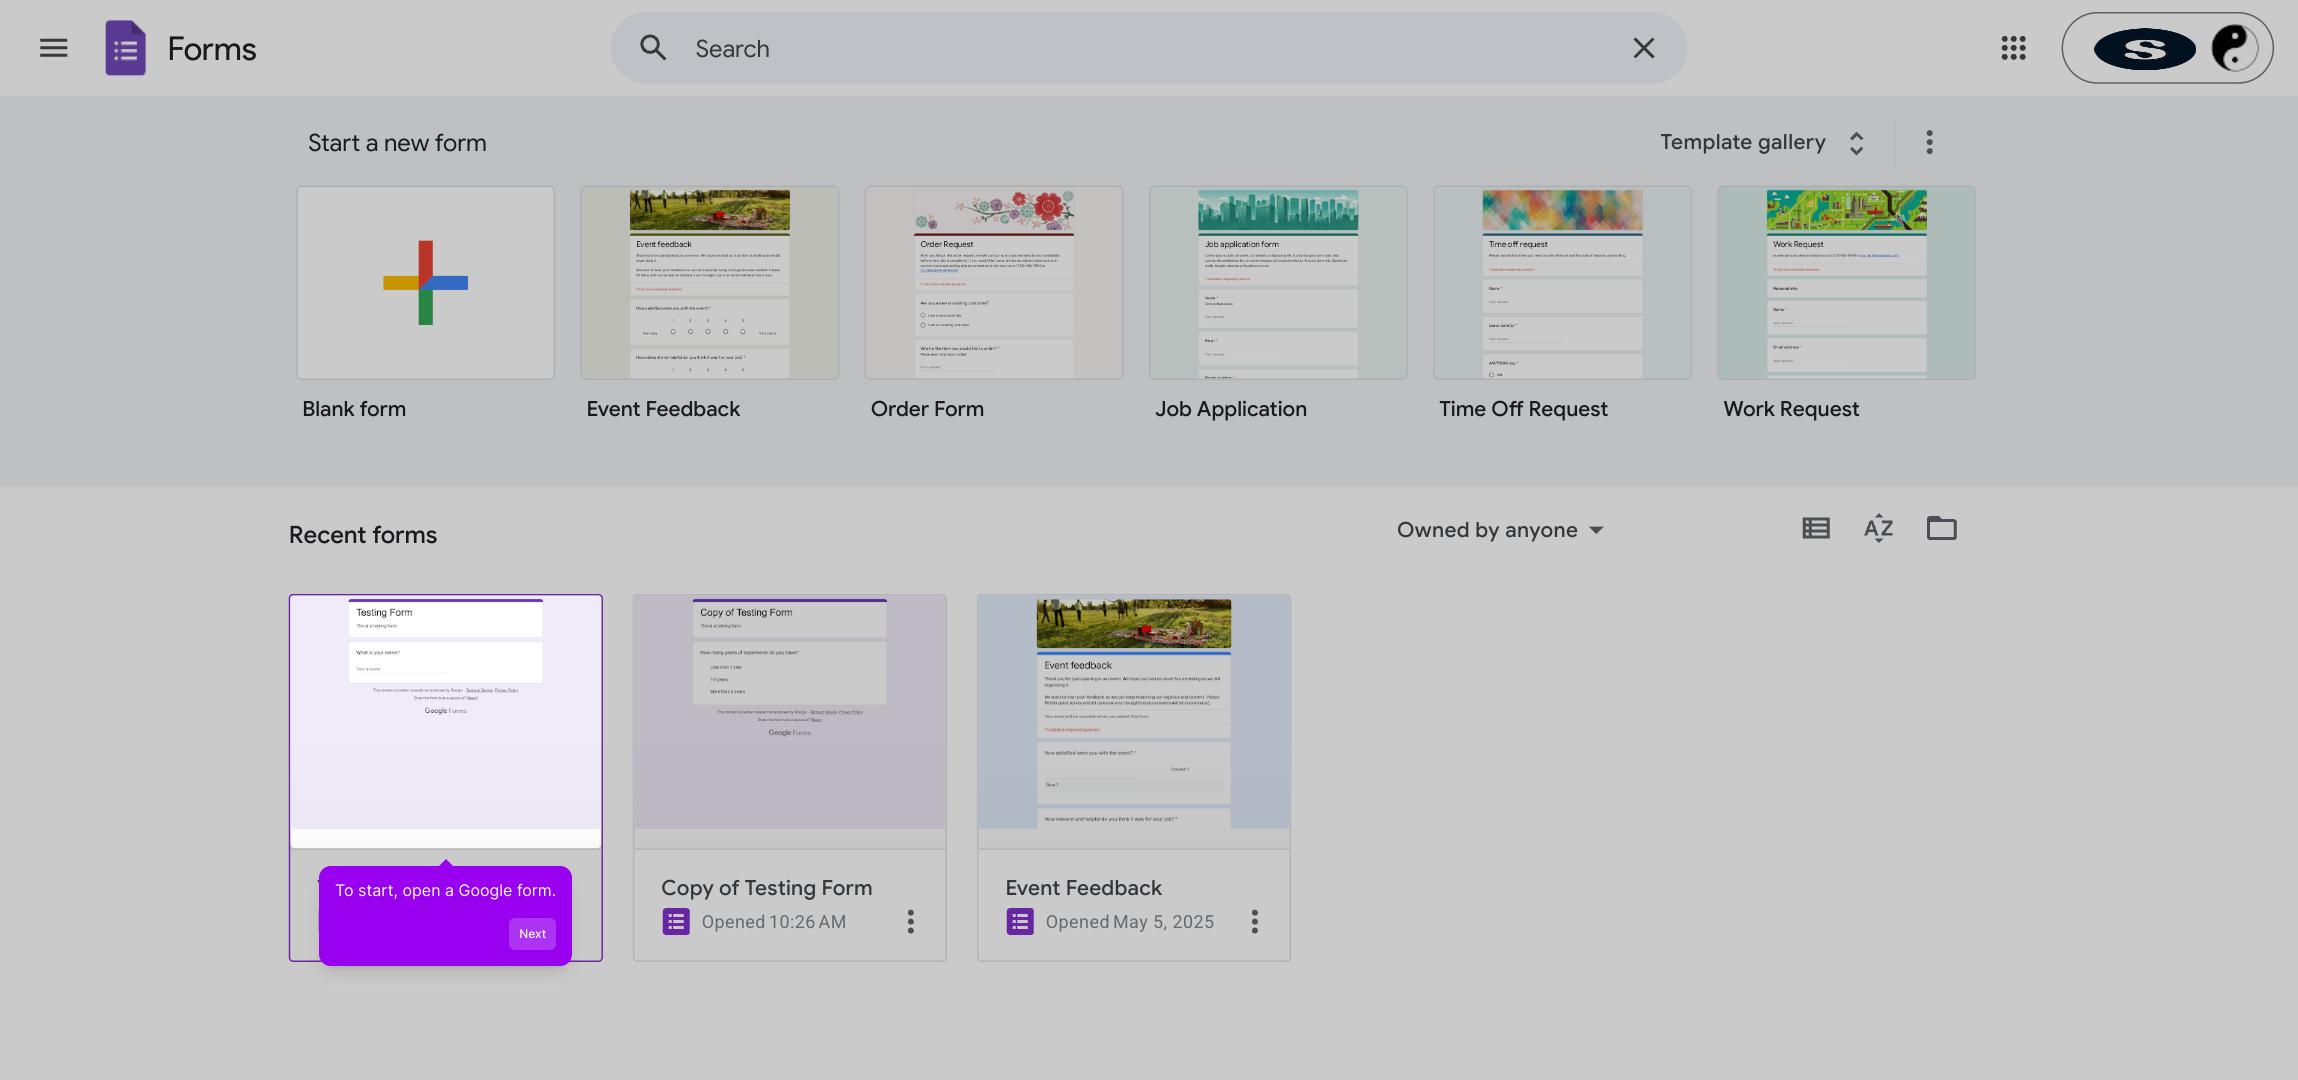
1. To start, open a Google form.
2. Then, click on the Add Section button.
3. Next up, add a Title and Description to the new section.
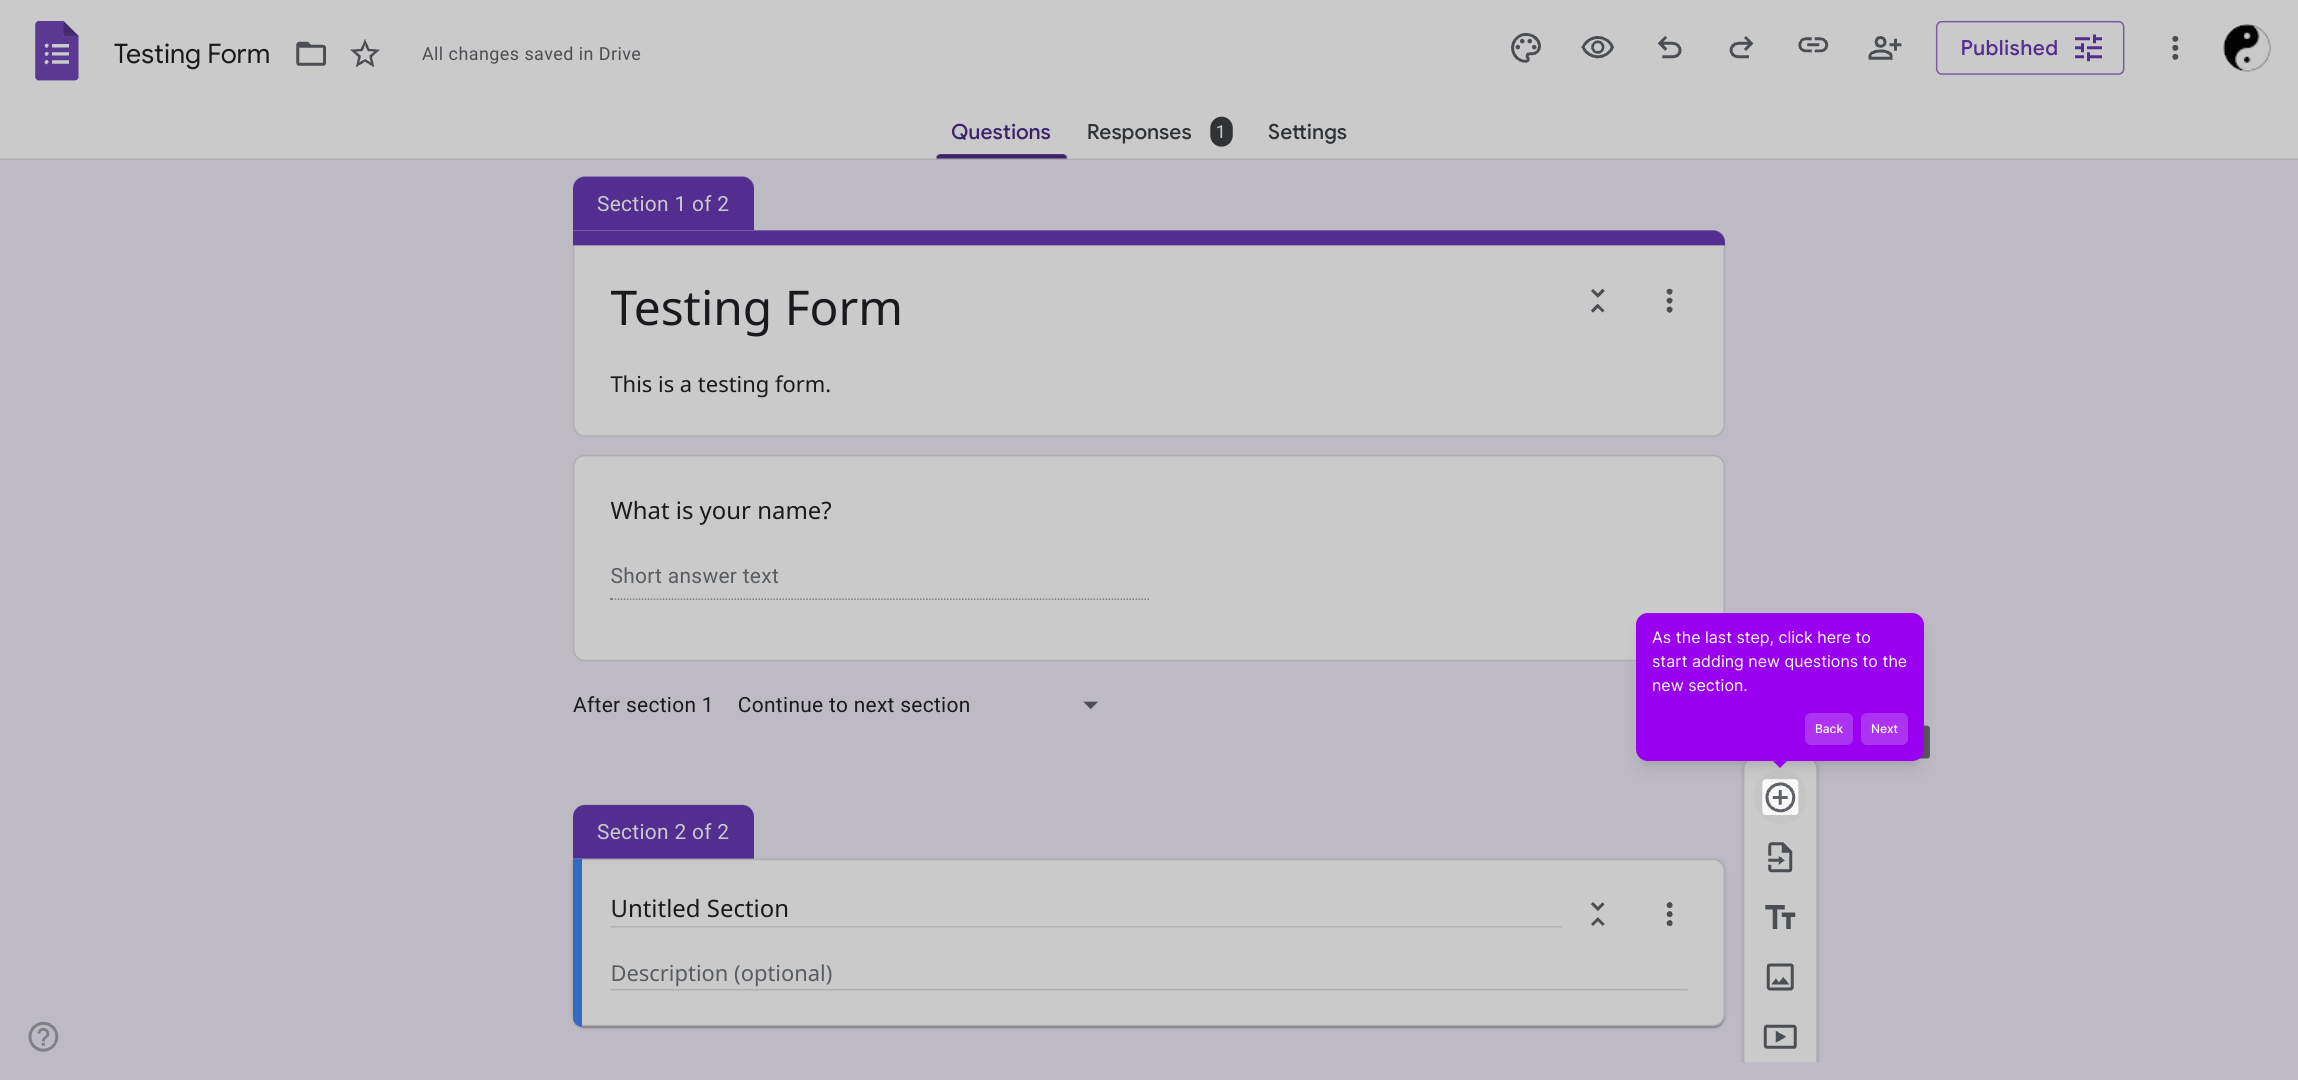
4. As the last step, click here to start adding new questions to the new section.
5. Create a Supademo in seconds
This interactive demo/guided walkthrough on How to Add Sections to a Google Form was created using Supademo.
How to Add Sections to a Google Form : Step-by-Step Guide
Begin by navigating to Google Forms in your browser and opening a new or existing form where you want to organize your questions effectively.
Next, locate the Add Section button on your form’s toolbar. Clicking this will allow you to divide your form into meaningful parts, improving navigation for your respondents.

Once your new section appears, take a moment to enter a clear Title and a helpful Description. This provides context and guidance for anyone filling out that part of your form.
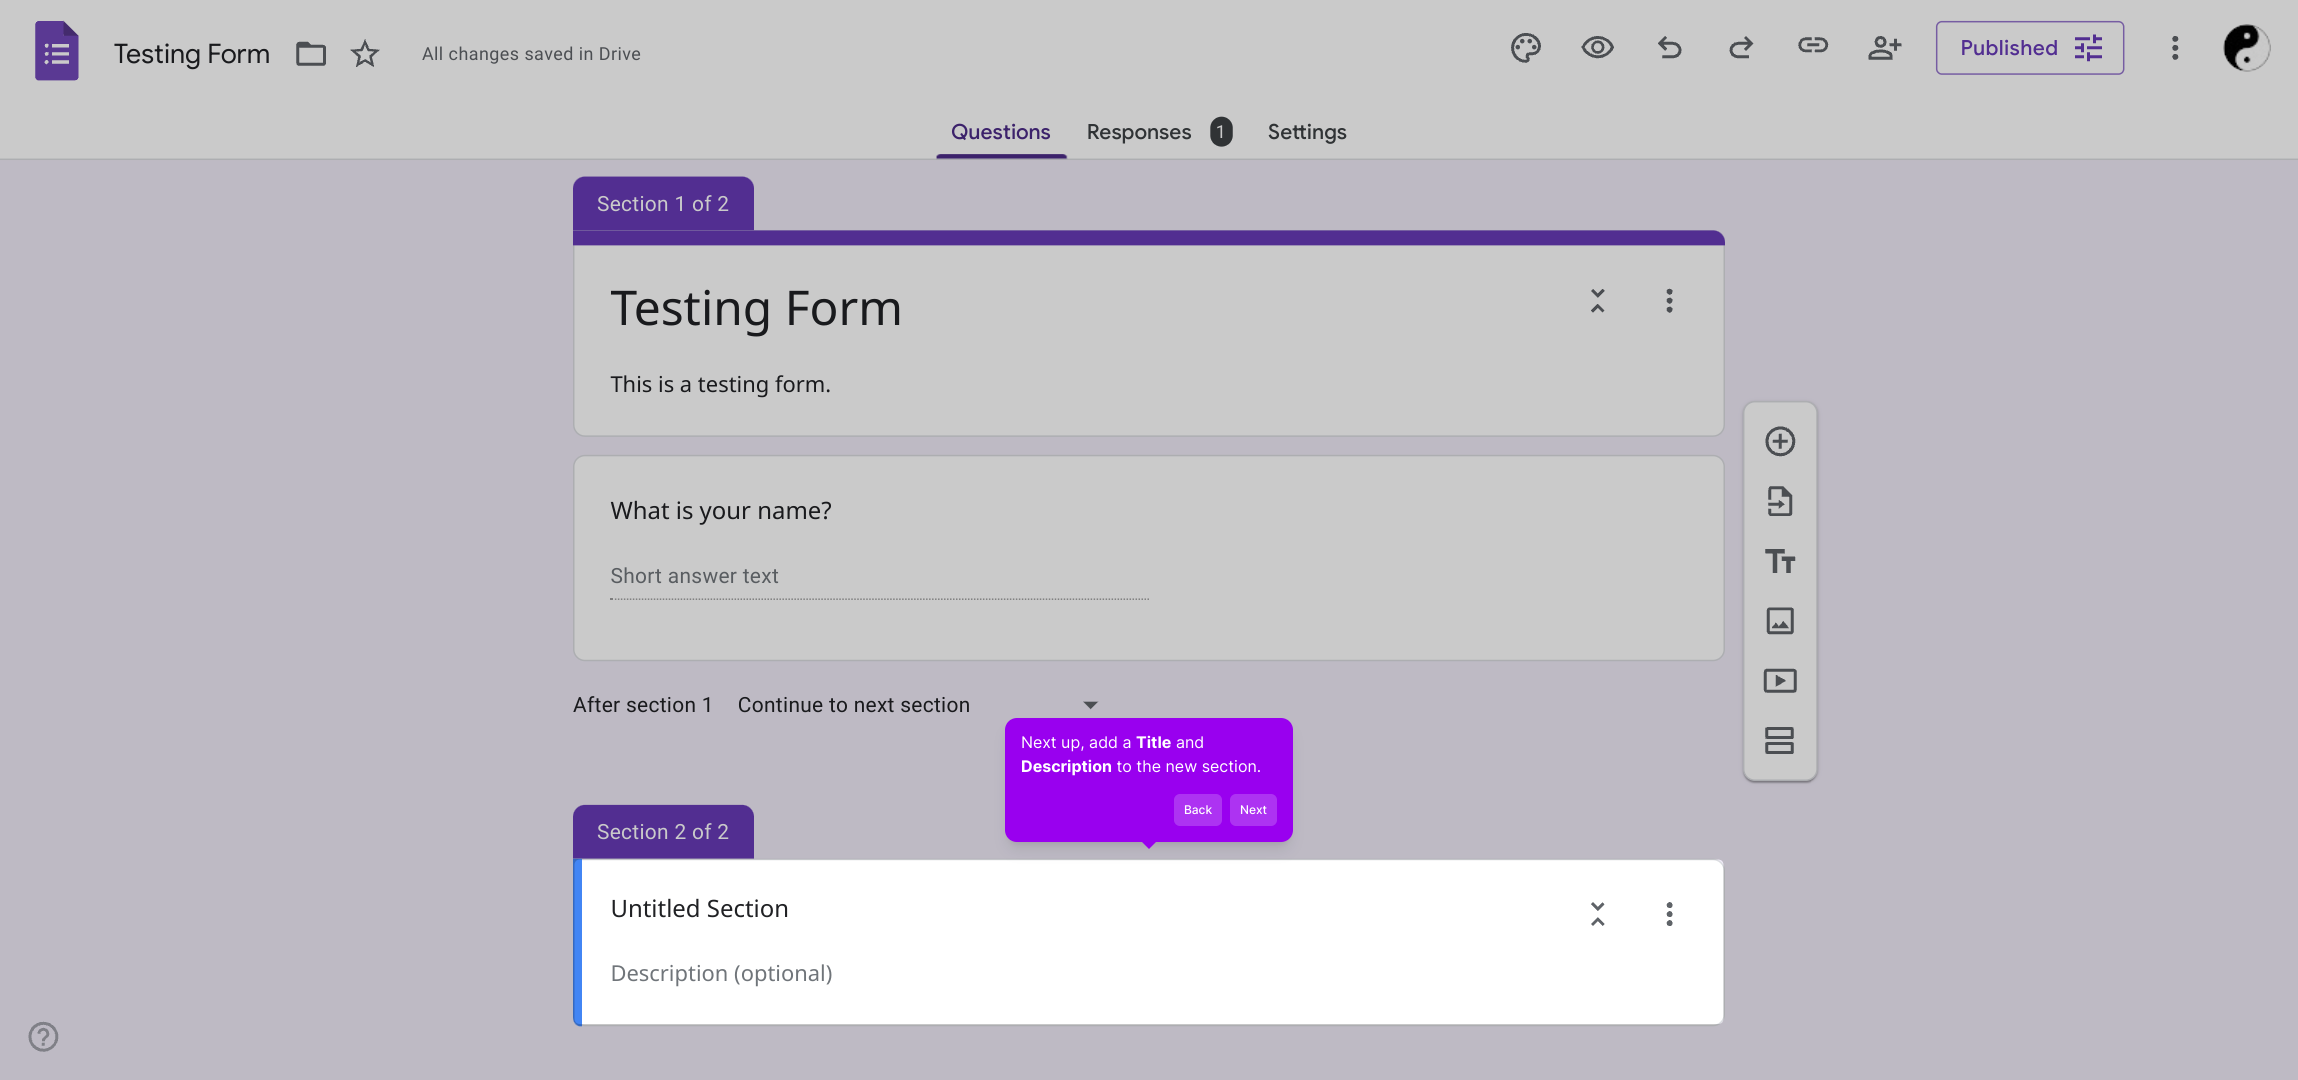
With your section set up, you’re now ready to add questions specific to this part of the form. Use the option shown here to begin inserting new items tailored to your survey’s needs.
By organizing your form with sections and targeted questions, you can create an engaging and user-friendly experience quickly—allowing you to produce a polished Supademo in no time.
Create your own interactive demos in < 5 mins with Supademo
You can create your own interactive product demo in minutes using Supademo. Drive growth, scale enablement, and supercharge product-led onboarding with Supademo. Sign up for free here with no credit card required.
FAQs
Commonly asked questions about this topic.
What is the purpose of adding sections in a Google Form?
Adding sections helps organize questions into groups, making the form easier to navigate and more user-friendly. It improves respondent experience by logically dividing the form and can also help with conditional branching based on answers.
Where do I find the Add Section button in Google Forms?
The Add Section button is located on the floating toolbar to the right of the form editor. It looks like two stacked rectangles. Clicking it creates a new section below the current question or section.
Can I add multiple sections to a single Google Form?
Yes, you can add as many sections as you need to structure your form effectively. This is useful for long surveys or forms that require grouping questions by topic.
Is it possible to add a description to a section?
Yes, after creating a section, you can add both a title and a description. The description provides extra context or instructions specific to that section for your respondents.
How do sections affect how respondents see the form?
Sections create breaks in the form, showing respondents one part at a time. This reduces overwhelm and makes it easier to focus on related questions. It also enables navigating between sections based on prior answers.
Can I use sections for conditional branching or logic?
Yes, Google Forms allows you to send respondents to specific sections based on their answers using the "Go to section based on answer" option, enhancing personalized form flows.
Will sections affect data collection in Google Forms?
No, sections only change the user interface and navigation. All responses from all sections are collected and stored in a single spreadsheet or response summary for easy analysis.
Can I edit or delete a section after creating it?
Yes, you can edit the title, description, and questions within a section anytime. Deleting a section will also remove all questions contained in it, so proceed carefully.
Does adding sections improve form completion rates?
Organizing questions into sections reduces cognitive load and can improve completion rates by guiding respondents through manageable chunks rather than one long form.
Is there a way to preview how sections will appear to respondents?
Yes, use the Preview option (eye icon) in Google Forms to see exactly how the form, including sections, will be displayed to respondents before sharing it.

Vimal Kumar
Product Operations Associate
Vimal Kumar helps build and grow Supademo’s team and GTM efforts, with a focus on figuring out growth levers and improving product traction.