What is a Miro board?
A Miro board is a collaborative digital whiteboard for visualizing concepts and collaborating on projects. This collaborative whiteboard allows users to work solo or in teams, bringing ideas to life in a virtual space.
Step-by-step: How to create a board in Miro
Popular use cases for a Miro board include:
- Brainstorming, ideation and development: Many teams use Miro boards to generate and organize ideas visually, using sticky notes, mind maps, and other tools.
- Project planning and management: Miro boards allow teams to create project timelines, Kanban boards, and roadmaps to track progress and manage tasks in real-time.
- Design thinking and UX research: Designers often use Miro for user journey mapping, wireframing, prototyping, and conducting user research workshops.
- Process mapping and visualization: Teams visualize and improve business processes by using flowcharts and diagrams on Miro boards. For instance, the customer experience team may map out and analyze customer touch points and interaction on their Miro board.
Key features of Miro boards include real-time collaboration, a widespread selection of templates, and tools for brainstorming, diagramming, and project planning. With its intuitive interface and powerful functionality, Miro boards have become a popular choice for remote teams, educators, and individuals seeking an efficient way to organize thoughts and manage projects visually.
Who is Miro best suited for?
While Miro is has many use cases across the organization, Miro boards are especially beneficial for Product Marketers and Sales Professionals. It helps these professionals visualize marketing strategies and sales processe and ideate visually – all while enhancing collaboration and improving communication across their teams.
Scrolling Guide: Creating a Miro Board
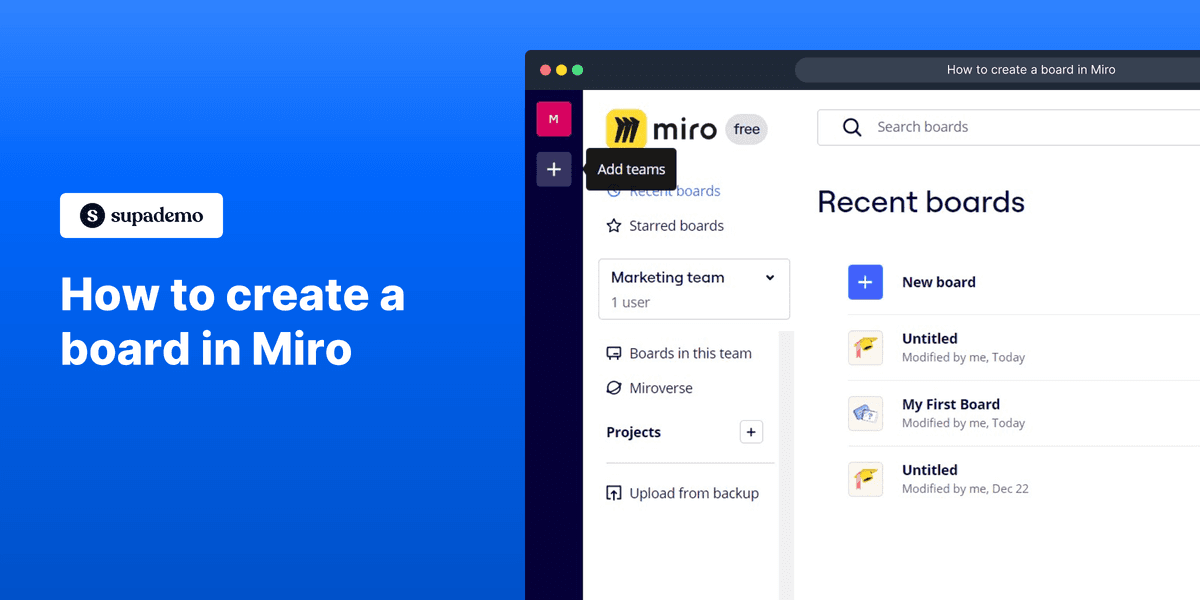
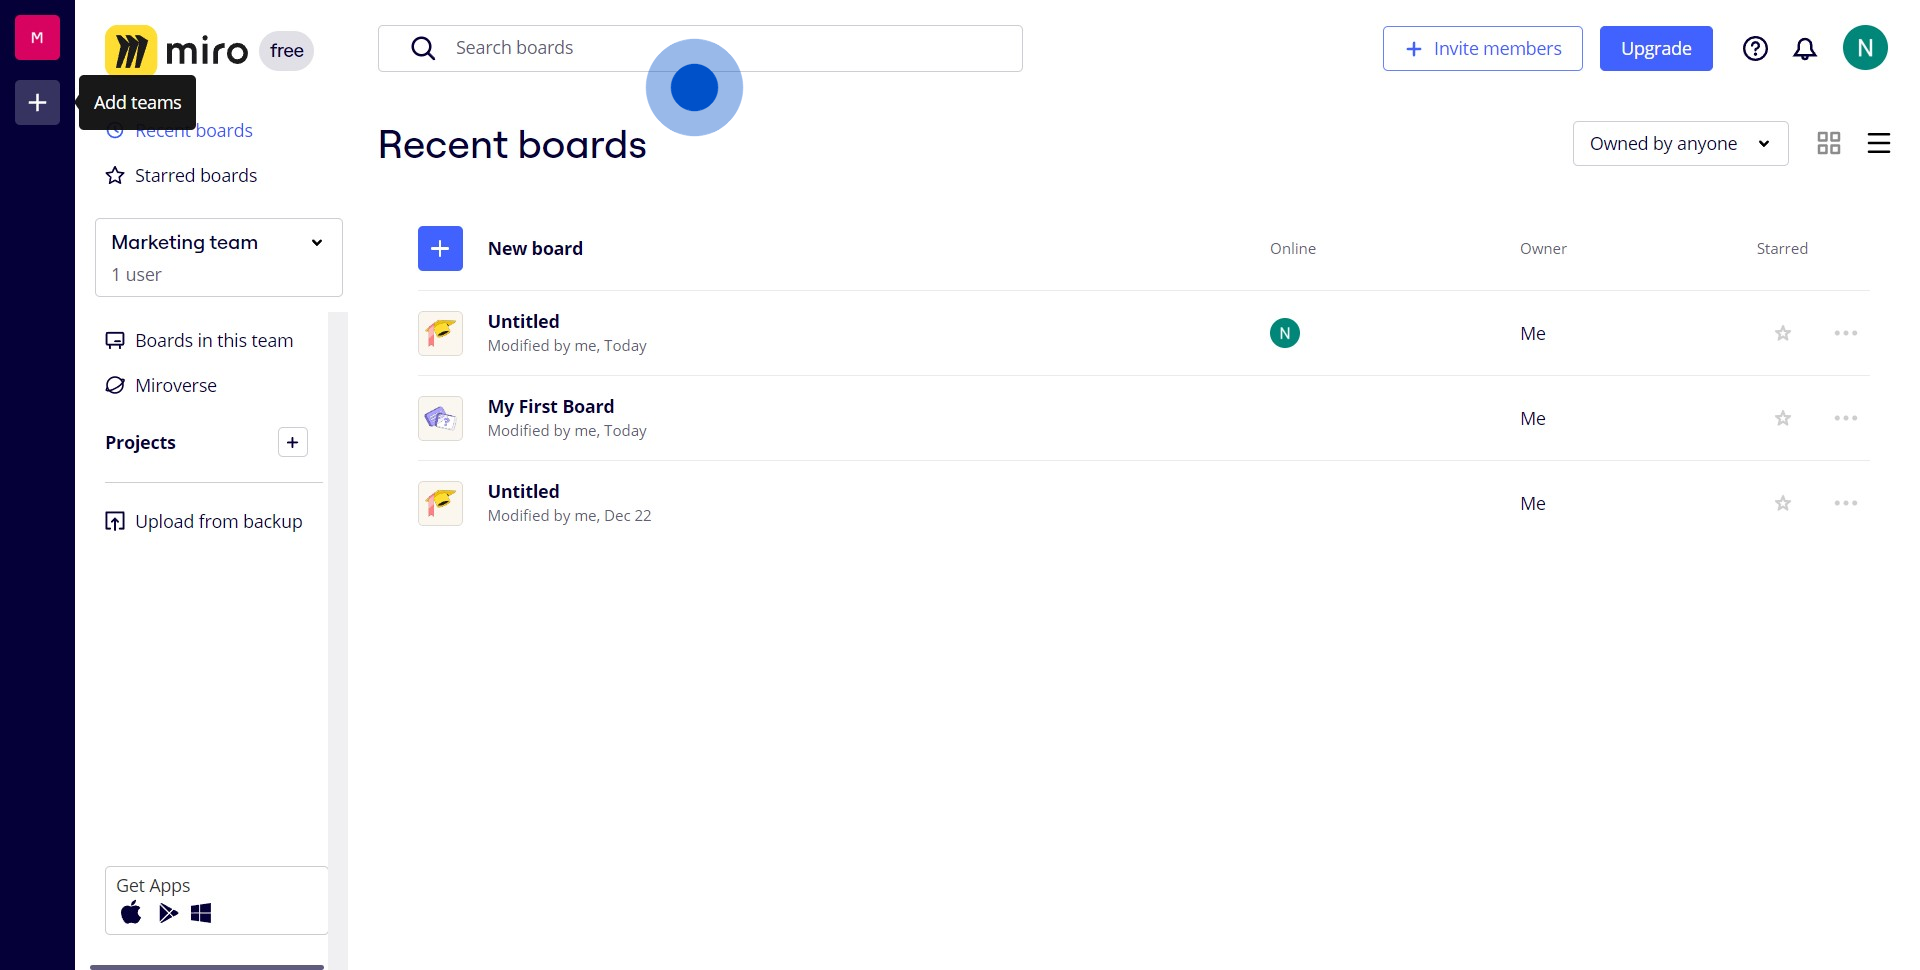
1. Begin by opening your Miro Dashboard.
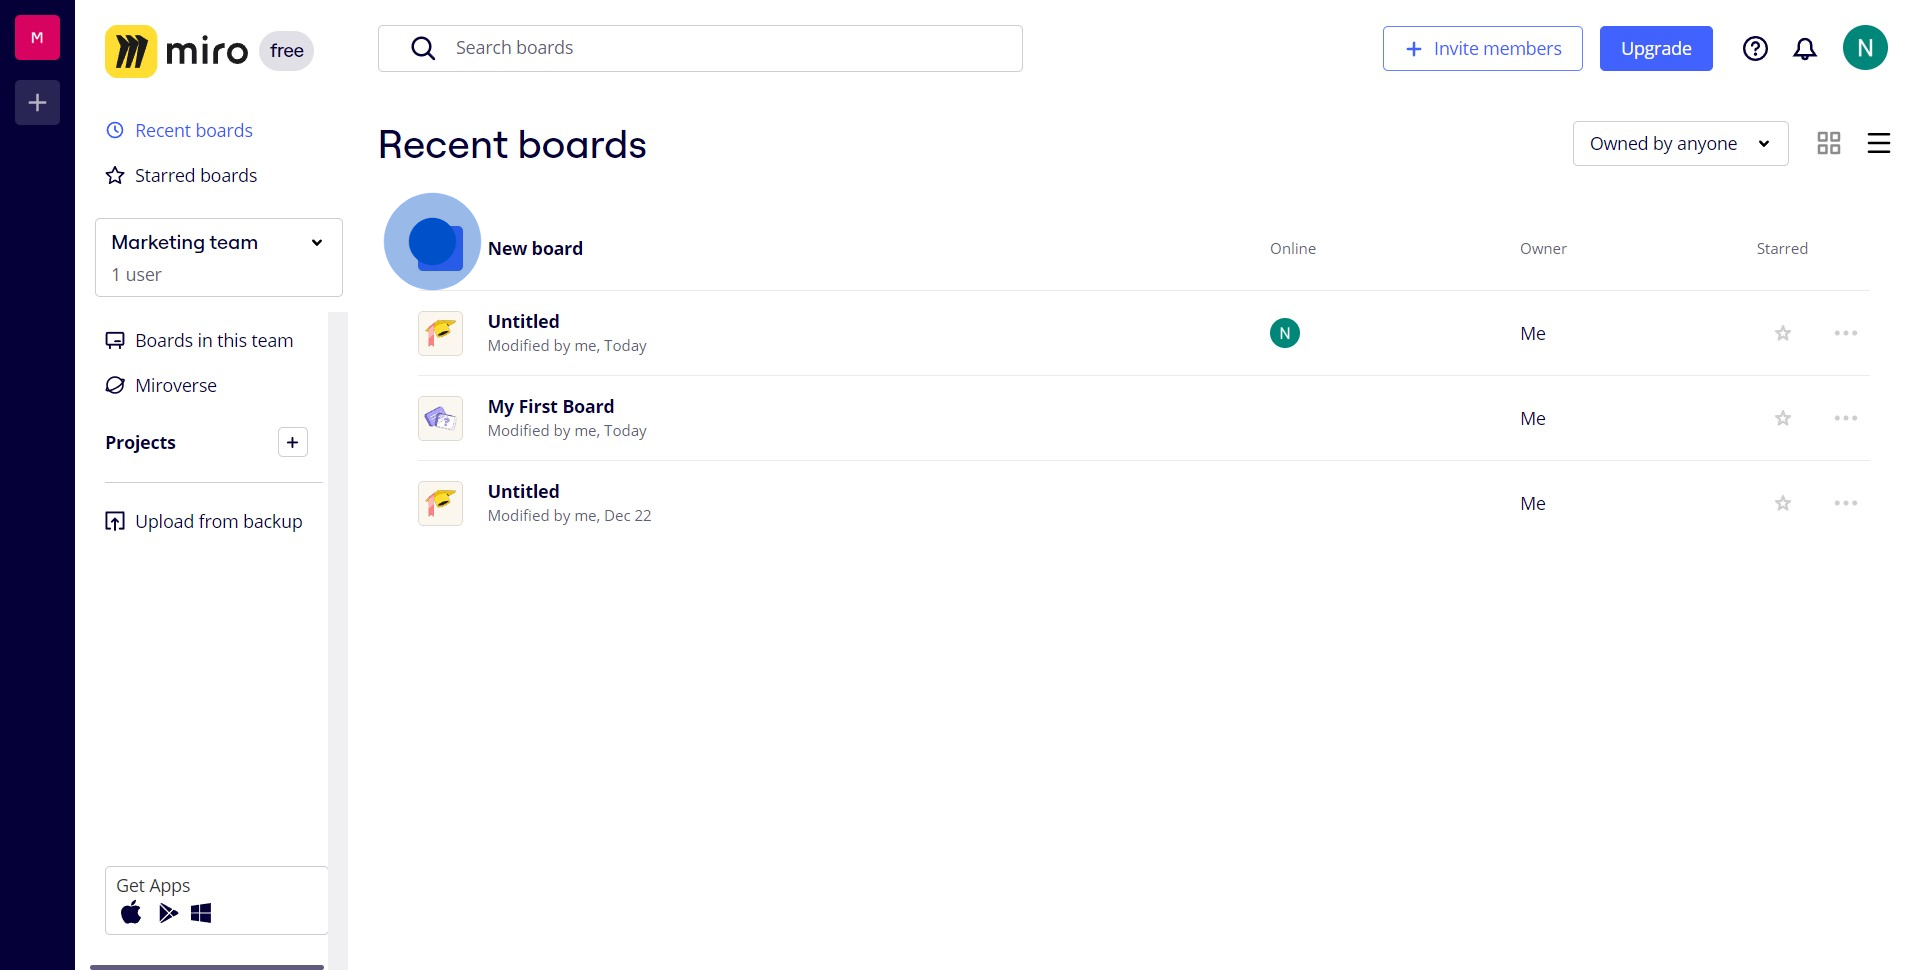
2. Next, initiate a new board.
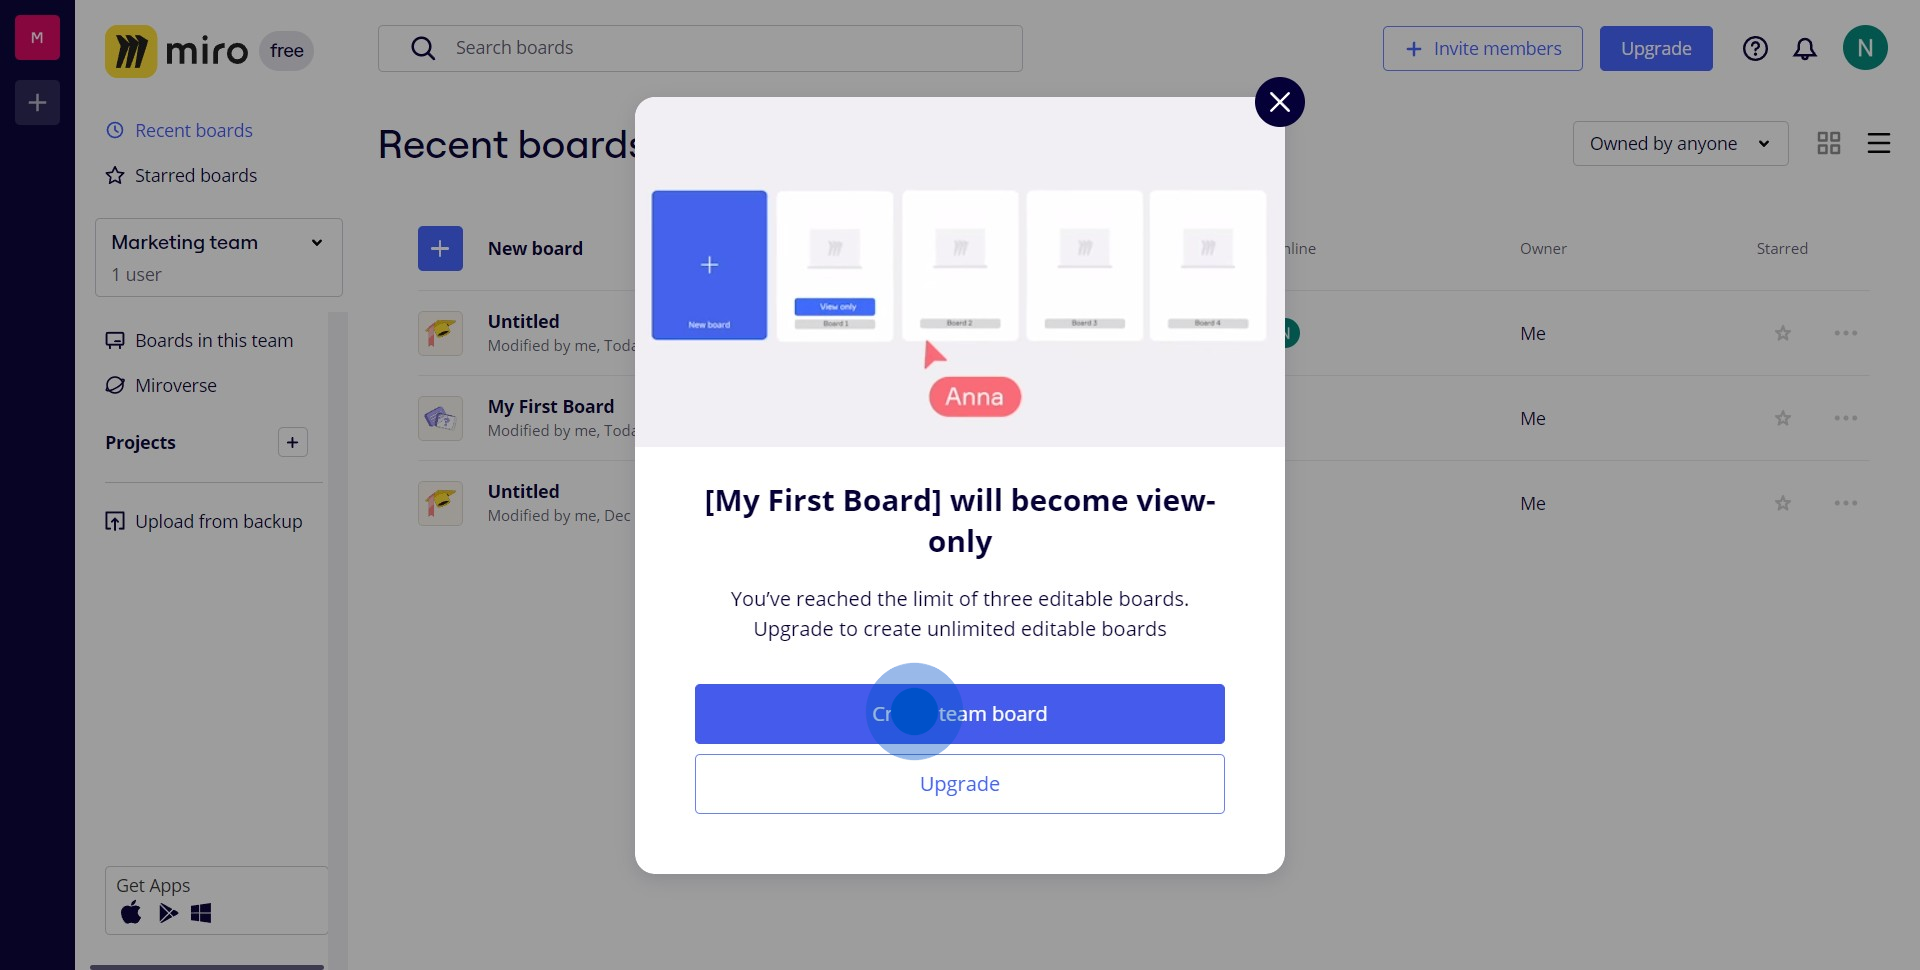
3. Then, opt to create a team board.
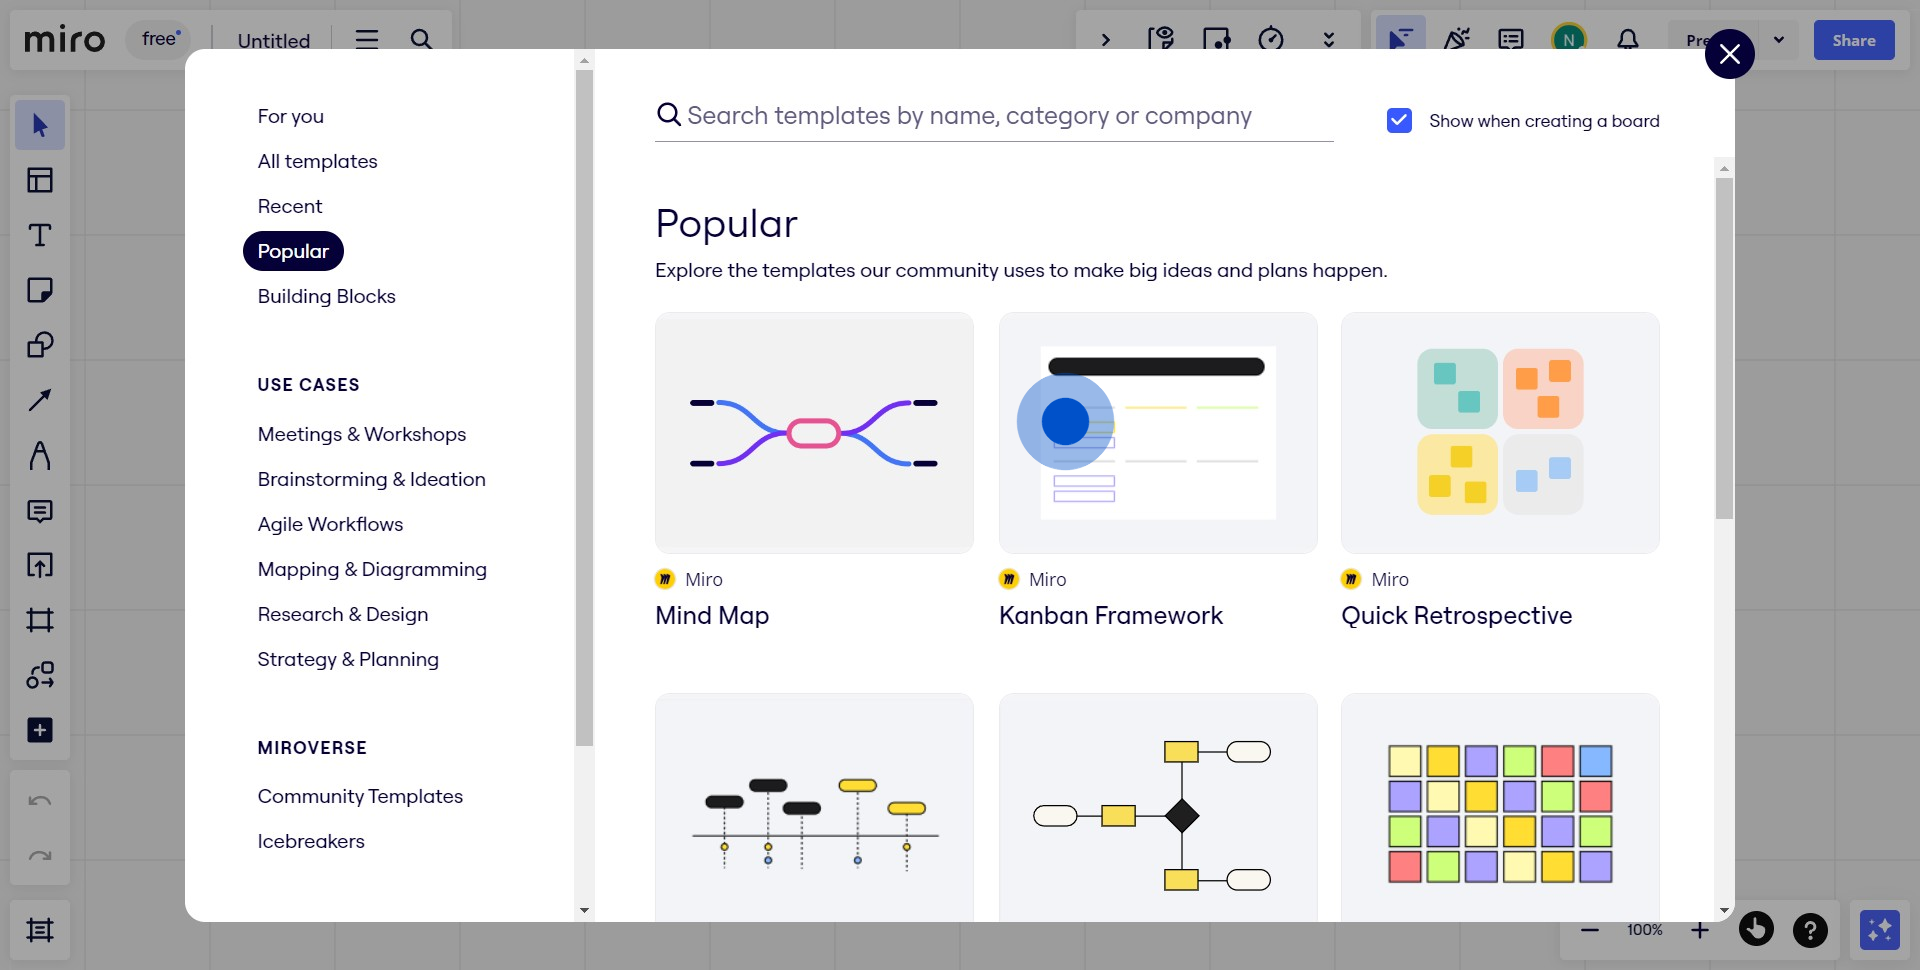
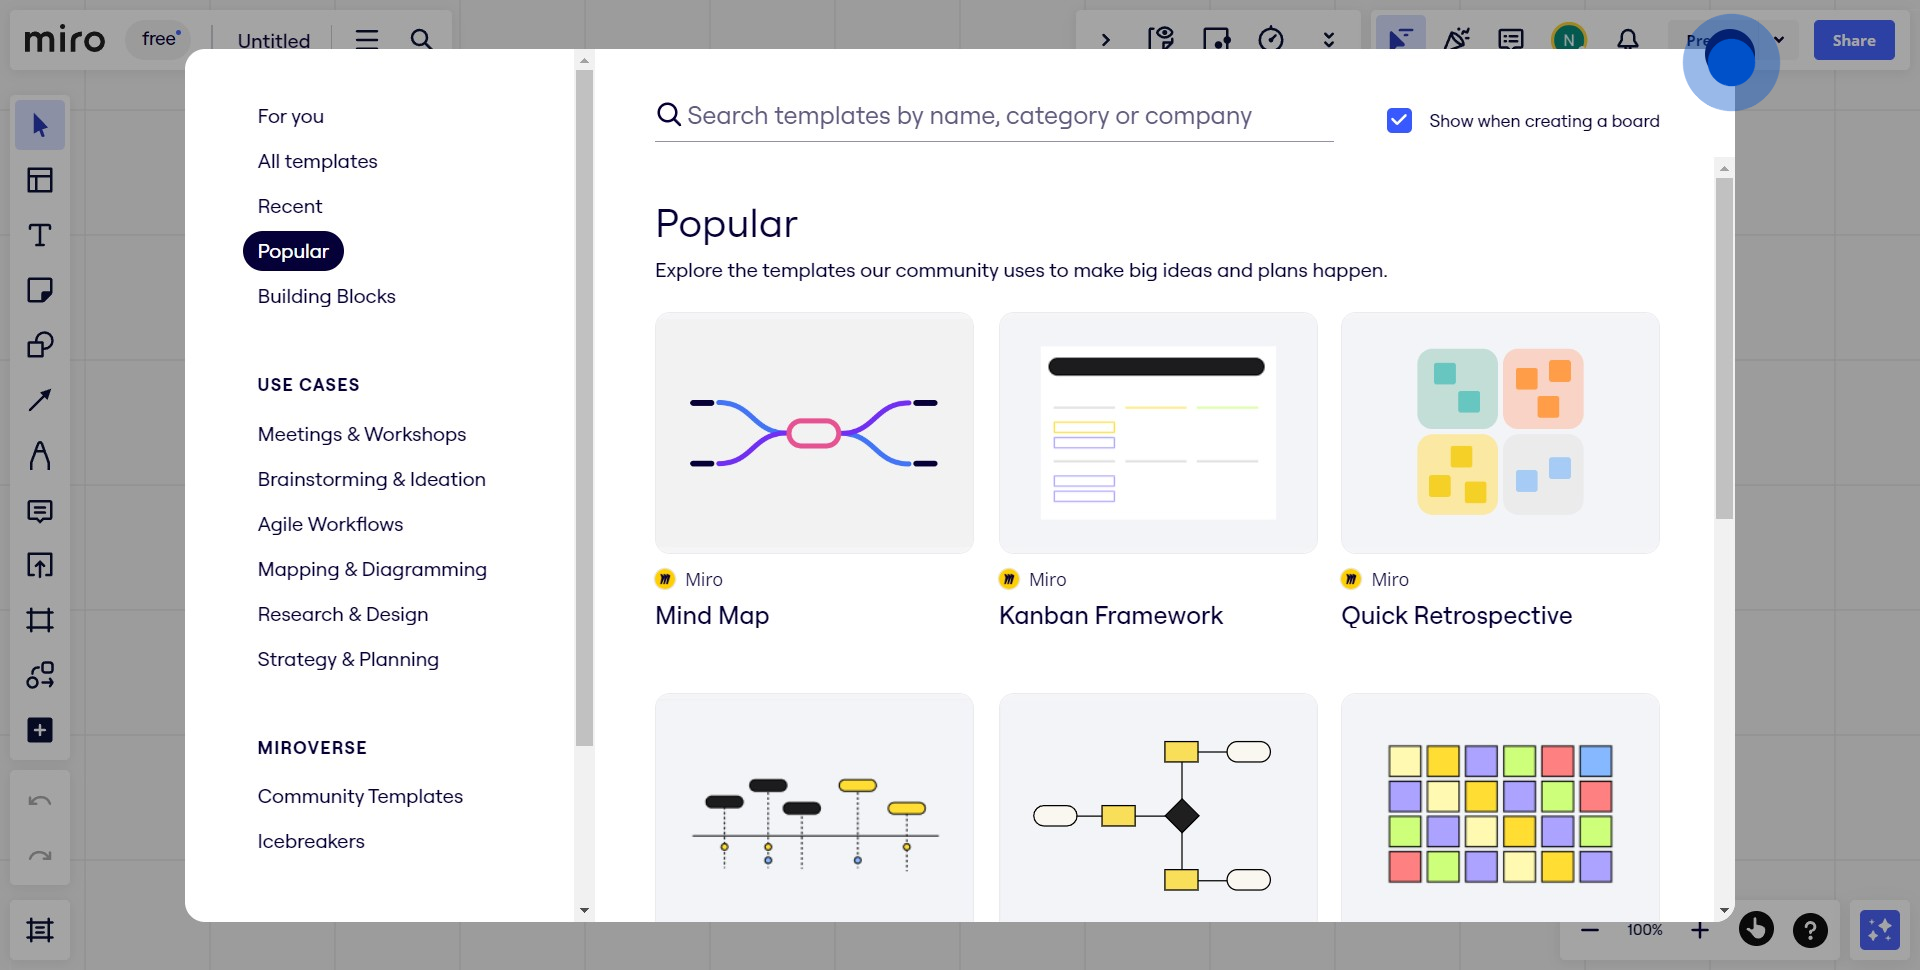
4. Now, choose a template for your board if desired.
5. Finally, confirm your actions to successfully create your new Miro board.
Common FAQs on creating a Miro board
Commonly asked questions about this topic.
How do I start a new Miro board?
To start a new Miro board, log into your Miro account, click on the "New Board" button on your dashboard, choose a template or start with a blank board, then give your board a name. You can immediately begin adding content to your new board.
Is it free to create a Miro board?
Yes, Miro offers a Free plan that allows users to create and collaborate on up to 3 editable boards. The Free plan supports unlimited team members, access to over 2,500 templates, and integrations with popular tools like Google Drive and Slack. However, once you create more than three boards, the oldest board becomes view-only. For more advanced features and unlimited boards, Miro offers paid plans such as Starter, Business, and Enterprise.
What are the disadvantages of Miro board?
While Miro has a long list of benefits and advantages, there are several reported disadvantages of Miro boards. These include a limited free tier (restricted to 3 editable boards), a steep learning curve (often too many features), and perfromance issues for large boards with numerous elements.
Can I collaborate with others on a Miro board?
Yes, Miro is designed for collaboration. You can invite team members or external collaborators by clicking the "Share" button on your board and entering their email addresses. You can also set different permission levels for viewers, commenters, and editors.
What types of content can I add to a Miro board?
Miro boards support a wide variety of content types, including sticky notes, shapes, text boxes, images, videos, documents, and even embedded web content. You can also use Miro's built-in tools to create diagrams, flowcharts, mind maps, and more.
How do I organize content on my Miro board?
You can organize content on your Miro board by grouping related items, using frames to create sections, and utilizing the board's infinite canvas to spread out your ideas. Miro also offers features like tagging, color-coding, and the ability to create multiple pages within a board for better organization.
Can I export my Miro board or save it offline?
Yes, you can export your Miro board in various formats. Go to the board menu and select "Export". You can save your board as an image (PNG or JPEG), PDF, or even as a Miro archive file (.rtb) for offline use. Note that some export options may depend on your Miro plan.
Enjoyed this interactive guide on how to create a Miro board?
This interactive walkthrough of Miro board was created using Supademo. Create your own interactive product demo in minutes. Drive growth, scale enablement and supercharge product led-onboarding with Supademo.
Joseph Lee
Joseph is the founder and CEO of Supademo. As a two-time startup founder, Joseph is passionate about building zero-to-one products.
