How to Close a Google Form

Vimal Kumar
Vimal Kumar·
How to Close a Google Form
Interactive demo powered by Supademo

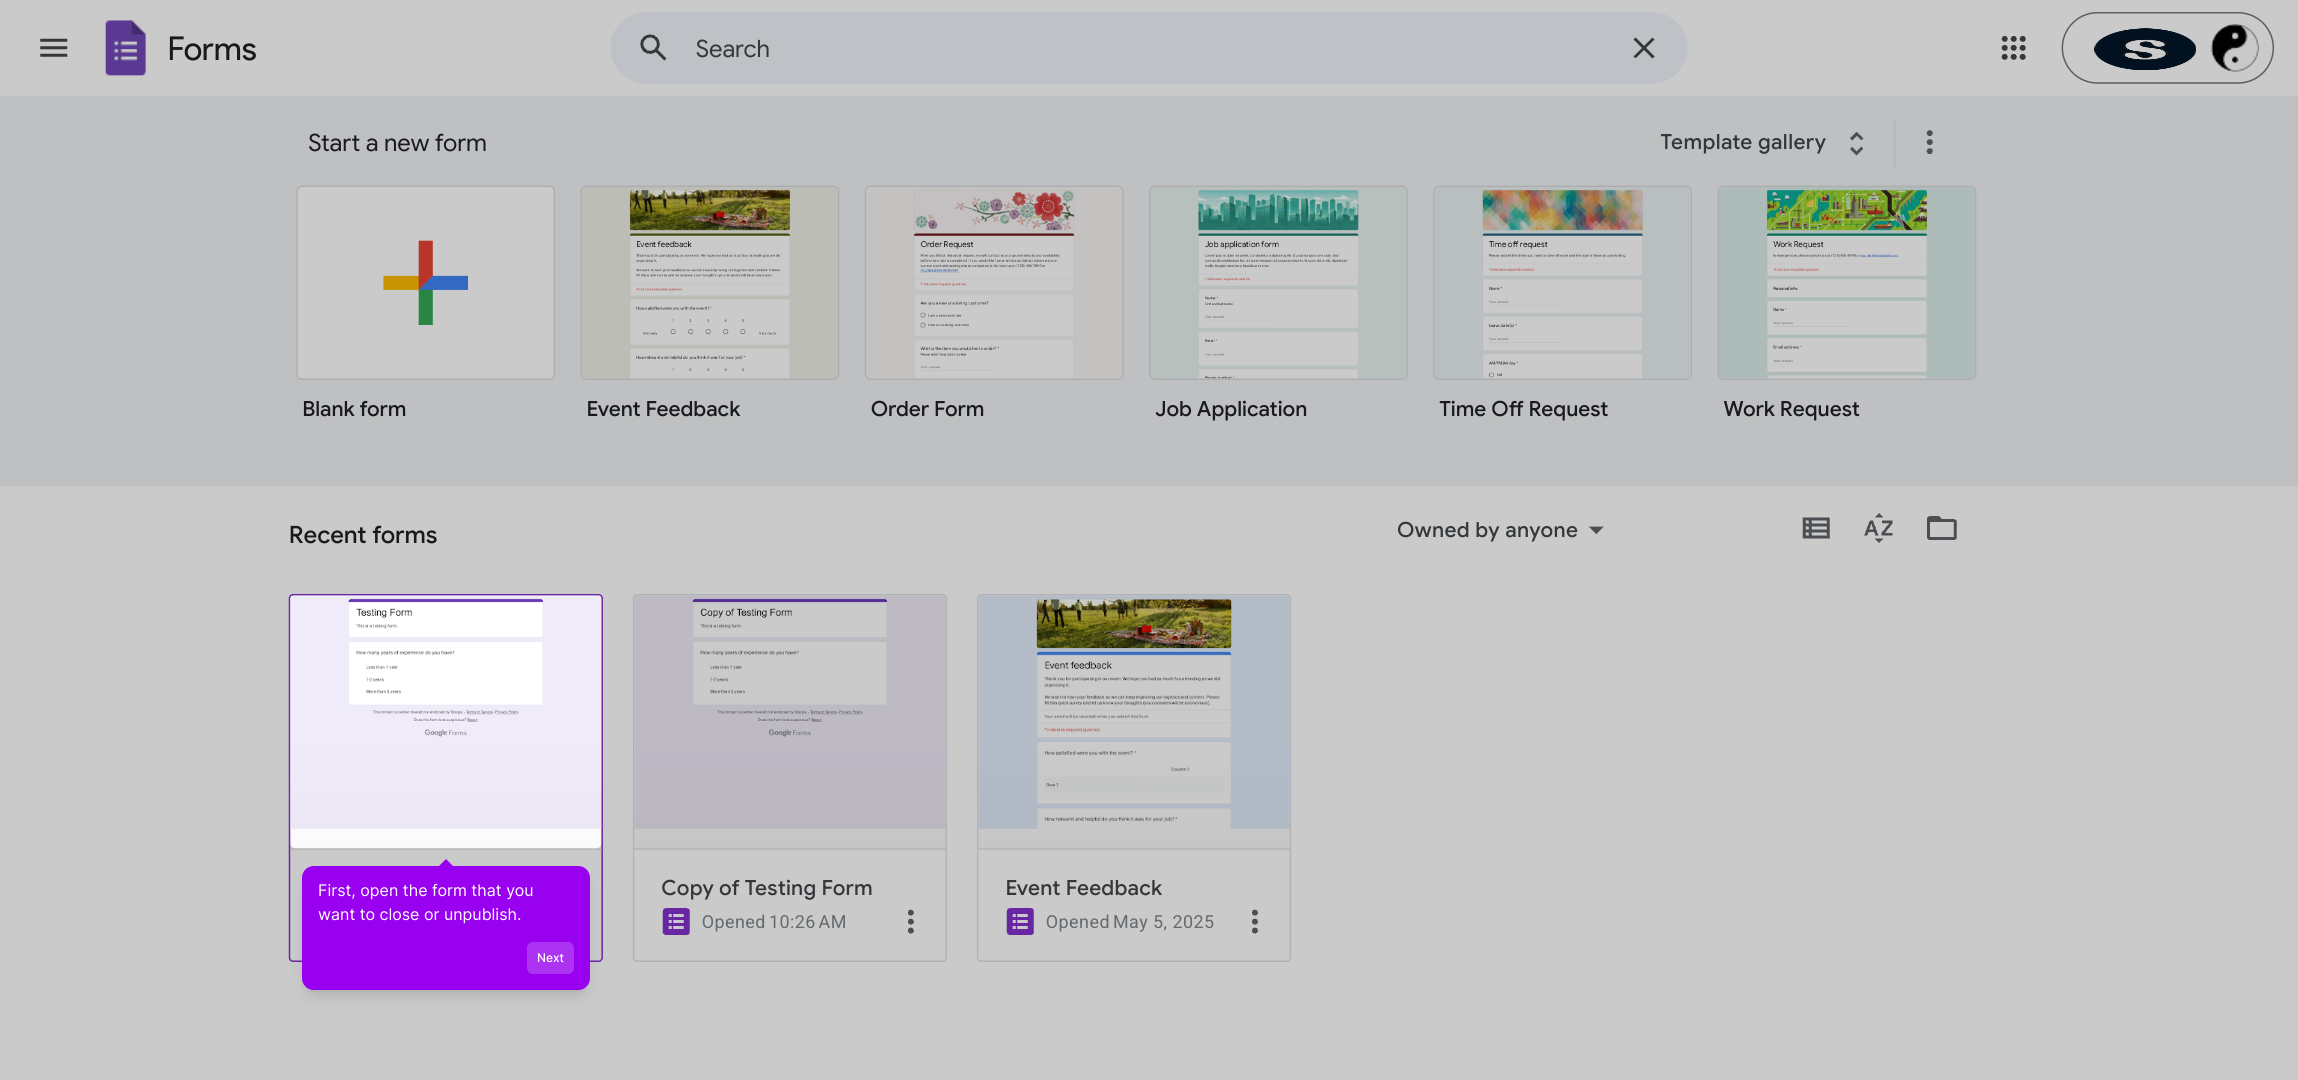
1. First, open the form that you want to close or unpublish.

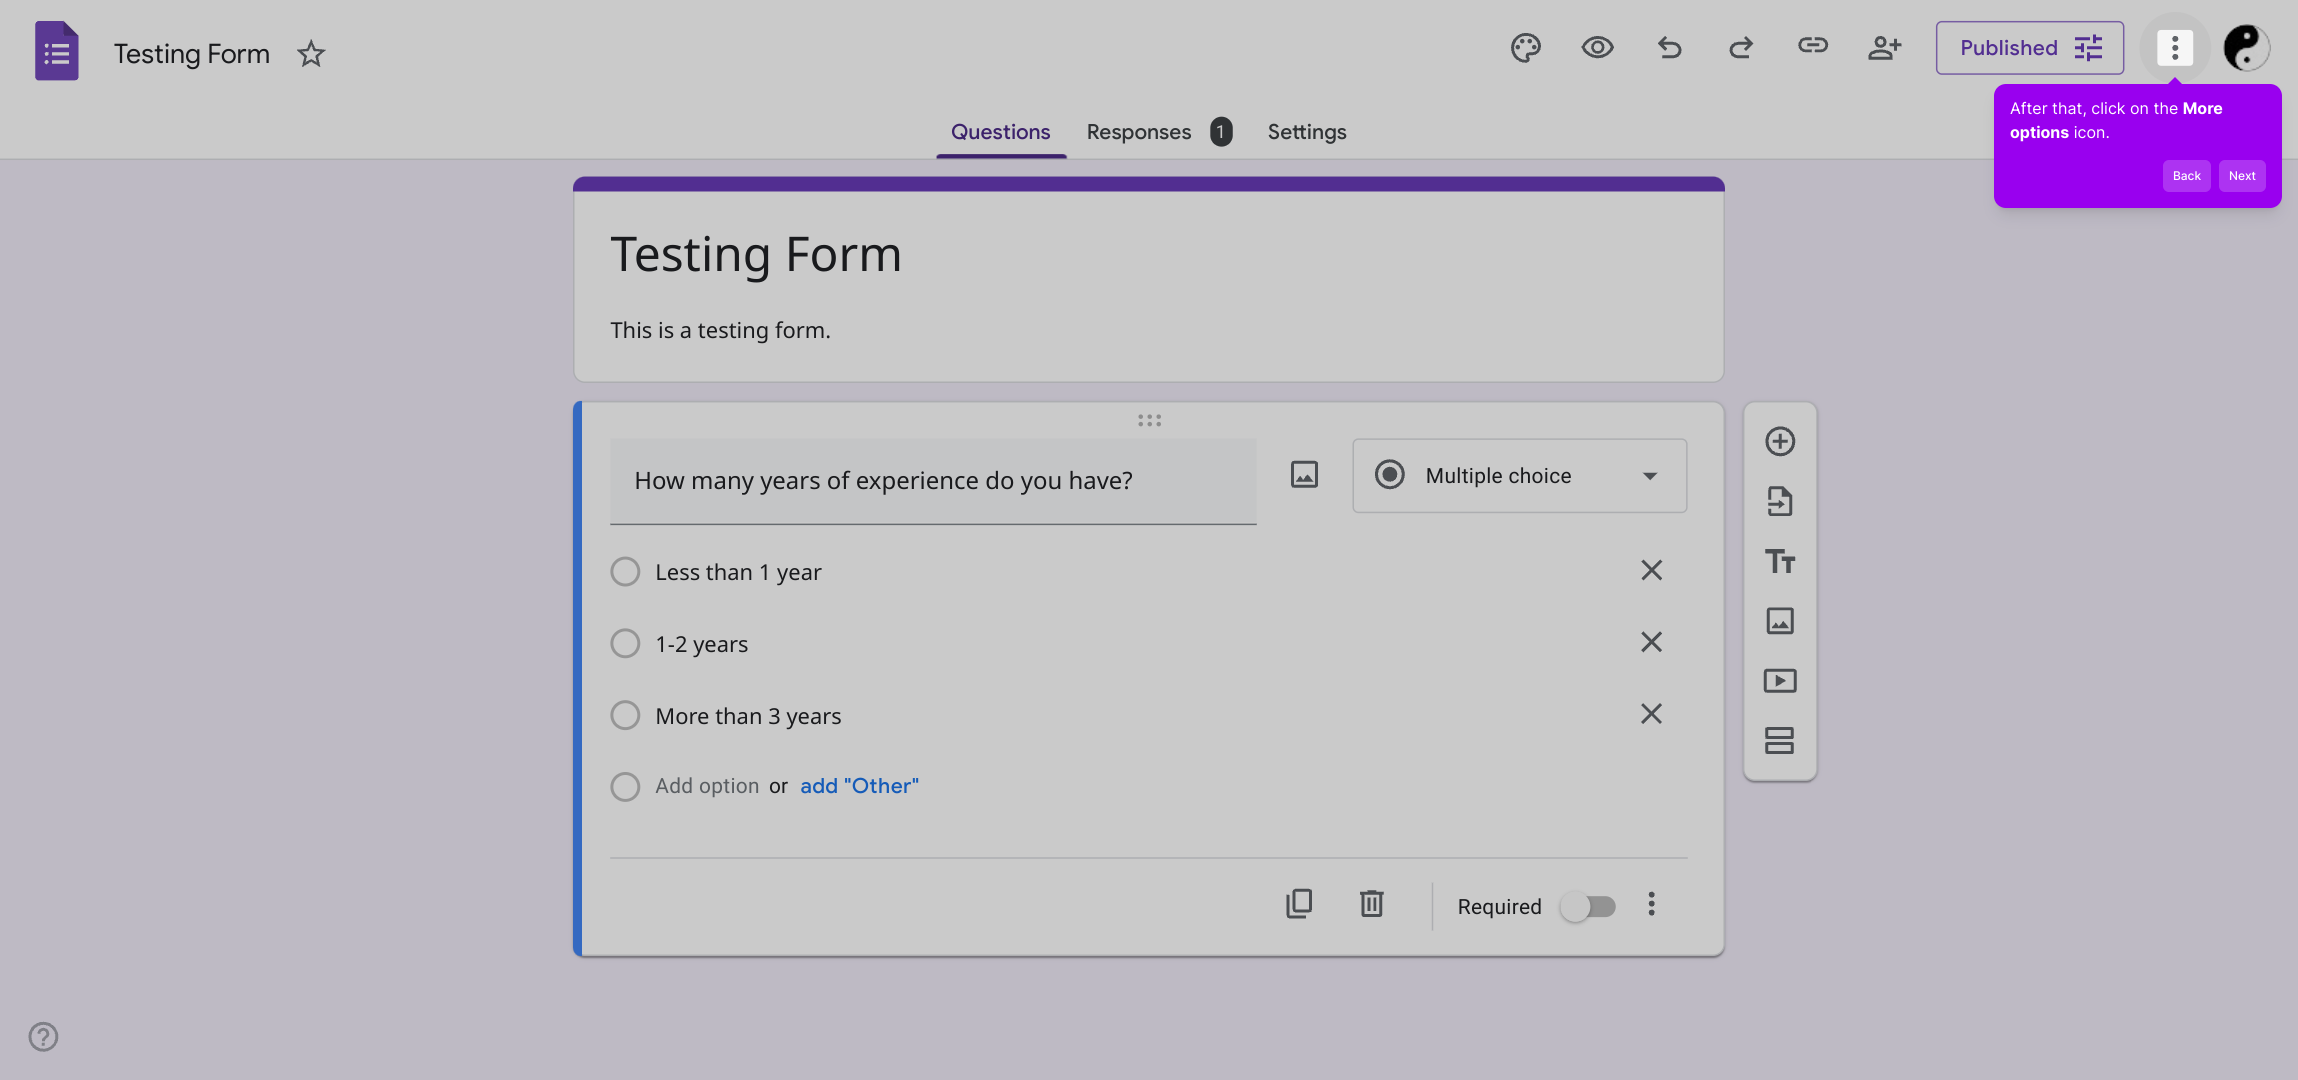
2. After that, click on the More options icon.

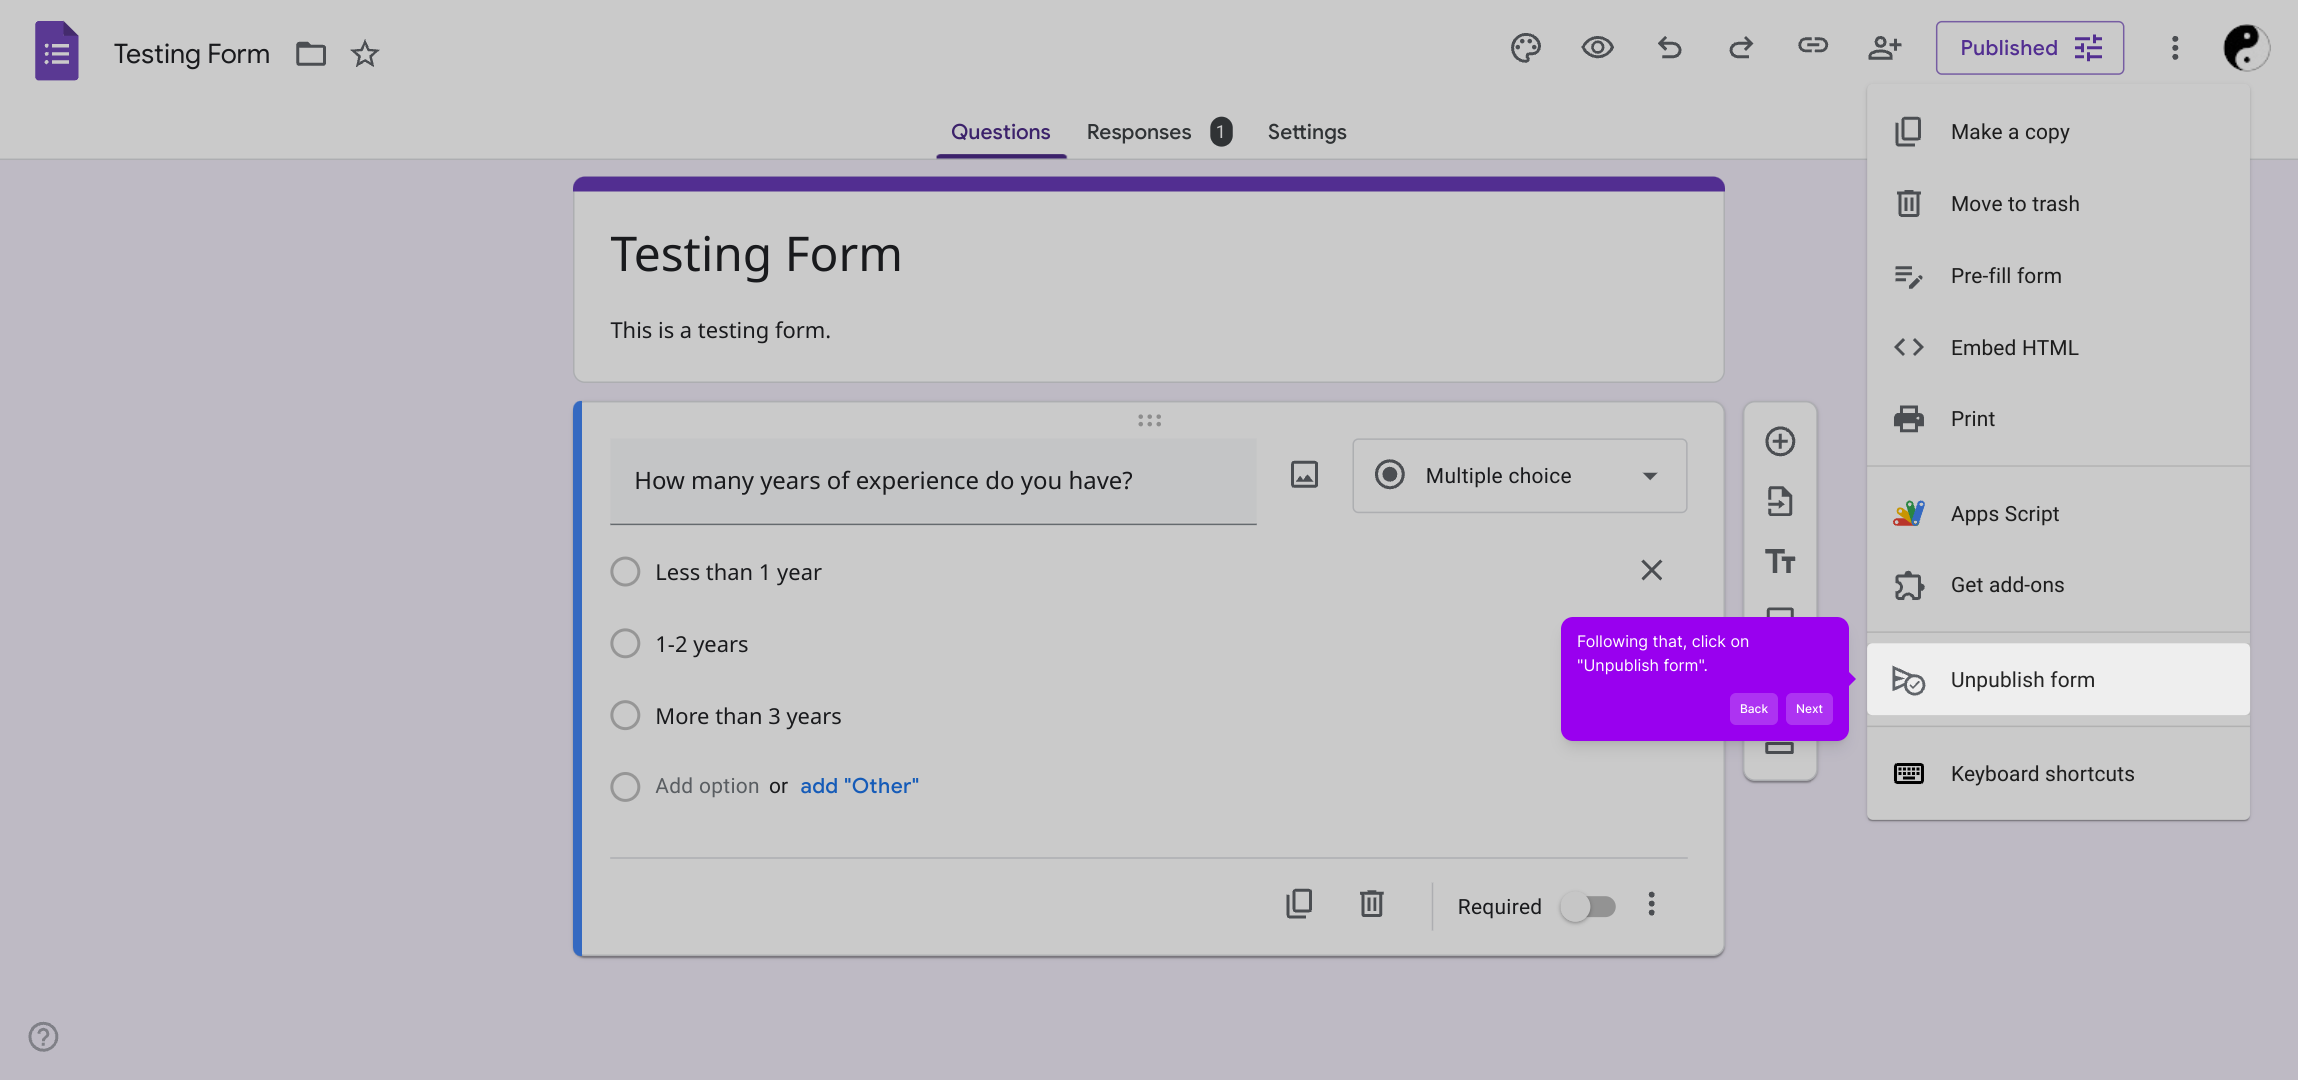
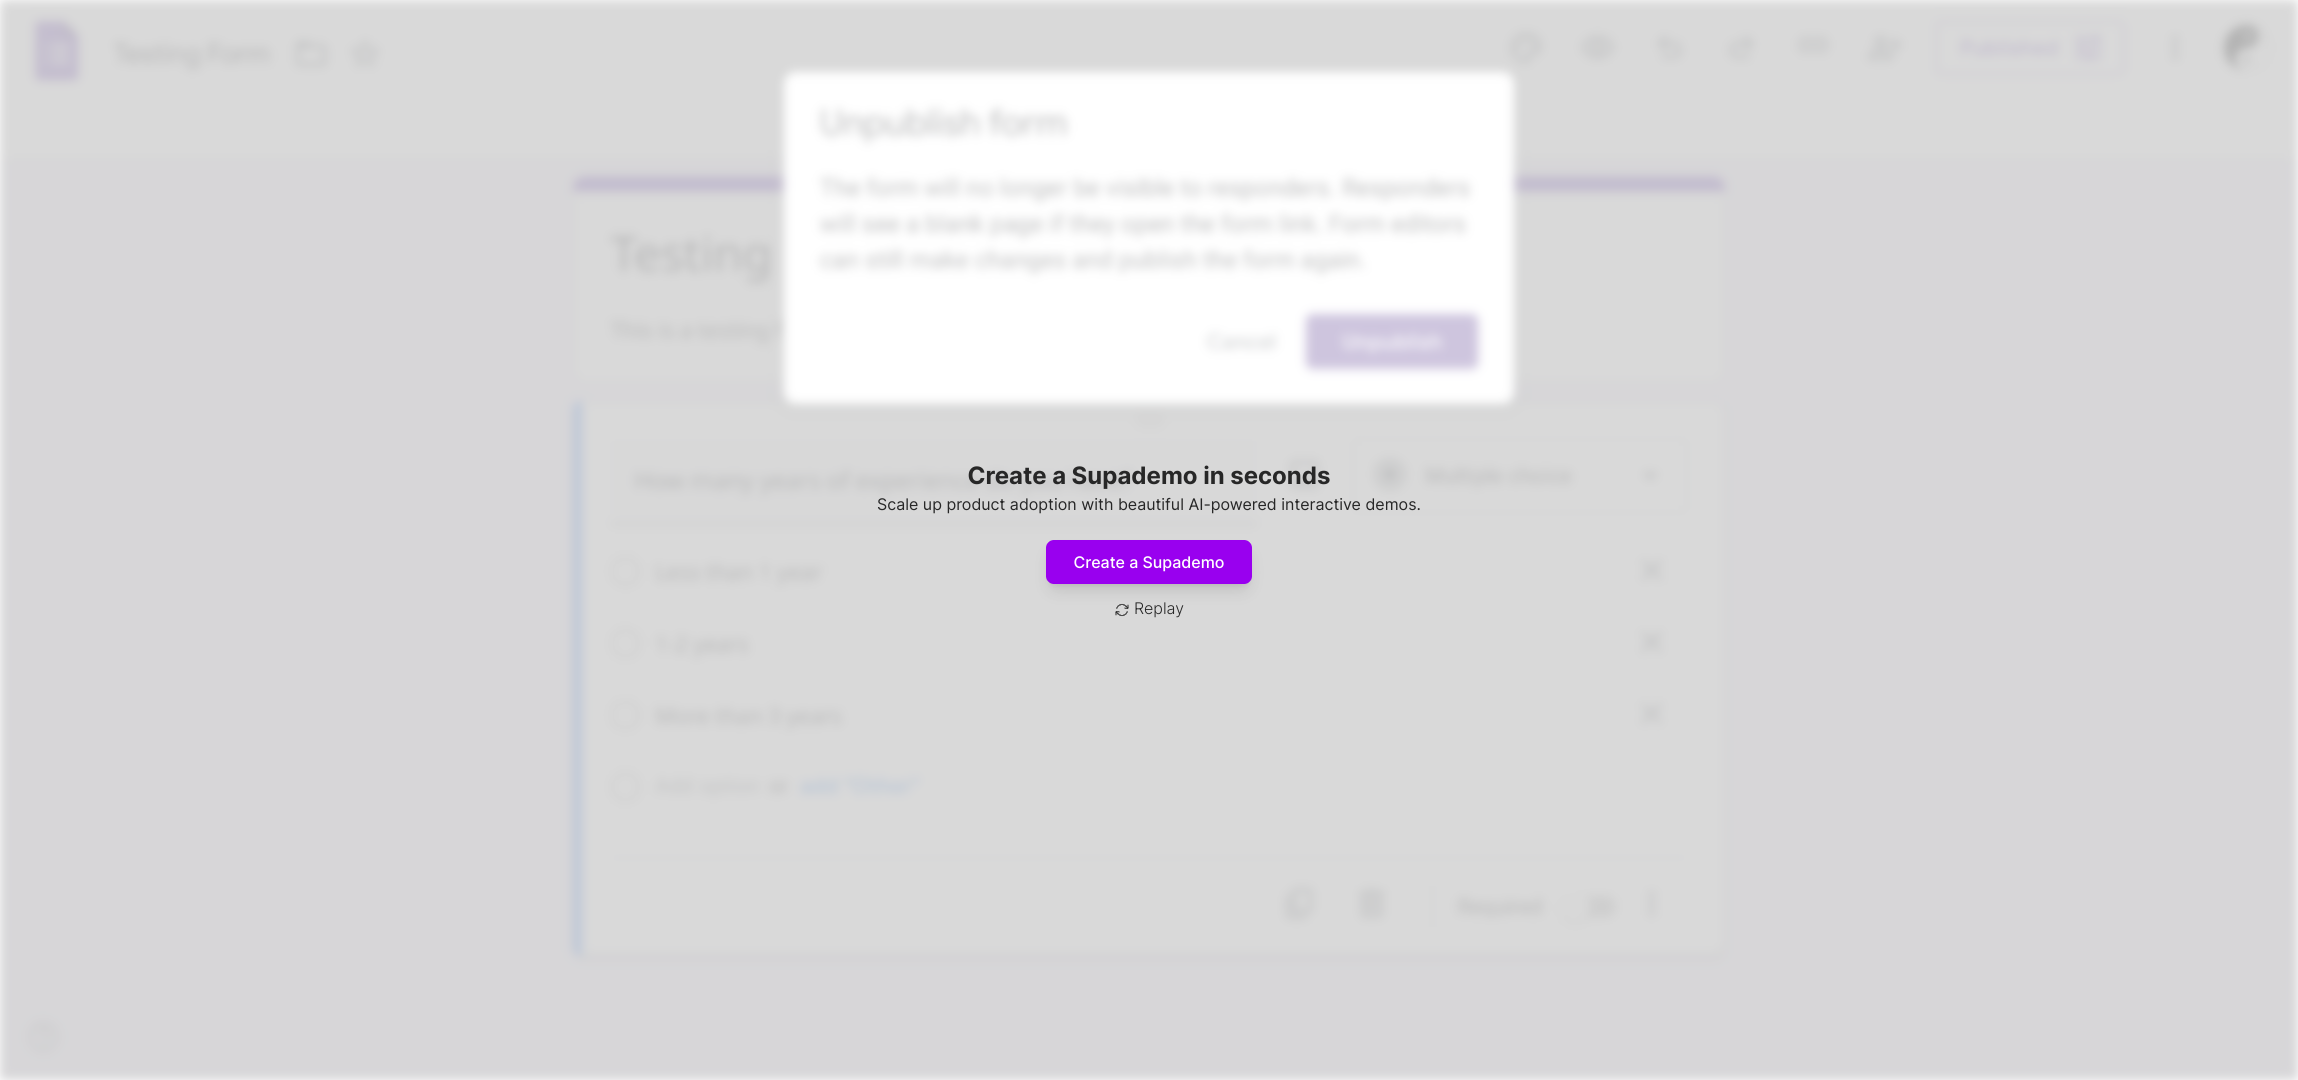
3. Following that, click on "Unpublish form".

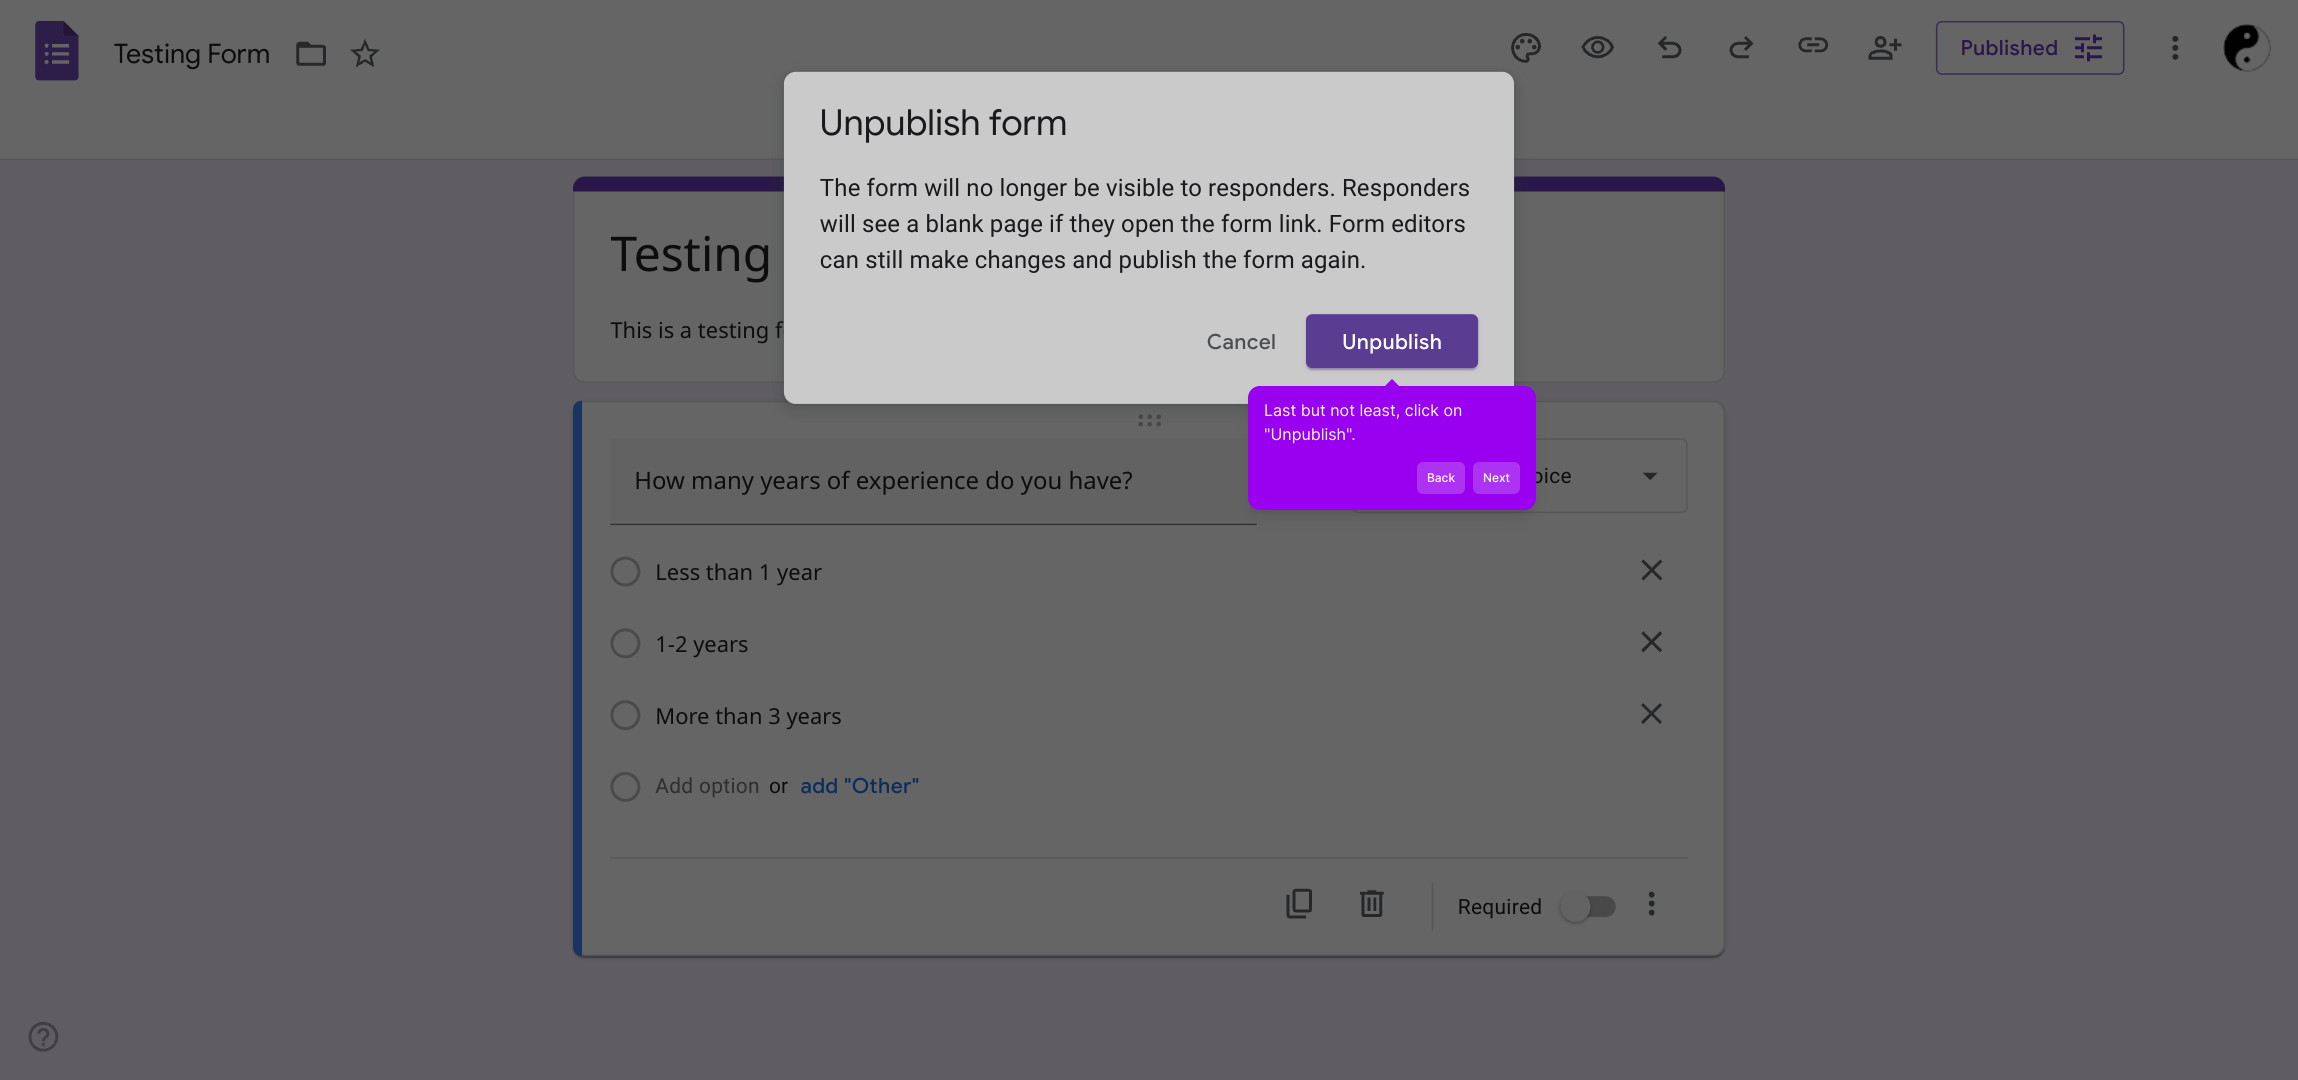
4. Last but not least, click on "Unpublish".

5. Create a Supademo in seconds

This interactive demo/guided walkthrough on How to Close a Google Form was created using Supademo.


How to Close a Google Form : Step-by-Step Guide

Start by navigating to the specific form you wish to either close or make inactive. This will be the form currently published and accessible to your audience.

1

Next, look for the More options icon, usually represented by three dots or a gear symbol. Clicking here will reveal additional settings related to the form.

2

In the list of options shown, select "Unpublish form." This action is important as it disables the form, preventing new responses without permanently deleting any data.

3

Finally, confirm your choice by clicking on the "Unpublish" button. This will immediately make your form inactive, ensuring it is no longer accessible to respondents.

4

With these simple steps, you can quickly manage your forms and keep your workspace organized and up to date.

5

Create your own interactive demos in < 5 mins with Supademo

You can create your own interactive product demo in minutes using Supademo. Drive growth, scale enablement, and supercharge product-led onboarding with Supademo. Sign up for free here with no credit card required.


FAQs

Commonly asked questions about this topic.

How can I close a Google Form to prevent new responses?

You can close a Google Form by clicking on the More options icon in the form editor and choosing "Unpublish form". This disables new responses while keeping already collected data intact.

Does unpublishing a Google Form delete my responses?

No, unpublishing a Google Form simply stops new responses from being accepted. Your previously collected responses remain saved and accessible in the form's responses tab.

Can I republish my Google Form after closing it?

Yes, you can republish your Google Form anytime by accessing the More options menu again and selecting "Publish form". This re-enables respondents to submit new answers.

Is it possible to schedule a Google Form to close automatically?

Google Forms does not provide a built-in automatic closing feature. You need to manually unpublish the form or use third-party tools to schedule form closure based on your requirements.

Will respondents see a message after a form is closed?

Once a Google Form is unpublished, respondents who try to access it will see a message indicating that the form is no longer accepting responses.

How long does it take for a form to be closed after unpublishing?

The form is immediately closed to new submissions as soon as you confirm the unpublish action, preventing any further responses immediately.

Can contributors still access form settings after closure?

Yes, form creators and collaborators can still access and modify the form settings, responses, and data even after the form has been unpublished and closed.

Does closing a Google Form affect its linked Google Sheets?

Closing (unpublishing) a form does not affect any linked Google Sheets. The data already recorded stays intact, and the sheet continues to store responses submitted before closure.

Is there any way to allow limited responses before closing a Google Form?

Google Forms does not provide a native feature to limit responses to a fixed number before closing. You’d need to monitor responses manually and close the form when you reach the desired count.

What happens to form links after a Google Form is closed?

After closure, the form link remains the same but visitors cannot submit responses. Instead, they will see a notification that the form is no longer accepting responses.
Vimal Kumar

Vimal Kumar

Product Operations Associate

Vimal Kumar helps build and grow Supademo’s team and GTM efforts, with a focus on figuring out growth levers and improving product traction.

More from the blog

How to Remove 'Powered by Shopify'

How to Remove 'Powered by Shopify'

Learn how to easily remove the 'Powered by Shopify' text from your online store with step-by-step instructions and tips to customize your Shopify storefront.

Vimal Kumar
Vimal KumarJan 3, 2026
How to Add Products to Shopify

How to Add Products to Shopify

Learn step-by-step how to add products to your Shopify store effortlessly, including tips on product details, images, pricing, and inventory management to boost your online sales.

Vimal Kumar
Vimal KumarDec 17, 2025
How to Deactivate Your Shopify Store

How to Deactivate Your Shopify Store

Learn step-by-step how to deactivate your Shopify store easily, including important considerations and tips to pause or close your shop without losing data.

Vimal Kumar
Vimal KumarDec 17, 2025
How to Remove 'Powered by Shopify'

How to Remove 'Powered by Shopify'

Learn how to easily remove the 'Powered by Shopify' text from your online store with step-by-step instructions and tips to customize your Shopify storefront.

Vimal Kumar
Vimal KumarDec 17, 2025
How to Create a Shopify Account

How to Create a Shopify Account

Learn step-by-step how to create a Shopify account quickly and easily, set up your online store, and start selling your products in no time.

Vimal Kumar
Vimal KumarDec 17, 2025
How to Create a Stripe Account

How to Create a Stripe Account

Learn how to create a Stripe account quickly and easily with our step-by-step guide, perfect for beginners looking to start accepting online payments.

Vimal Kumar
Vimal KumarDec 17, 2025