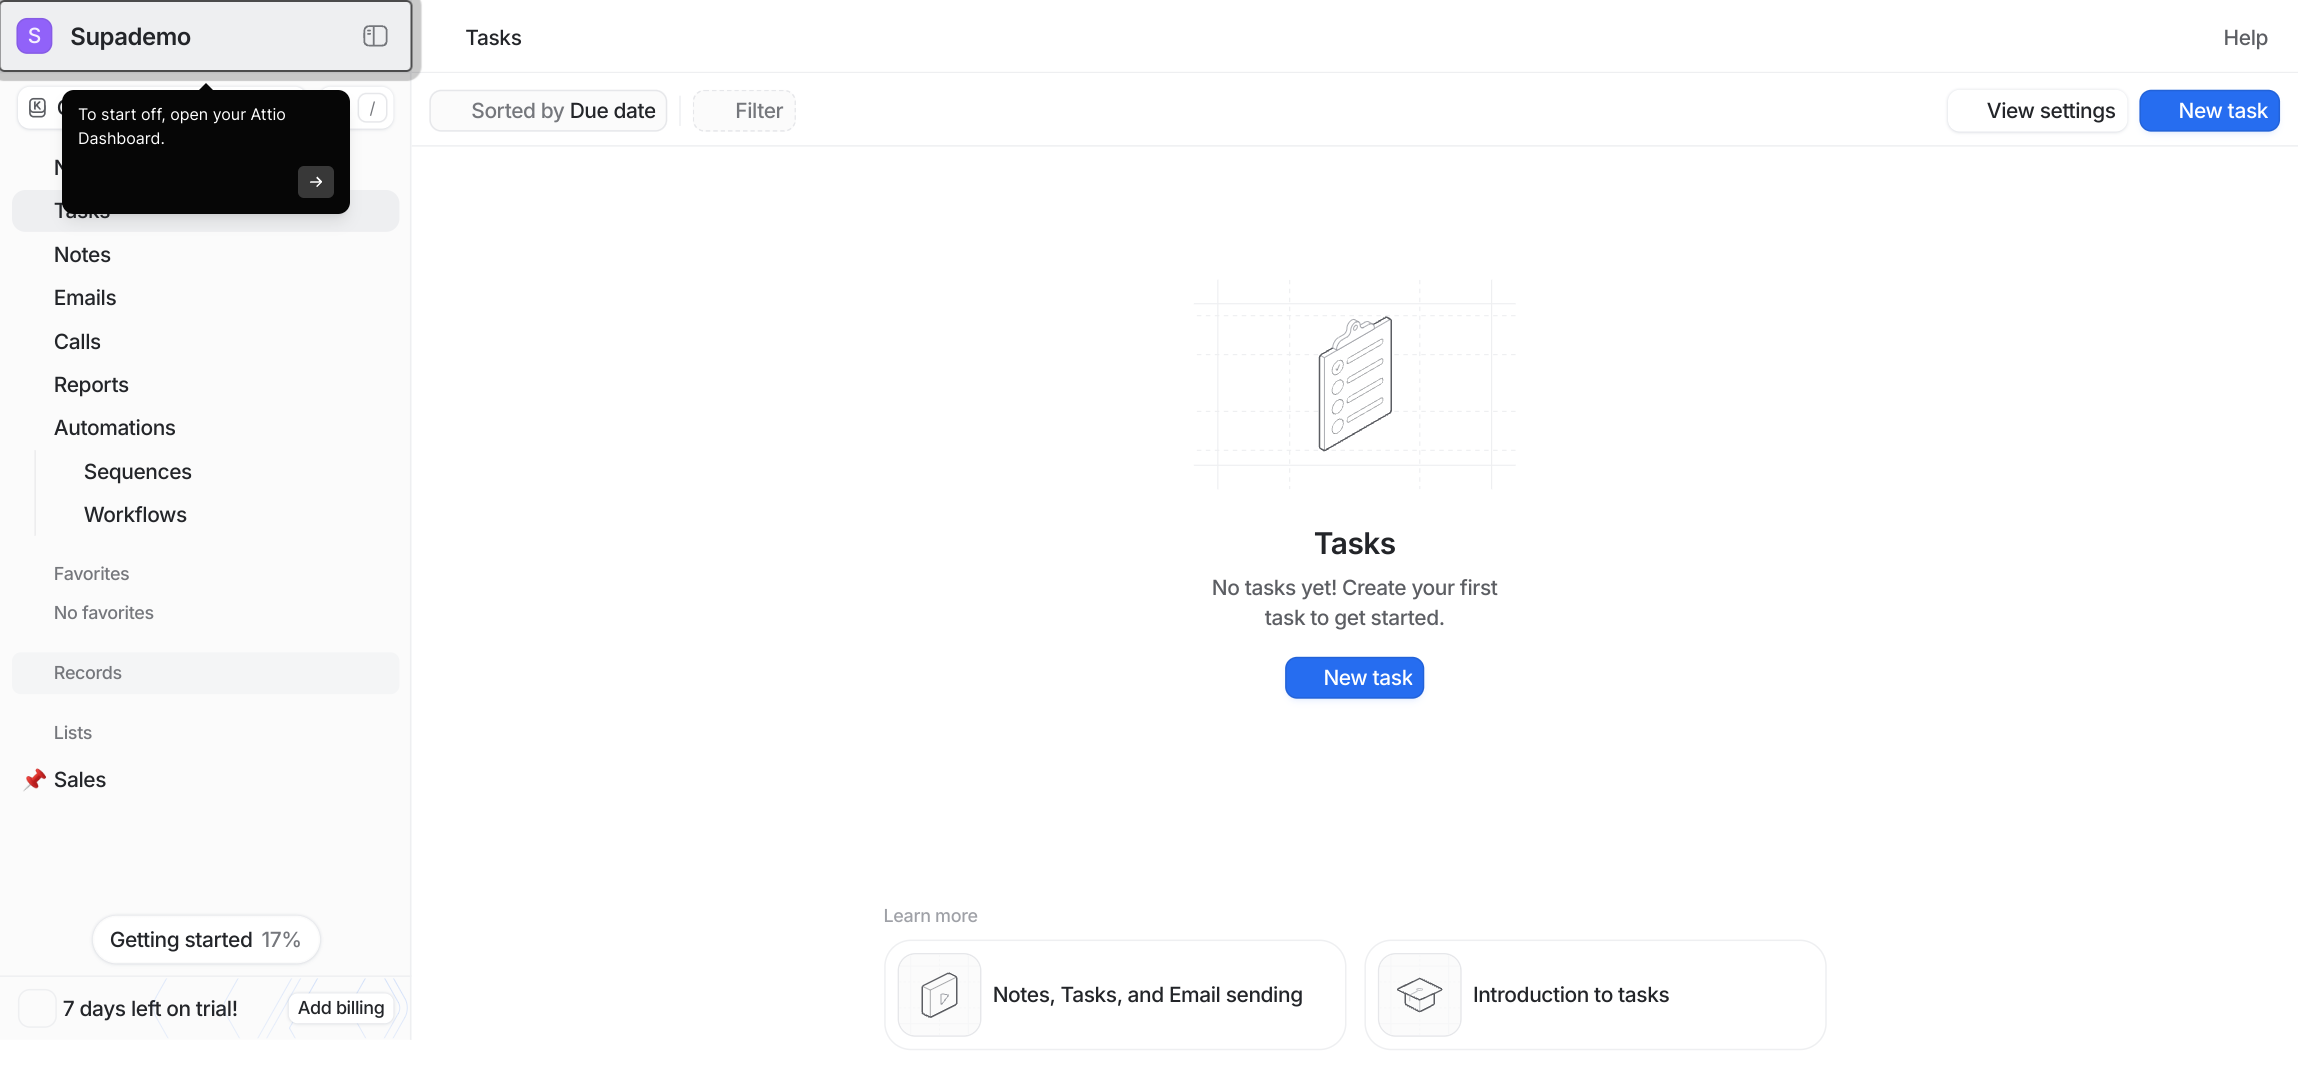
1. To start off, open your Attio Dashboard.
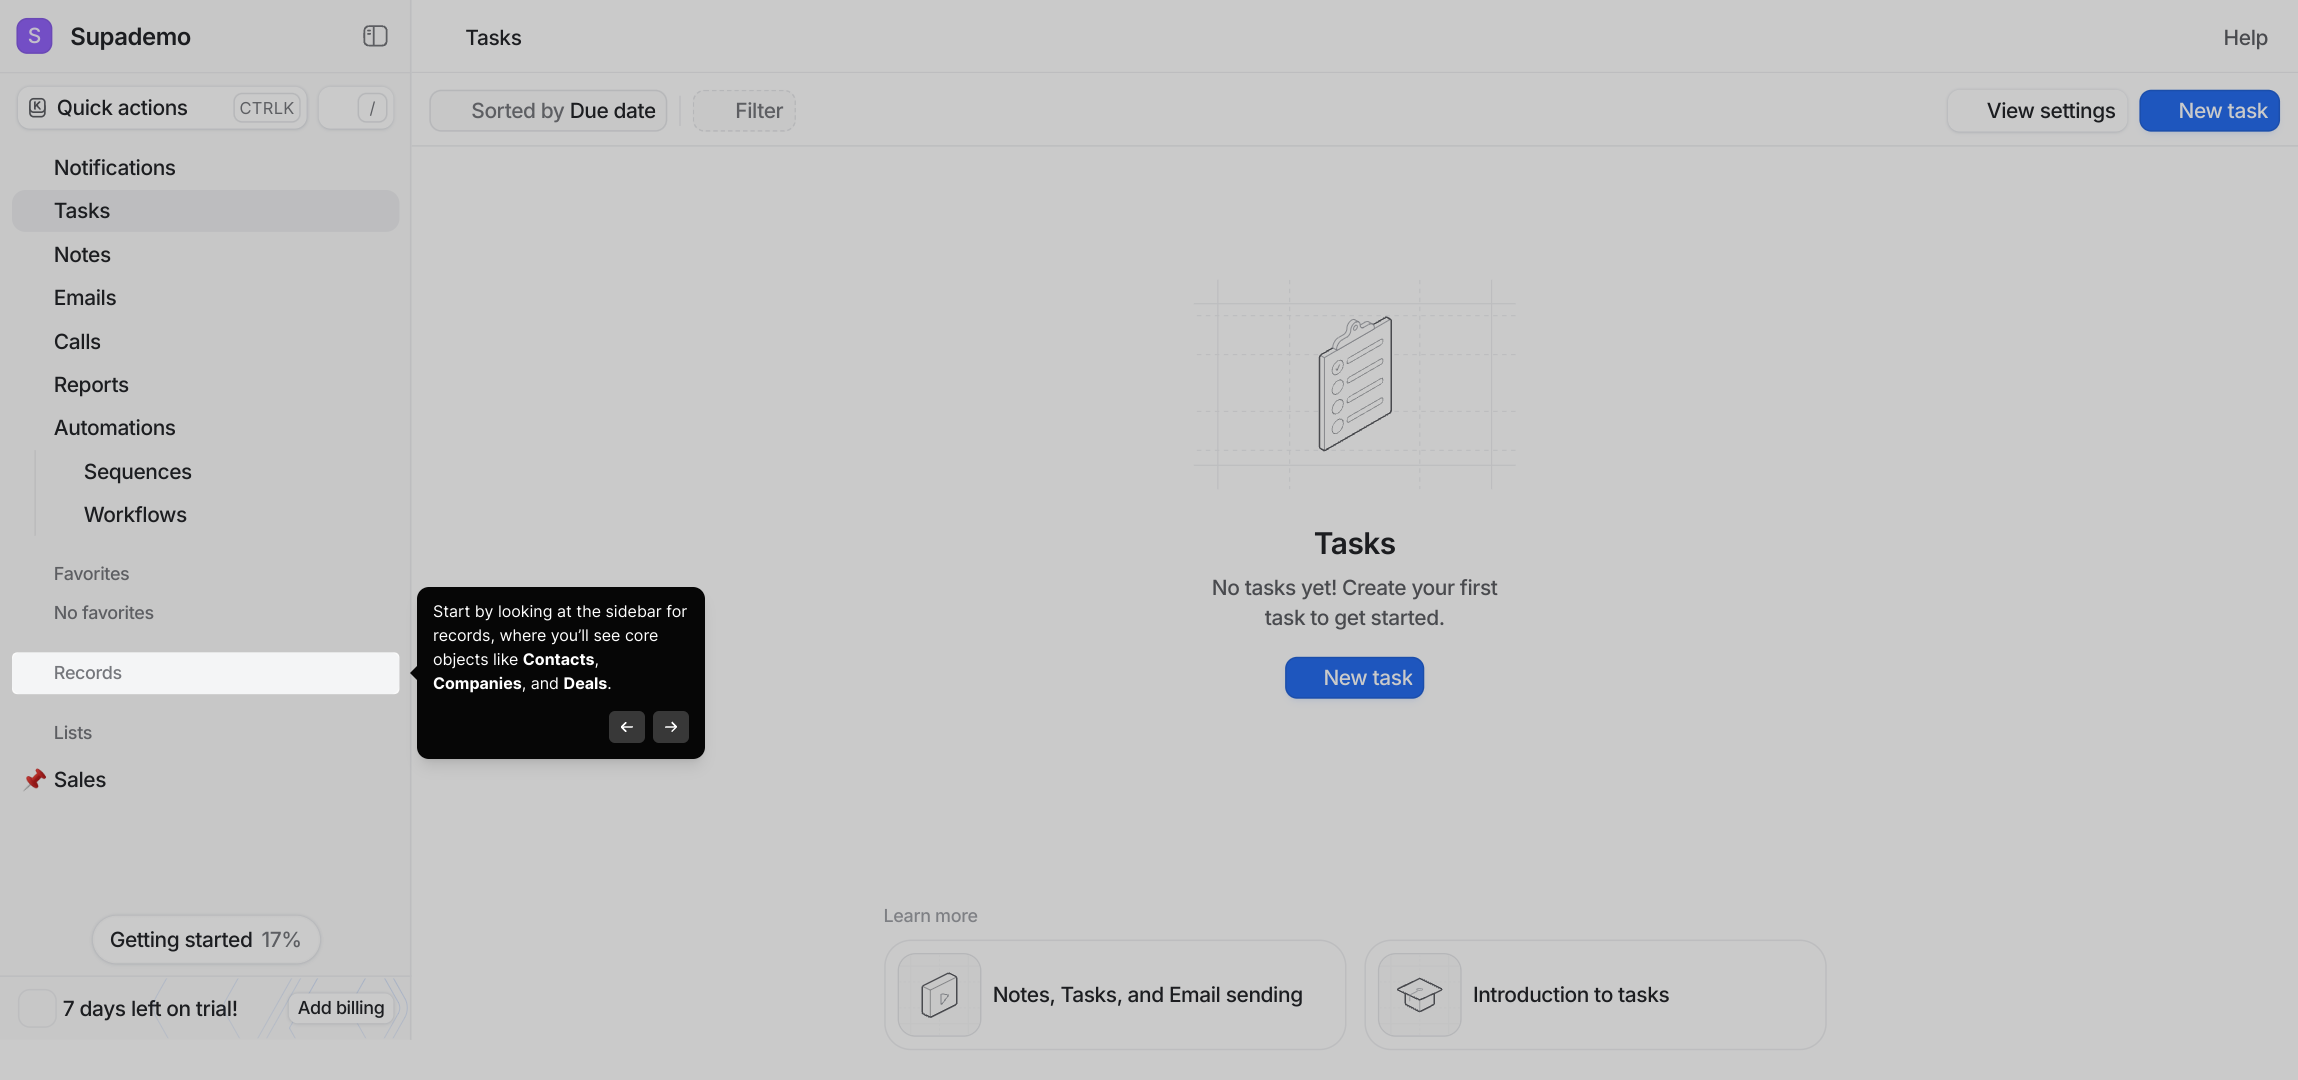
2. Start by looking at the sidebar for records, where you’ll see core objects like Contacts, Companies, and Deals.
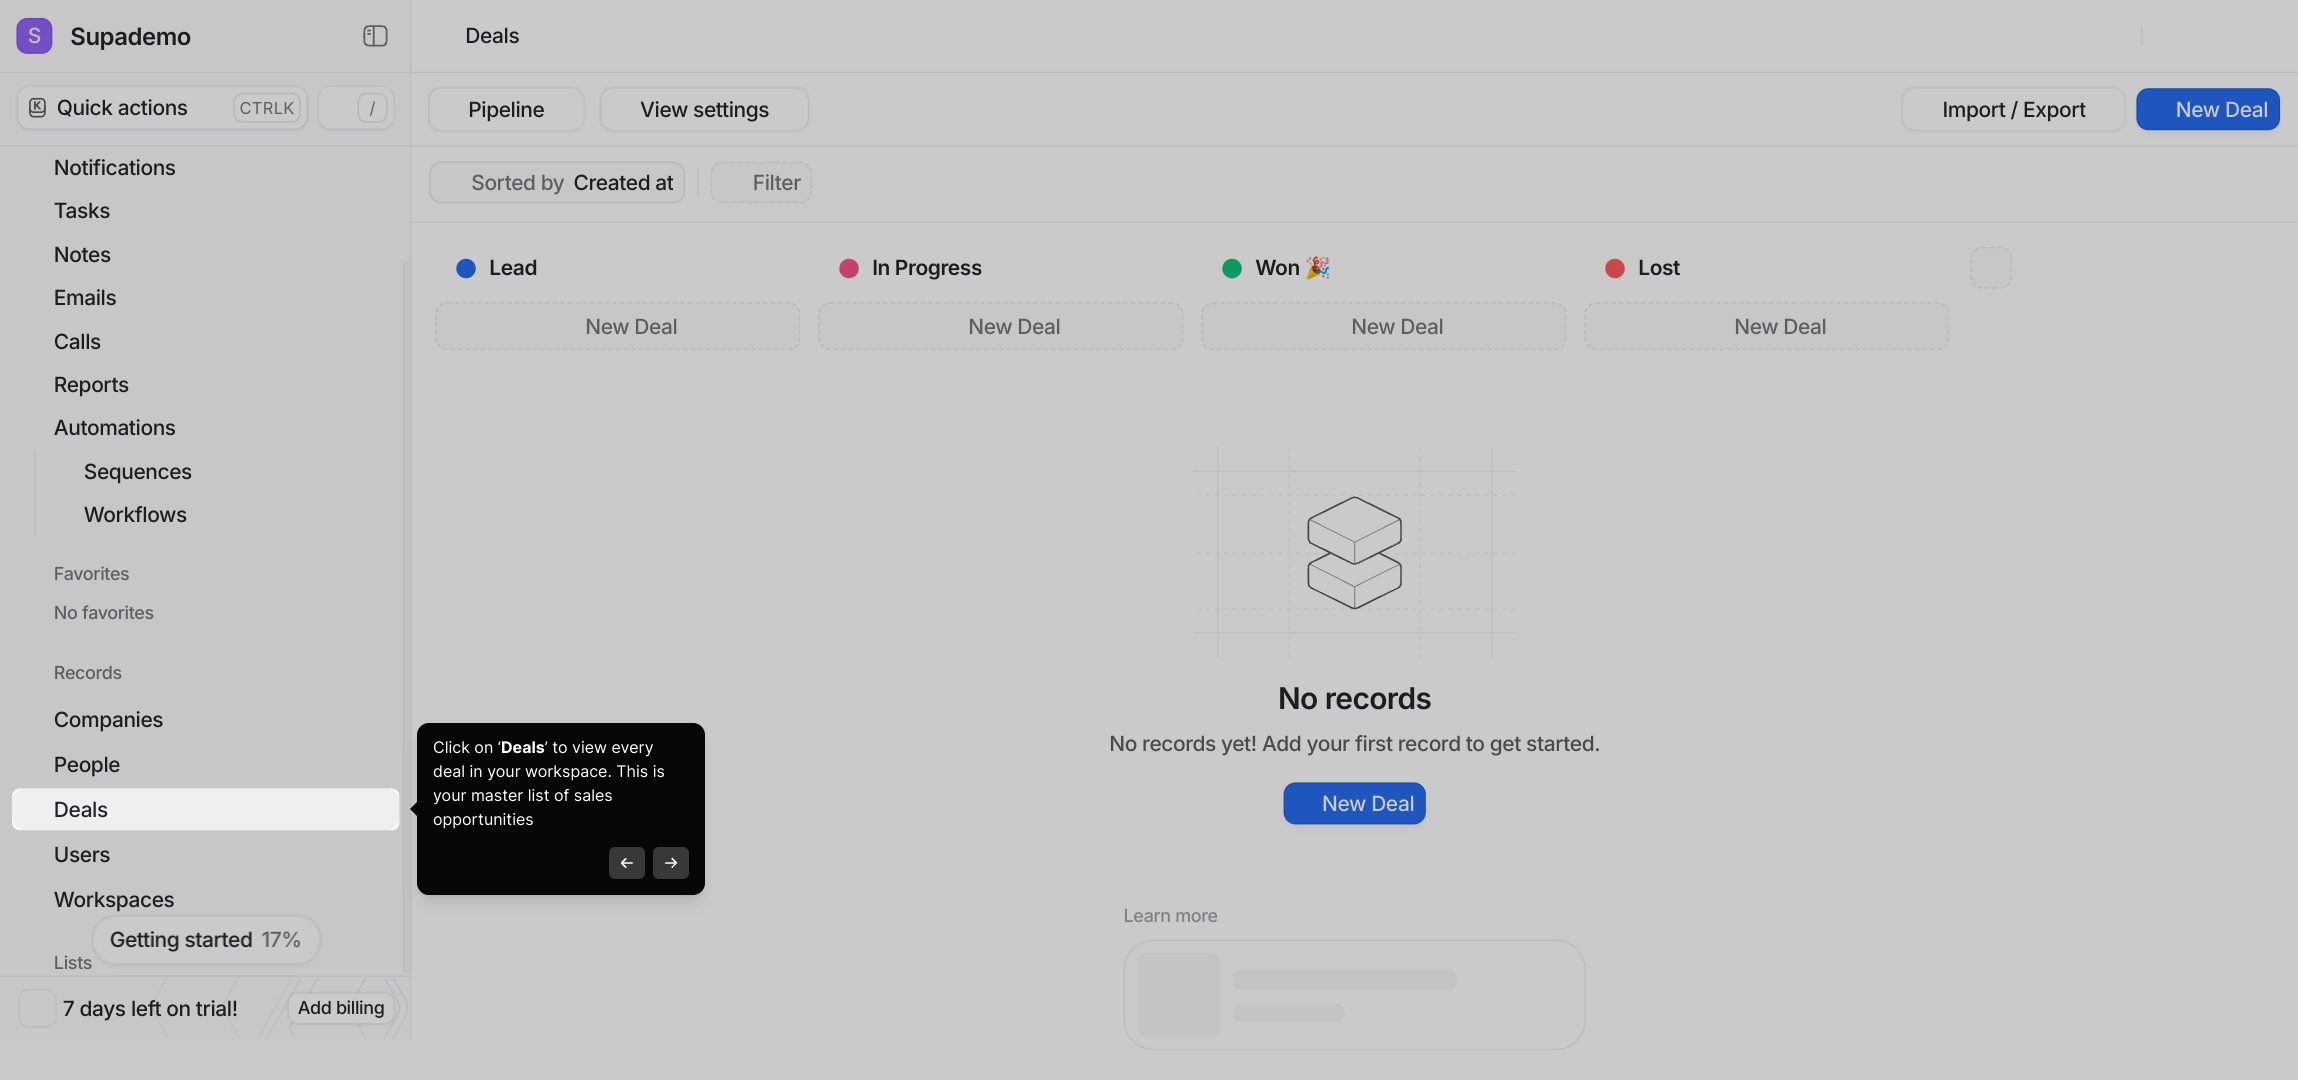
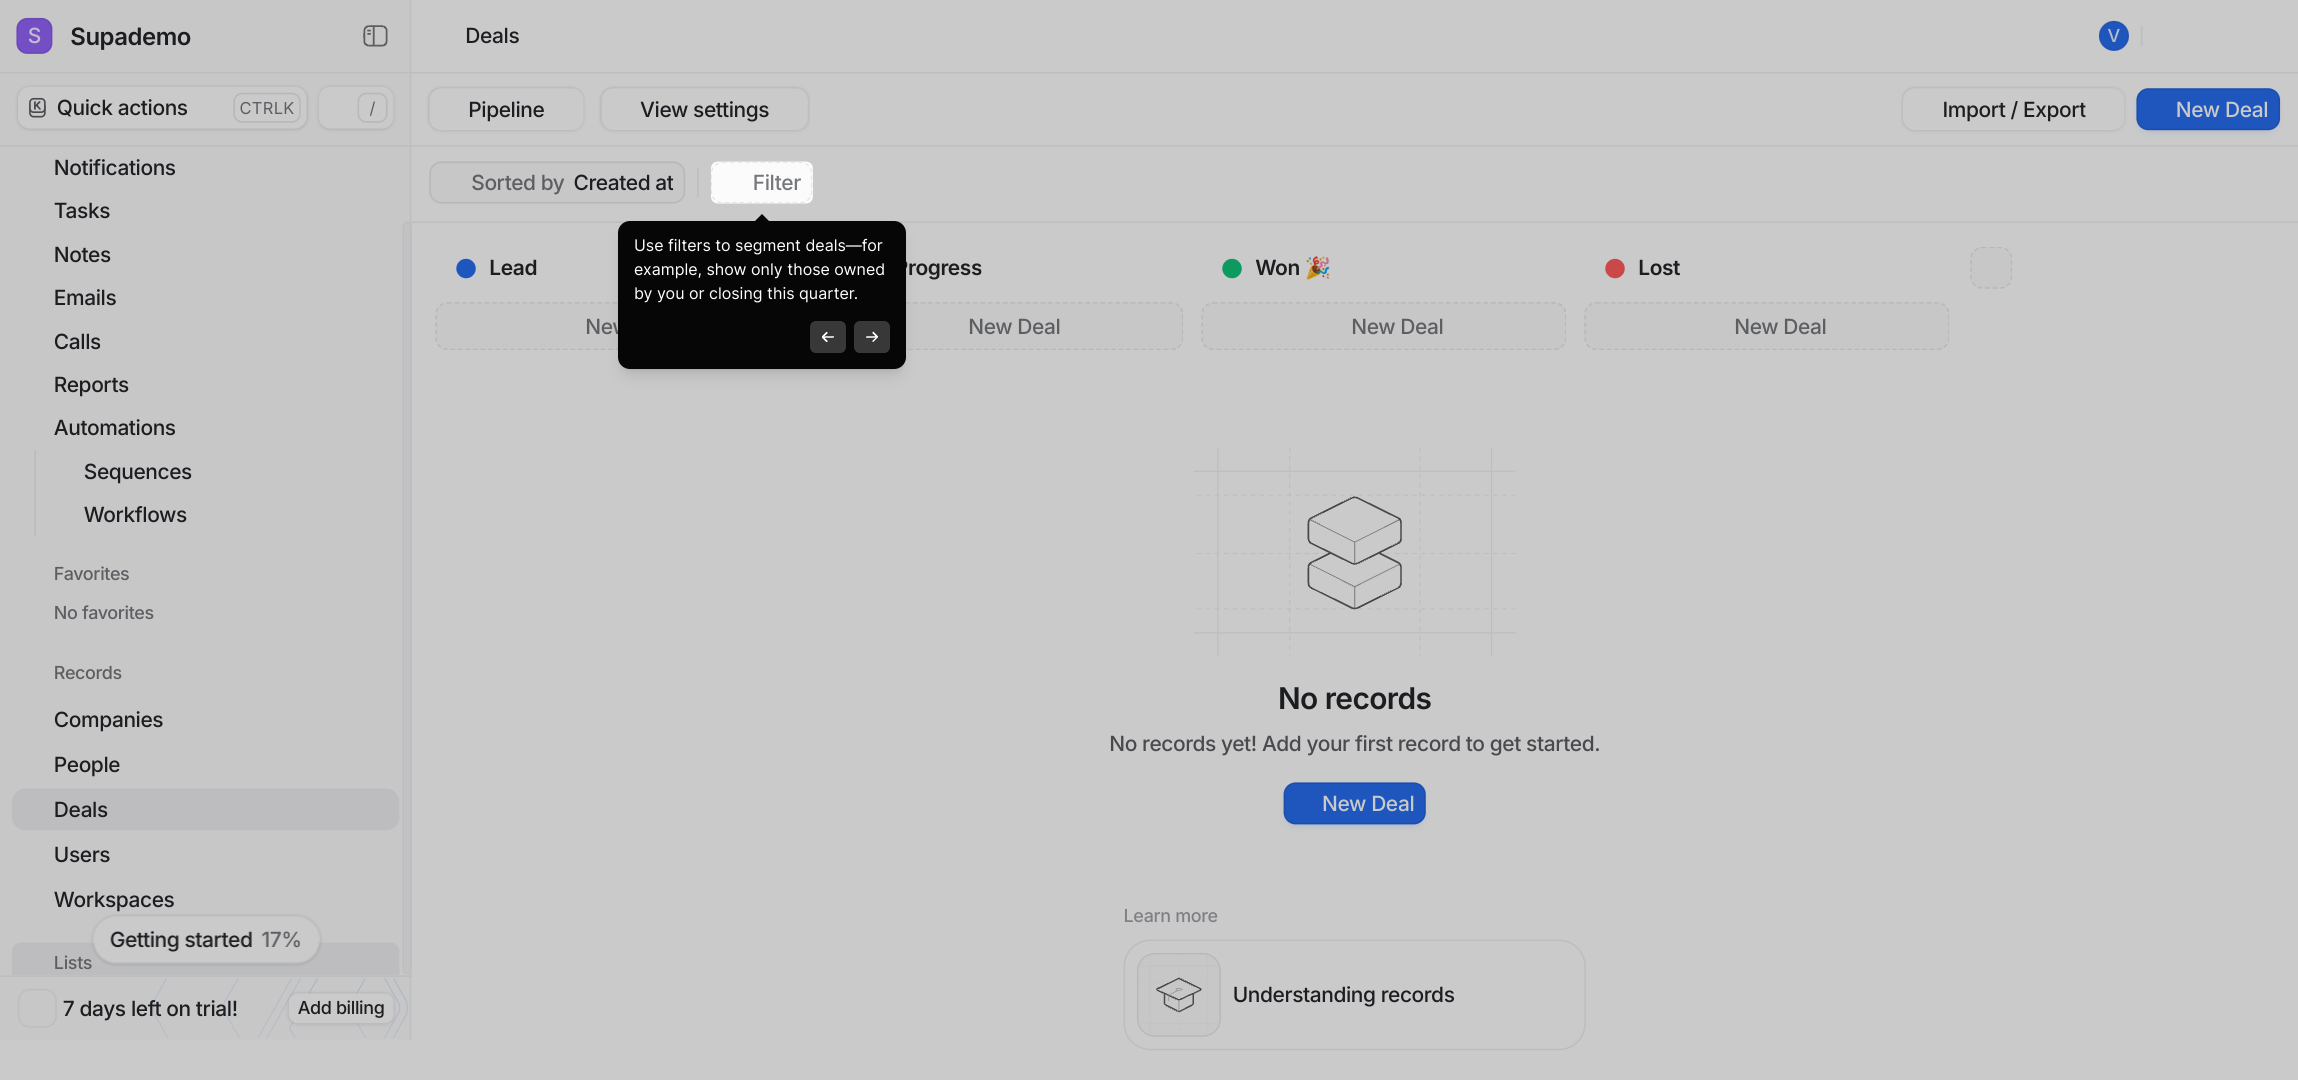
3. Click on ‘Deals’ to view every deal in your workspace. This is your master list of sales opportunities
4. Use filters to segment deals—for example, show only those owned by you or closing this quarter.
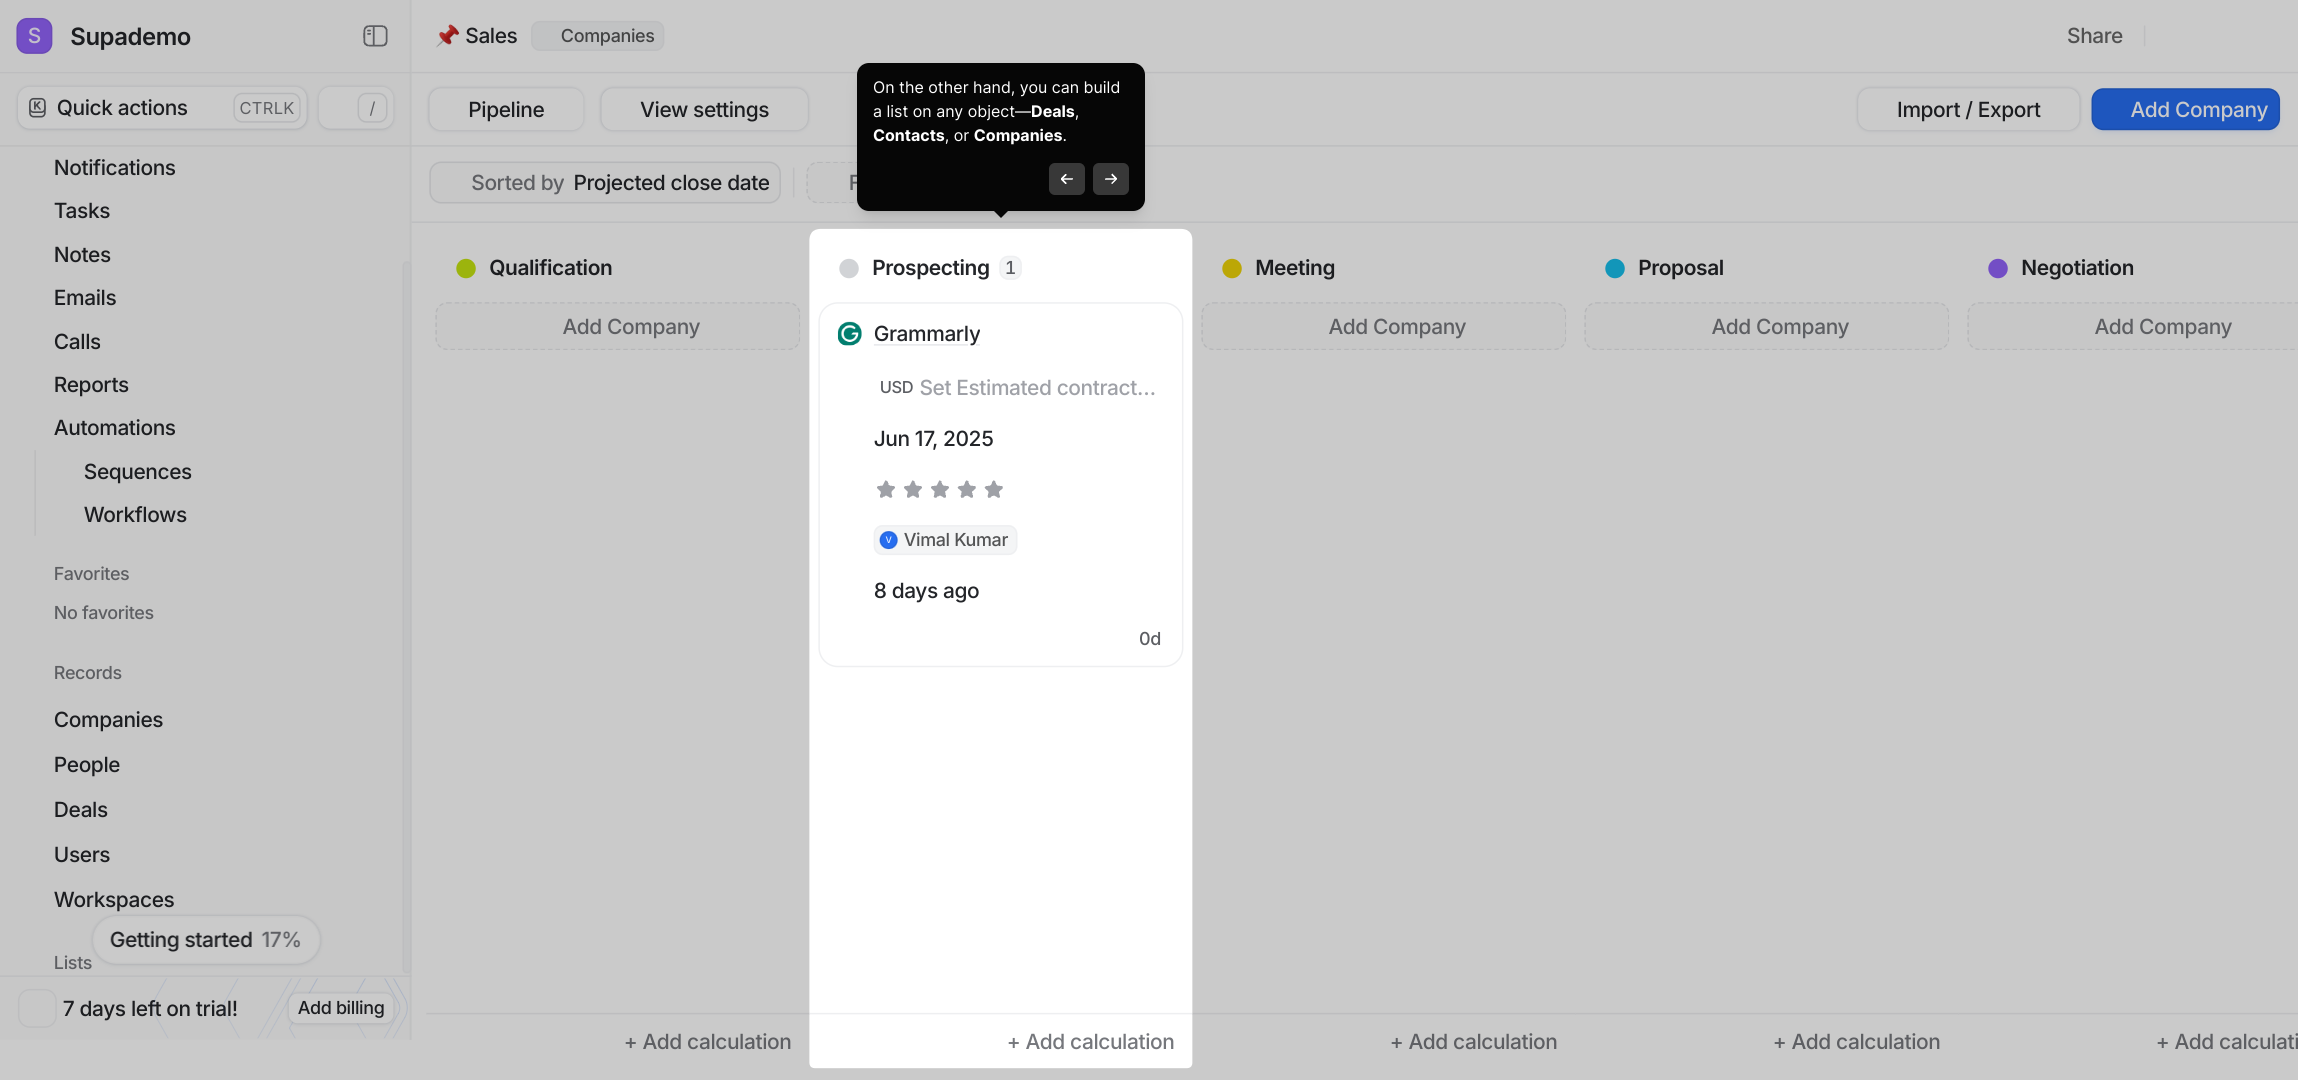
5. On the other hand, you can build a list on any object—Deals, Contacts, or Companies.
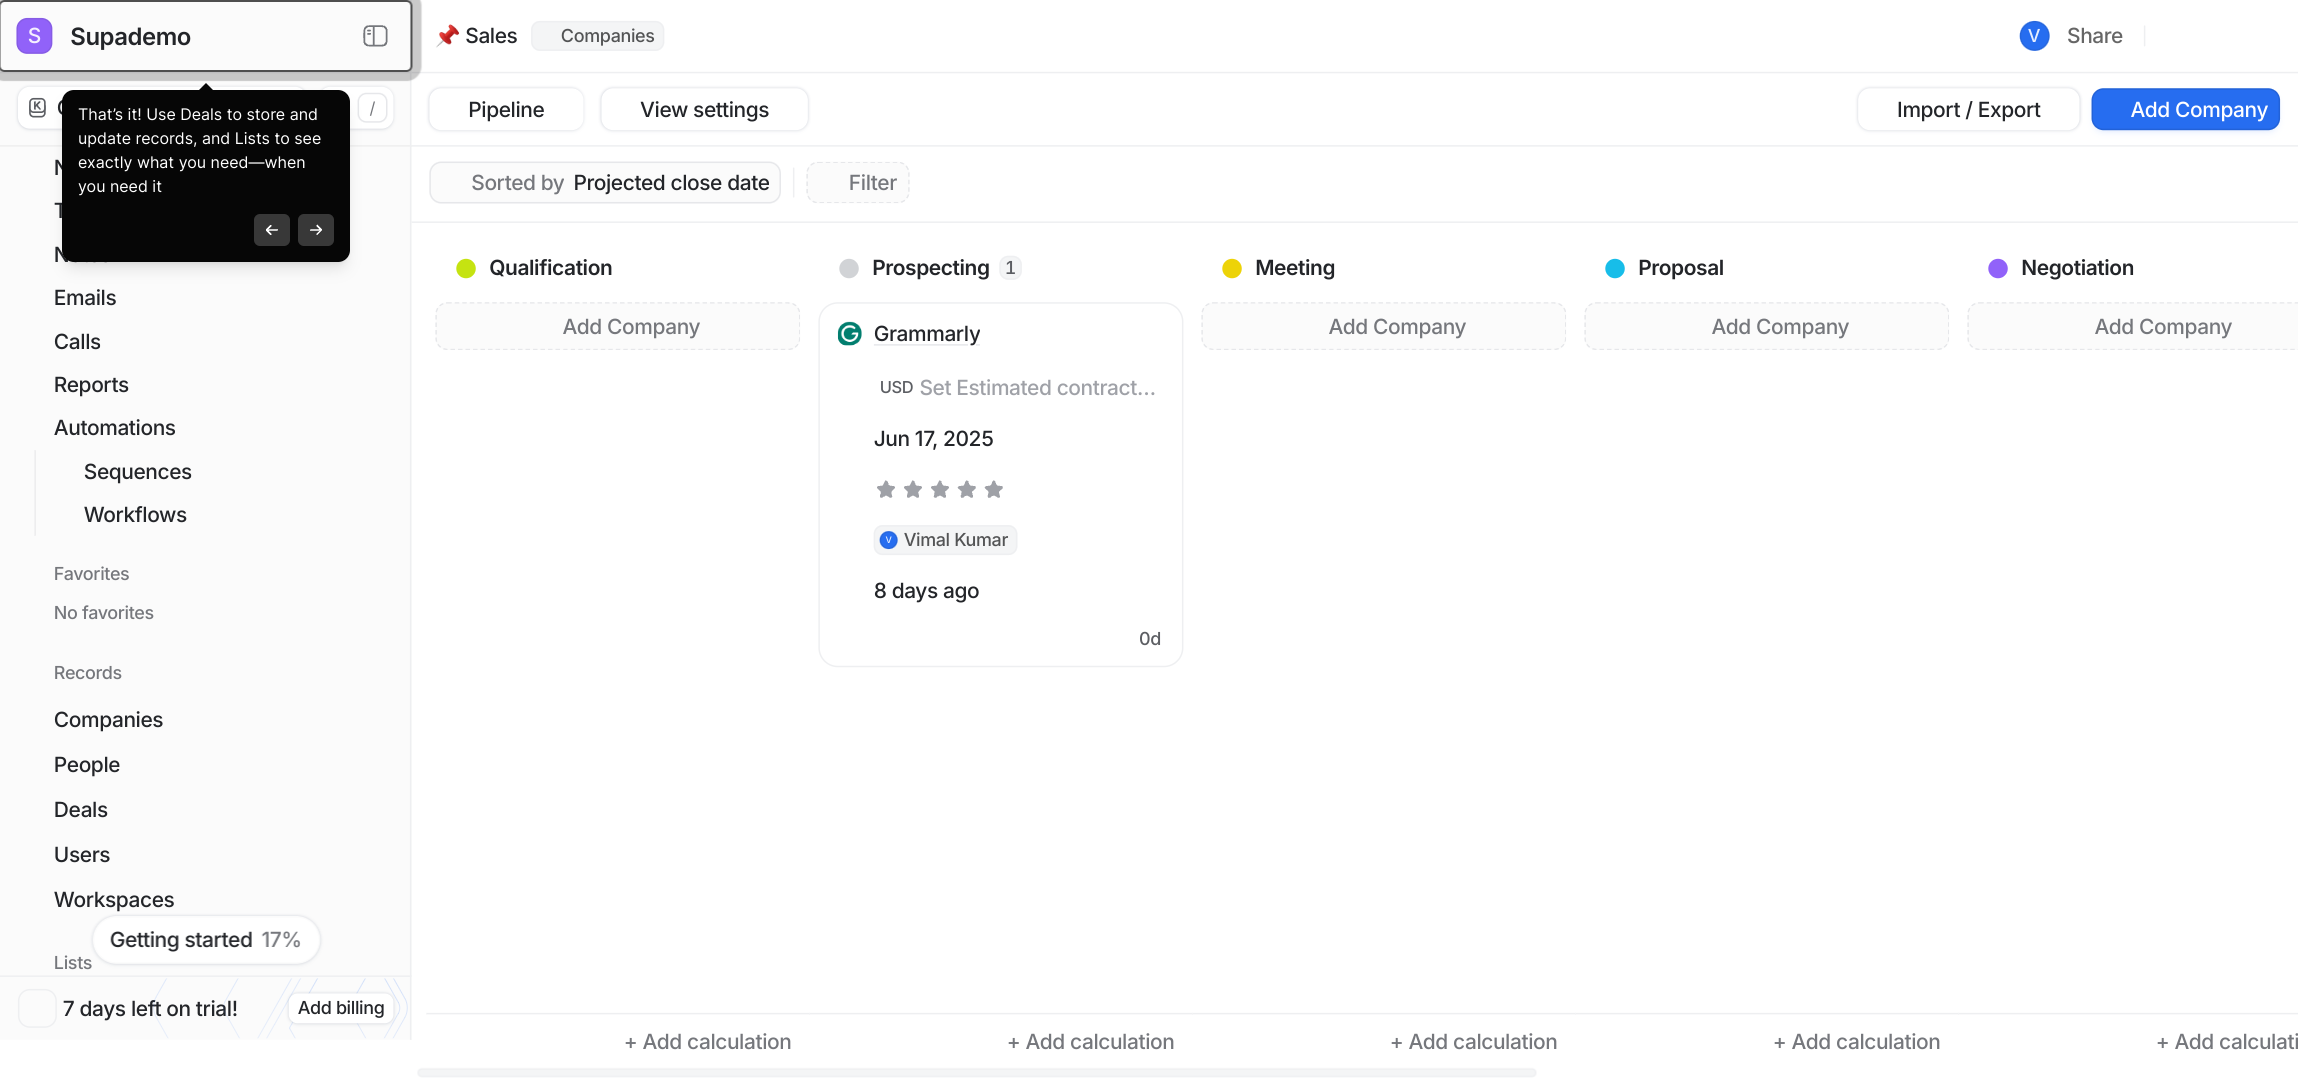
6. That’s it! Use Deals to store and update records, and Lists to see exactly what you need—when you need it
7. Create a Supademo in seconds
This interactive demo/guided walkthrough on How to Use Lists vs. Deals in Attio was created using Supademo.
How to Use Lists vs. Deals in Attio: Step-by-Step Guide
Welcome to your Attio Dashboard! This is your central hub where you can access and manage all your data and workflows. Take a moment to familiarize yourself with the layout to get started smoothly.
On the left side, you'll find the sidebar, which organizes your key records into categories such as Contacts, Companies, and Deals. These are the core building blocks you'll work with to keep track of your relationships and sales activity.
Next, select the Deals section from the sidebar. This will show you a comprehensive list of all your sales opportunities within the workspace, allowing you to monitor and manage each potential deal effectively.
To narrow down your focus, apply filters to your deal list. For example, you can choose to view only the deals assigned to you or those expected to close within the current quarter, helping you prioritize critical sales efforts.
If you want to organize your data further, you can create custom lists for any type of record—whether it's Deals, Contacts, or Companies. This helps you focus on specific groups that matter most to your workflow.
That’s all there is to it! Use the Deals area to add and update your sales records regularly, and leverage Lists to tailor your view so you always have the right information at your fingertips.
Finally, take advantage of Attio’s quick demo creation feature called Supademo. It lets you set up a demo environment in seconds to explore and showcase Attio’s capabilities with your own data.
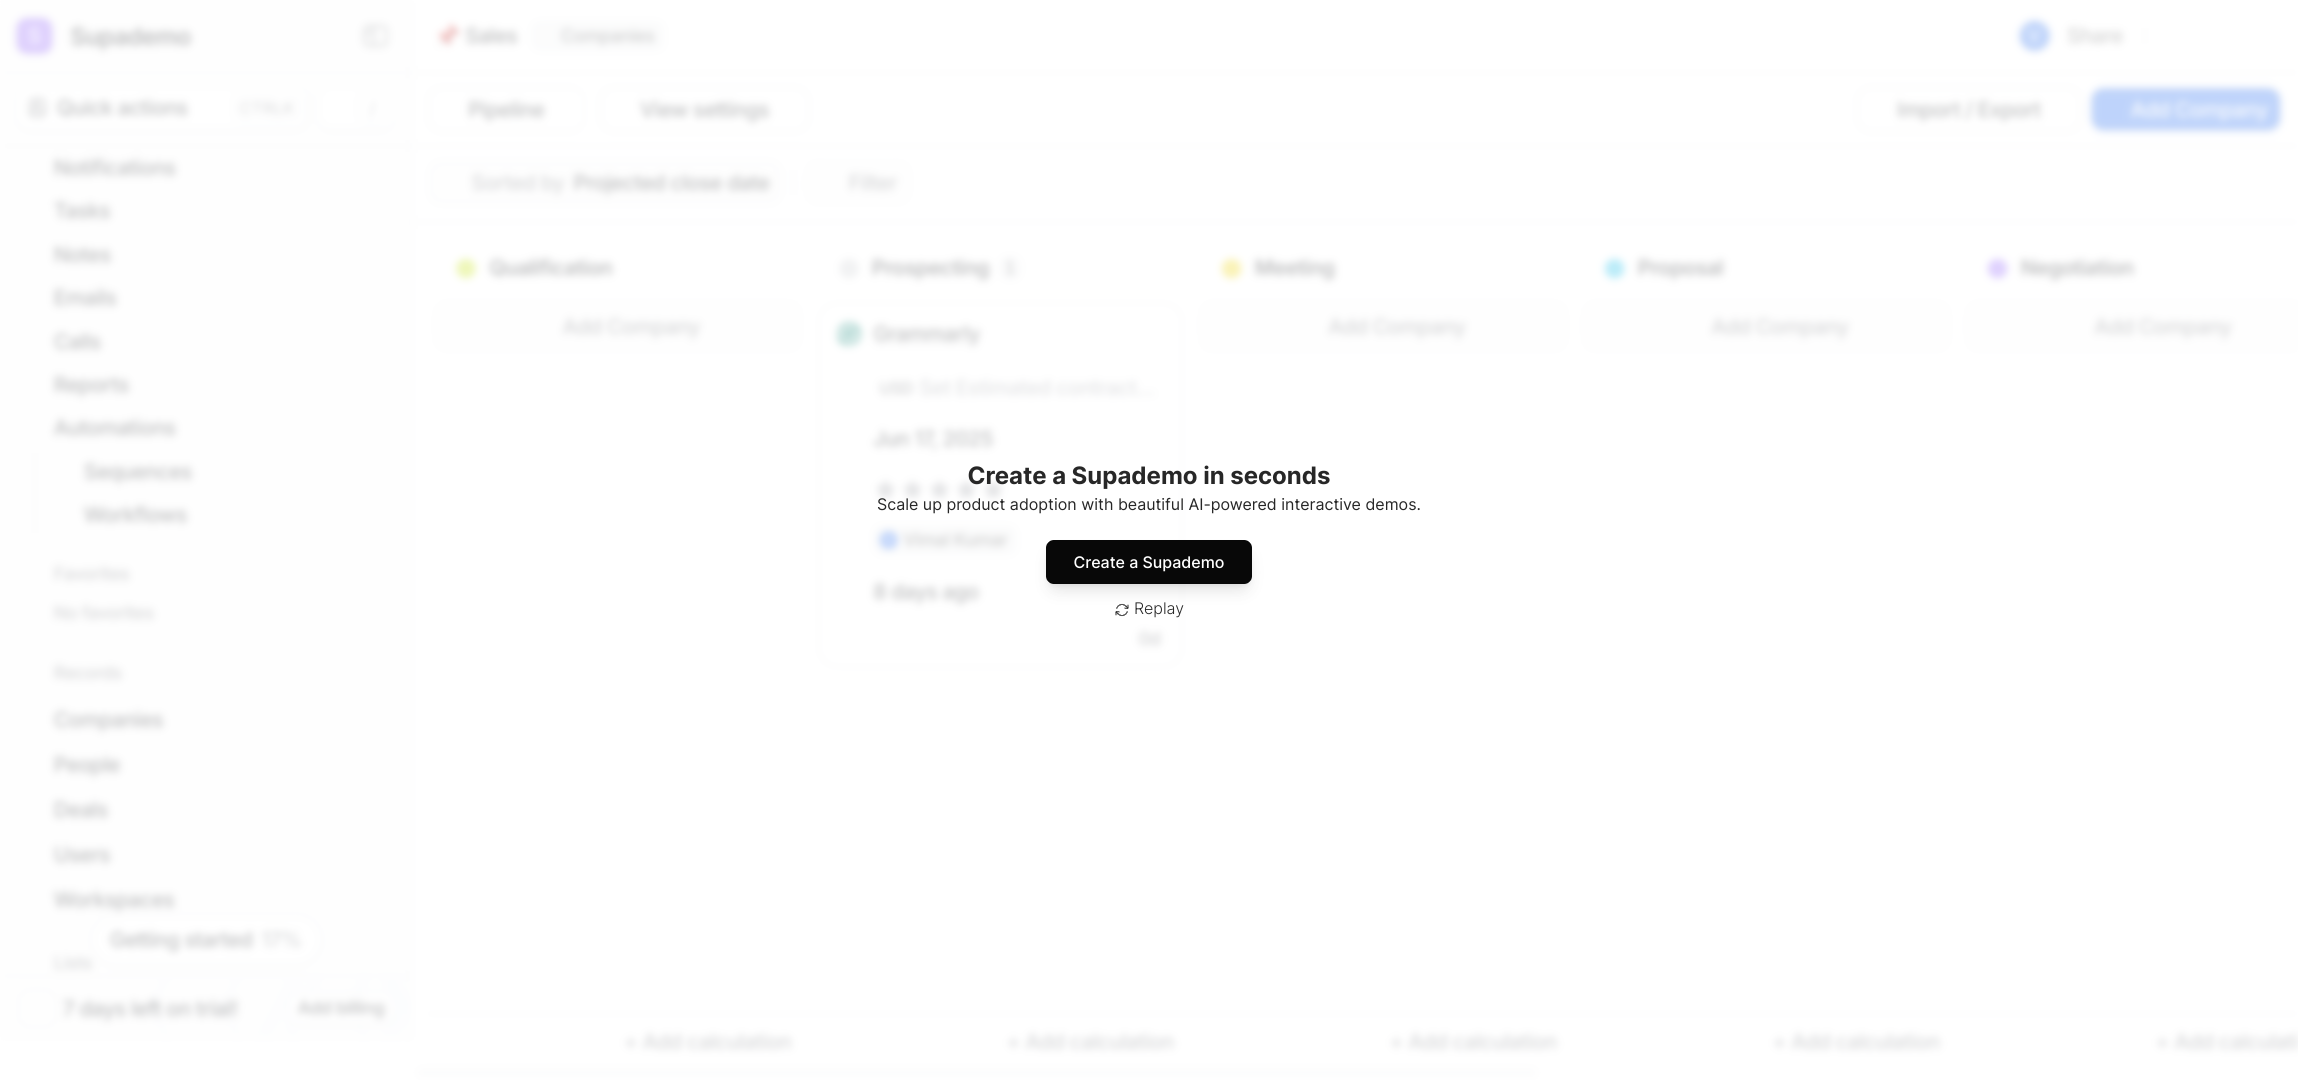
Create your own interactive demos in < 5 mins with Supademo
You can create your own interactive product demo in minutes using Supademo. Drive growth, scale enablement, and supercharge product-led onboarding with Supademo. Sign up for free here with no credit card required.
FAQs
Commonly asked questions about this topic.
What is the primary difference between Lists and Deals in Attio?
Can I create Lists from objects other than Deals?
How do filters work when viewing Deals?
Is it possible to update Deal records directly within the Deals section?
How can Lists improve my workflow compared to just using Deals?
Can Lists and Deals be used together effectively?
What types of objects appear in the Attio sidebar?
Are Lists static or dynamic in Attio?
How do I create a new List in Attio?
What is Supademo and how does it relate to Attio?

Product Operations Associate
Vimal Kumar helps build and grow Supademo’s team and GTM efforts, with a focus on figuring out growth levers and improving product traction.


