Overview:
Enhance your Webflow Workspace efficiency by incorporating libraries to organize and categorize elements effectively. Elevate user experience and streamline design workflows by adding relevant libraries for easy identification and implementation. This comprehensive guide walks you through the seamless process of adding libraries in your Webflow Workspace, empowering you to optimize your design management strategies for increased efficiency and clarity.
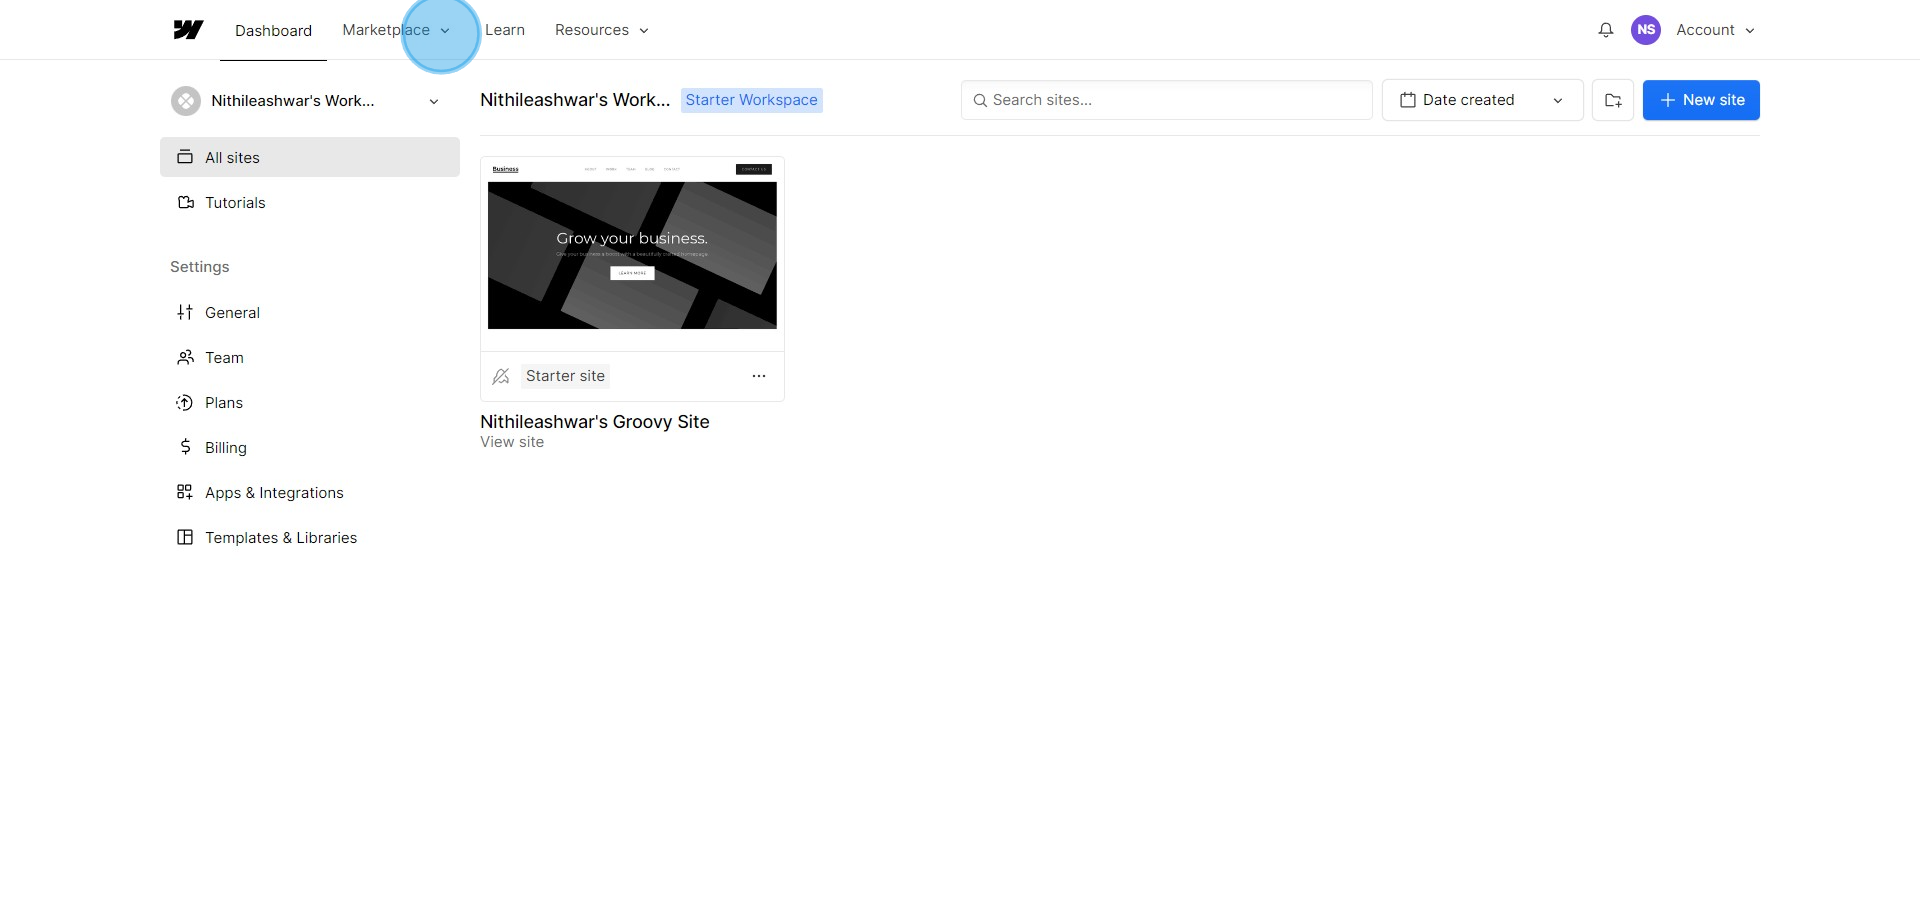
1. Go to the Marketplace section
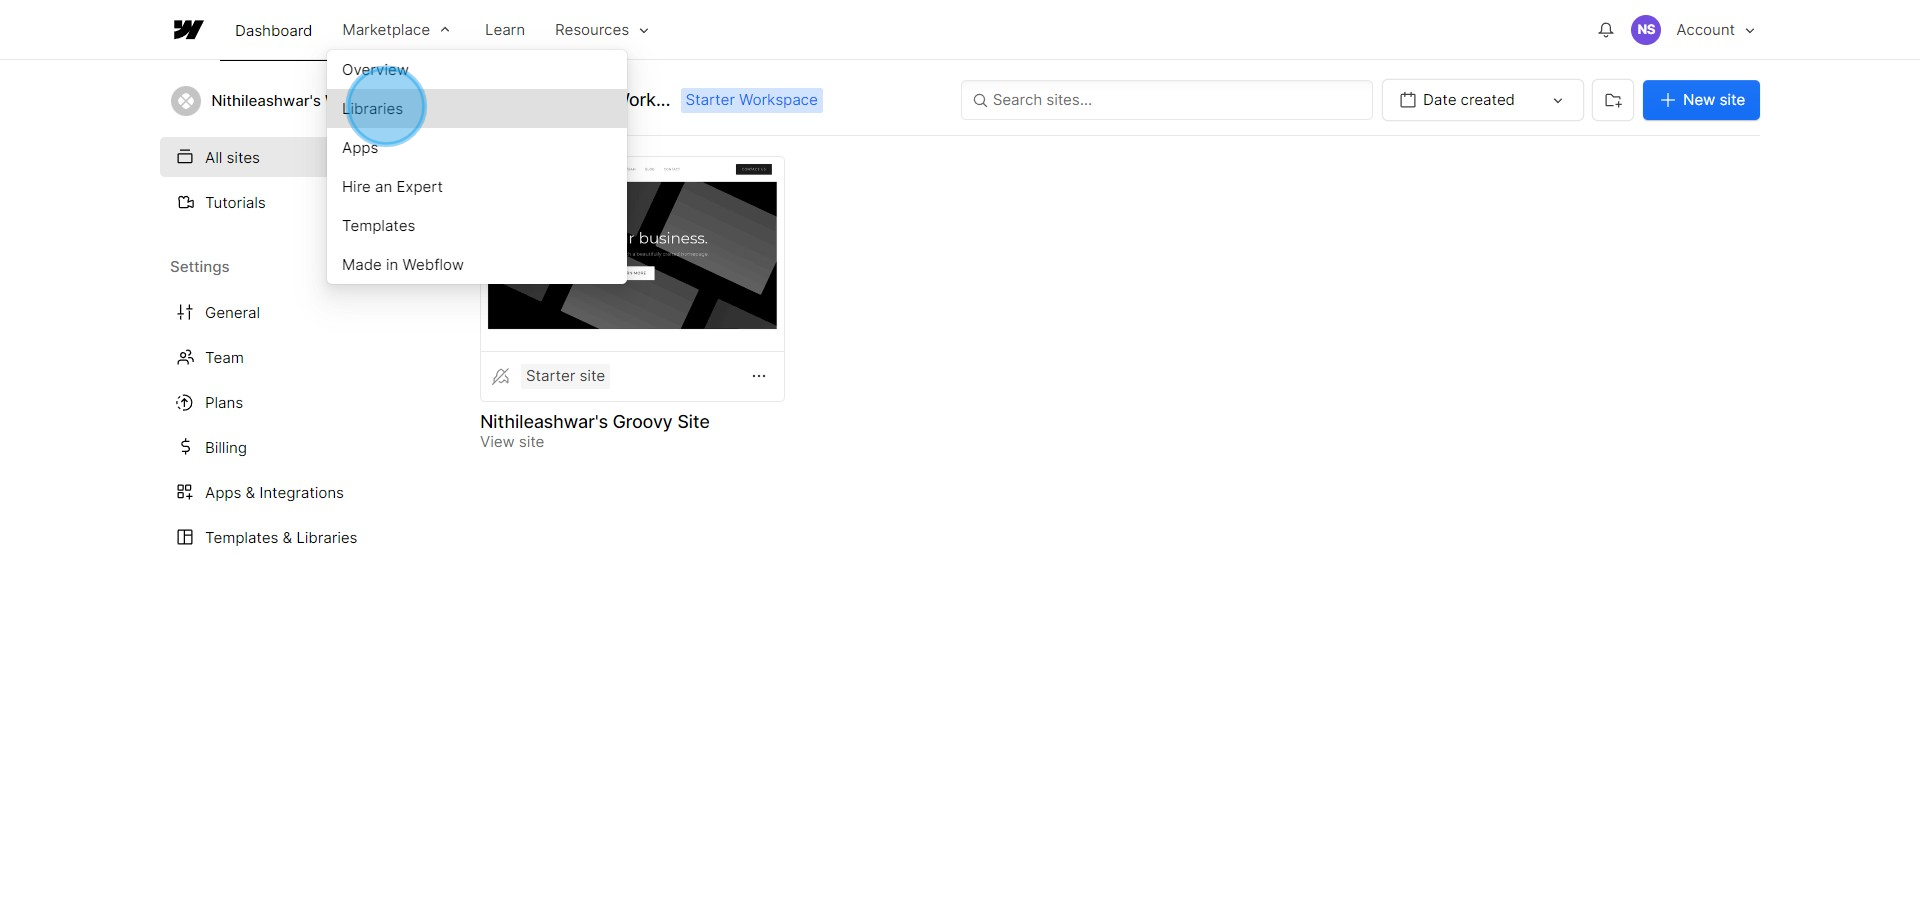
2. Find and select the Libraries category
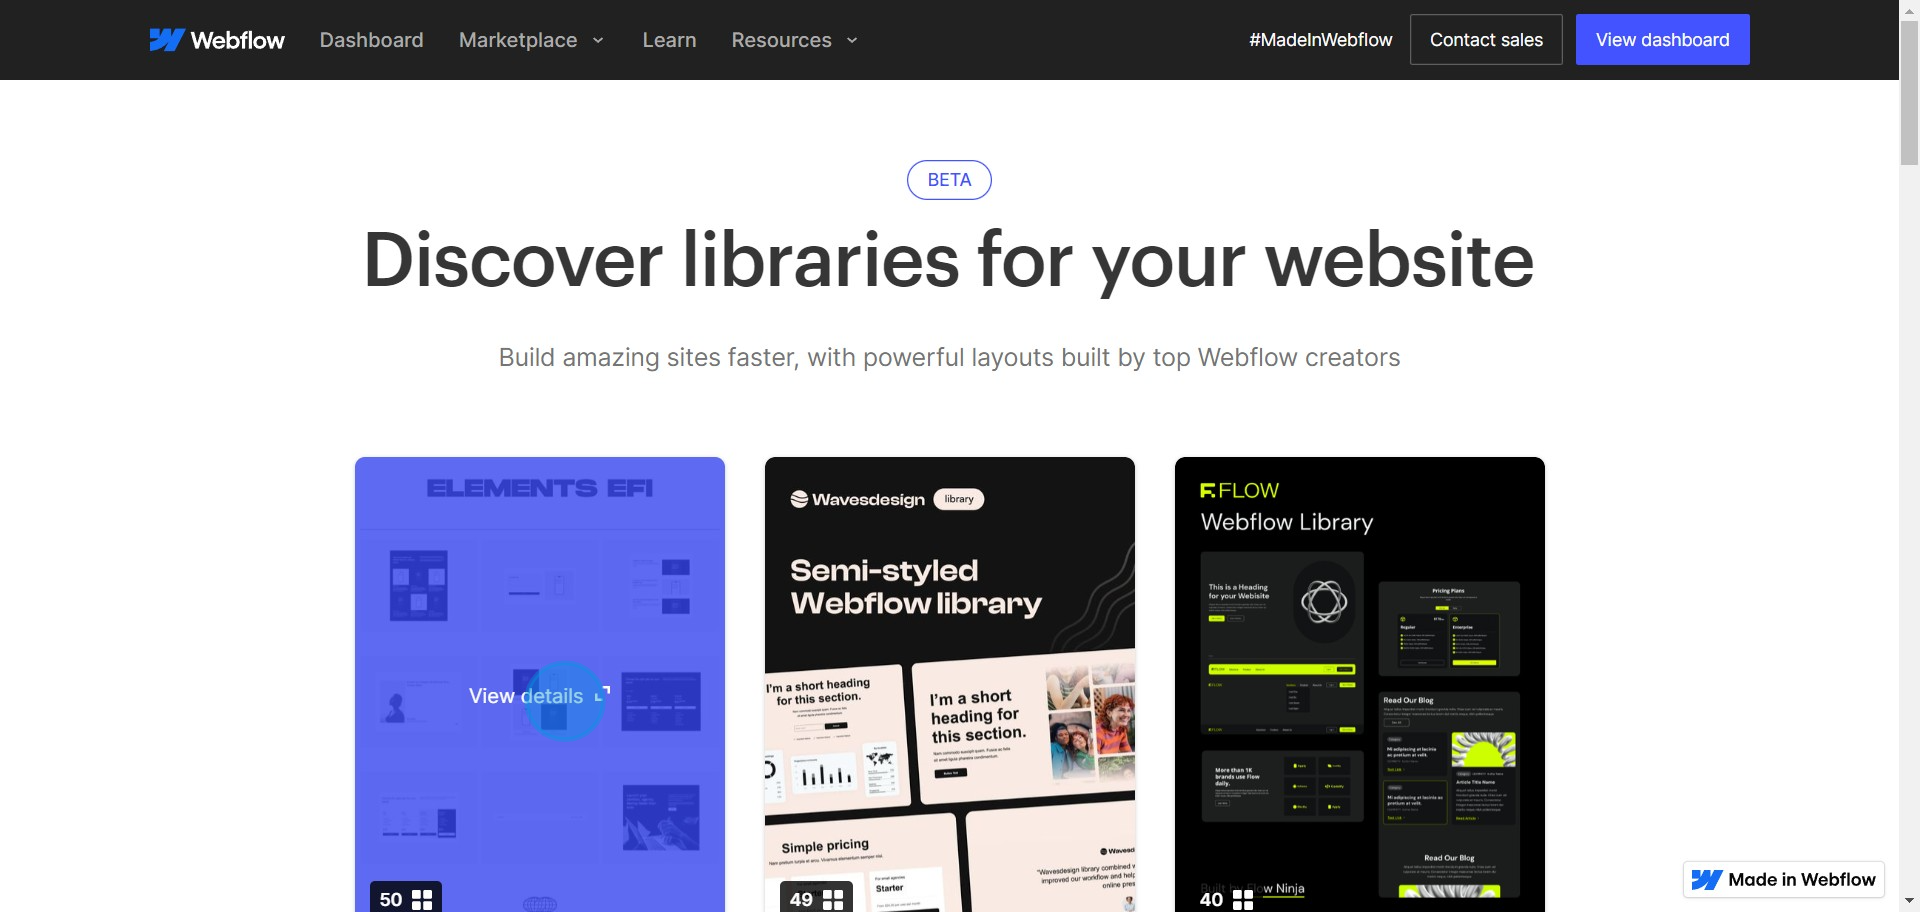
3. Choose your desired template and View its details
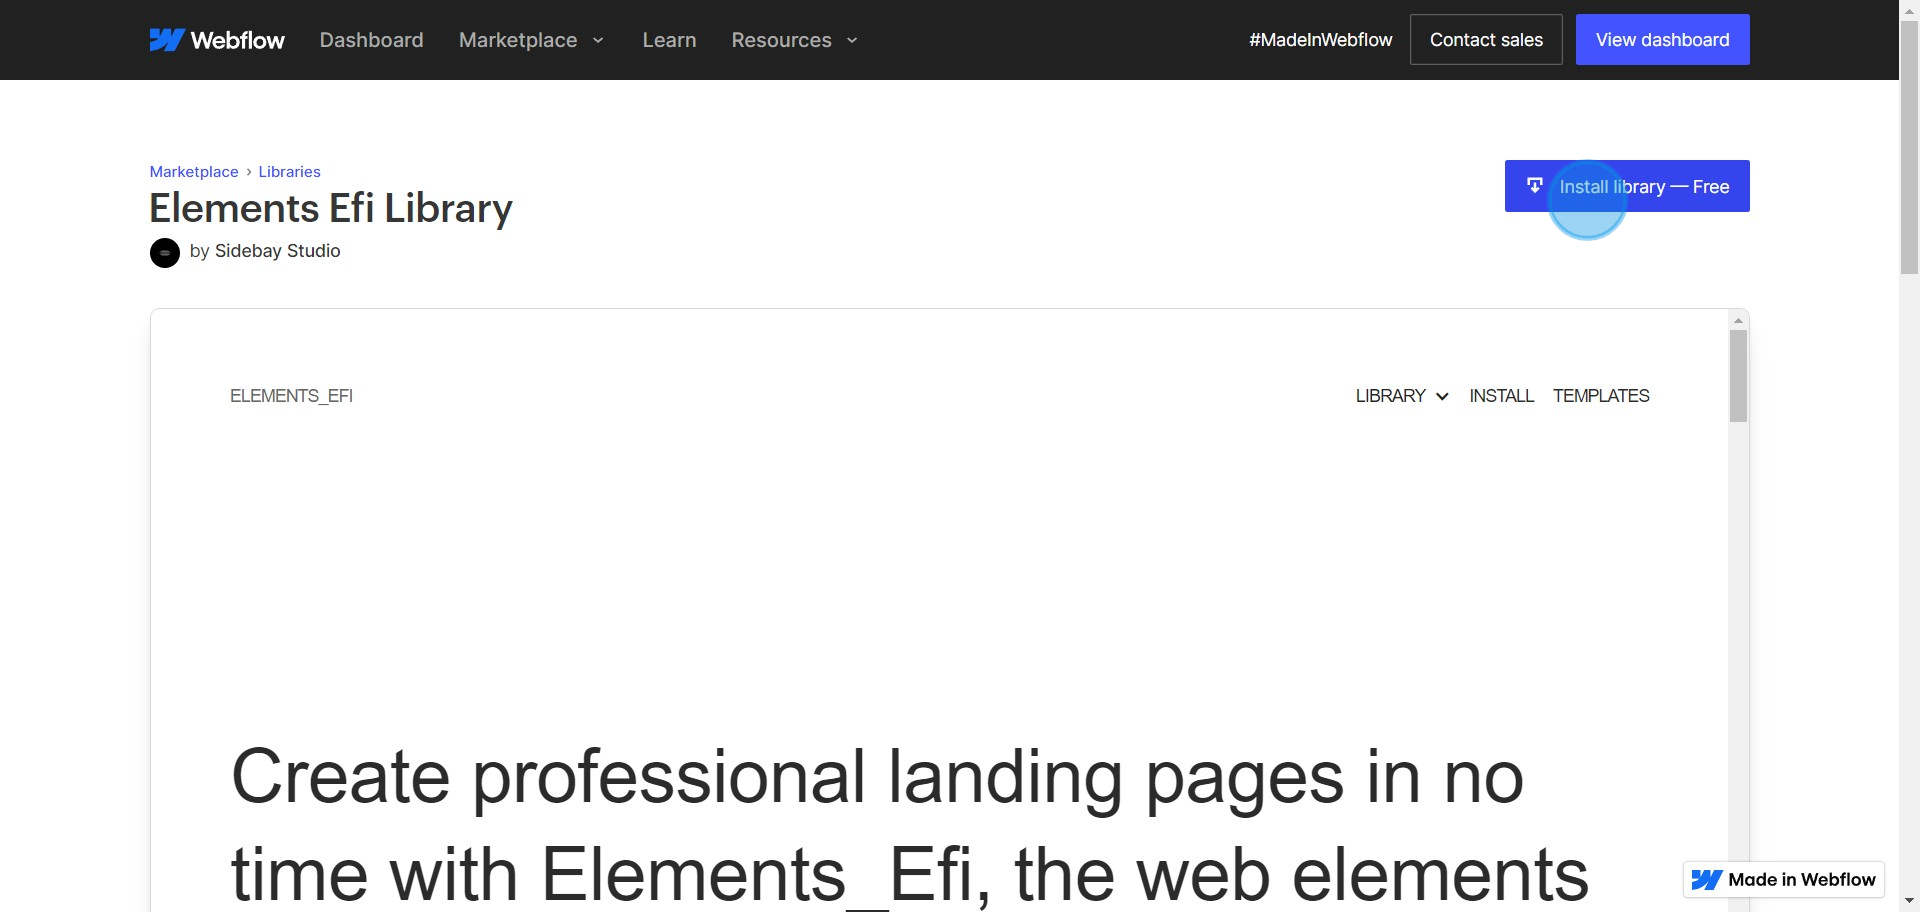
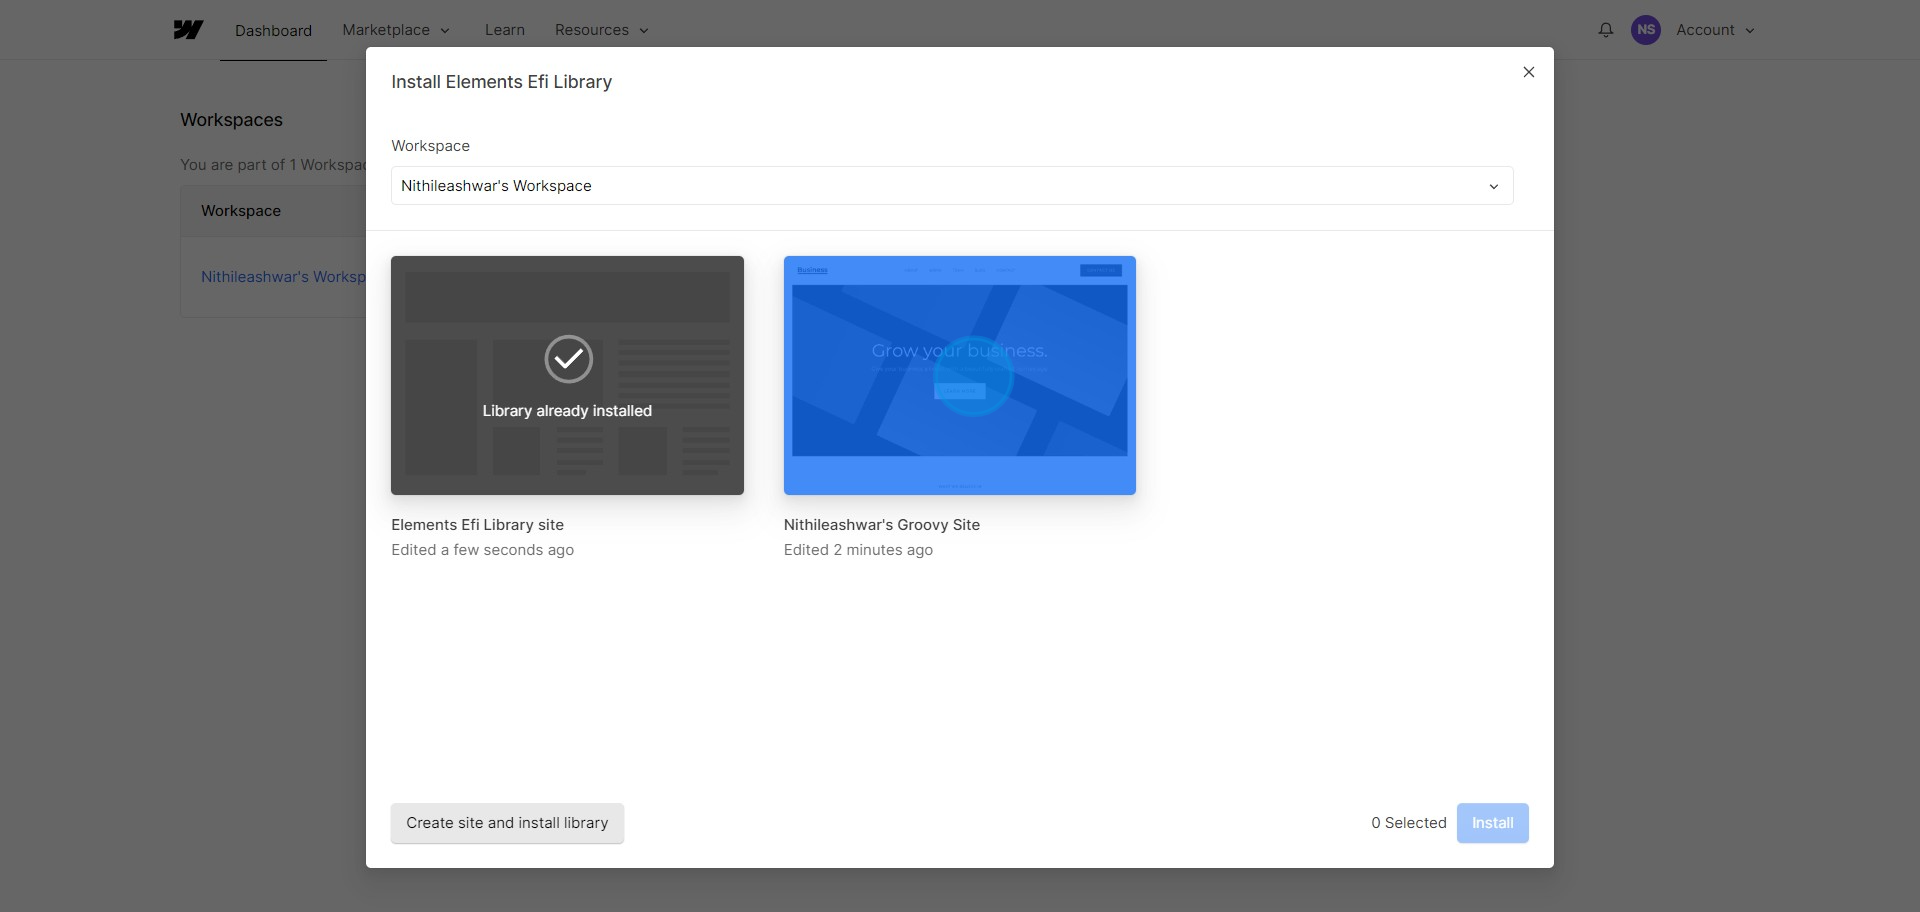
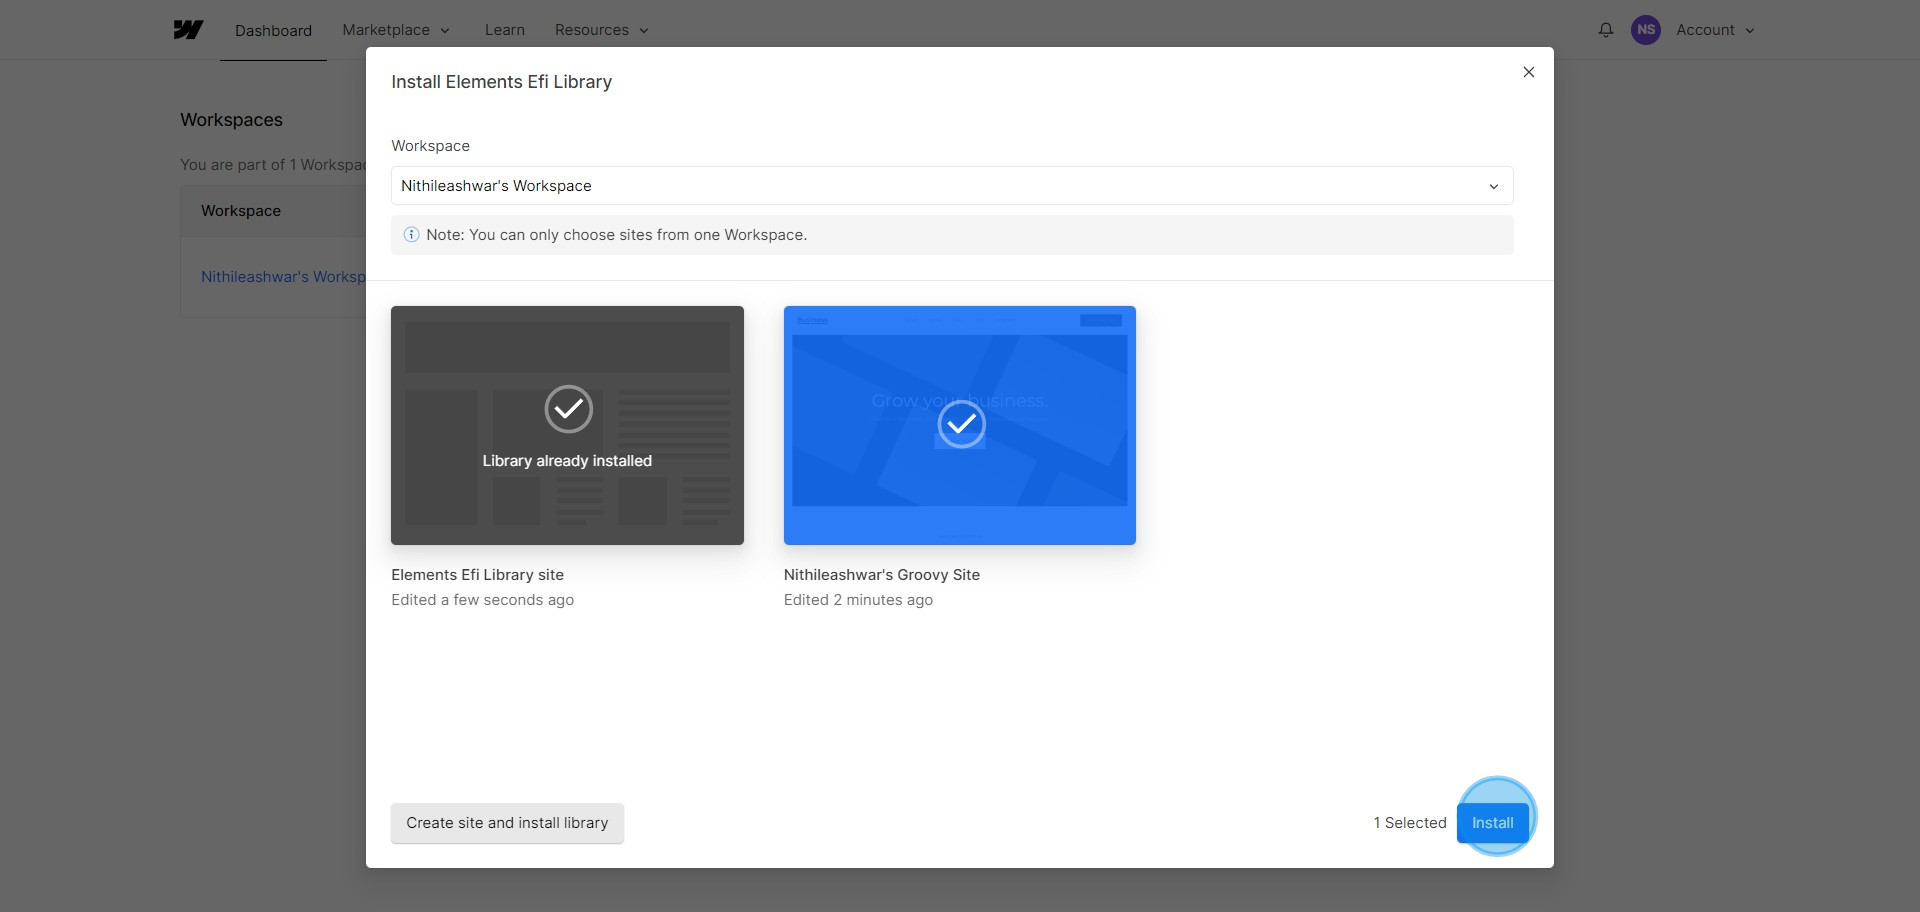
4. Look for the Install library option and select it
5. You can choose to Create a site and install the library
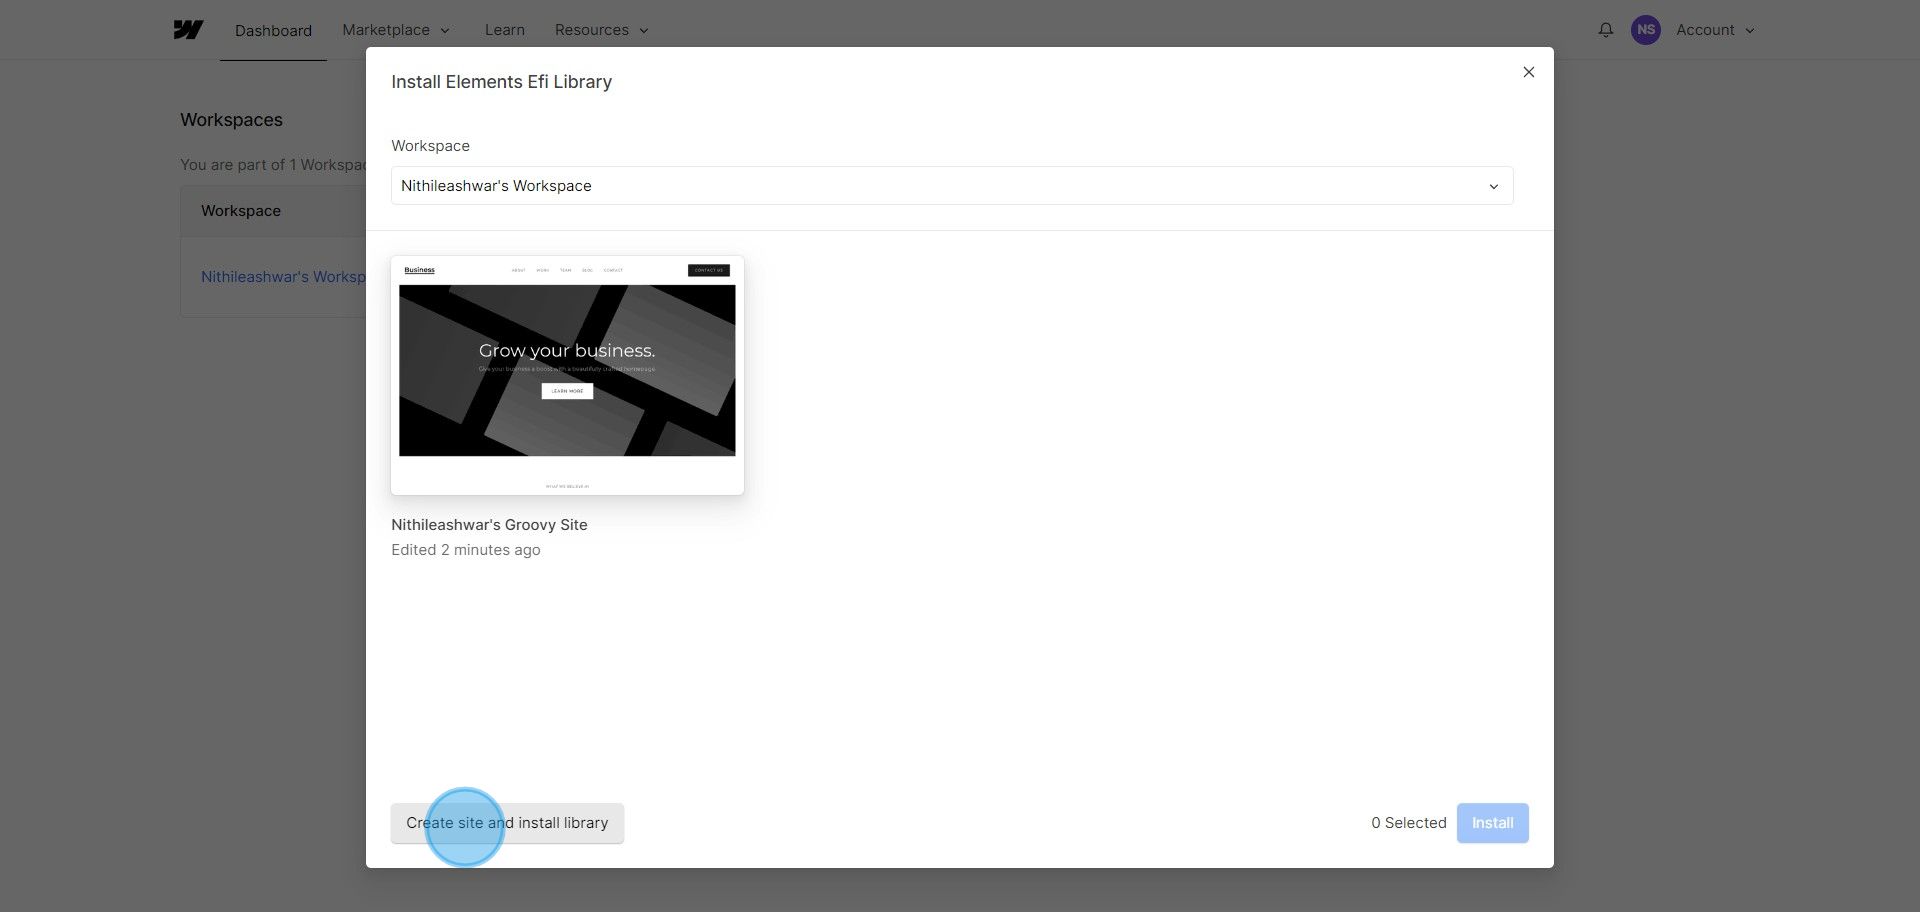
6. Alternatively, select an existing workspace where you want to add the library
7. Finish the process by clicking on Install
Create your own step-by-step demo
Scale up your training and product adoption with beautiful AI-powered interactive demos and guides. Create your first Supademo in seconds for free.
Frequently Asked Questions about how to add libraries in your webflow workspace
Commonly asked questions about this topic.
How frequently should I update my Webflow component libraries?
What capabilities does Webflow offer for organizing libraries?
What integrations does your Webflow workspace support for adding libraries?
How do I set up a library within my Webflow workspace?
What's the best way to organize Webflow libraries for team use?
How do I demonstrate my libraries to stakeholders who don't use your Webflow workspace?
How do I train team members to add libraries in Webflow?
Content Marketer
Nithil is a startup-obsessed operator focused on growth, sales and marketing. He's passionate about wearing different hats across startups to deliver real value.