Overview:
Effectively managing your products in Totango requires optimizing configurations and ensuring trusted domains are set up correctly. This guide provides a step-by-step process to configure settings and trusted domains in Totango, enhancing your workflow and ensuring a seamless experience for users.
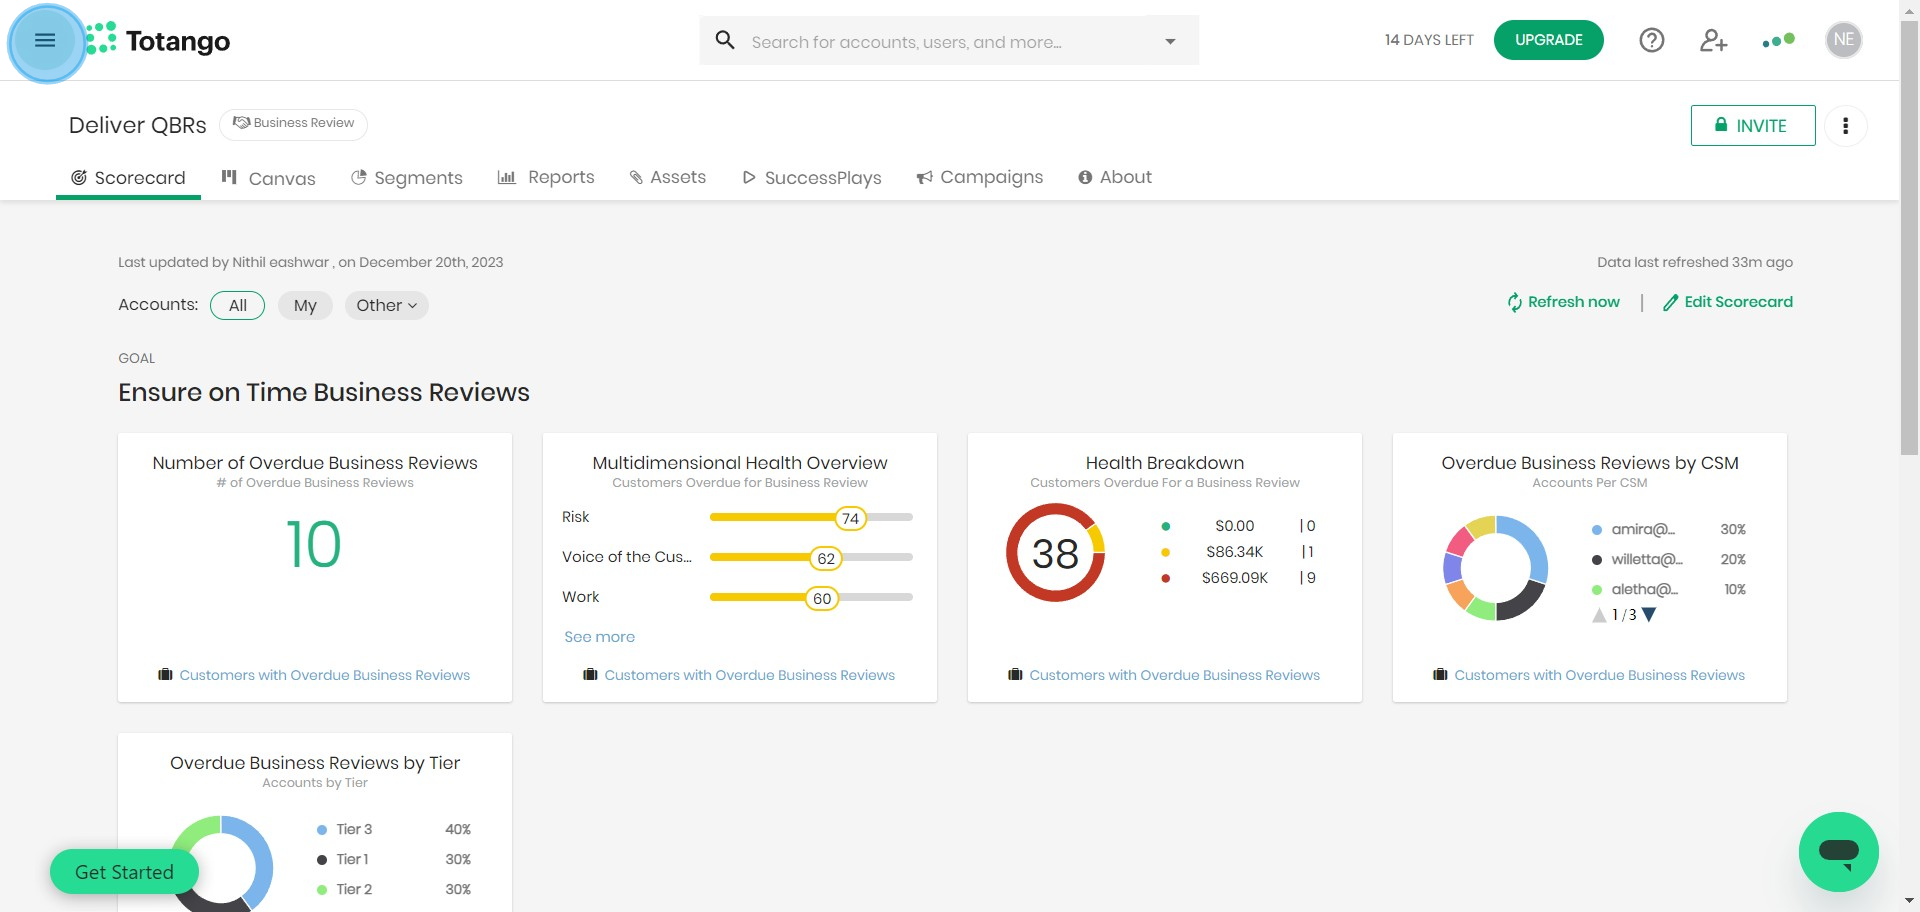
1. Start by accessing the side bar.
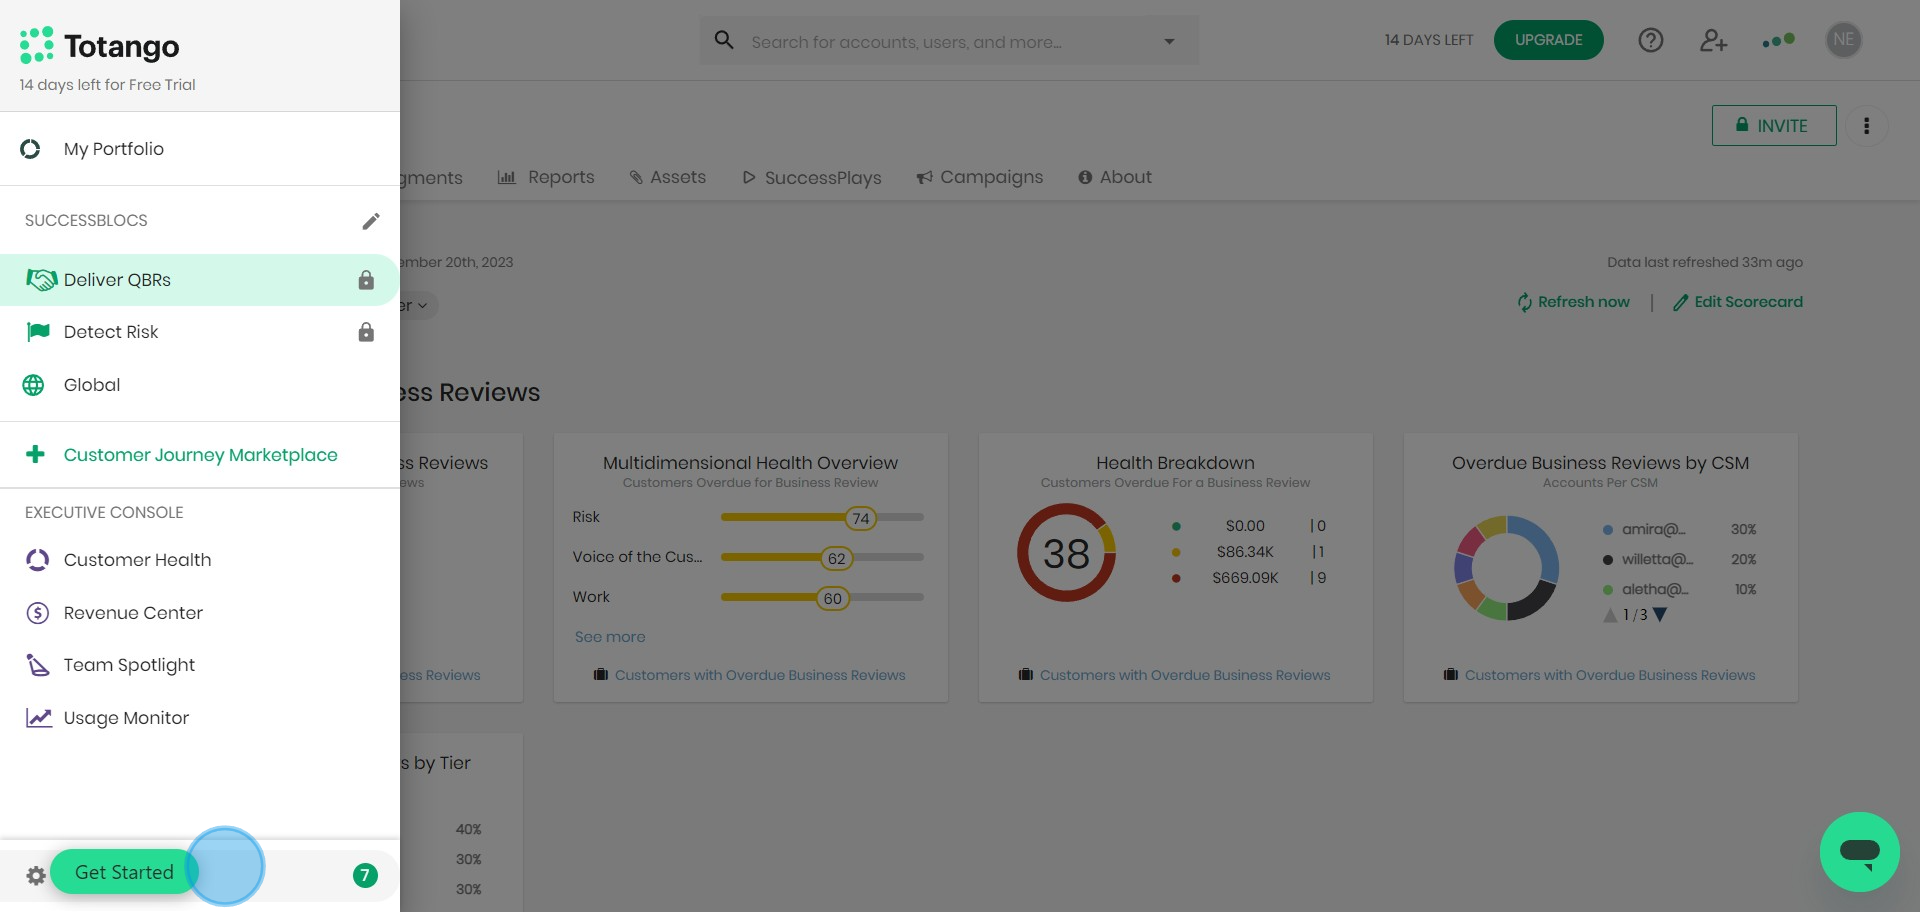
2. Next, locate and select 'Settings'.
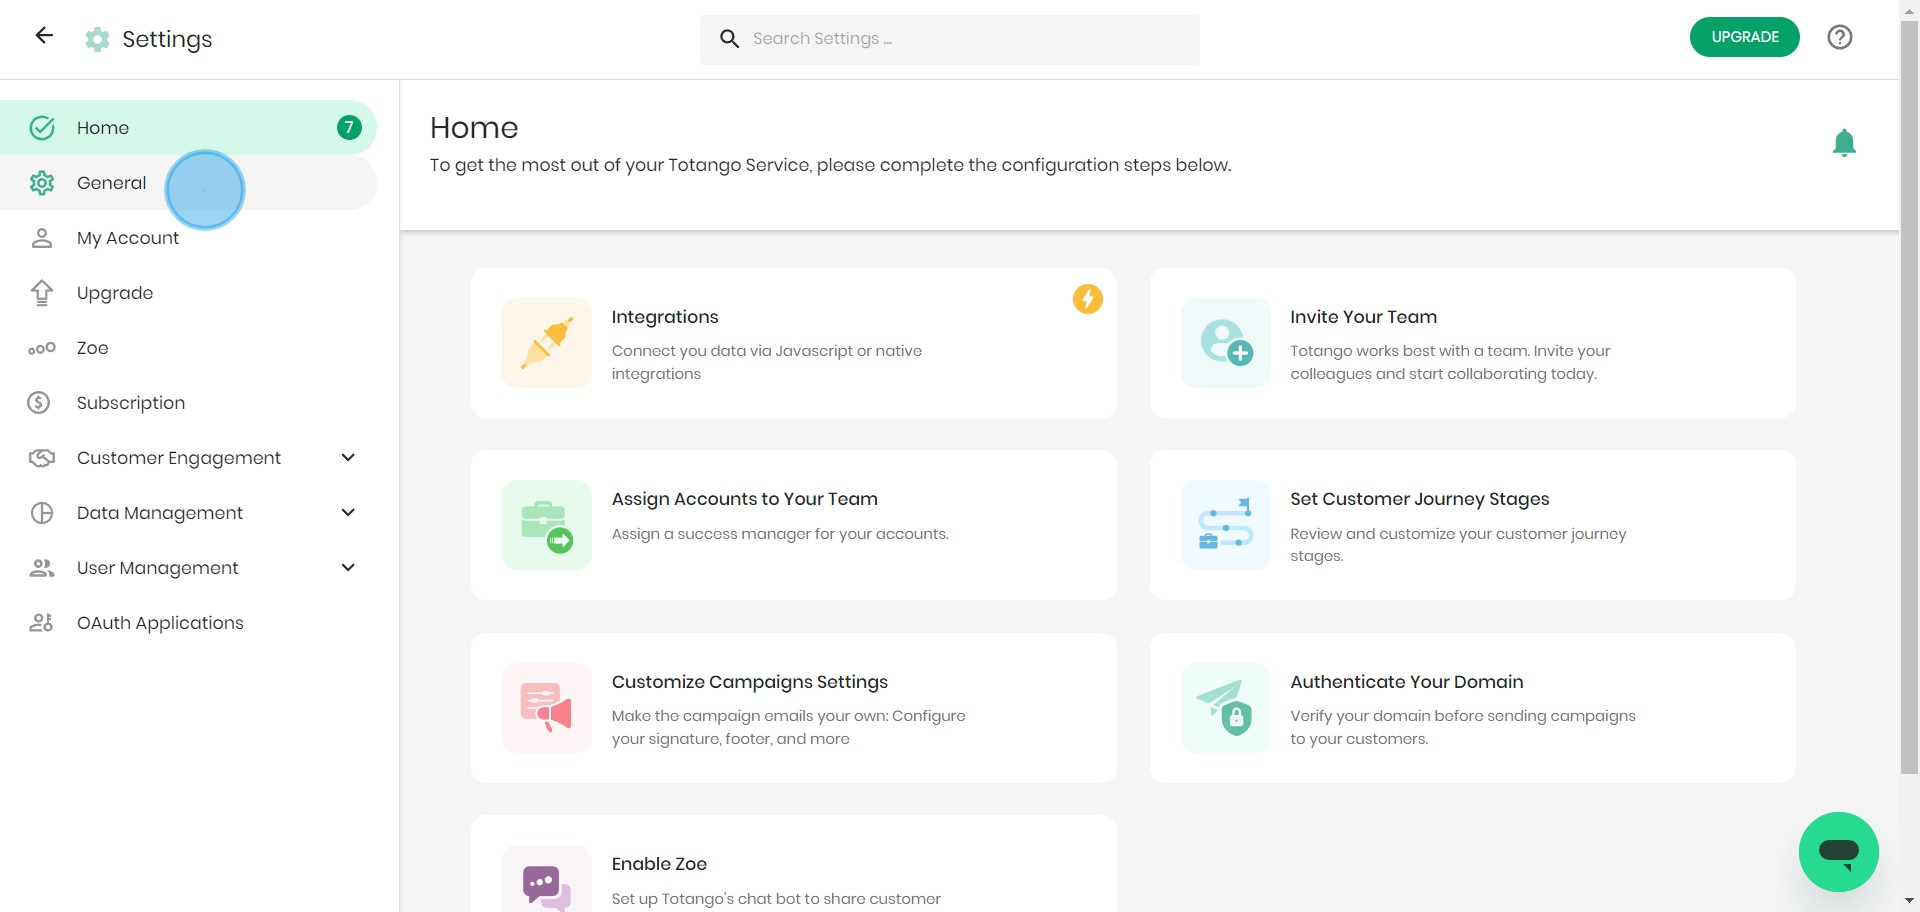
3. Under settings, seek out 'General'.
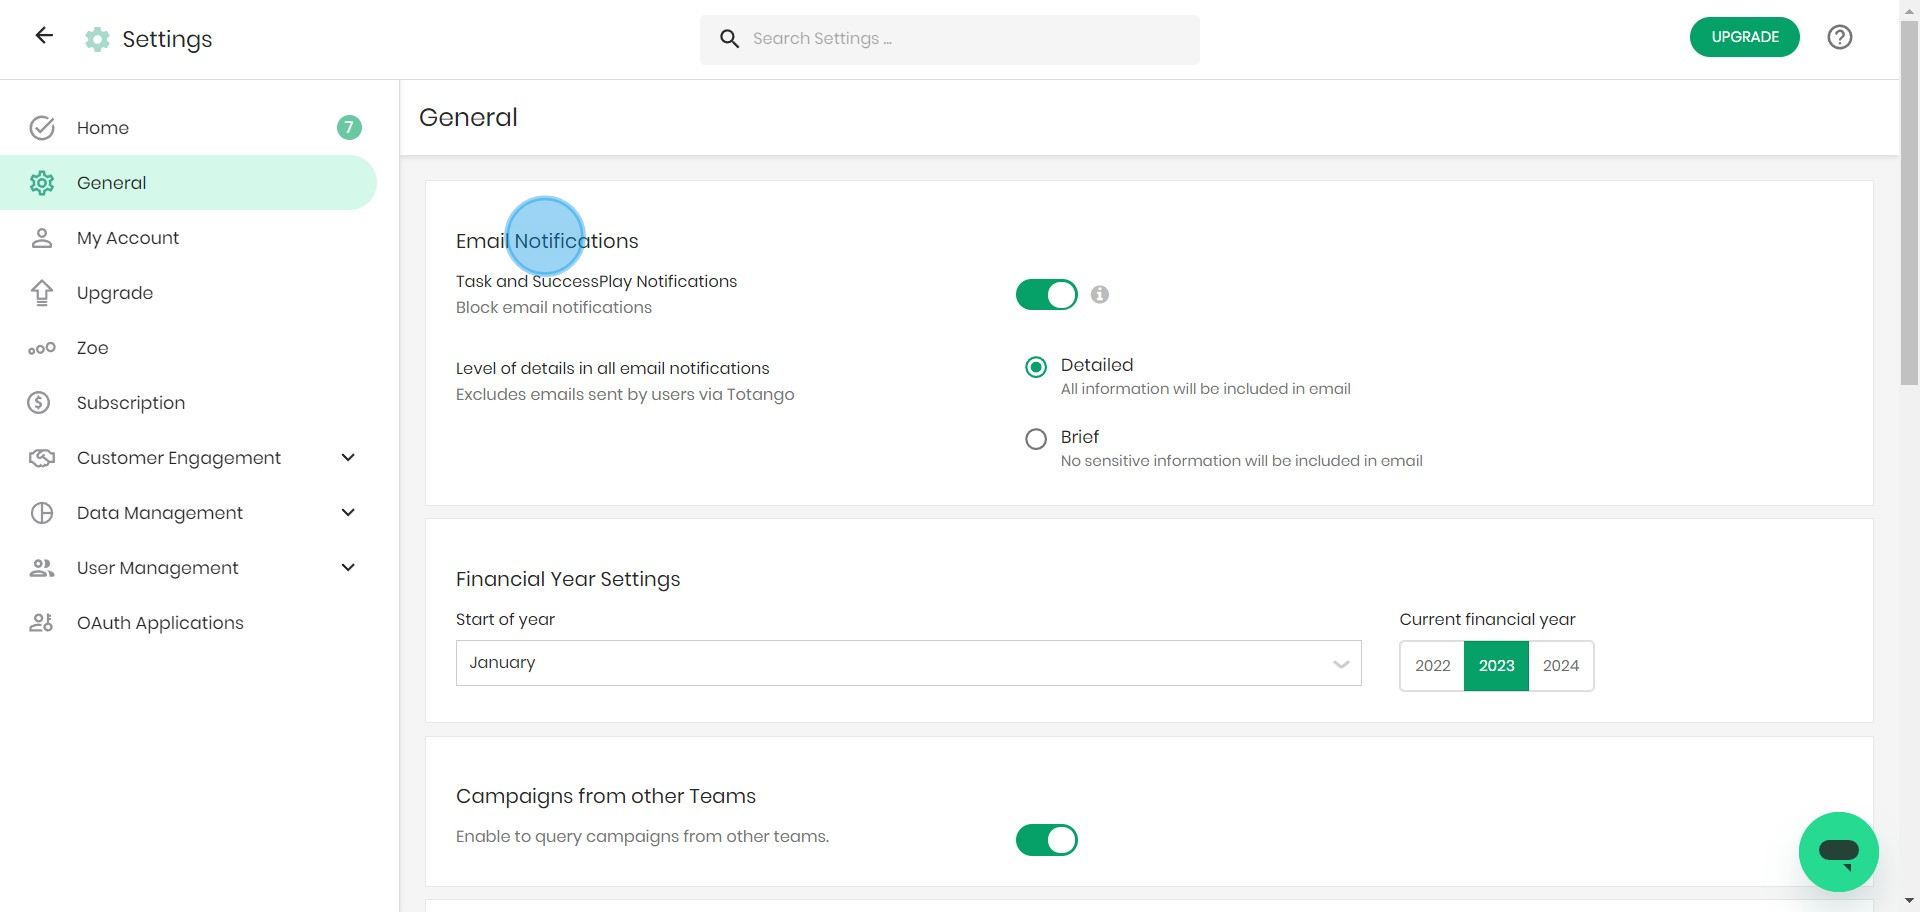
4. Look for 'Email Notifications' to set up.
5. Now, focus on 'Financial Year Settings'.
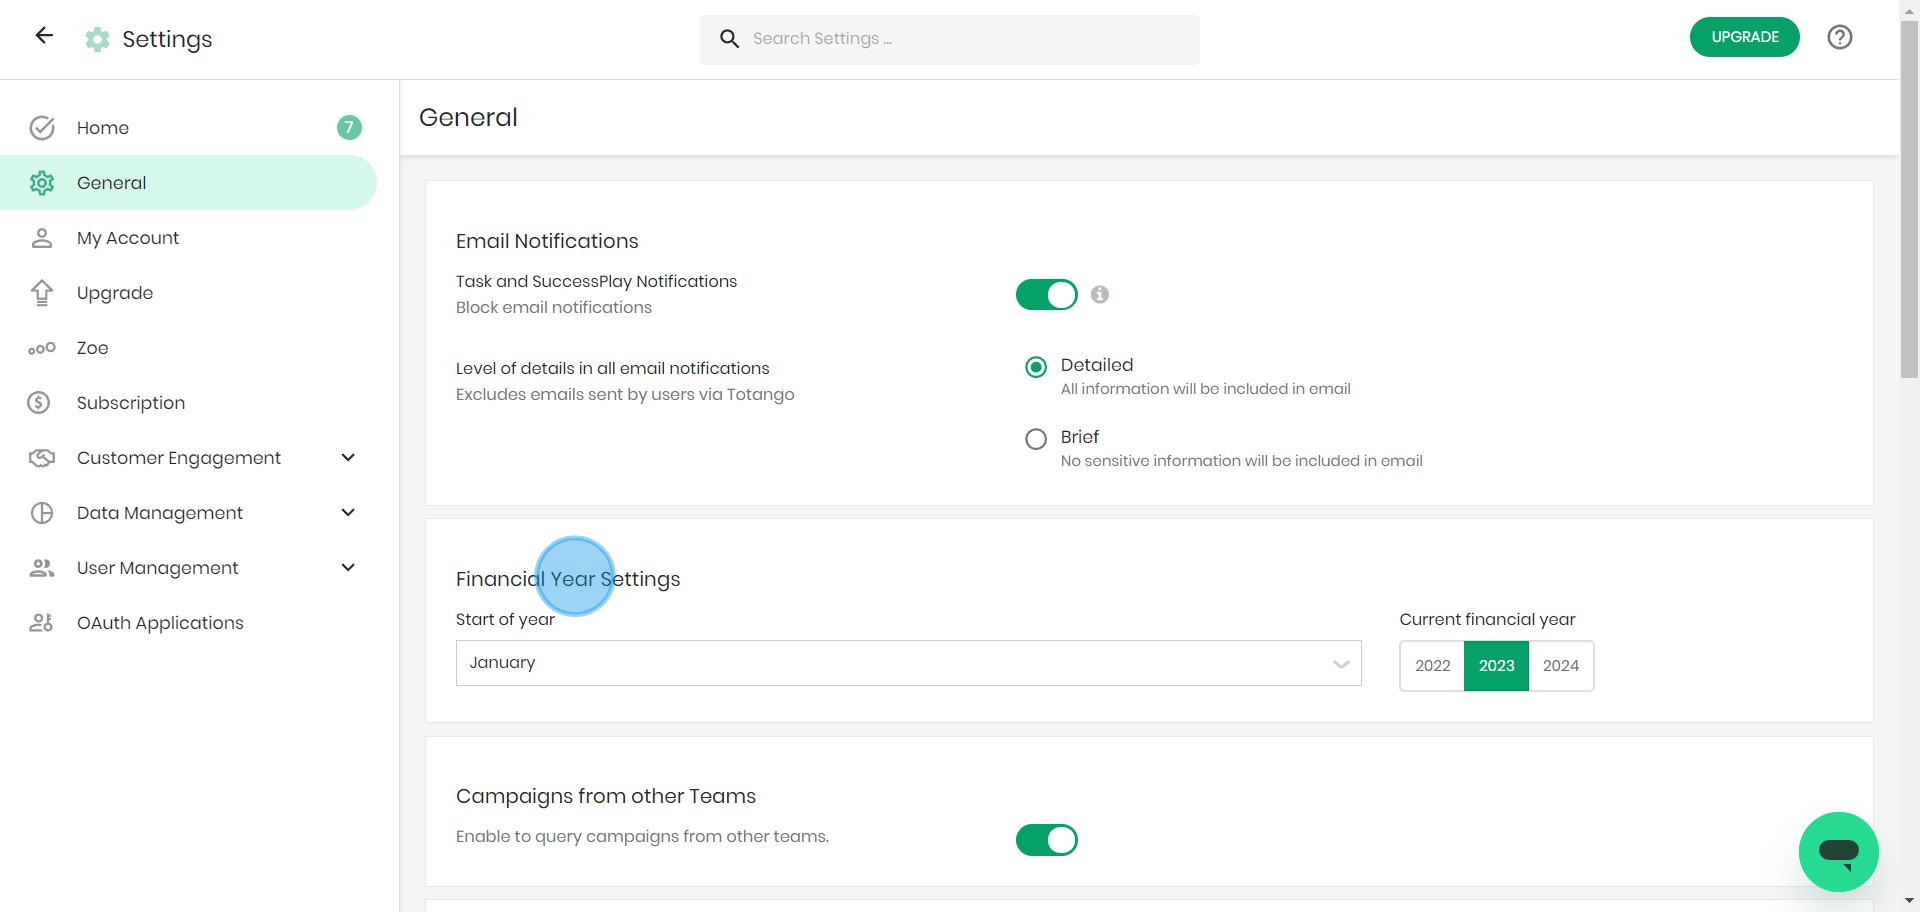
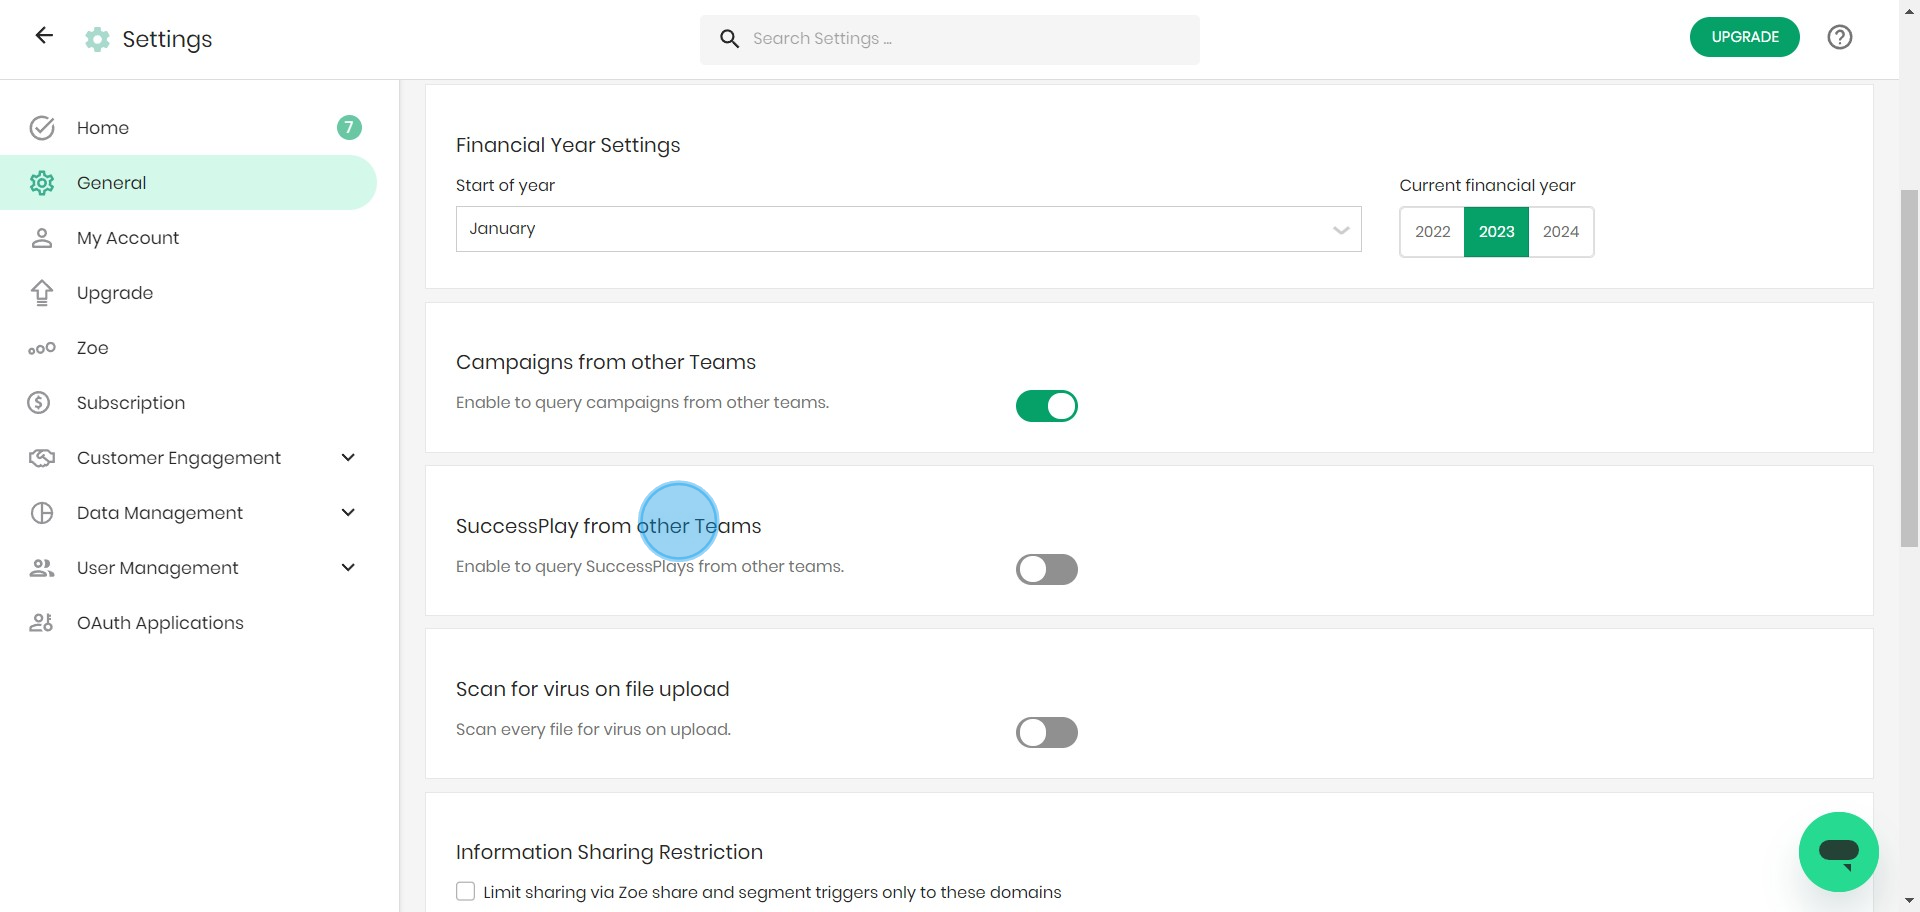
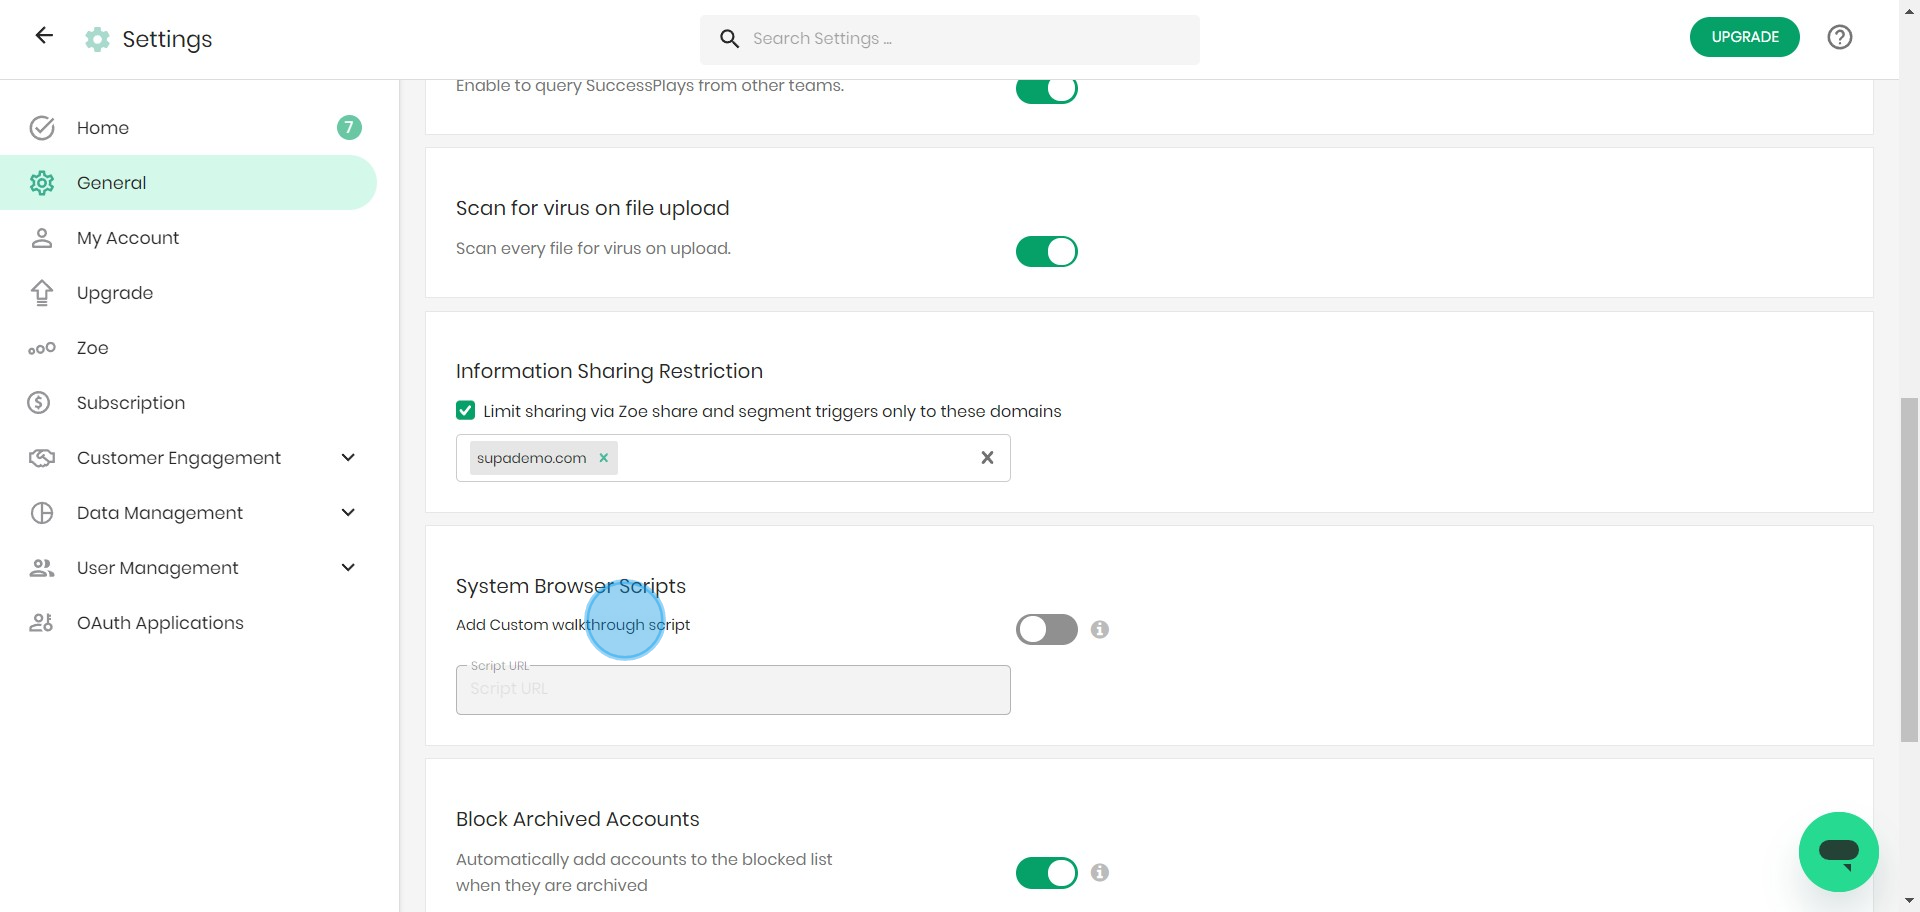
6. Time to manage 'Campaigns from other Teams'.
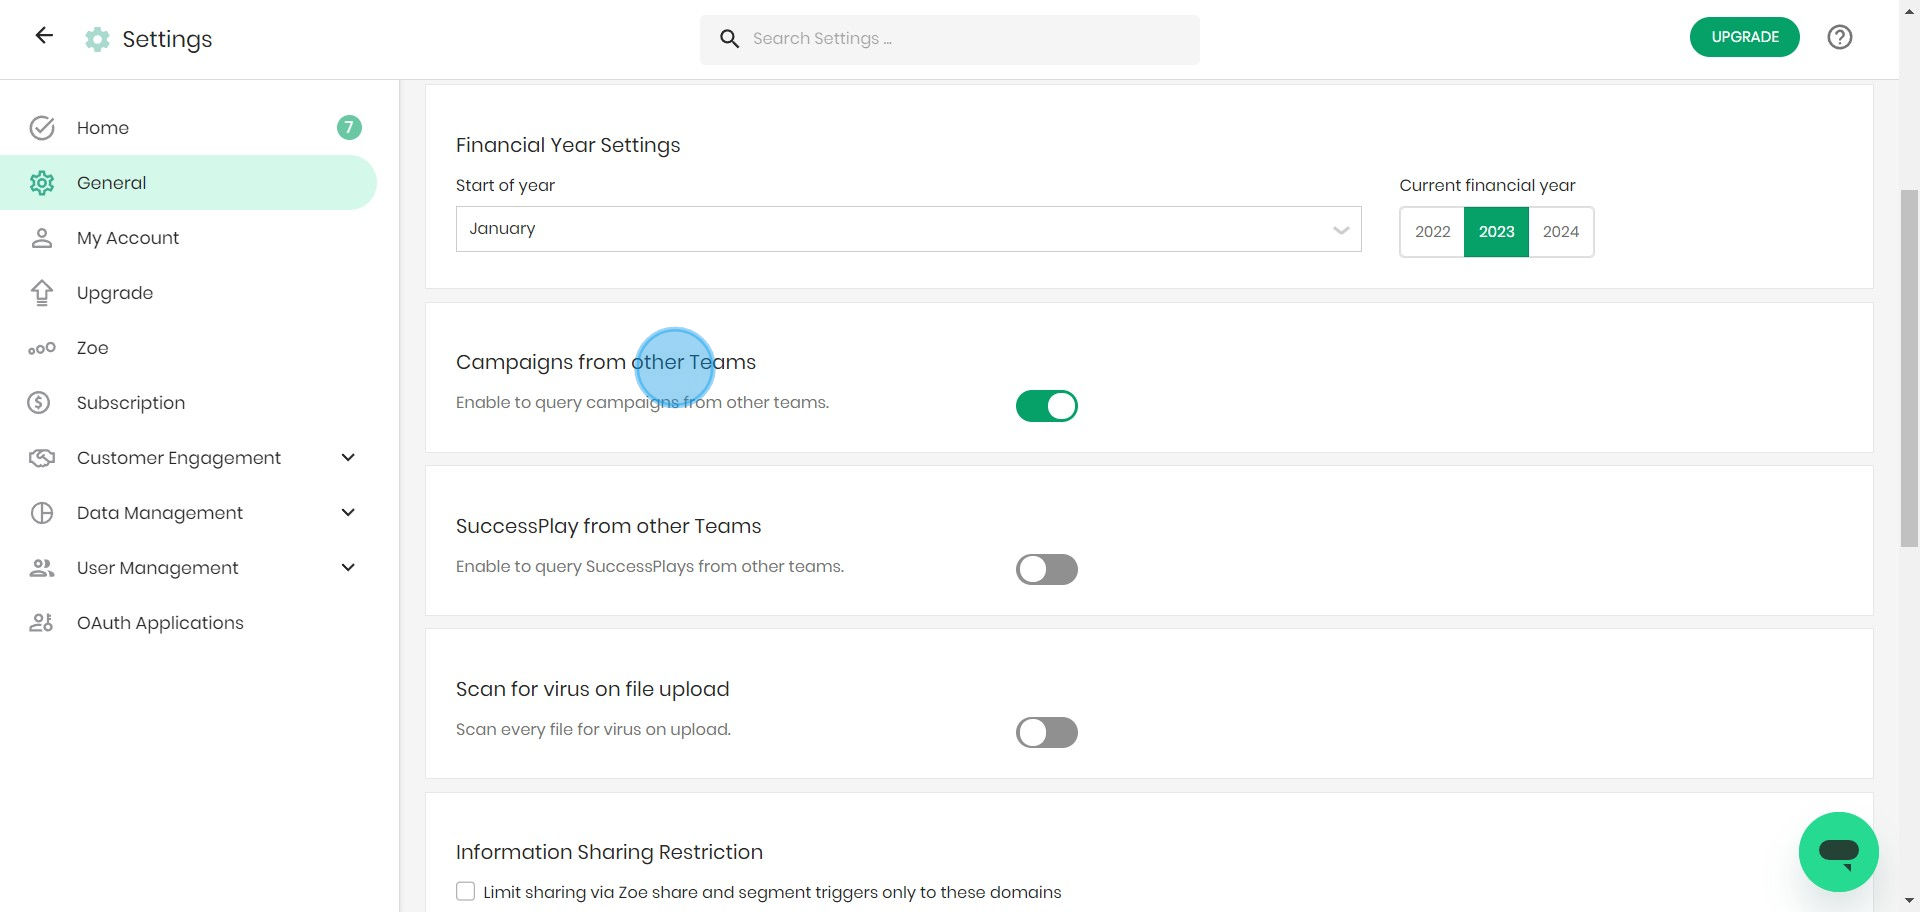
7. Proceed to configure 'SuccessPlay from other Teams'.
8. Enable the 'Scan for virus on file upload' setting.
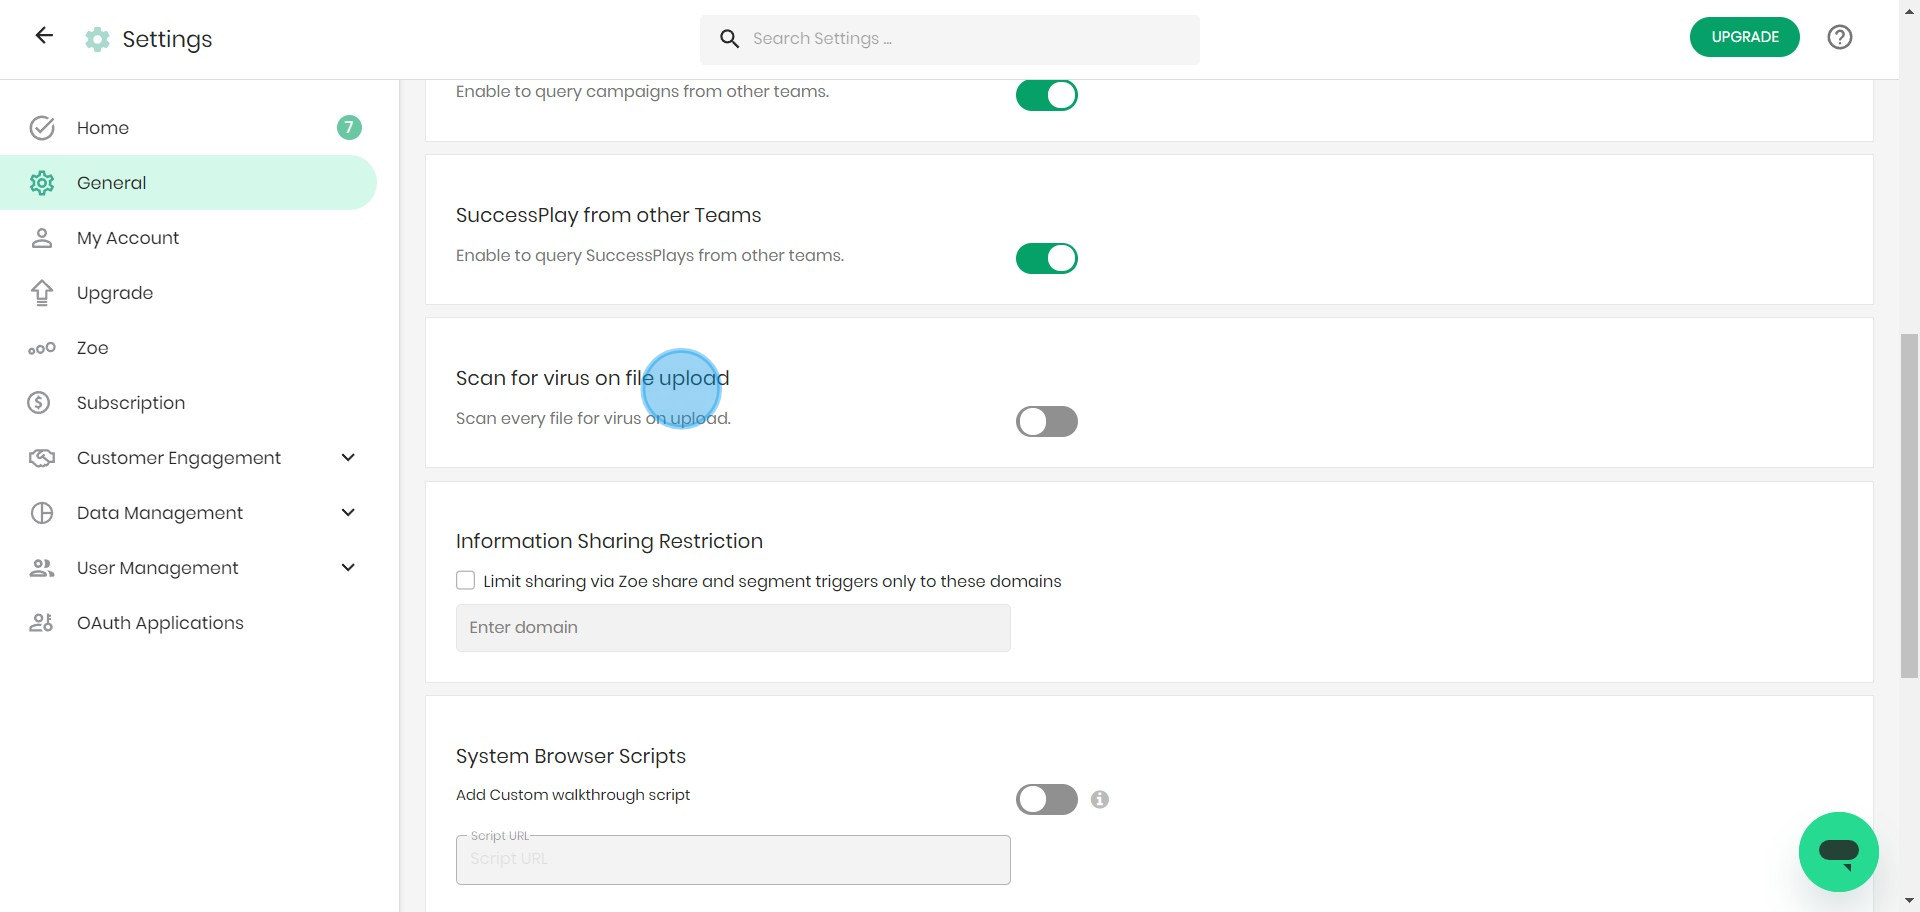
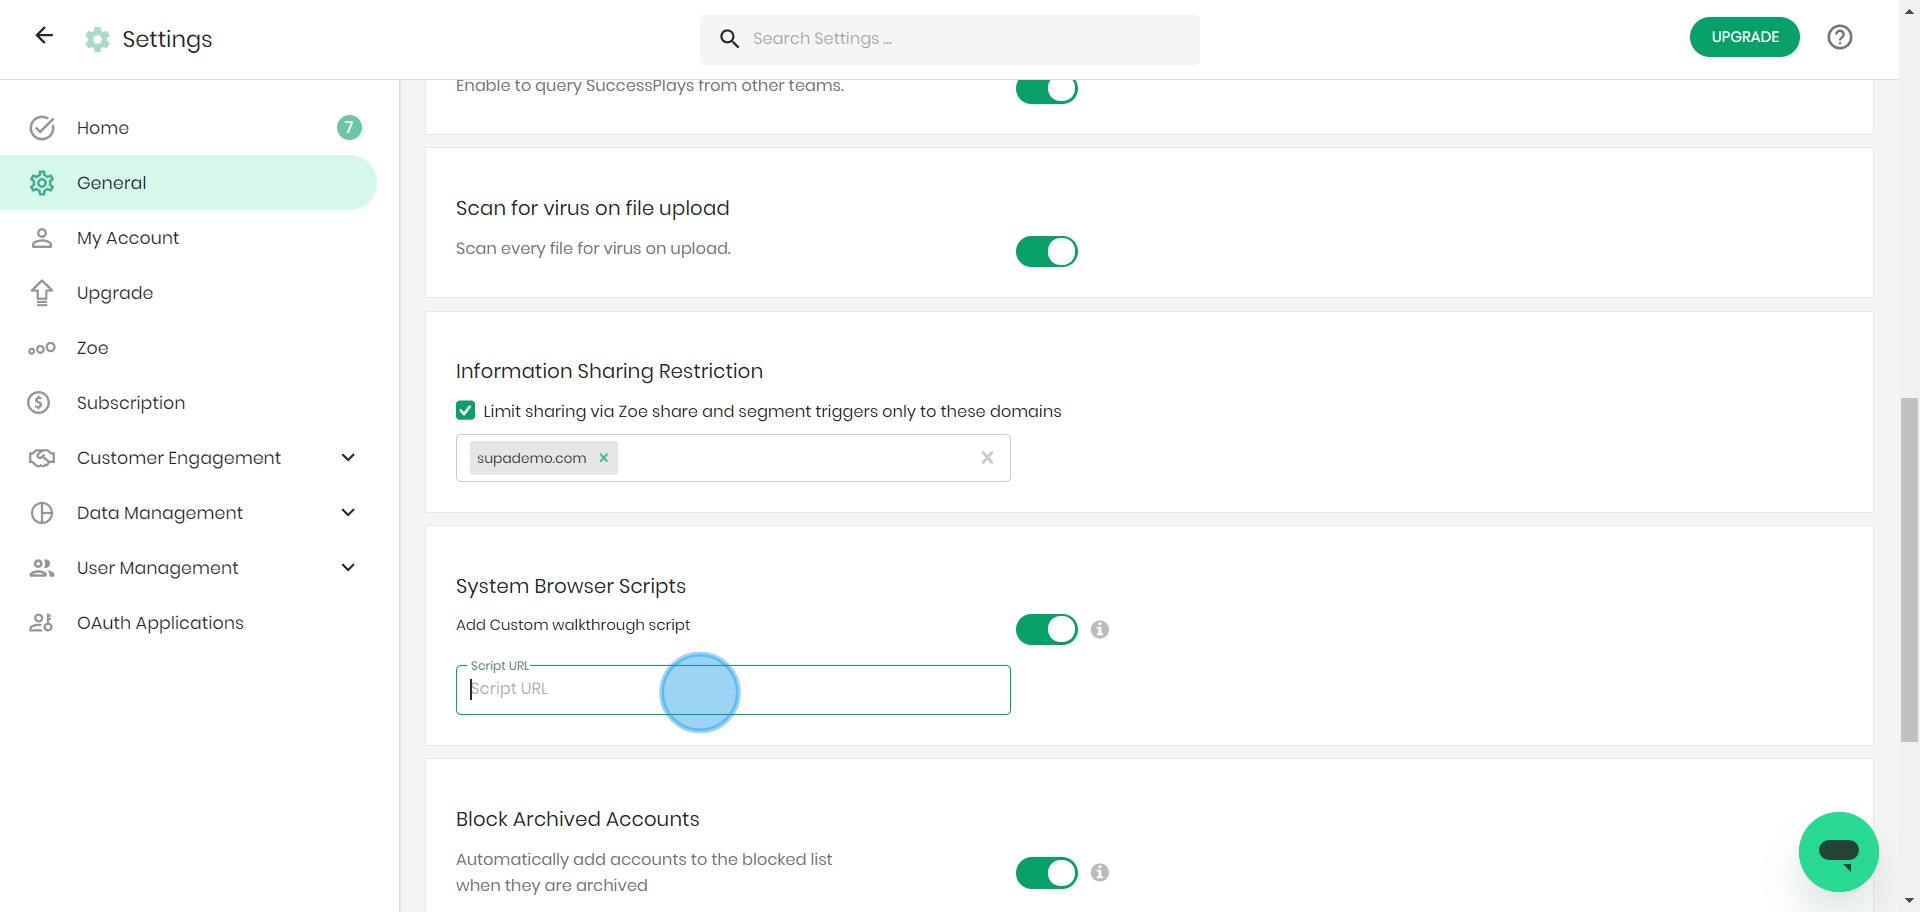
9. Input trusted domain to share customer information.

10. Opt to include Custom walkthrough script.
11. Enter in the provided space, your Script URL.
12. Tick the 'Block Archived Accounts' box.
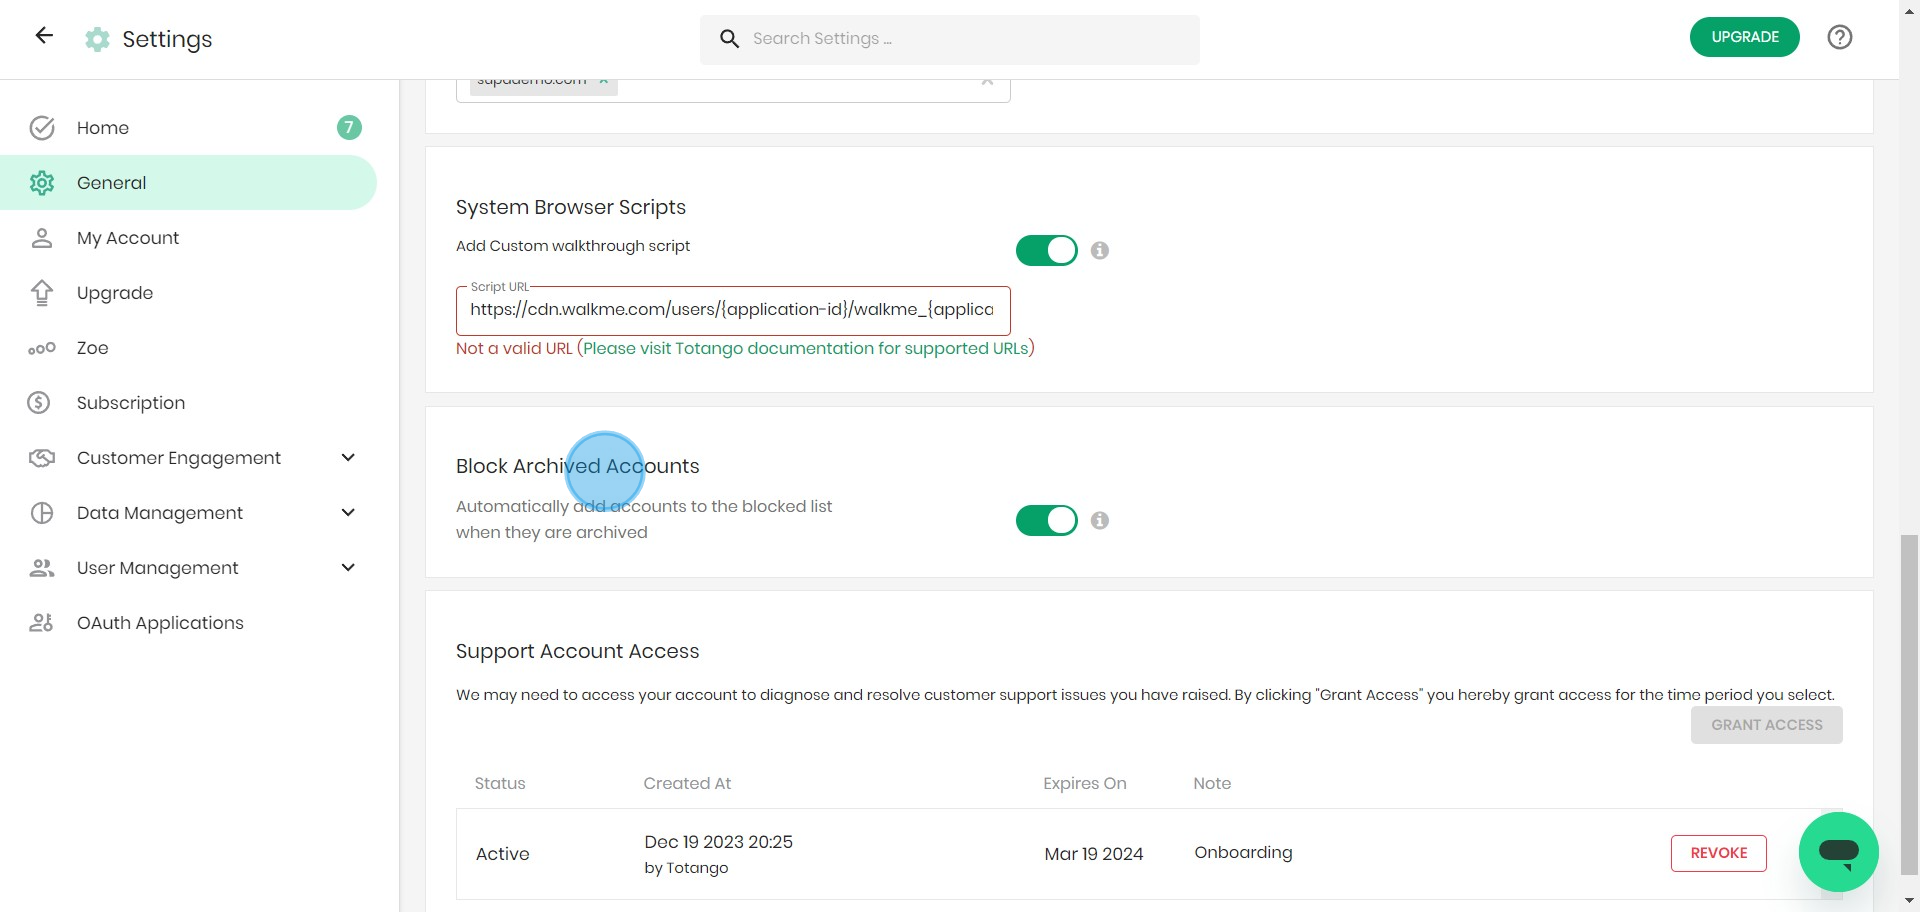
13. Finally, 'Grant Access' to Support Account for finalized scripts.

Create your own step-by-step demo
Scale up your training and product adoption with beautiful AI-powered interactive demos and guides. Create your first Supademo in seconds for free.
Frequently Asked Questions about how to configure settings and trusted domains on totango
Commonly asked questions about this topic.
Does Totango offer templates for settings and trusted domains?
Most modern platforms like Totango include starter templates for common use cases, including settings and trusted domains. Templates save setup time but should be customized to match your team's specific needs — default configurations rarely fit every workflow. Check Totango's template gallery or community library for options relevant to your industry.
Teams using interactive demos across 3-5 use cases report up to 29% higher impact scores.
Can I automate parts of configuring settings and trusted domains in Totango?
Many project management and productivity tools, including Totango, support workflow automation for repetitive tasks. Common automations include status updates, notifications, recurring task creation, and approval flows. Start with simple automations and expand gradually — over-automating early can create maintenance headaches.
Data supports this approach: the State of Interactive Demos 2026 report shows 54% of top-completing demos use AI voiceover.
What integrations does Totango support for configuring settings and trusted domains?
Totango typically integrates with popular tools like Slack, Google Workspace, Microsoft 365, and Zapier for cross-platform automation. These integrations help connect configuring settings and trusted domains workflows with your existing tech stack. Check Totango's integration marketplace for specific connectors relevant to your use case.
Supademo supports AI voiceover in 15+ languages for global teams.
What plan do I need on Totango for full settings and trusted domains features?
Free tiers on platforms like Totango often include basic settings and trusted domains functionality, while advanced features like automation, custom fields, and timeline views typically require paid plans. Compare your must-have features against each tier's offering — paying for features you don't use wastes budget, but outgrowing a free plan mid-project is disruptive. According to Supademo's 2026 report, 78% of teams now use top arcade alternatives 2026s across 2+ use cases.
How do I document my settings and trusted domains workflow for team reference?
Capture the end-to-end process with annotated screenshots or clickable walkthroughs — written-only SOPs often go unread. Tools like Supademo let you record the exact steps in Totango, creating a living reference that stays current with UI changes. Store documentation where your team already works, not in a separate wiki they'll forget to check.
For context, 78% of teams now use interactive demos in 2 or more use cases, according to the State of Interactive Demos 2026 report.
What common mistakes should I avoid when configuring settings and trusted domains?
The biggest mistake is overcomplicating the setup — adding too many fields, views, or automations before validating the basic workflow. Another common issue is inconsistent naming conventions, which makes searching and filtering unreliable at scale. Finally, skipping regular reviews leads to outdated settings and trusted domains data that erodes team trust in the system.
This is backed by data — the State of Interactive Demos 2026 report found 45% of teams adopted interactive demos specifically to solve onboarding friction.
What are best practices for configuring settings and trusted domains effectively?
Start by defining your objectives clearly before configuring anything. Keep the structure simple and focused — avoid overloading with unnecessary fields or detail that nobody references. Review and update regularly with your team to catch stale information early, and assign clear ownership so nothing falls through the cracks.
54% of top-completing demos use AI voiceover to improve the guided experience.
Nithil Shanmugam
Content Marketer
Nithil is a startup-obsessed operator focused on growth, sales and marketing. He's passionate about wearing different hats across startups to deliver real value.