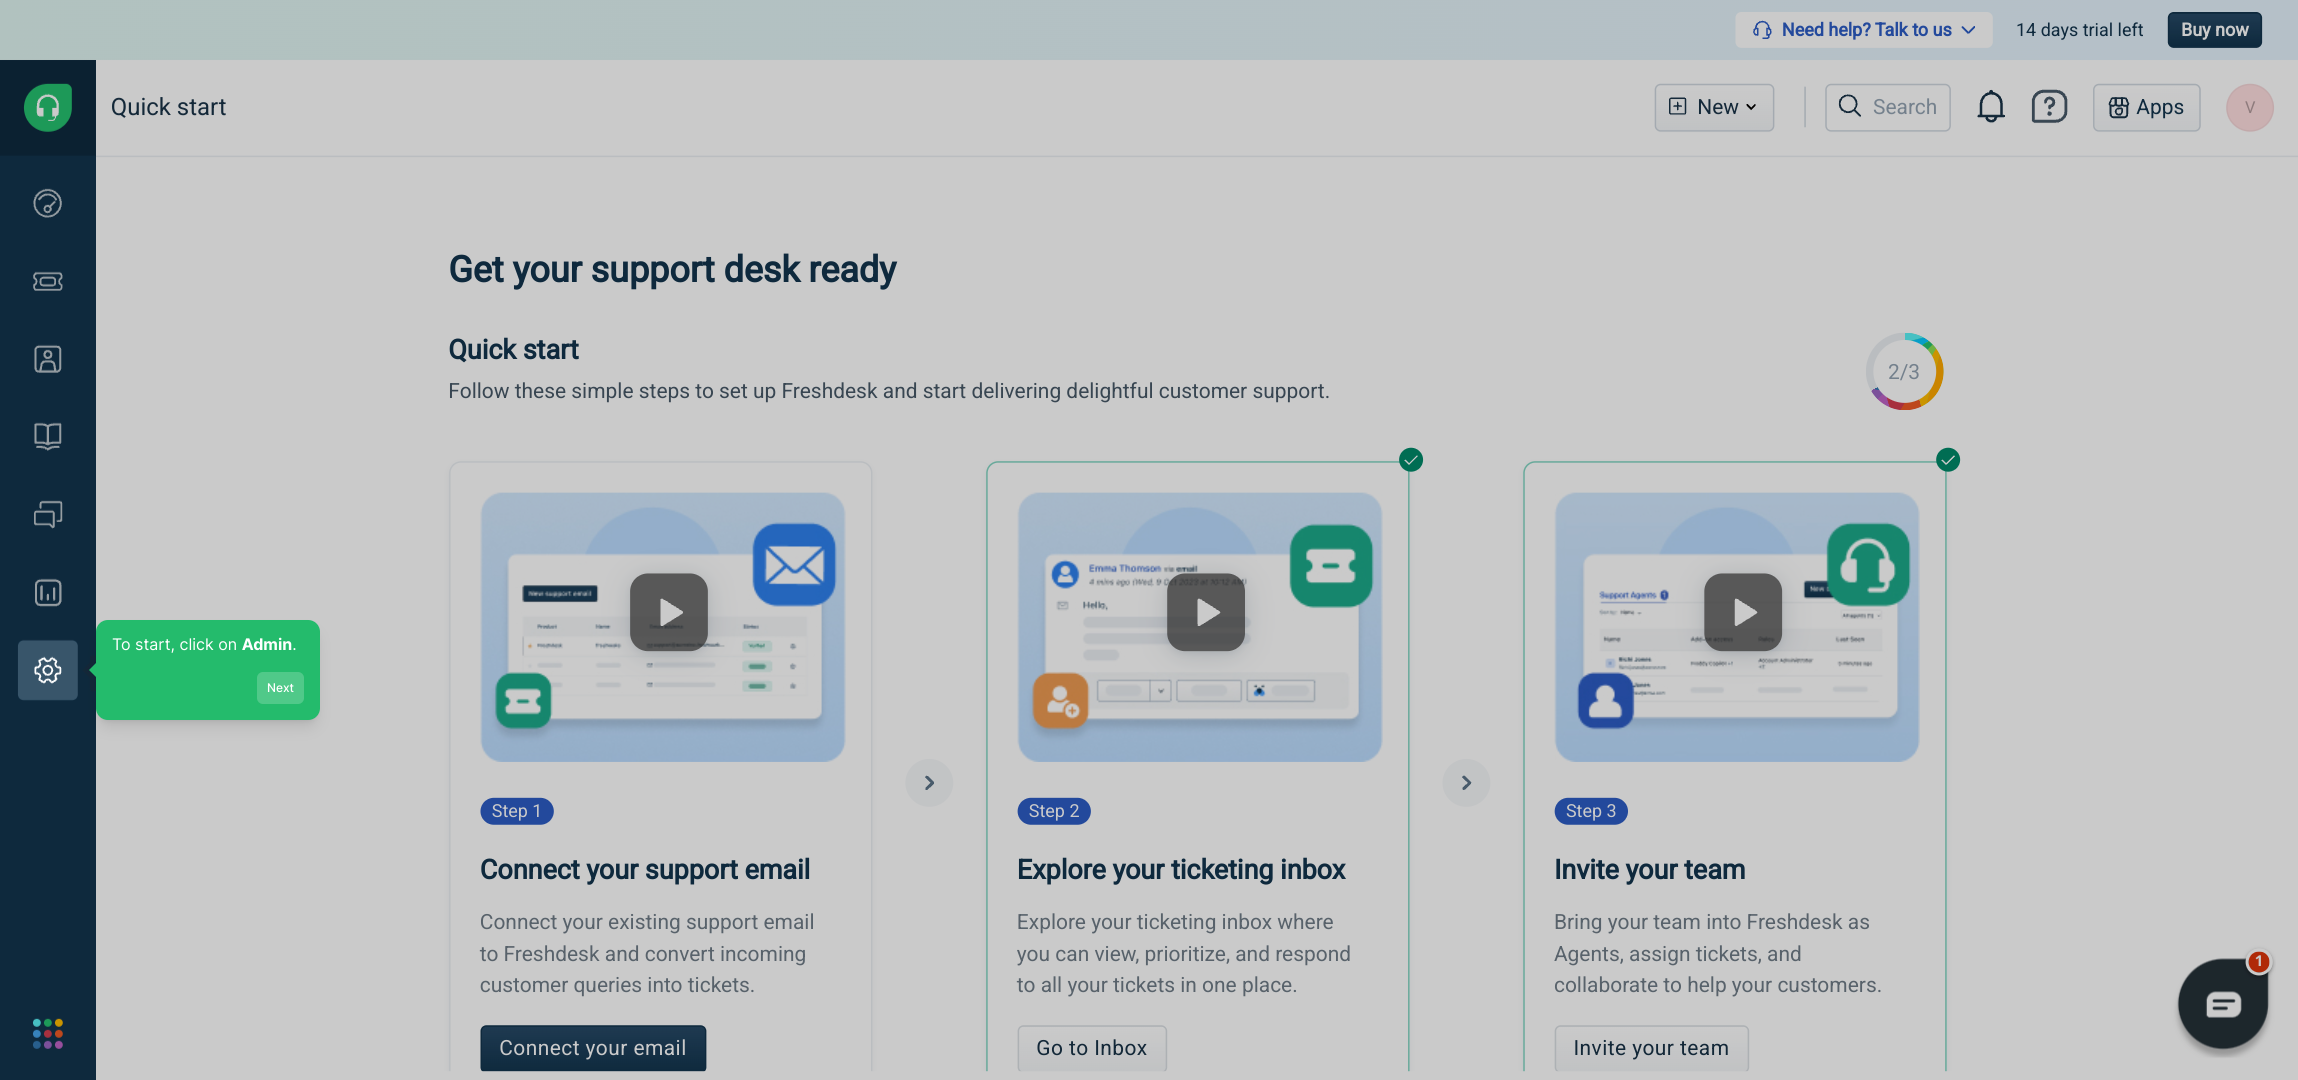
1. To start, click on Admin.
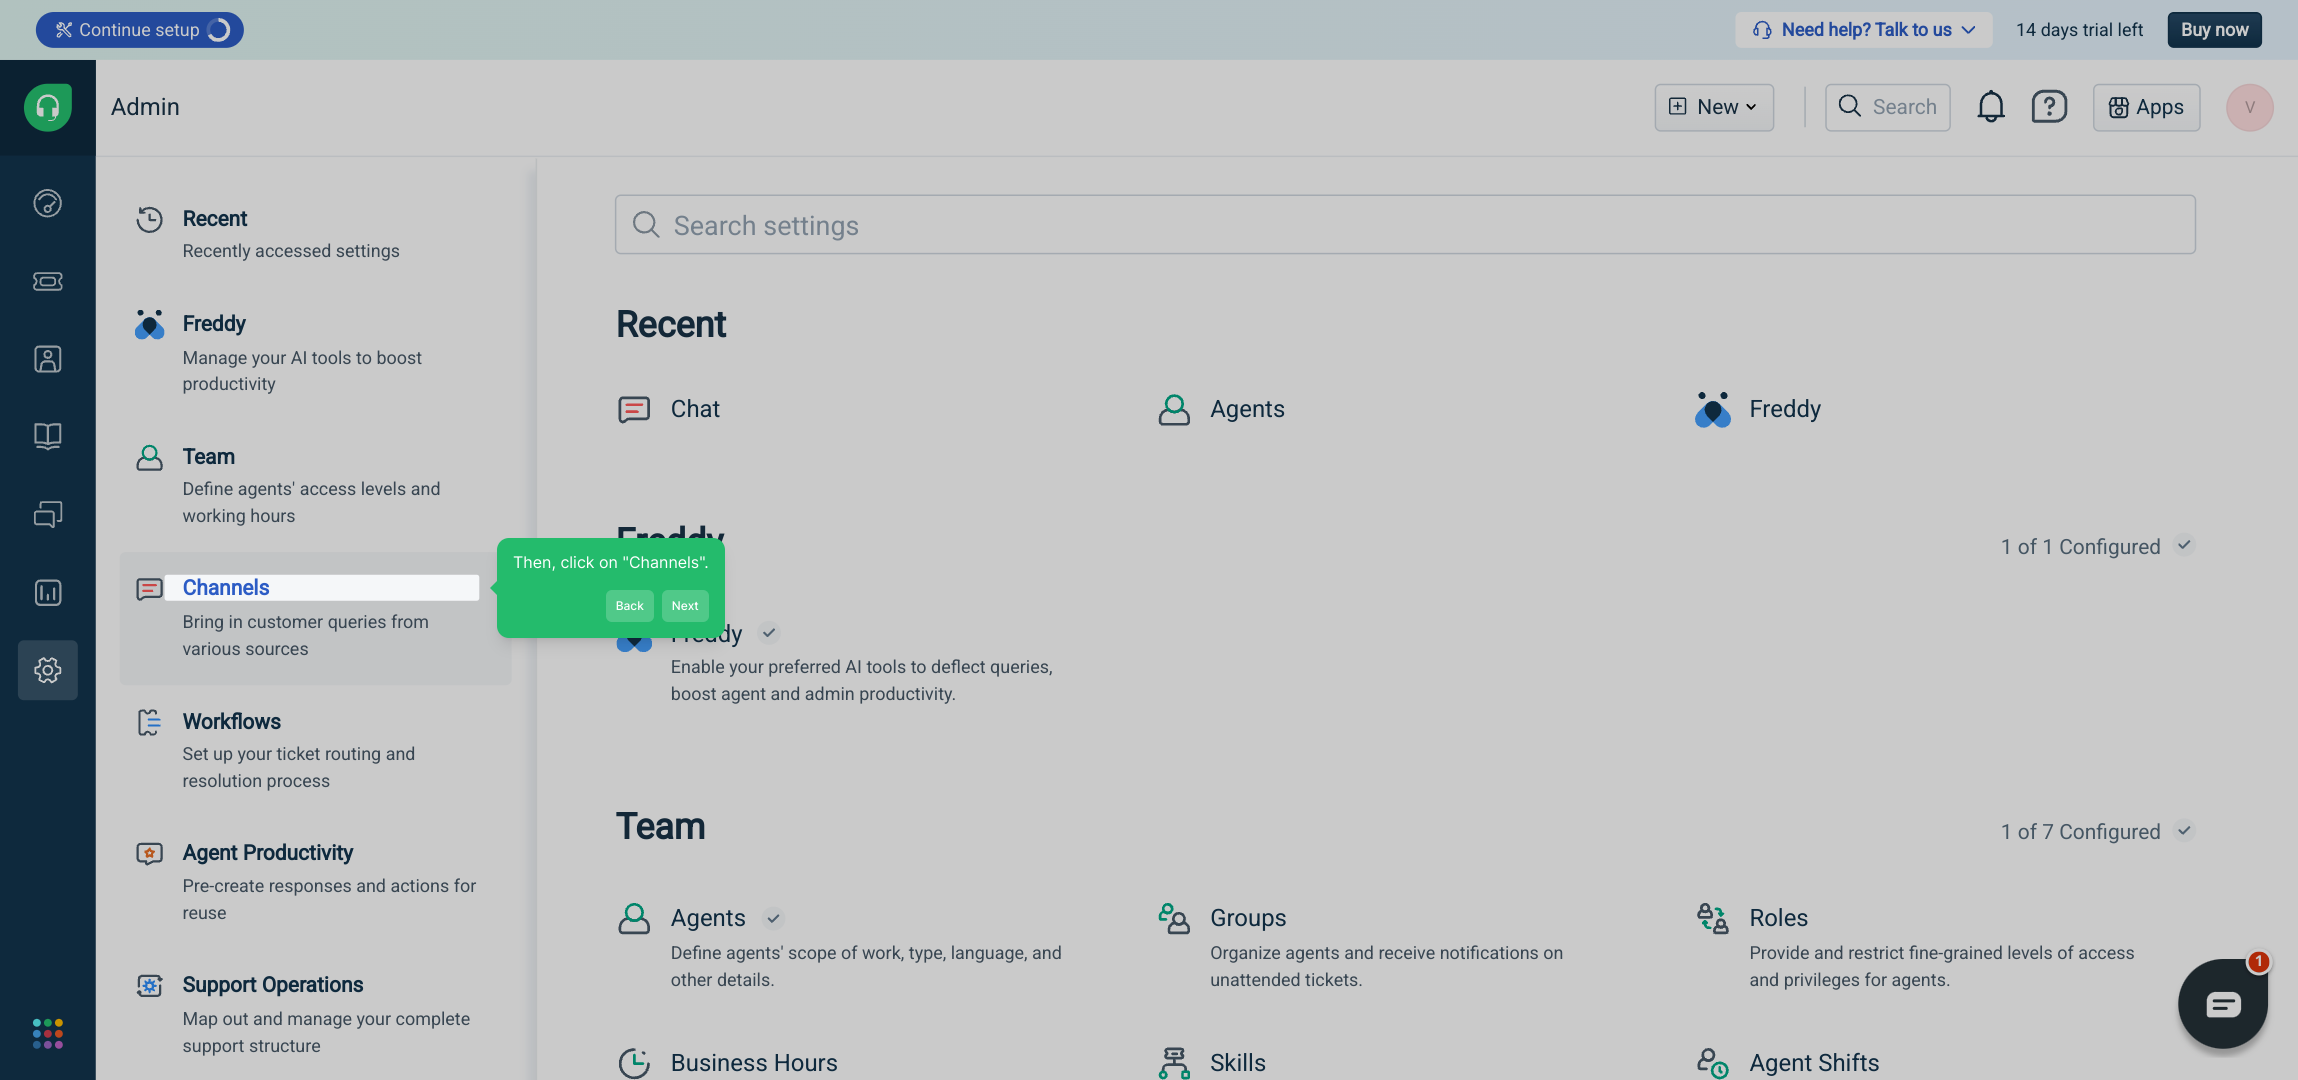
2. Then, click on "Channels".
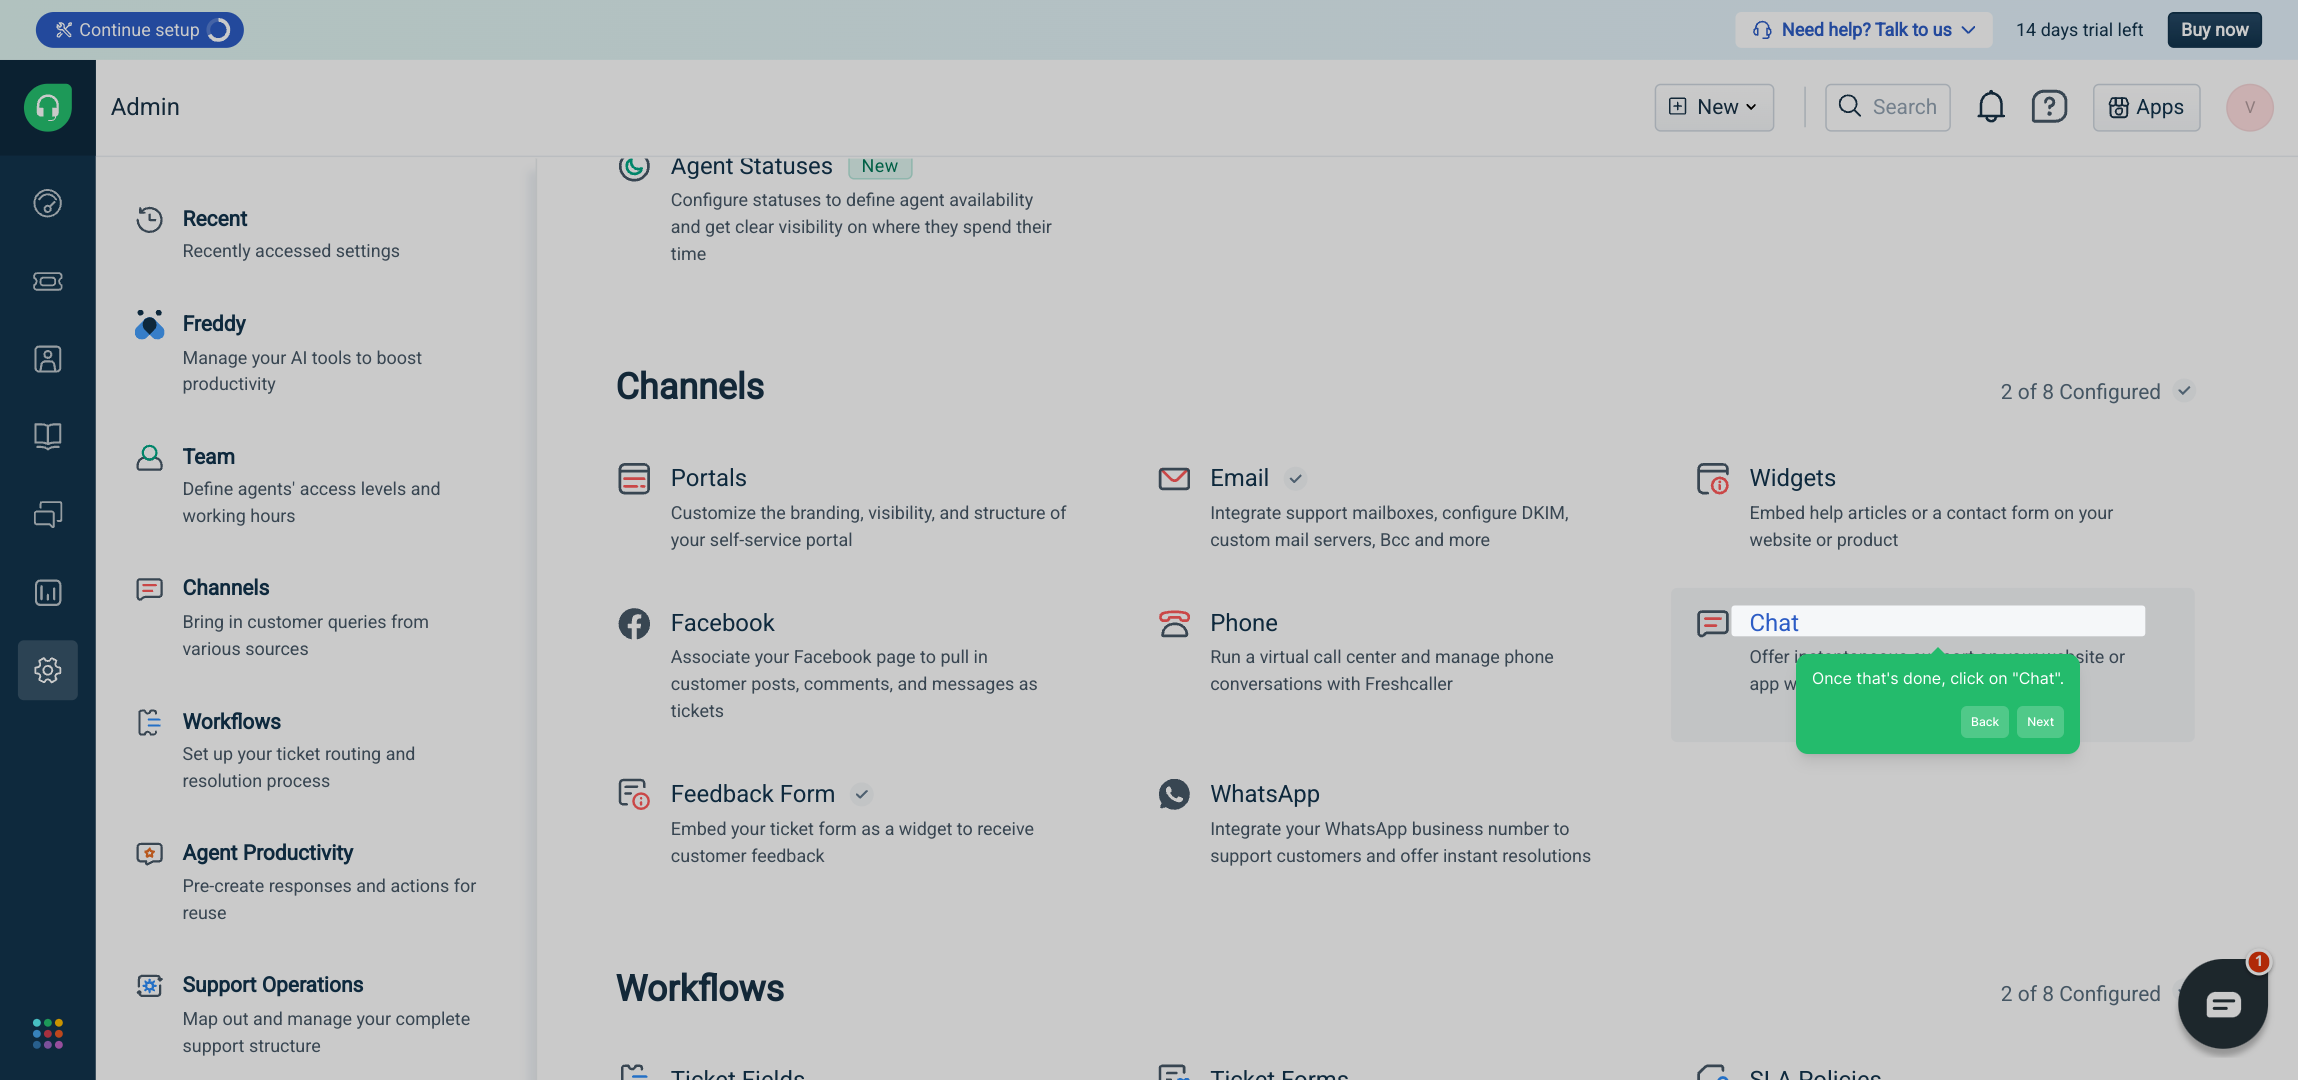
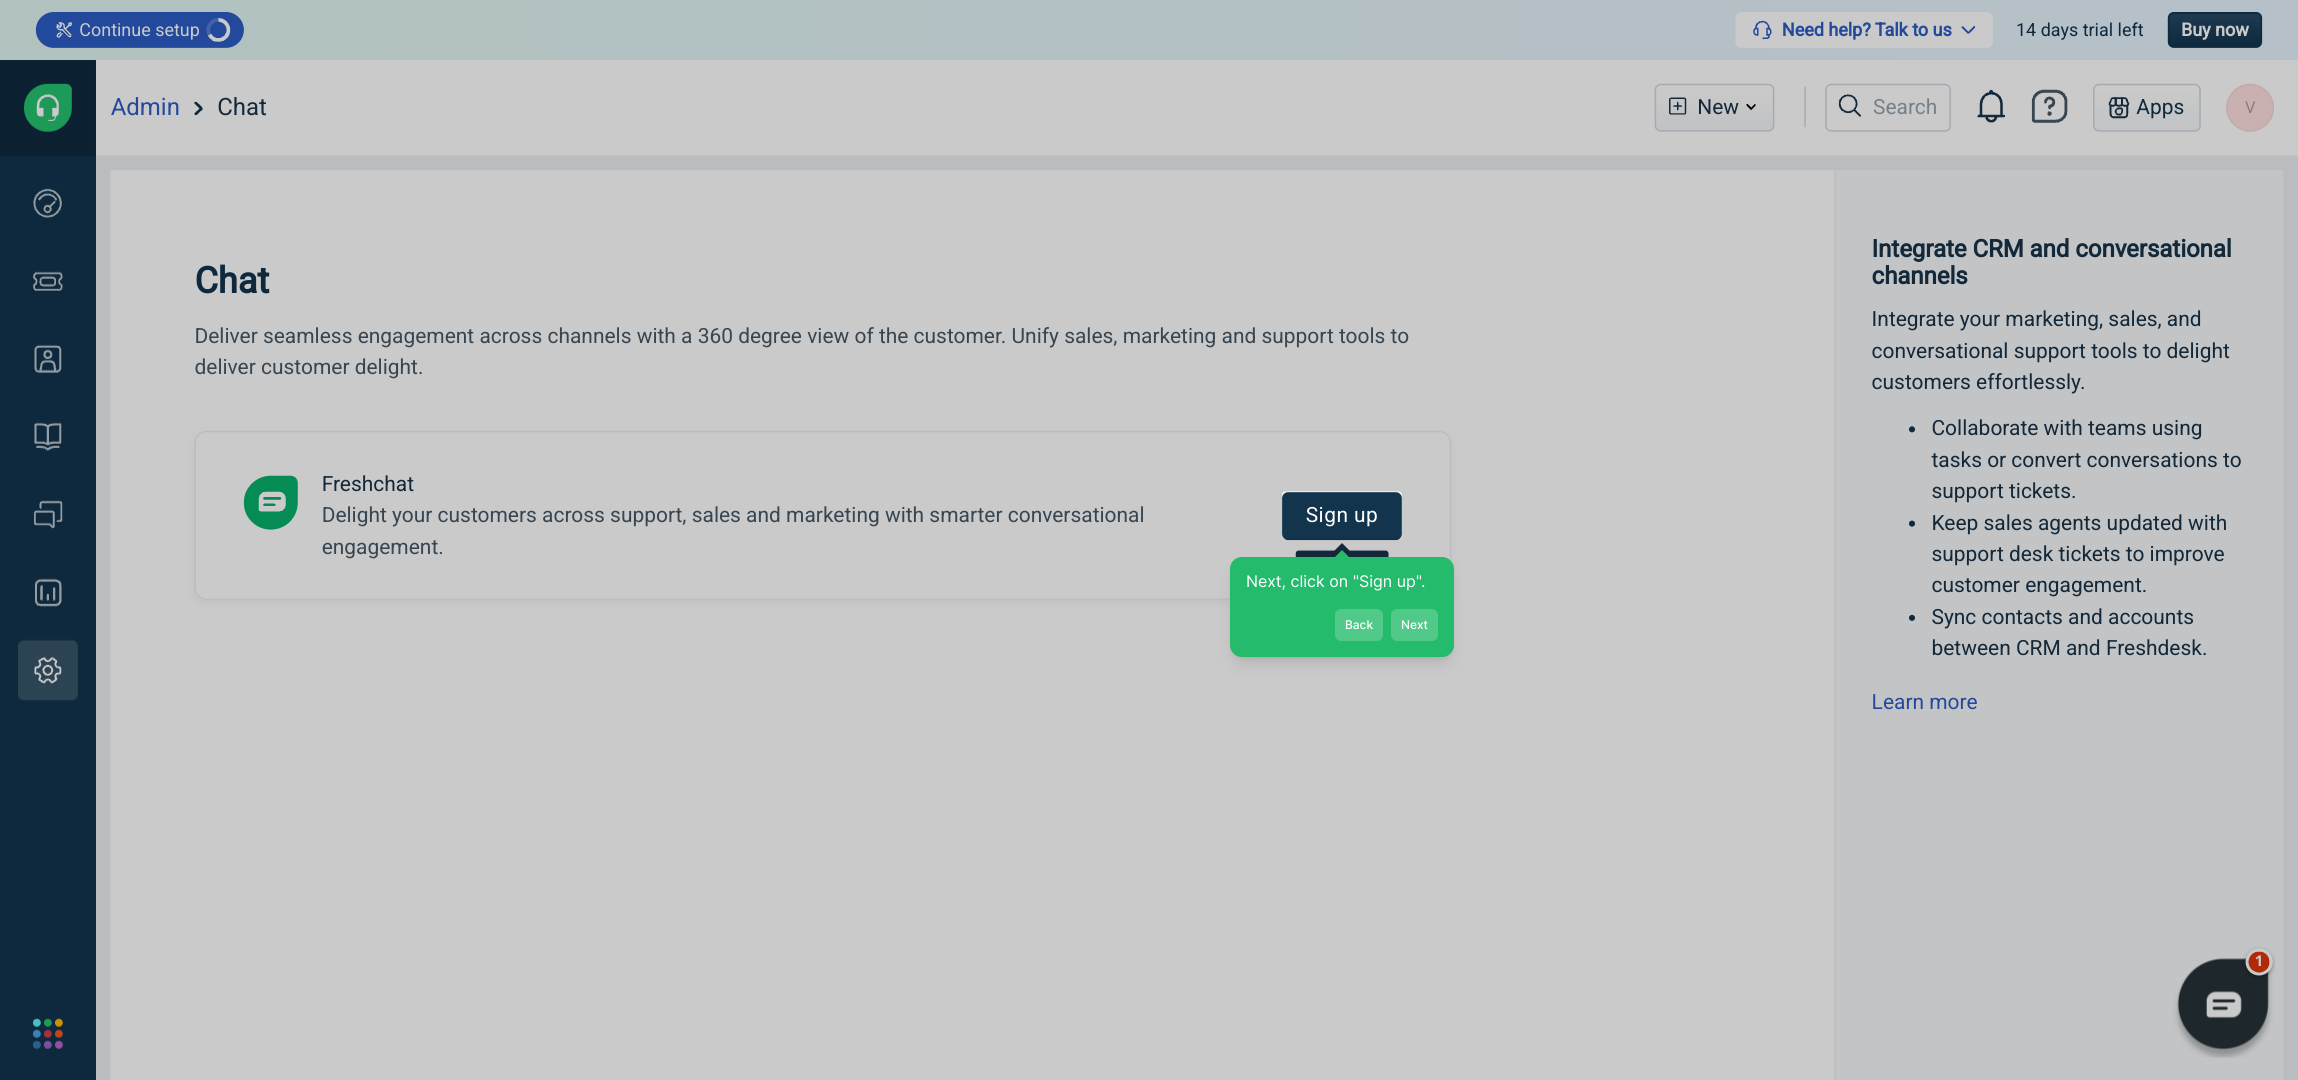
3. Once that's done, click on "Chat".
4. Next, click on "Sign up".
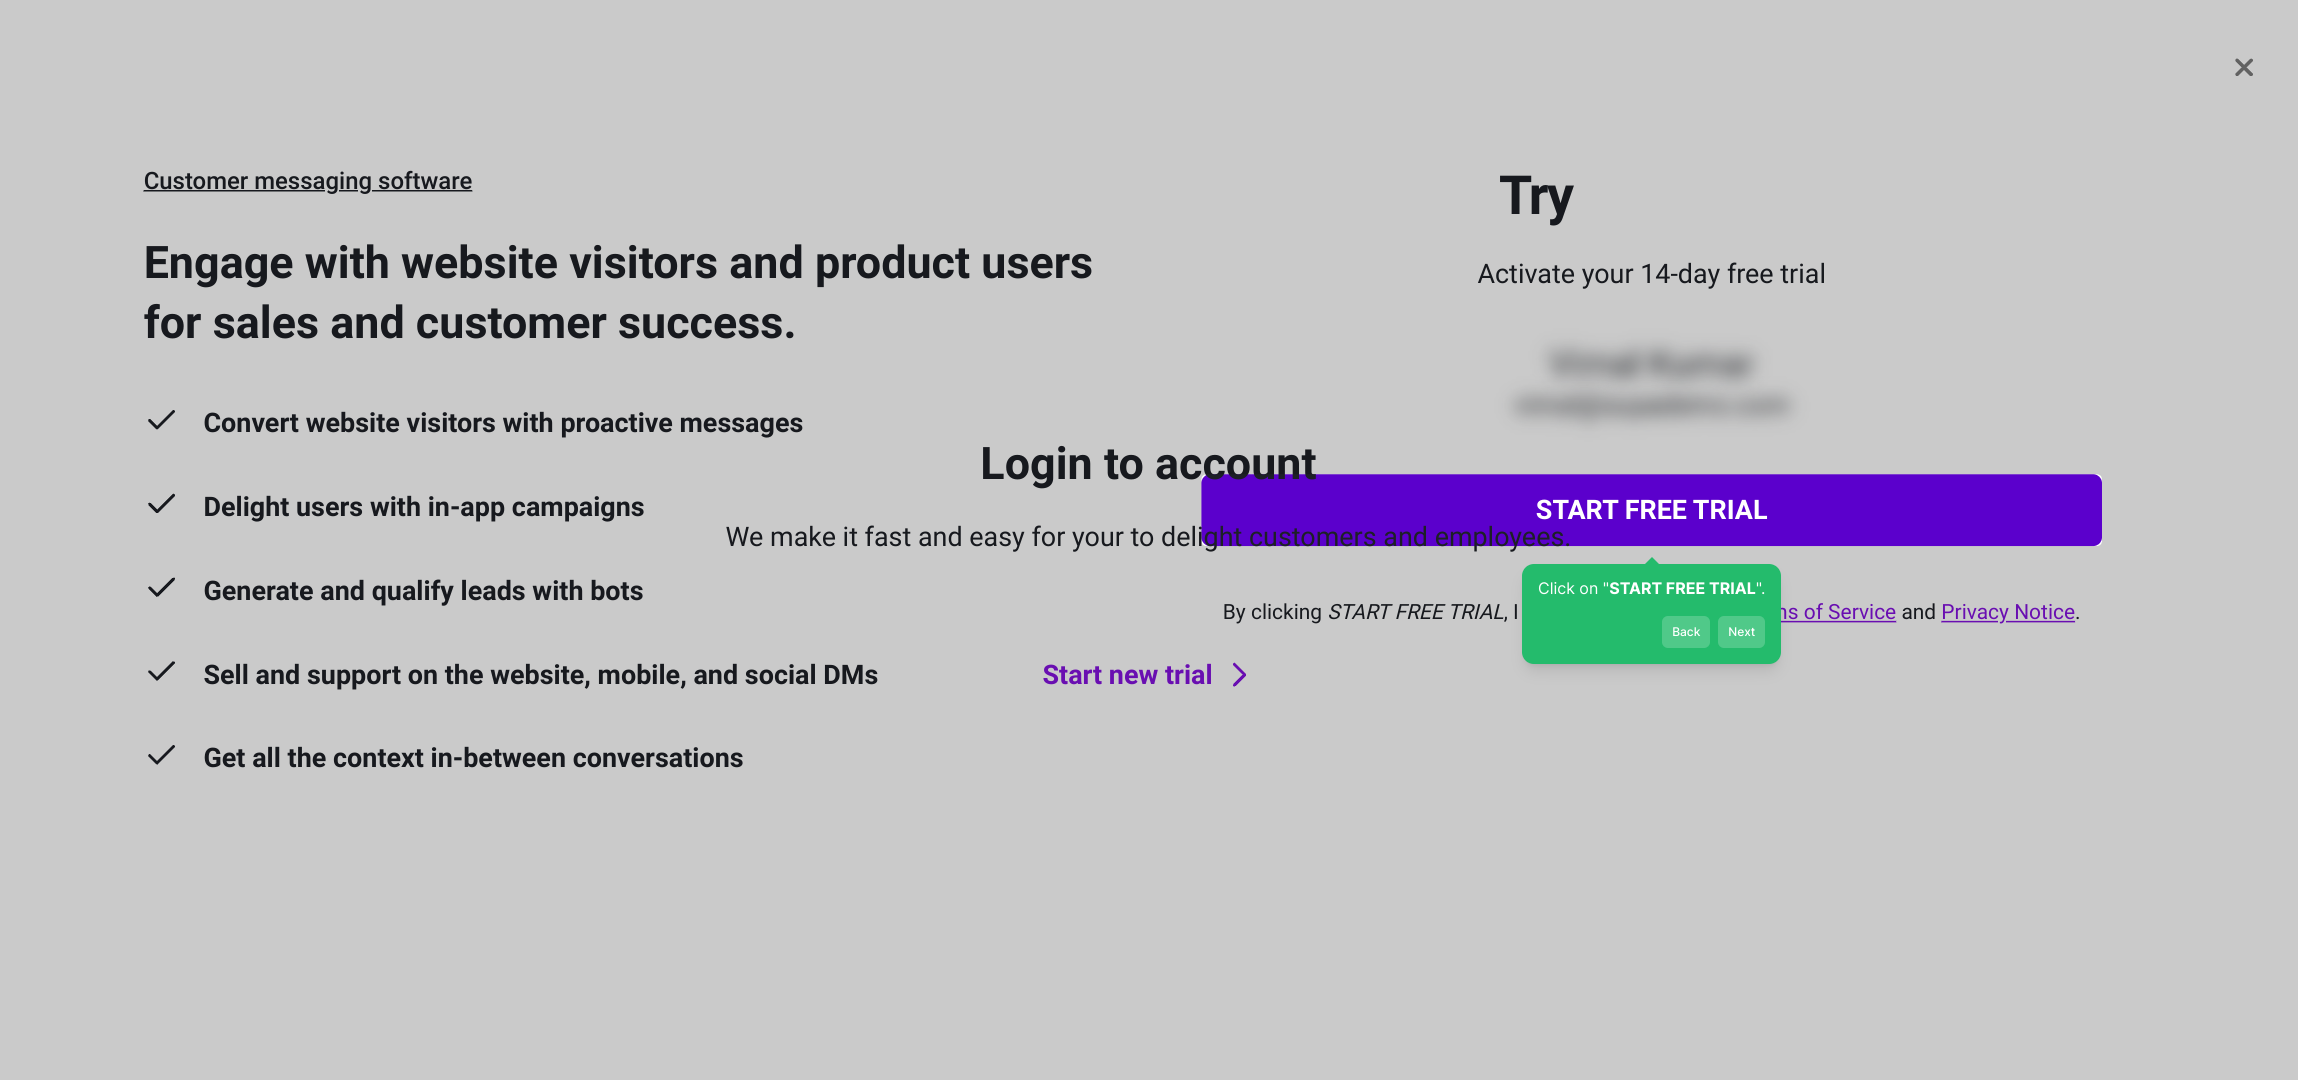
5. Click on "START FREE TRIAL".
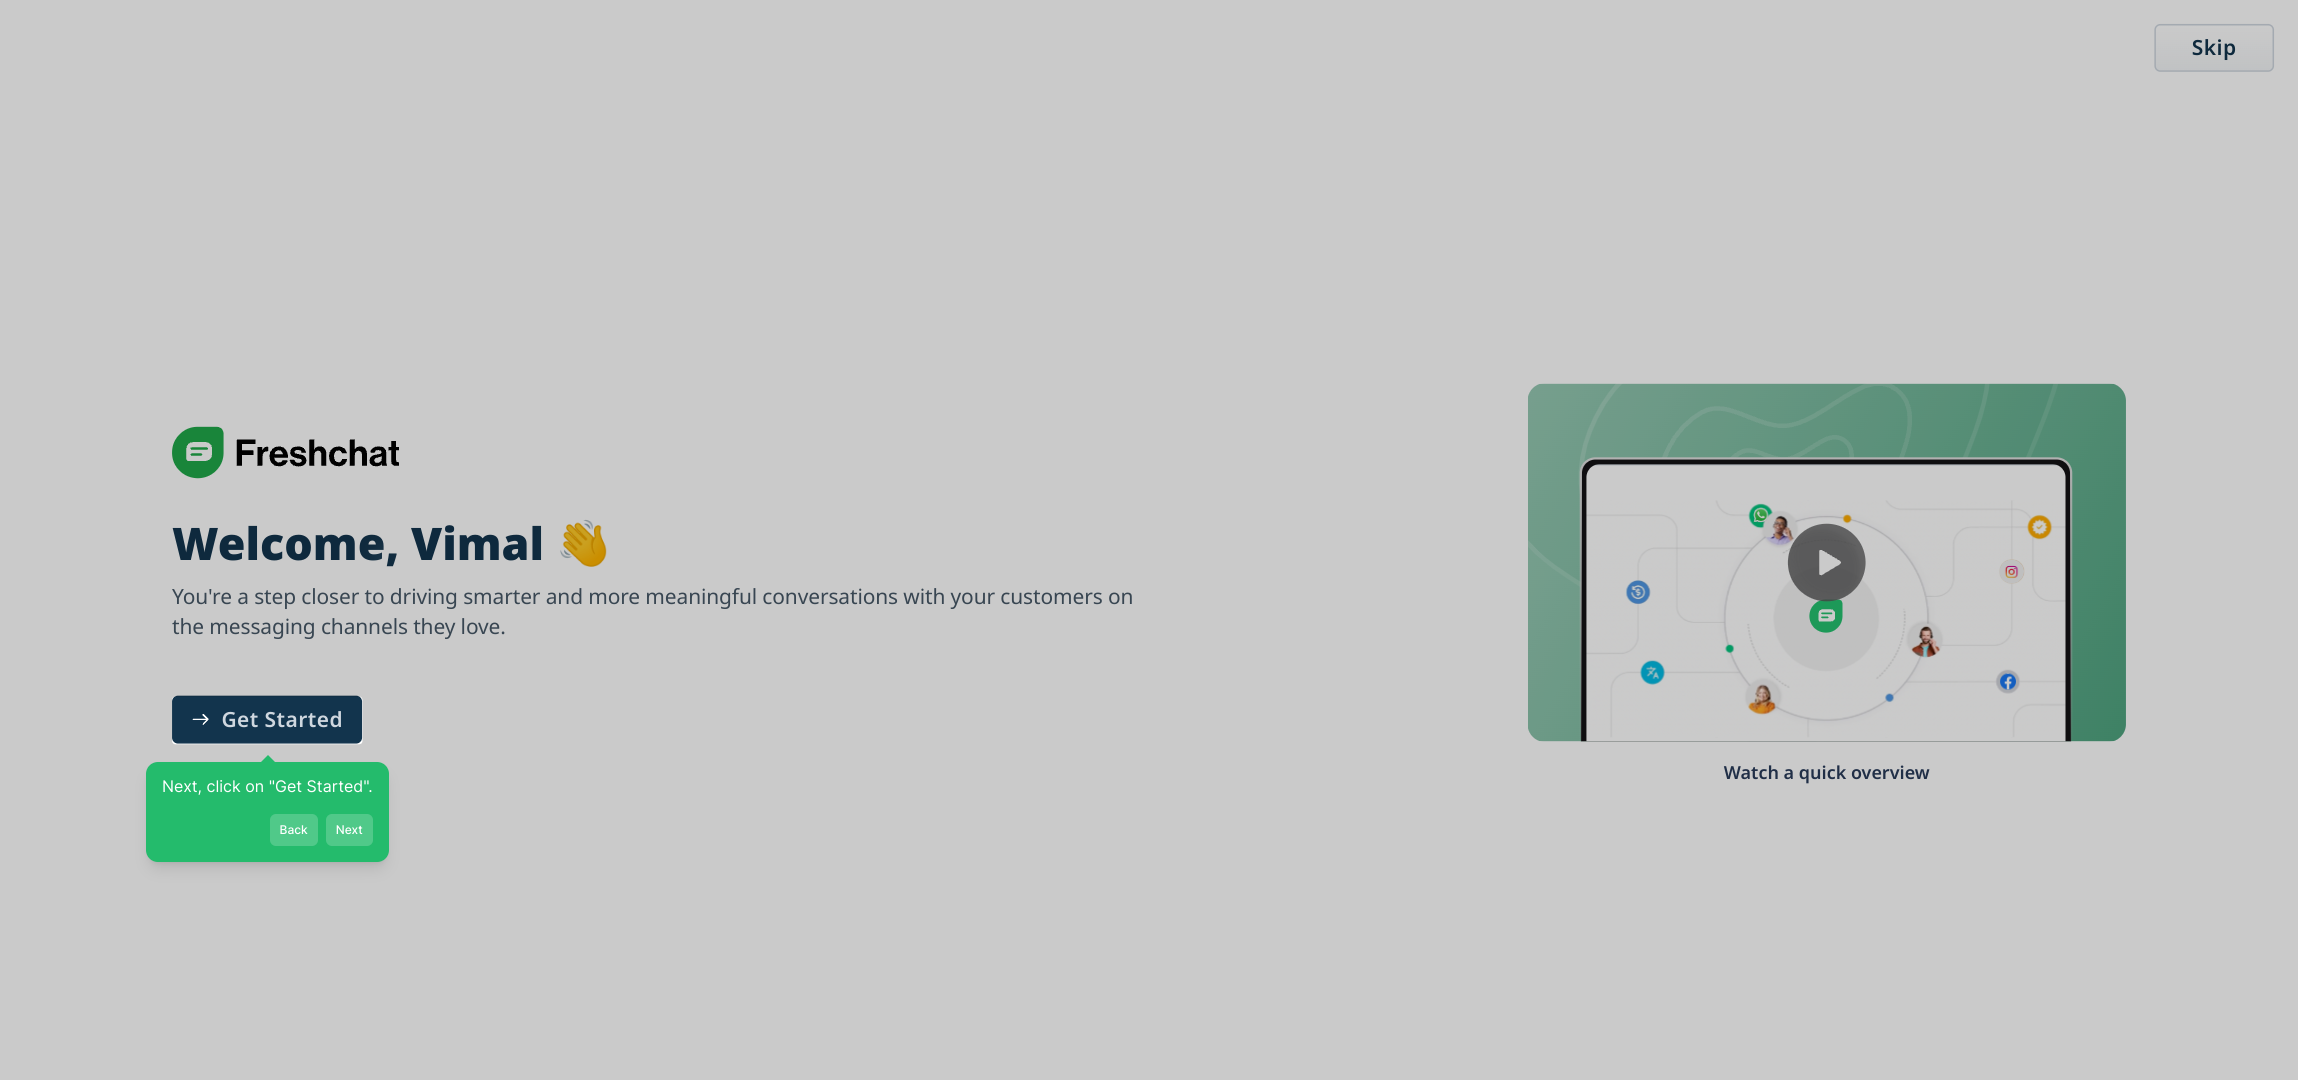
6. Next, click on "Get Started".
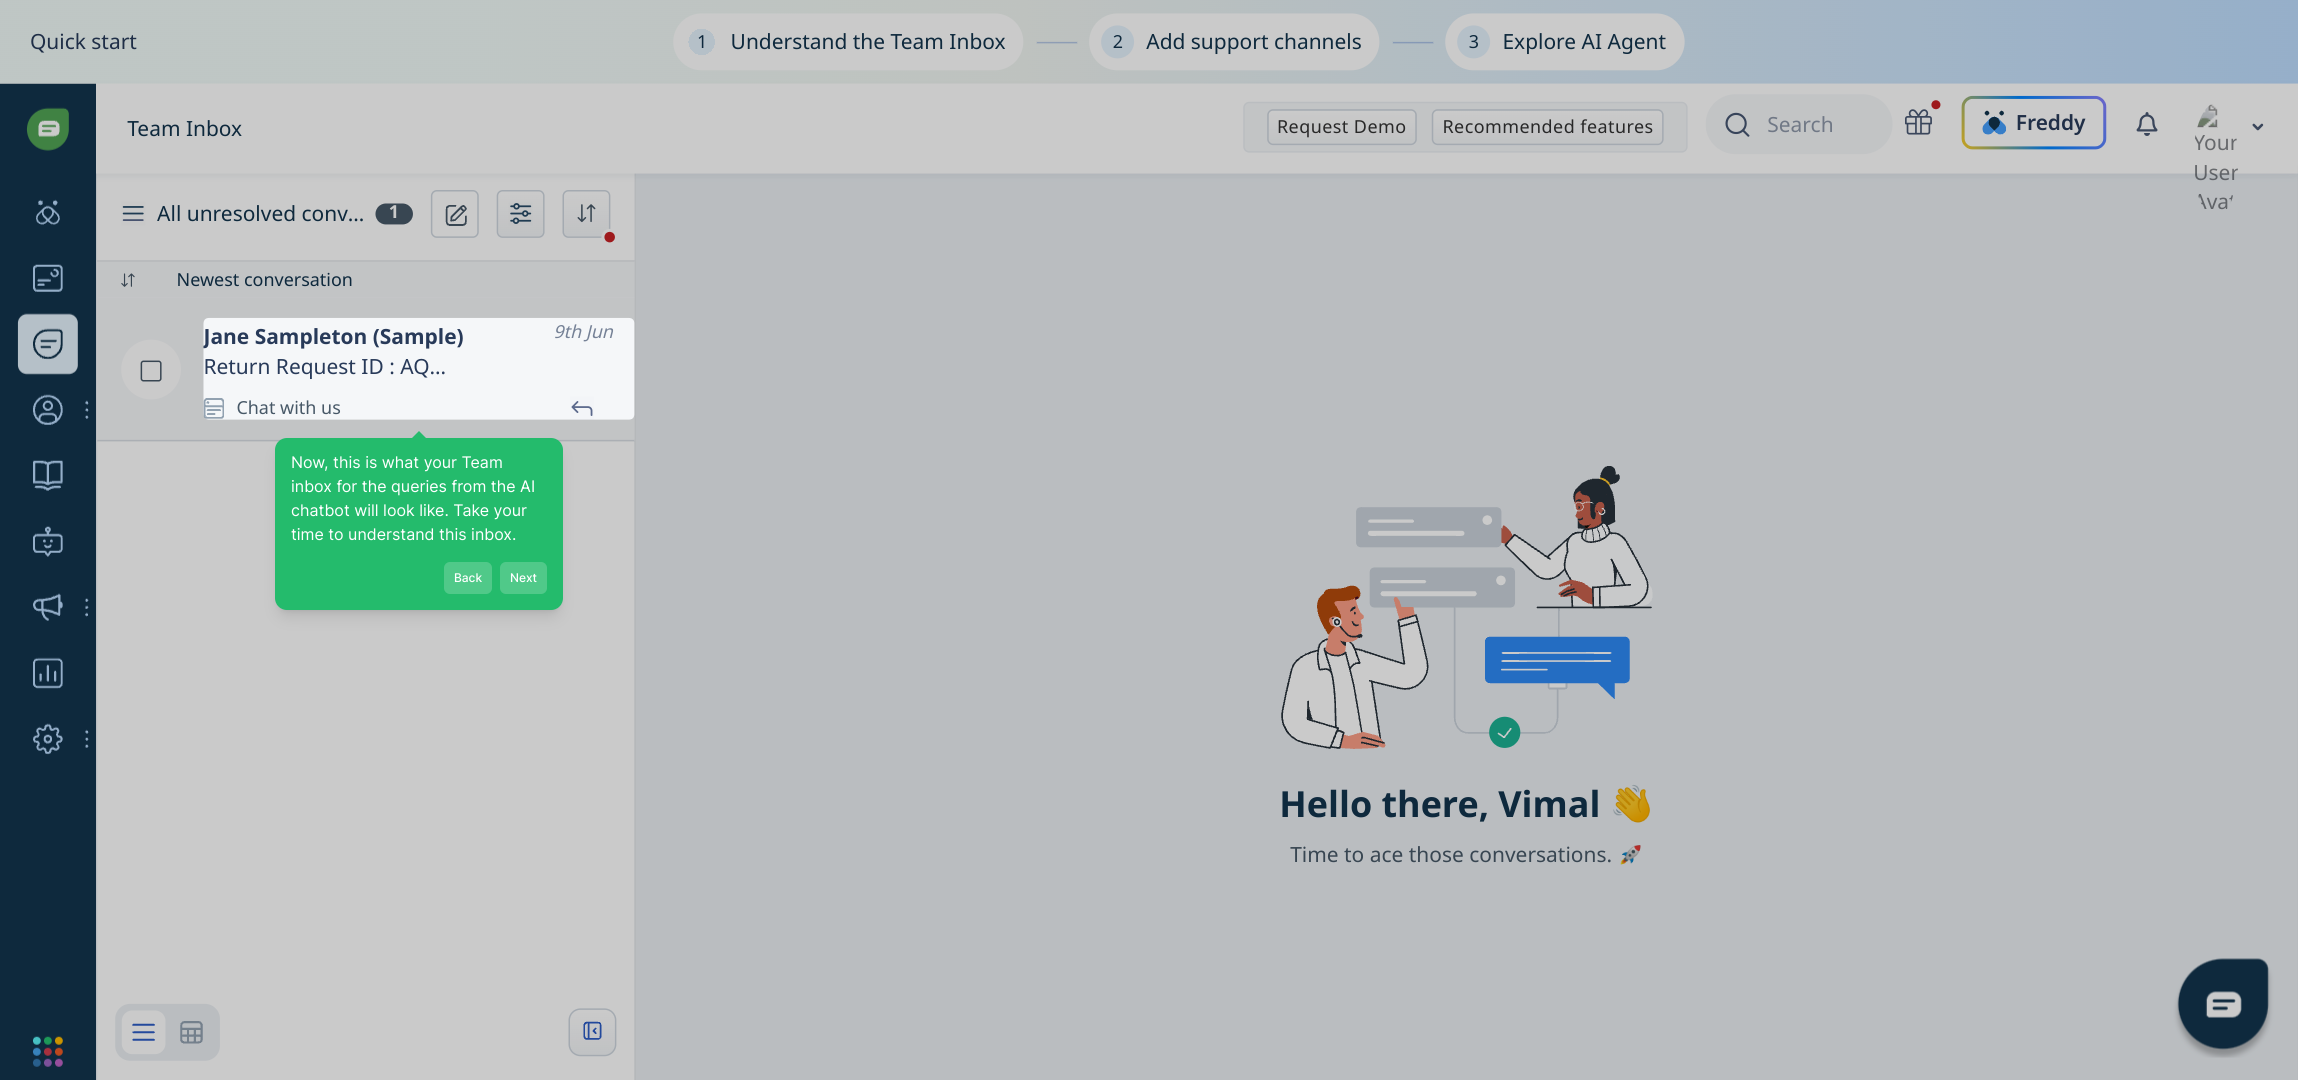
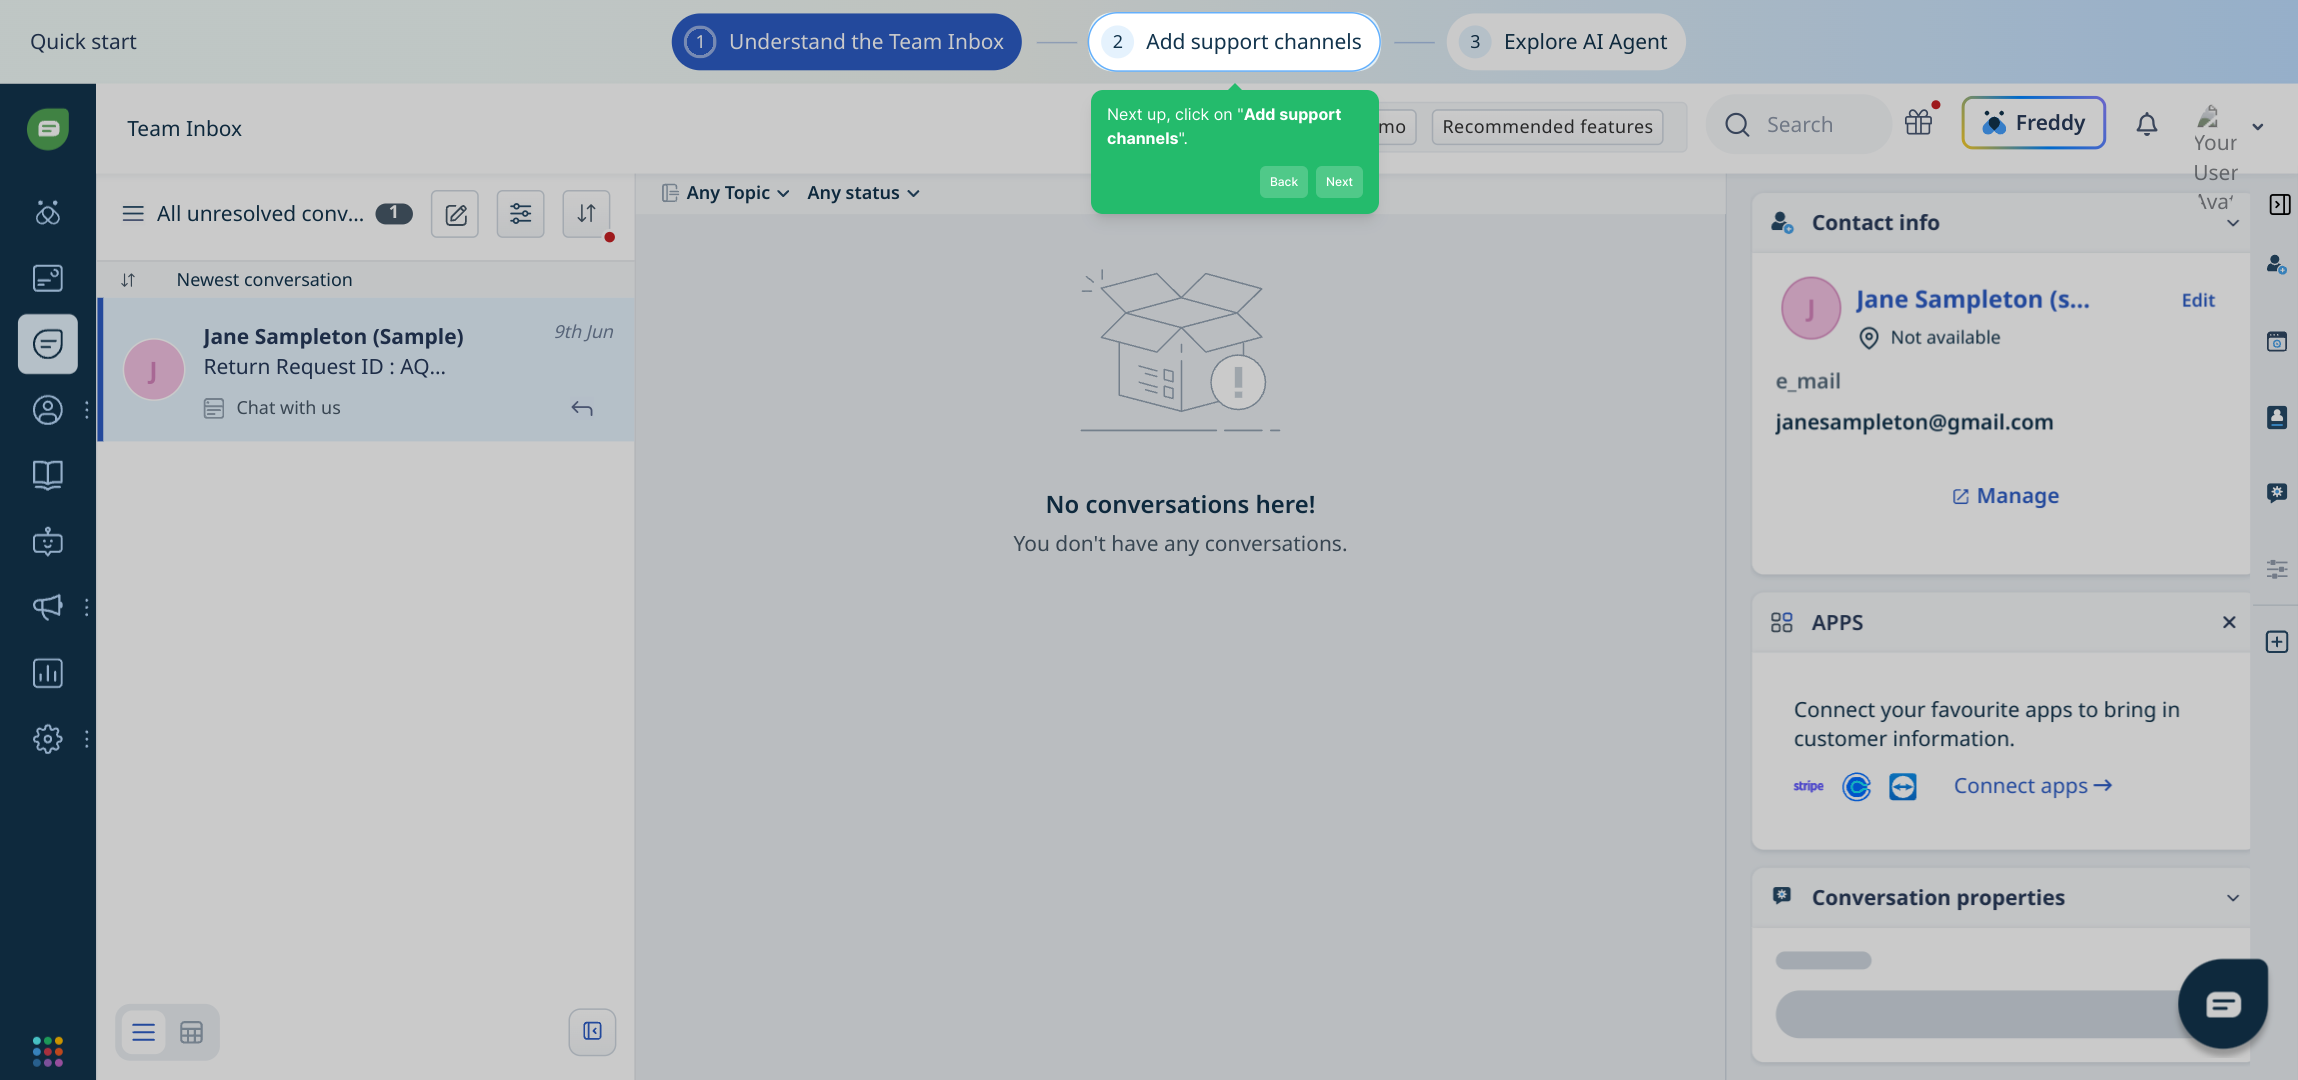
7. Now, this is what your Team inbox for the queries from the AI chatbot will look like. Take your time to understand this inbox.
8. Next up, click on "Add support channels".
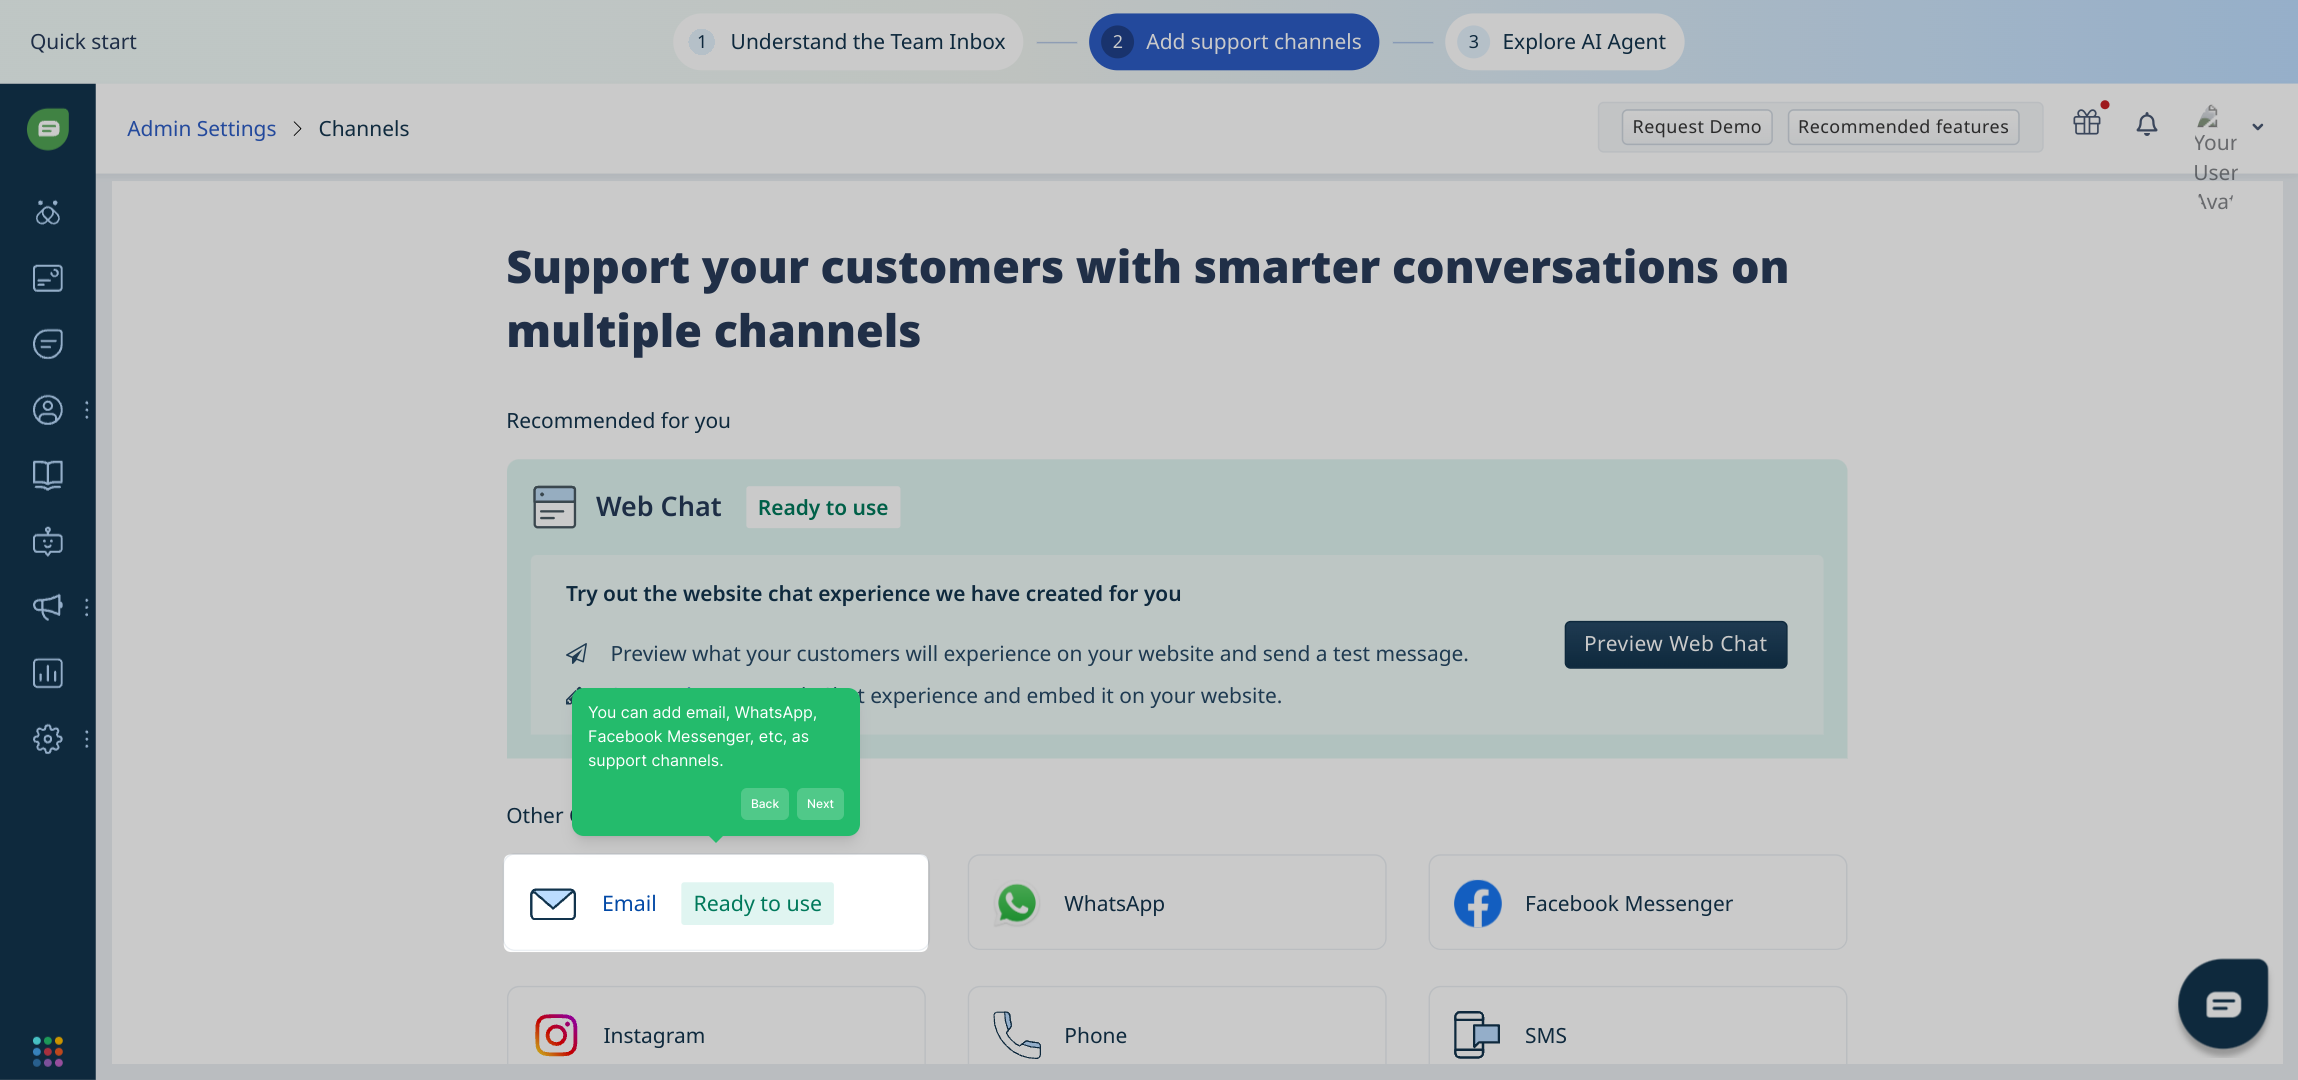
9. You can add email, WhatsApp, Facebook Messenger, etc, as support channels.
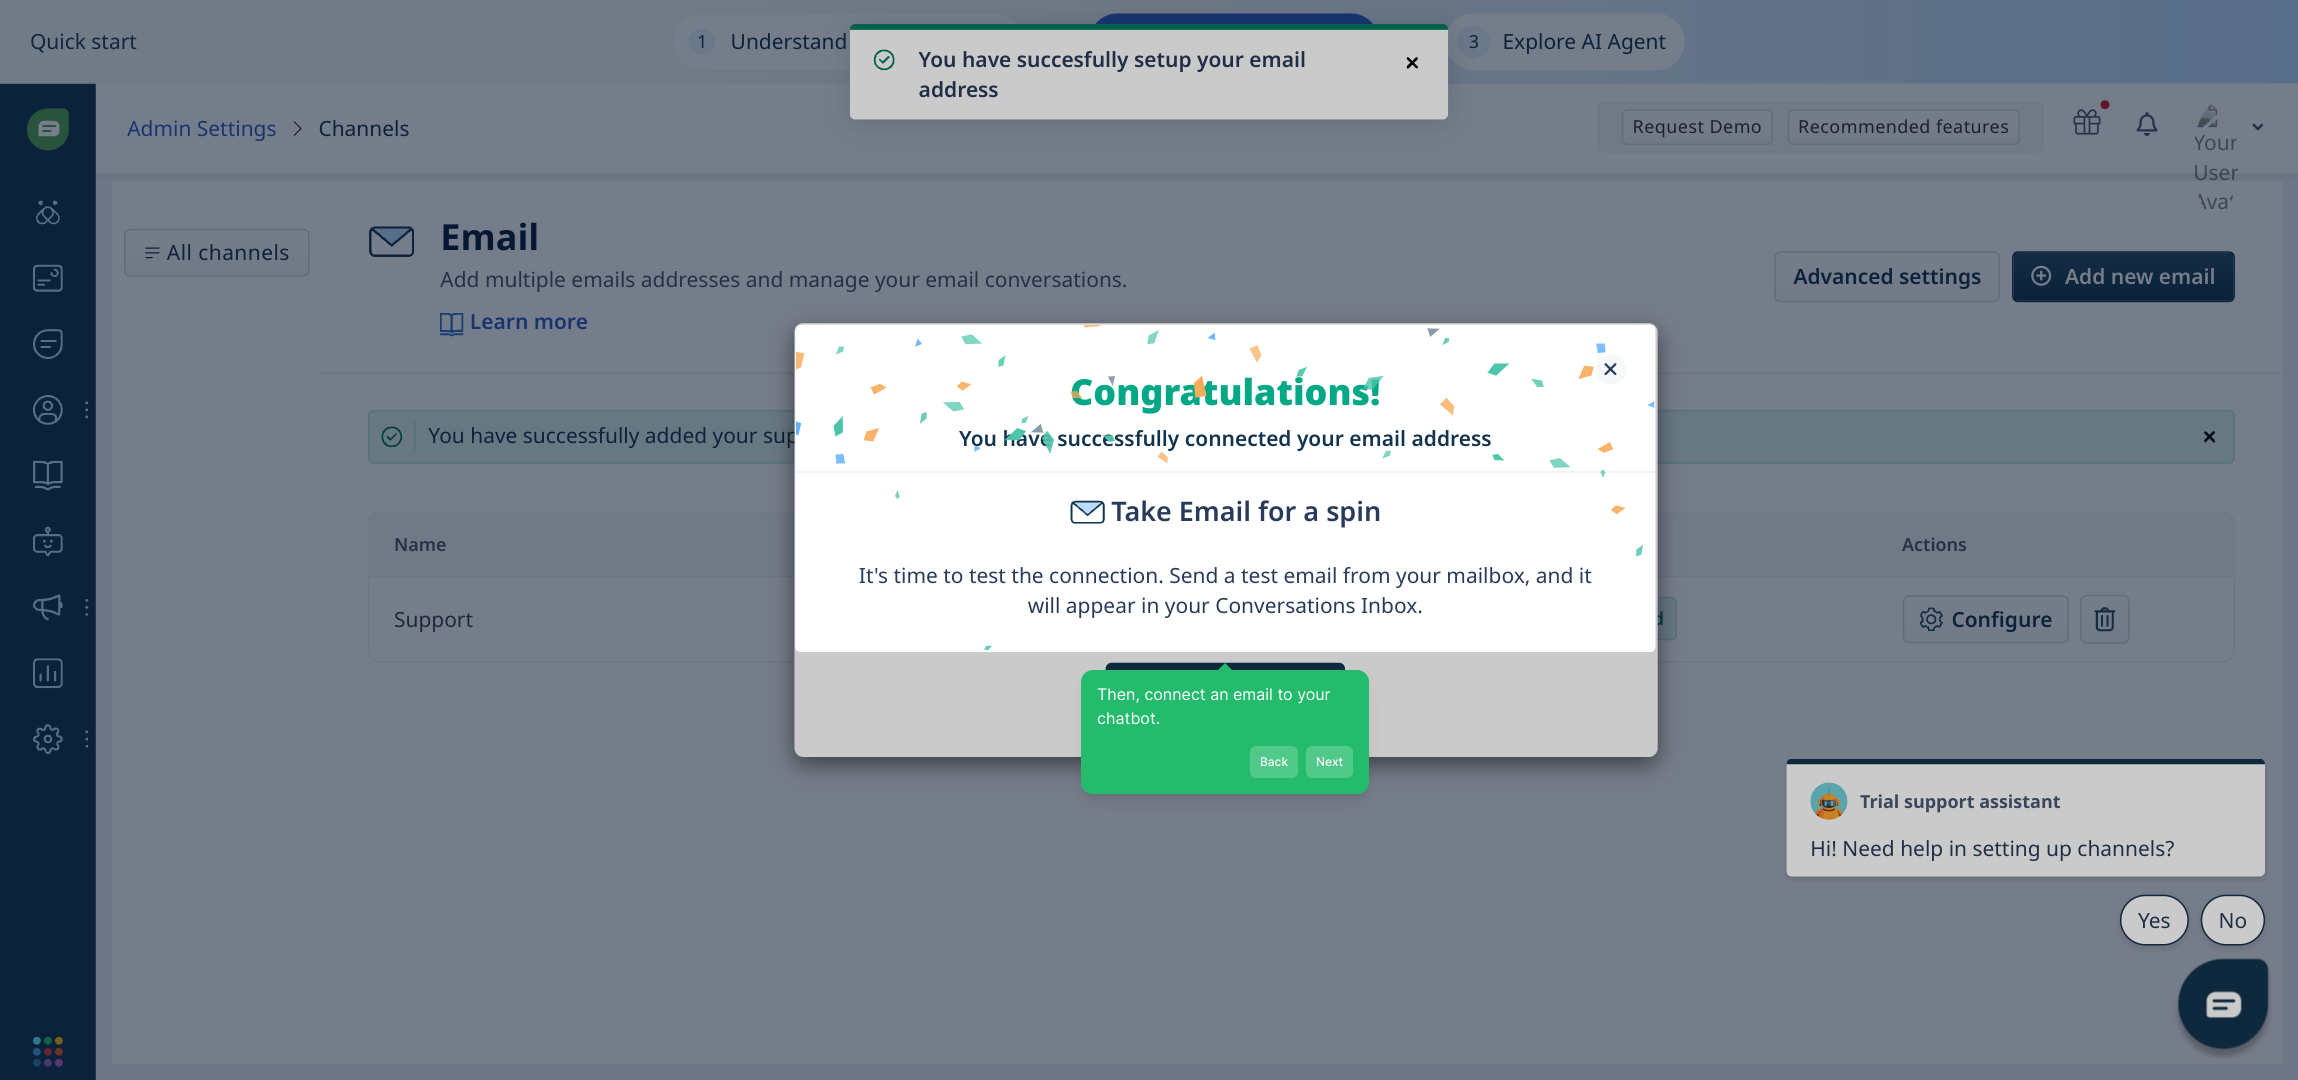
10. Then, connect an email to your chatbot.
11. Following that, click on "Explore AI Agent".
12. Next, click on "Create AI Agent".
13. Your AI agent is ready to be configured.
14. Enjoyed the guided demo?
This interactive demo/guided walkthrough on How to Create Freshdesk Chatbot was created using Supademo.
How to Create Freshdesk Chatbot: Step-by-Step Guide
Begin by navigating to the Admin section, where you'll access the core settings for managing your account and configurations.
From the Admin area, find and select the "Channels" option to manage the various communication platforms connected to your system.
Within the Channels menu, click on "Chat" to focus on chat-related settings and integrations for your conversational tools.
Next, locate and press the "Sign up" button to begin creating a new account or start your trial period.
To explore the platform fully, click on the START FREE TRIAL button, which allows you to experience premium features without commitment.
After starting your trial, go ahead and click "Get Started" to move forward into setting up your workspace and initial configurations.
You’ll now see your Team inbox, which collects all queries coming in from the AI chatbot. Spend a moment reviewing this dashboard to become familiar with how conversations are organized and handled.
To expand your support options, click on "Add support channels". This lets you connect various communication methods to your chatbot.
Here, you can enhance your chatbot’s reach by adding channels such as email, WhatsApp, and Facebook Messenger, making it easier to connect with users wherever they prefer.
Once your channels are selected, proceed to link an email account to your chatbot. This integration allows it to send and receive emails seamlessly on your behalf.
Next, explore the AI capabilities by selecting "Explore AI Agent", which opens up options for creating and managing intelligent automated agents.
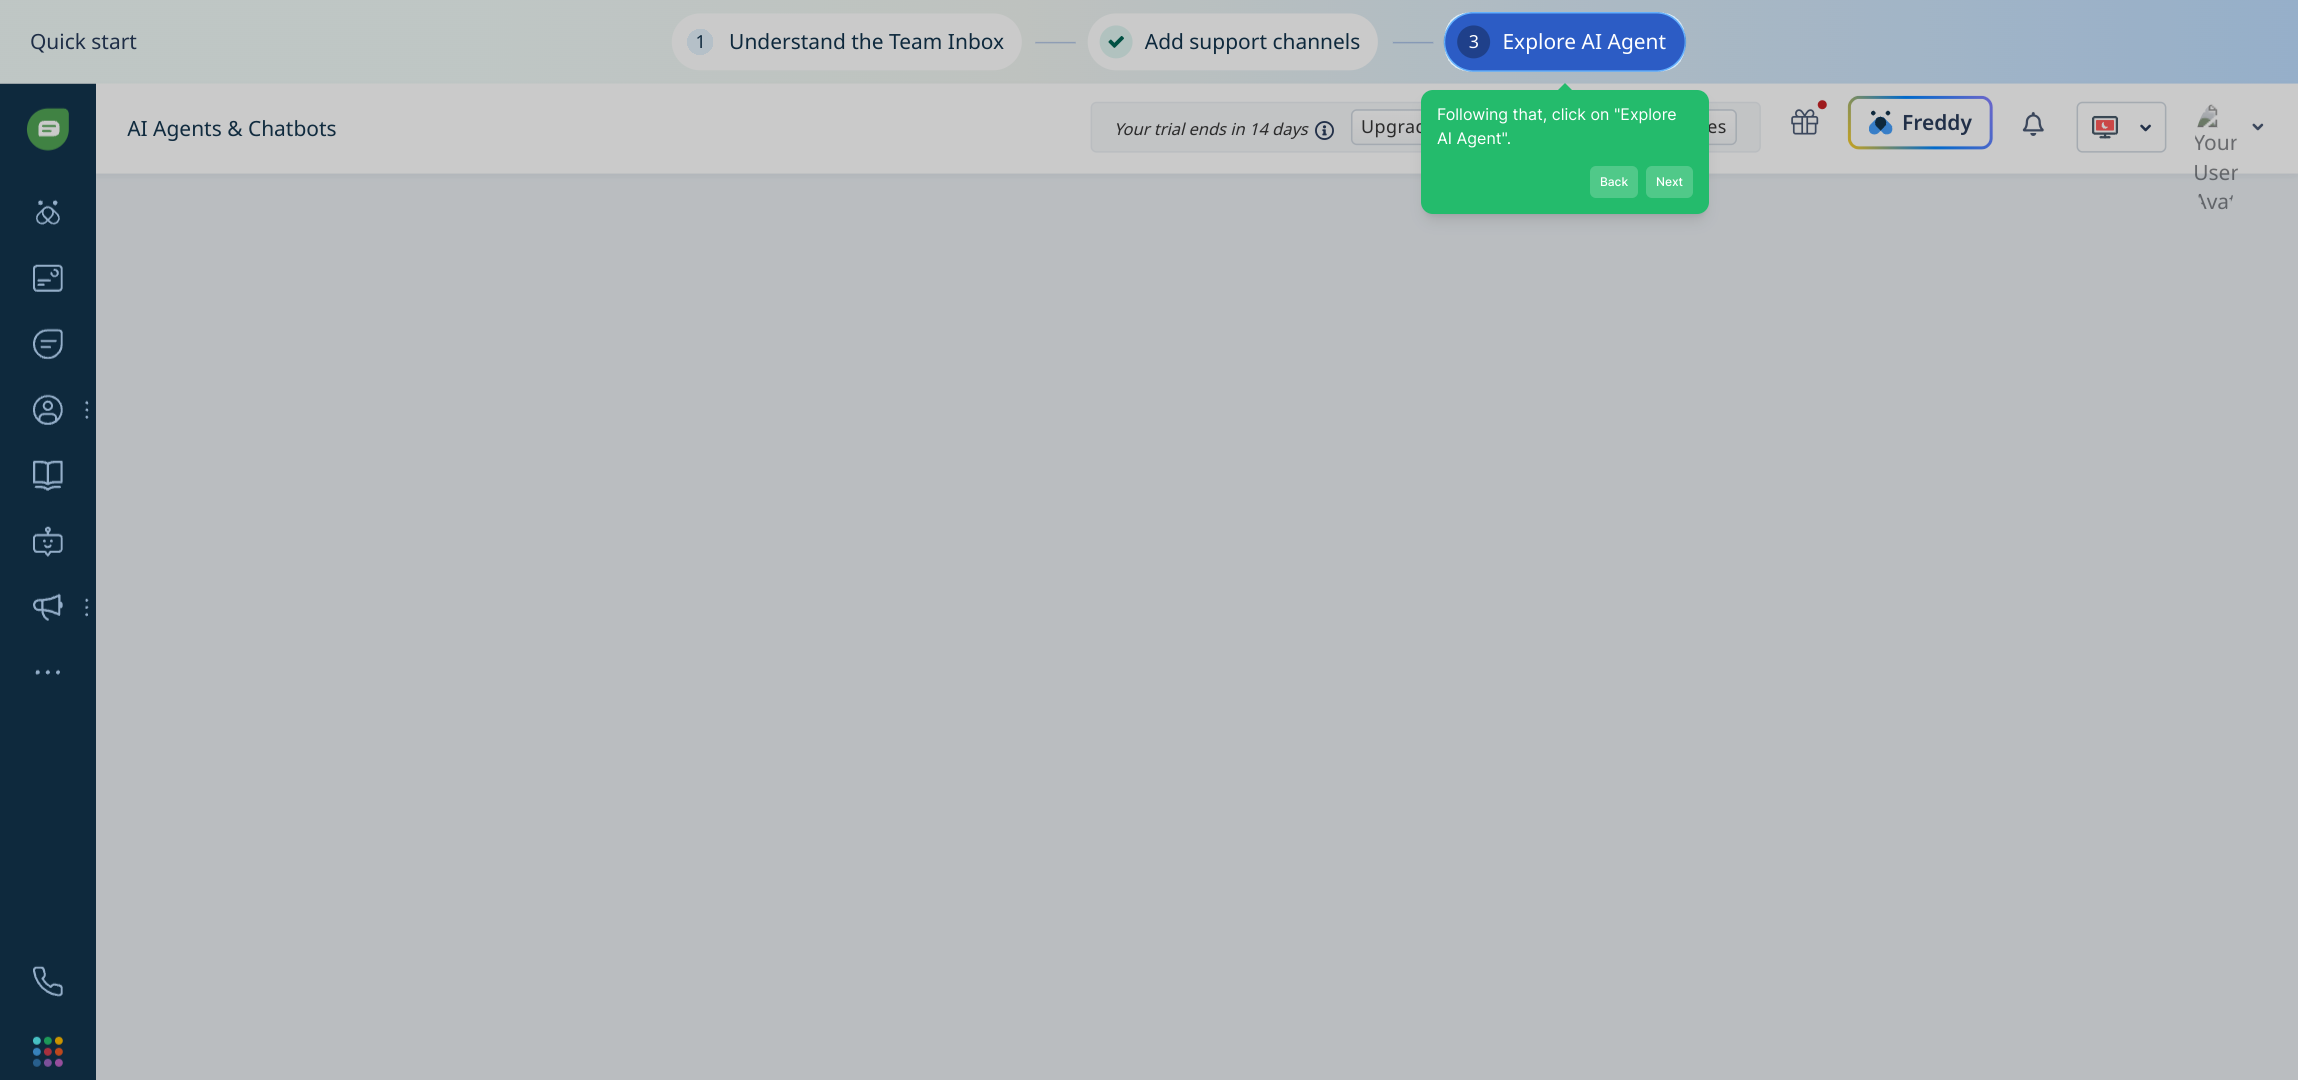
Now it’s time to create your AI agent. Click "Create AI Agent" to begin the setup process where you’ll define how your agent interacts and assists users.

Your AI agent has been initialized and is ready for configuration. Customize its settings and behaviors to align with your team’s needs and goals.

Did you find the walkthrough helpful? This guided demo is designed to make your setup smooth and intuitive—feel free to revisit any step as needed.
Create your own interactive demos in < 5 mins with Supademo
You can create your own interactive product demo in minutes using Supademo. Drive growth, scale enablement, and supercharge product-led onboarding with Supademo.
Sign up for free here with no credit card required.
FAQs
Commonly asked questions about this topic.
What is a Freshdesk chatbot?
Do I need coding skills to create a Freshdesk chatbot?
How do I start creating a chatbot in Freshdesk?
Can I connect multiple communication channels to my Freshdesk chatbot?
Is there a free trial available for creating a Freshdesk chatbot?
How does the AI agent work in Freshdesk chatbot?
Can I customize the AI chatbot’s behavior?
What is the Team Inbox in Freshdesk chatbot?
How do I connect an email to my Freshdesk chatbot?
Where can I find guidance if I need help during setup?

Product Operations Associate
Vimal Kumar helps build and grow Supademo’s team and GTM efforts, with a focus on figuring out growth levers and improving product traction.


