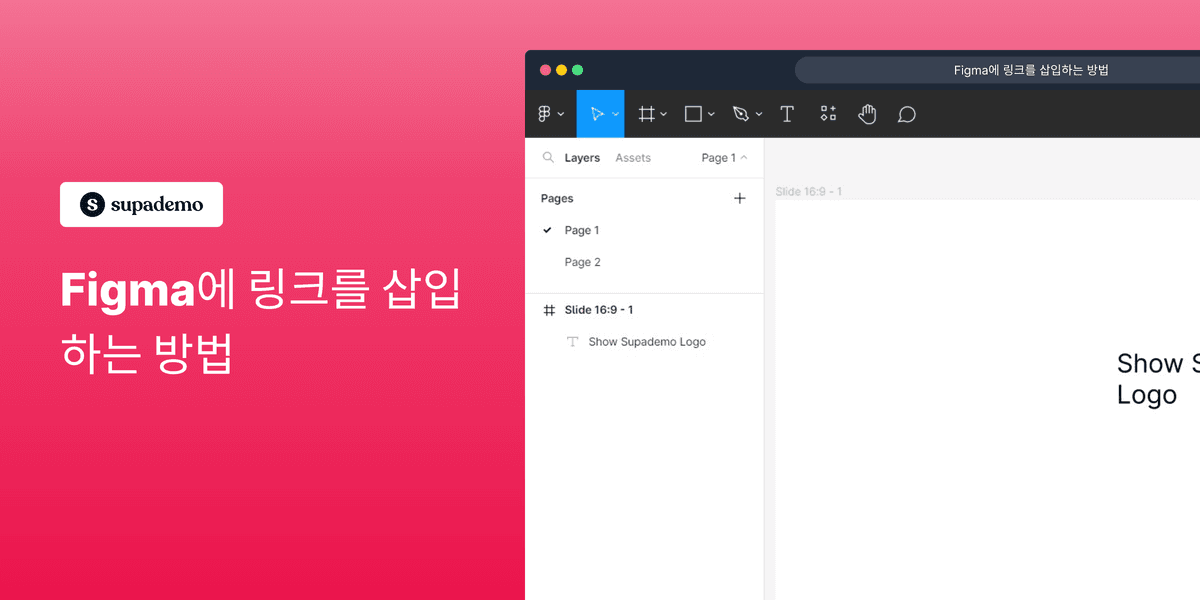
Figma의 강력한 링크 삽입 기능으로 디자인을 인터랙티브하게 변신시키세요. 이 포괄적인 가이드는 Figma에서 링크를 삽입하는 방법에 대한 단계별 지침을 제공합니다.
Figma는 어떤 사람들에게 가장 적합한가요?
Figma는 UI/UX 디자이너, 제품 디자이너, 그리고 창의적인 팀을 포함한 다양한 전문가에게 가장 적합합니다. 예를 들어, UI/UX 디자이너는 Figma를 사용하여 사용자 인터페이스를 만들고 프로토타입을 제작할 수 있으며, 제품 디자이너는 제품 기능을 설계하고 반복하는 데 활용할 수 있습니다. 또한, 창의적인 팀은 협업 디자인 작업과 브레인스토밍을 위해 Figma를 사용할 수 있으며, 모두 Figma의 실시간 협업 및 디자인 도구의 이점을 누릴 수 있습니다.
Figma에 대한 일반적인 FAQ:
Commonly asked questions about this topic.
Figma에서 새 디자인 파일을 만드는 방법은?
Figma 계정에 로그인하고 대시보드에서 “새 파일” 버튼을 클릭합니다. 그러면 디자인을 시작할 수 있는 빈 캔버스가 열립니다. 템플릿을 선택하거나 필요한 경우 기존 디자인을 가져올 수도 있습니다
Figma 디자인에서 다른 사람들과 협업할 수 있나요?
네, Figma는 실시간 협업을 위해 설계되었습니다. 디자인에서 다른 사람들과 협업하려면 파일을 열고 오른쪽 상단의 “공유” 버튼을 클릭하세요. 초대할 사람들의 이메일 주소를 입력하거나 공유 가능한 링크를 생성할 수 있습니다. 이들이 디자인을 볼 수만 있는지, 편집할 수 있는지를 설정할 수 있습니다.
Figma에서 컴포넌트 및 스타일을 사용하는 방법은?
먼저 요소를 선택하고 오른쪽 클릭 메뉴에서 "컴포넌트 생성" 옵션을 사용하거나 Cmd/Ctrl + Alt + K를 눌러 컴포넌트를 만드세요. 스타일을 생성하려면 “스타일” 패널에서 텍스트, 색상 또는 효과 스타일을 정의하고 요소에 적용하세요. 컴포넌트 및 스타일은 일관성을 유지하고 디자인 전체에서 업데이트를 쉽게 만듭니다.
Frequently Asked Questions about figma에 링크를 삽입하는 방법
Commonly asked questions about this topic.
Why is adding hyperlinks in Figma important for design workflows?
Figma insert link helps organizations improve efficiency, reduce costs, and deliver better outcomes. Understanding the fundamentals is critical before investing in tools or processes — many teams jump to solutions without clearly defining the problem they're solving. Start by mapping your current state and identifying the highest-impact opportunities.
Teams save an average of 85% of the time previously spent on demo creation.
The average time from recording to publishing a Supademo is just 3.5 minutes.
What are the step-by-step instructions for adding clickable links to Figma design elements?
Define 3-5 key metrics that directly tie to business outcomes — avoid vanity metrics that look good but don't drive decisions. Common approaches include time-to-value, adoption rates, cost savings, error reduction, and stakeholder satisfaction scores. Review metrics monthly and use trend data rather than individual data points to evaluate progress.
81% of teams rate onboarding impact from Supademo as high or very high.
How do you build a Figma insert link roadmap?
Map your current state, define your target state, and identify the gaps between them. Prioritize initiatives by impact and feasibility — quick wins build credibility for larger investments. Review the roadmap quarterly and adjust based on what's working, market changes, and shifting organizational priorities. Learn more about Supademo's features.
For example, VRIFY reduced enablement content production time by 75% using Supademo.
Who benefits most from Figma insert link?
Teams dealing with scale, complexity, or cross-functional coordination tend to see the biggest returns from Figma insert link. SaaS companies, enterprises with distributed teams, and fast-growing organizations often have the most urgent need. The benefits compound over time — early investment in the right approach pays dividends as you scale.
Interactive demos see 7x higher conversion rates compared to traditional demo videos. The average time from recording to publishing a Supademo is just 3.5 minutes.
What are proven strategies for Figma insert link?
Start with a clear baseline measurement so you can track improvement. Focus on high-impact, low-effort wins first to build momentum and demonstrate value to stakeholders. Build feedback loops into your process — the best strategies evolve based on real-world results, not theoretical frameworks.
Notably, Supademo holds a 4.7/5 rating on G2 with top marks for ease of use.
Supademo is rated #1 for easiest setup and fastest implementation on G2.
How can designers create clickable navigation experiences in Figma?
AI-assisted automation, real-time analytics, and personalization at scale are reshaping Figma insert link in 2026. Organizations are moving from manual, one-size-fits-all approaches to adaptive systems that adjust based on user behavior and outcomes. The winners are teams that adopt new capabilities incrementally rather than attempting wholesale transformation.
As a reference point, over 150,000 professionals use Supademo to create interactive demos. RB2B eliminated 60+ hours of sales calls in just 30 days using interactive demos.
What common challenges affect Figma insert link and how do you address them?
The most common challenges are stakeholder alignment, tool fragmentation, and inconsistent execution across teams. Address alignment by documenting shared goals and success metrics.
Reduce tool fragmentation by standardizing on platforms that integrate well together. Improve execution consistency through clear playbooks, templates, and regular calibration sessions.
beehiiv saw 50% better conversion rates after implementing interactive product demos.
Learn how to easily remove the 'Powered by Shopify' text from your online store with step-by-step instructions and tips to customize your Shopify storefront.
Learn step-by-step how to add products to your Shopify store effortlessly, including tips on product details, images, pricing, and inventory management to boost your online sales.
Learn step-by-step how to deactivate your Shopify store easily, including important considerations and tips to pause or close your shop without losing data.
Learn how to easily remove the 'Powered by Shopify' text from your online store with step-by-step instructions and tips to customize your Shopify storefront.