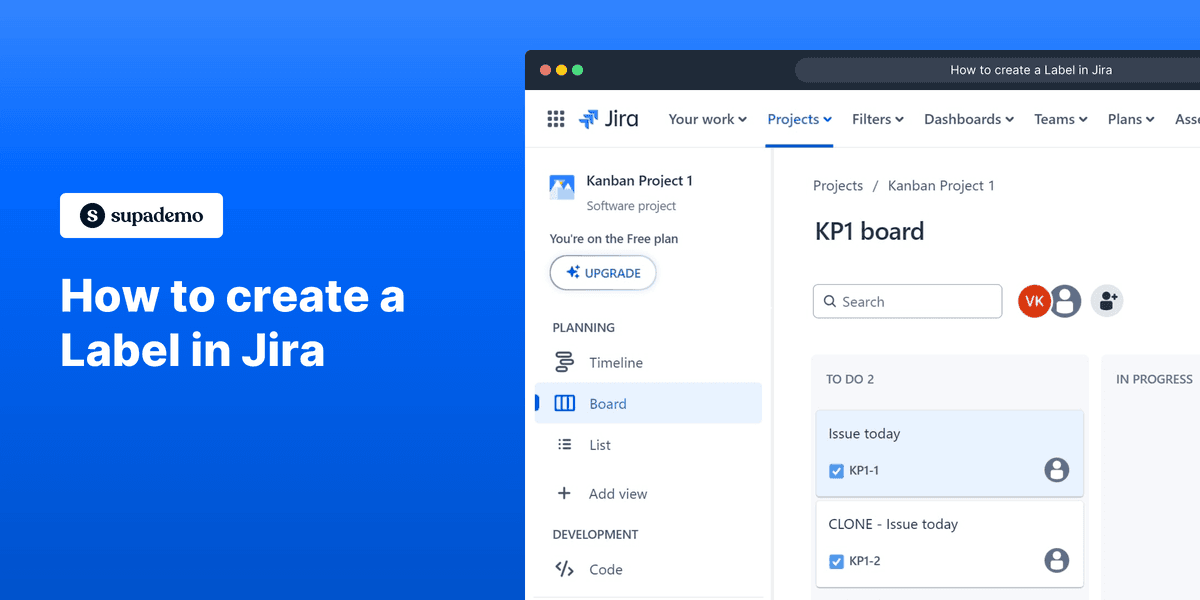
1. First, Open your Jira Project Board.
2. Go to the issue you want to add a label and click on the
'More actions' button
(three dots) in the upper right corner.
3. Now, click on "Add label".
4. Choose a label from the drop-down menu.
5. Click on the label you chose.
6. Following that, click on "Done".
7. Congratulations!
You have successfully added a label to the issue in Jira.
8. Create a Supademo in seconds
This interactive demo/guided walkthrough on How to create a Label in Jira was created using Supademo.
How to create a Label in Jira : Step-by-Step Guide
Start by navigating to your Jira Project Board, where all your issues and tasks are organized. This is the central hub where you manage your project’s workflow.

Find the specific issue you want to update. Once located, look for the 'More actions' option, represented by three dots in the upper right corner of the issue details. Clicking here will reveal additional options for customization.

From the menu that appears, select the option labeled "Add label." This allows you to categorize or tag the issue to make tracking and searching easier.

A drop-down list will appear showing the available labels. Browse through these options and decide which label best describes or applies to your issue.

Click on your selected label to assign it to the issue. This step attaches the label visibly, helping your team quickly understand the context or status of the task.

After choosing the label, finalize your selection by clicking the "Done" button. This confirms and saves the label addition to the issue.

Well done! You’ve successfully added a label to your Jira issue. This helps keep your project organized and improves team collaboration by categorizing the task clearly.

With these steps mastered, you can now quickly create detailed demos using Supademo to enhance your project presentations and documentation.

Create your own interactive demos in < 5 mins with Supademo
You can create your own interactive product demo in minutes using Supademo. Drive growth, scale enablement, and supercharge product-led onboarding with Supademo. Sign up for free here with no credit card required.
FAQs
Commonly asked questions about this topic.
What is a label in Jira?
A label in Jira is a tag or keyword that helps categorize issues for better organization and filtering. Labels make it easier to search and group related tasks across different projects.
How do I add a label to an issue in Jira?
Open the issue, click the 'More actions' button (three dots), select "Add label," pick or type your label, then click "Done" to assign it to the issue.
Can I create new labels or only use existing ones?
Jira allows you to create new labels on the fly simply by typing a new label name in the label field if it doesn't exist already, enabling flexible categorization.
Are labels visible to all users in the project?
Yes, labels are visible to all users who have access to the project or issue. They help maintain transparency and facilitate collaboration across the team.
How do labels help with filtering issues in Jira?
Labels can be used in Jira’s search and filter functions to quickly find all issues tagged with specific keywords, making project management more efficient.
Can I remove or edit a label once added?
Yes, you can edit or remove labels by reopening the issue, accessing the label section, and either deselecting or deleting the label as needed.
Does adding labels require administrative permissions?
No, typically any user with permission to edit issues can add labels. However, permissions can be customized by project admins.
Can labels be used in Jira reports and dashboards?
Yes, labels can be utilized as filters in reports and dashboard gadgets, helping teams track issues based on categorization for better insights.
Is it possible to add multiple labels to a single Jira issue?
Absolutely. You can add multiple labels to a single issue which allows for more detailed categorization and flexible sorting of tasks.
How do labels improve team collaboration in Jira?
Labels provide a quick visual way to classify issues, helping team members understand task context at a glance, prioritize work, and communicate status effectively.

Vimal Kumar
Product Operations Associate
Vimal Kumar helps build and grow Supademo’s team and GTM efforts, with a focus on figuring out growth levers and improving product traction.


