Overview
Streamline your tasks in Airtable by creating powerful automations to boost efficiency. This guide empowers you to organize and automate processes seamlessly, enhancing user experience and simplifying navigation. Learn the step-by-step process of crafting automation within Airtable, ensuring optimal efficiency and clarity in your project management endeavors.
1. Begin by clicking the automations section.
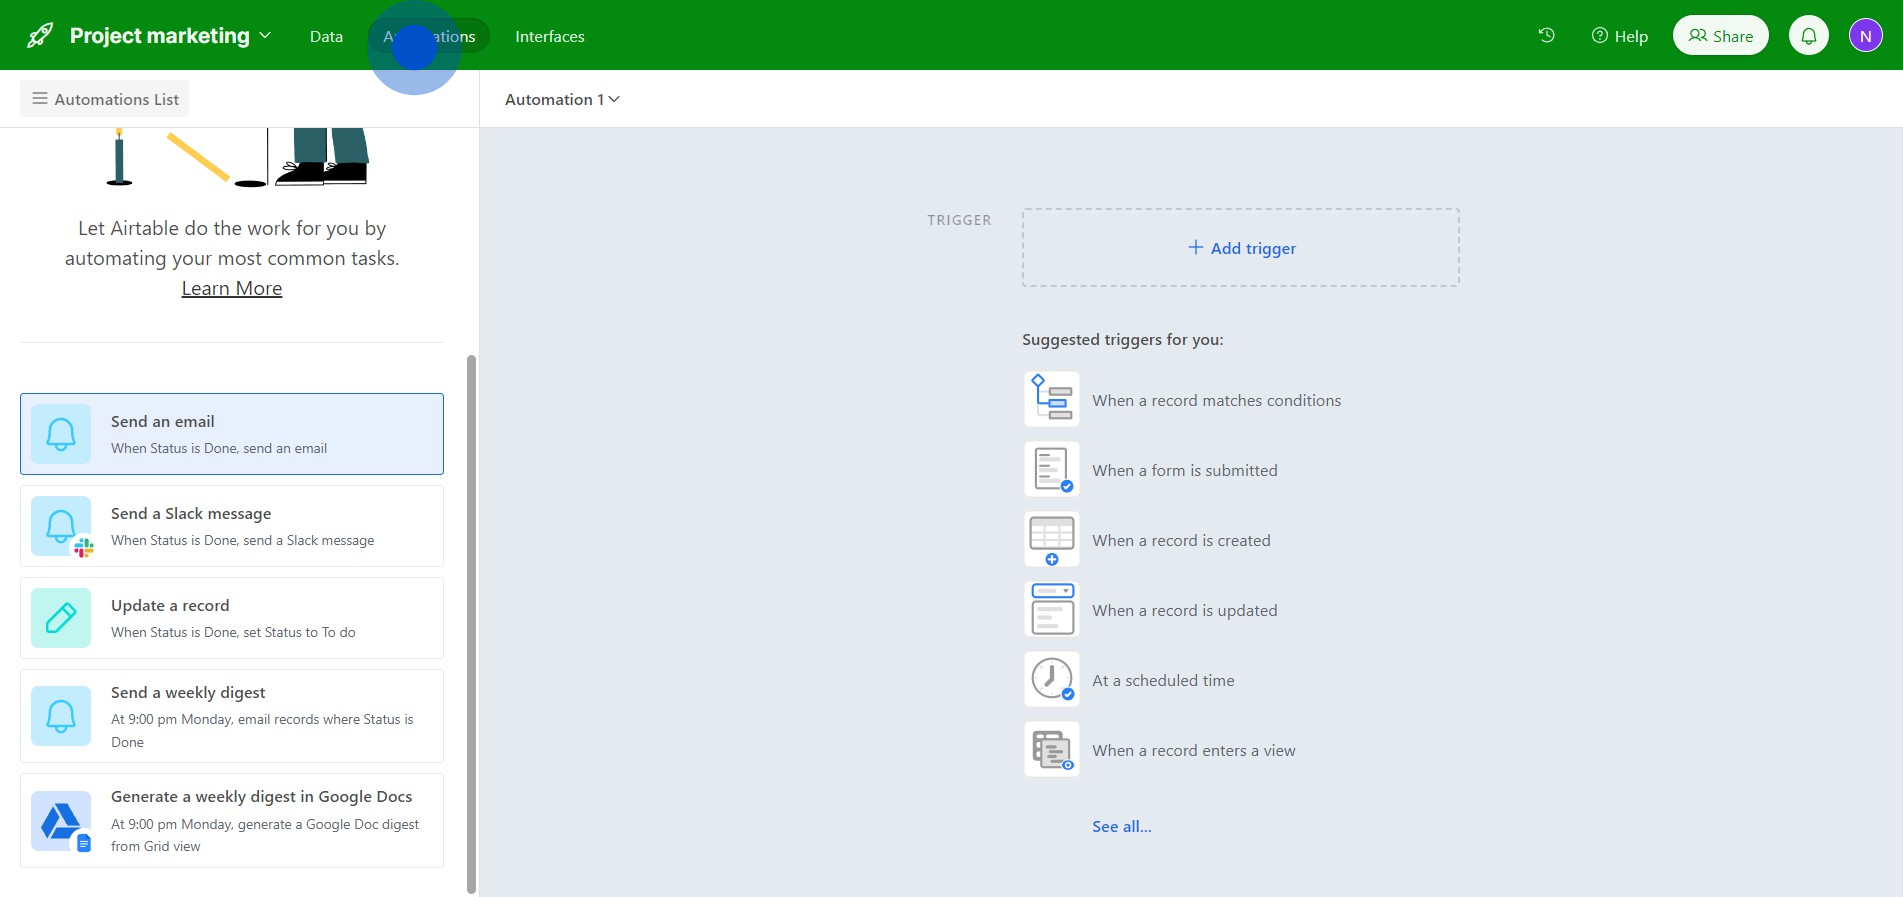
2. Next, tap the function.
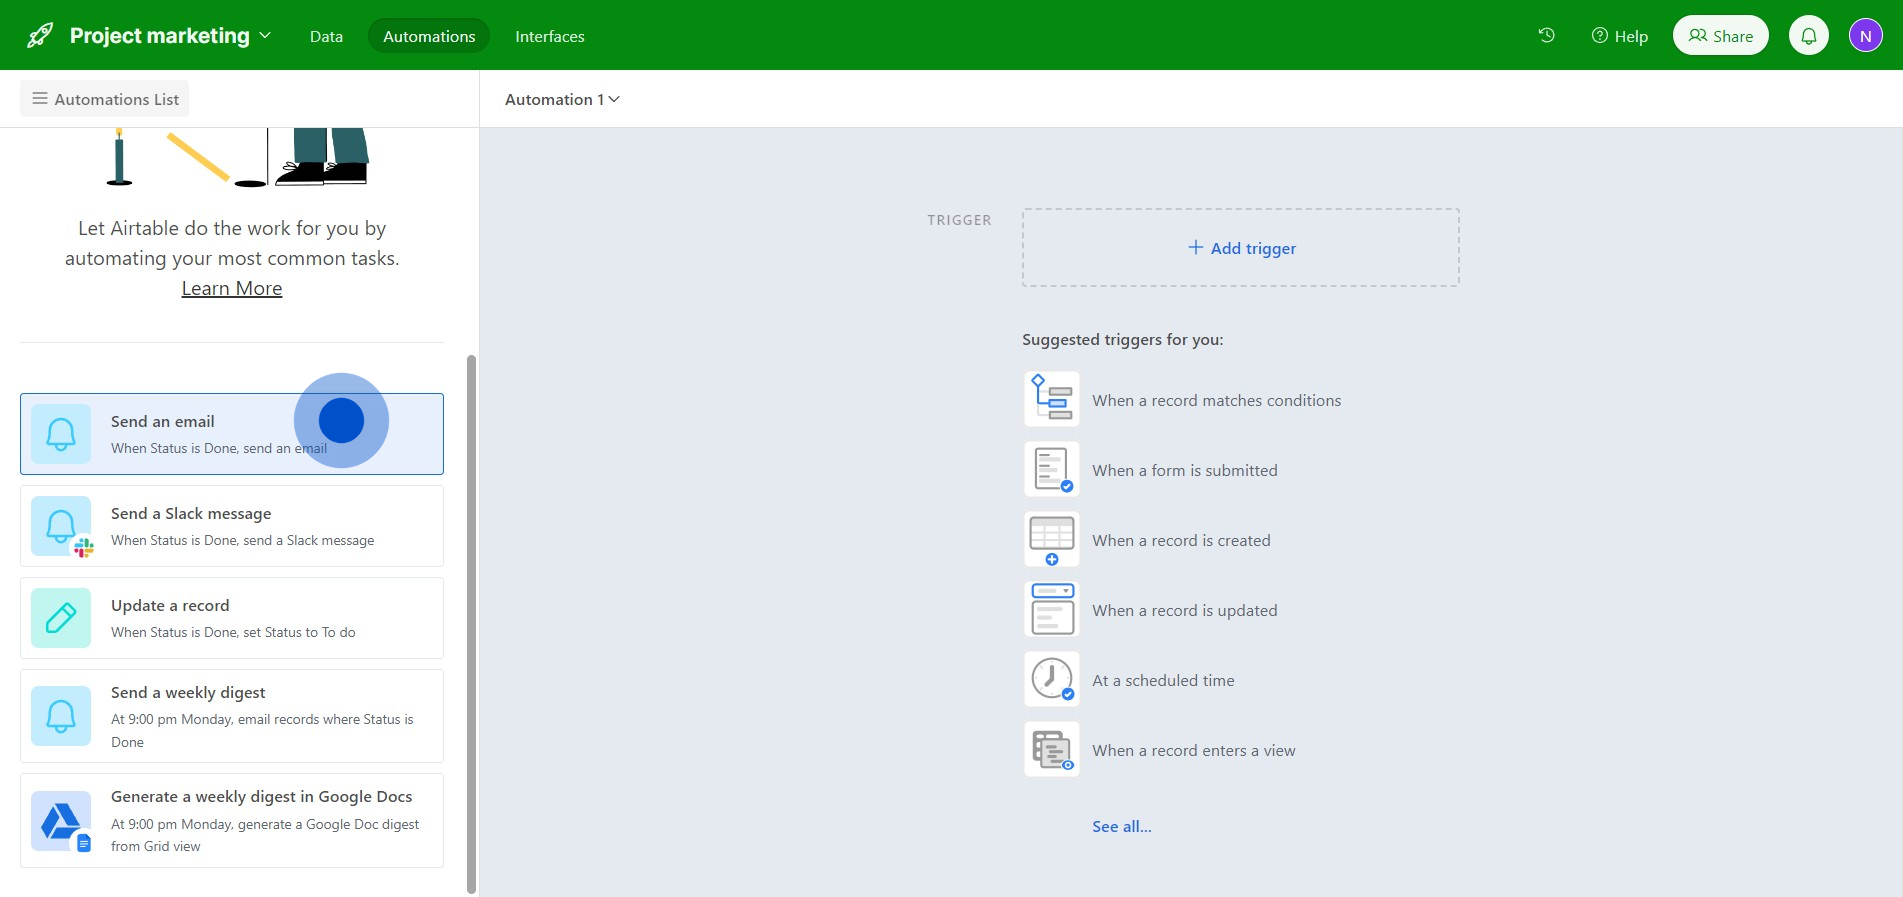
3. Now, initiate a new automation.
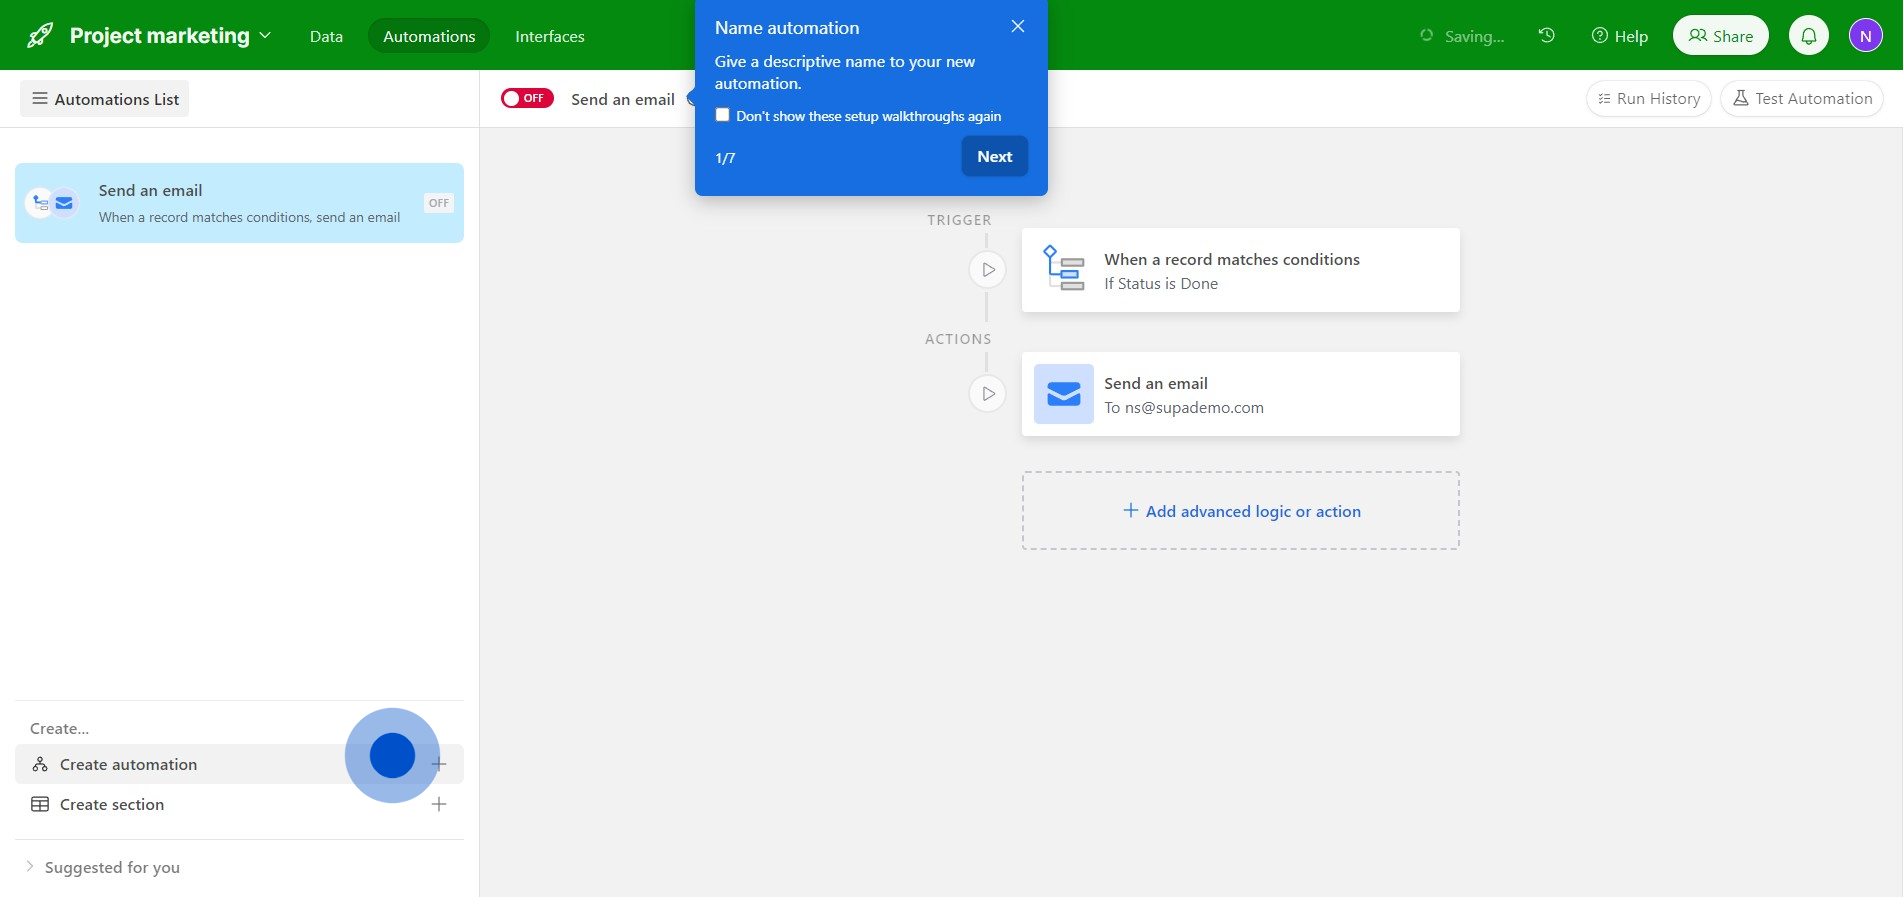
4. Turn the feature 'ON' to activate it.
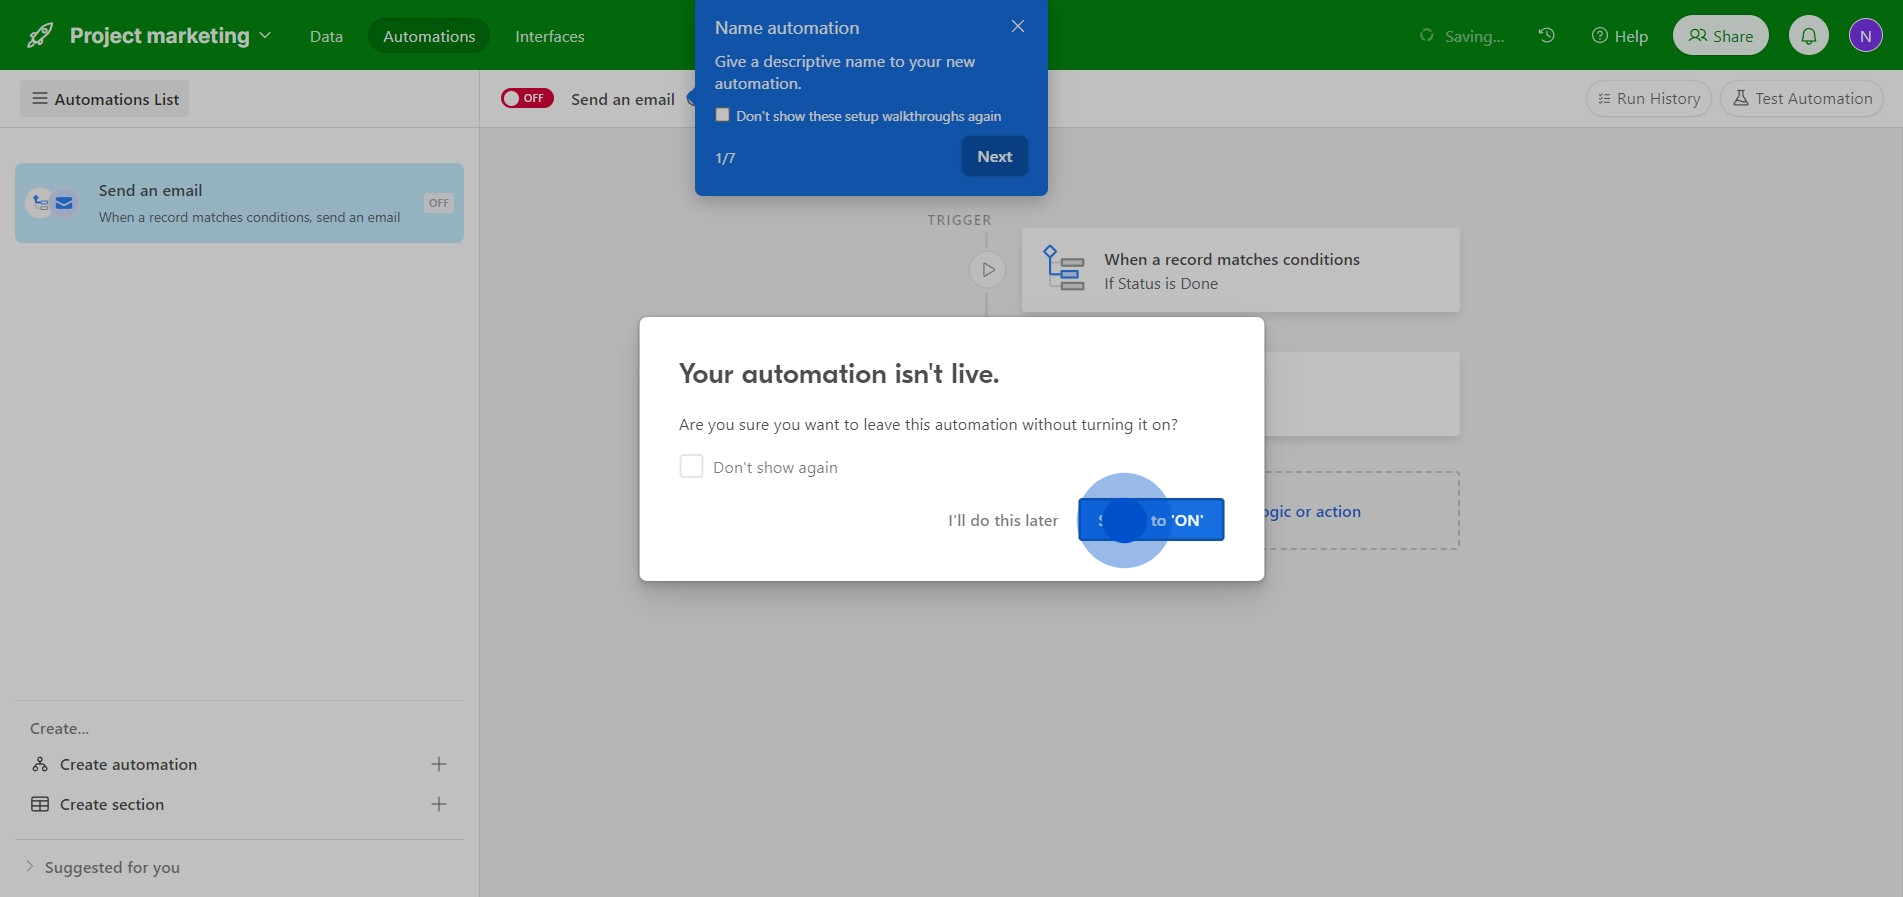
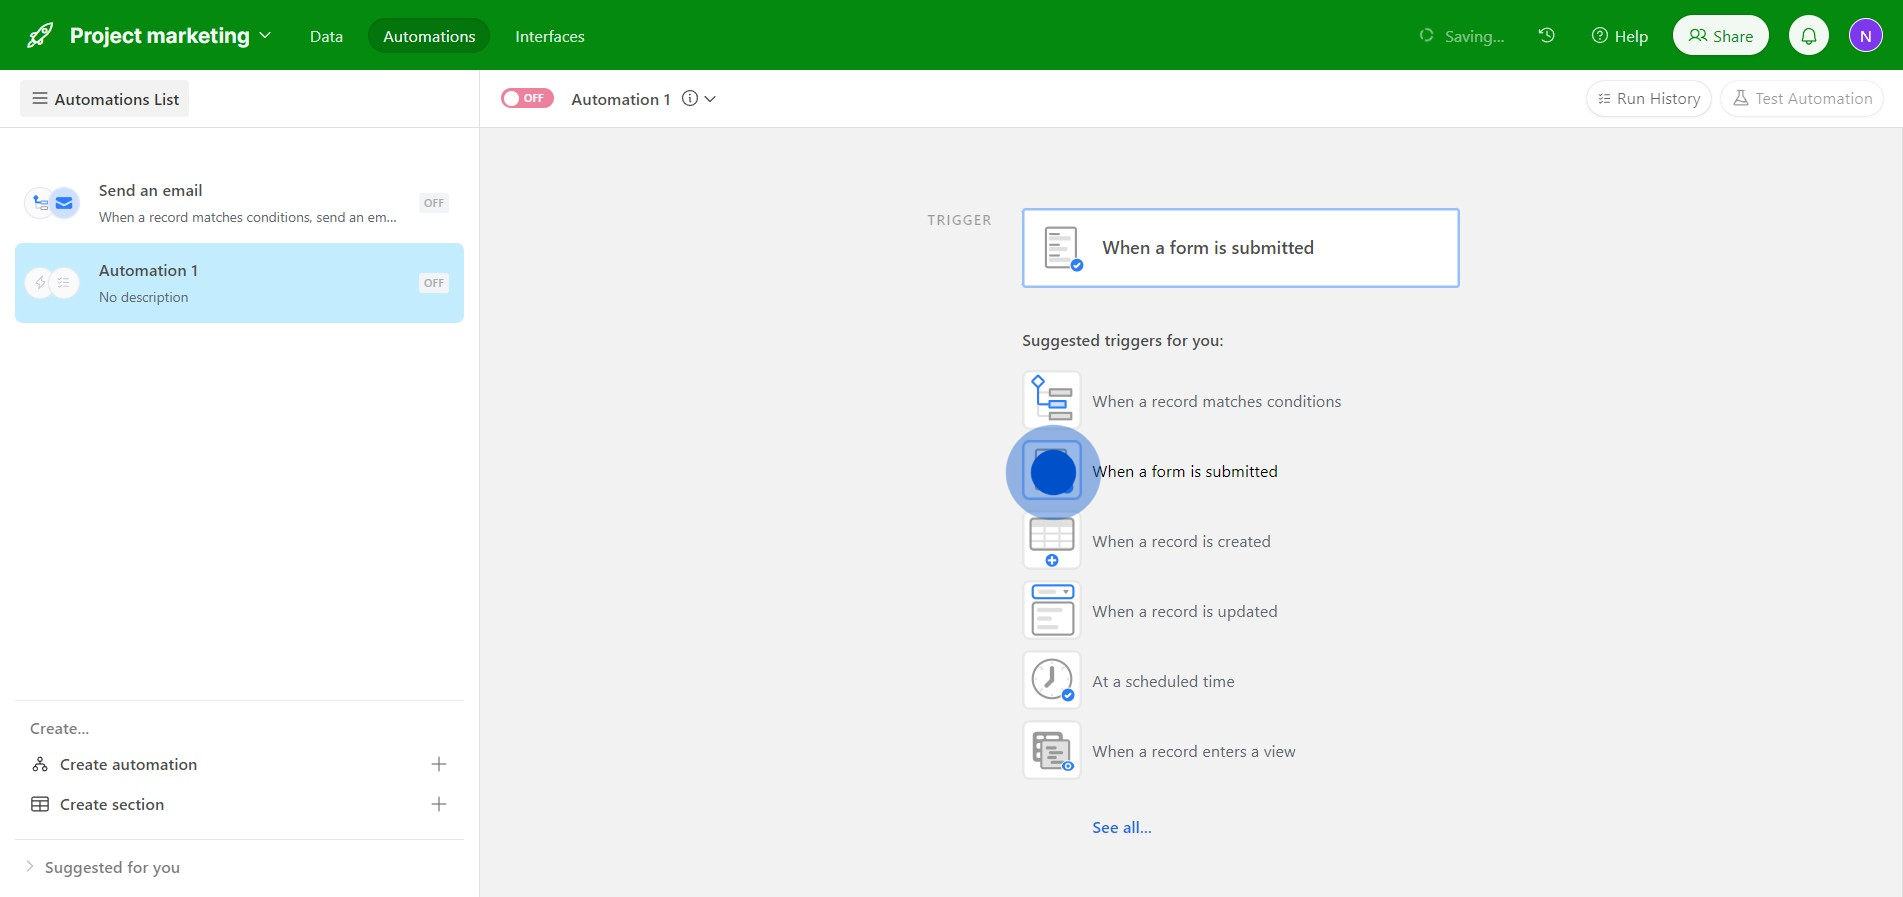
5. For this example, set up the trigger as 'When a form is submitted'.
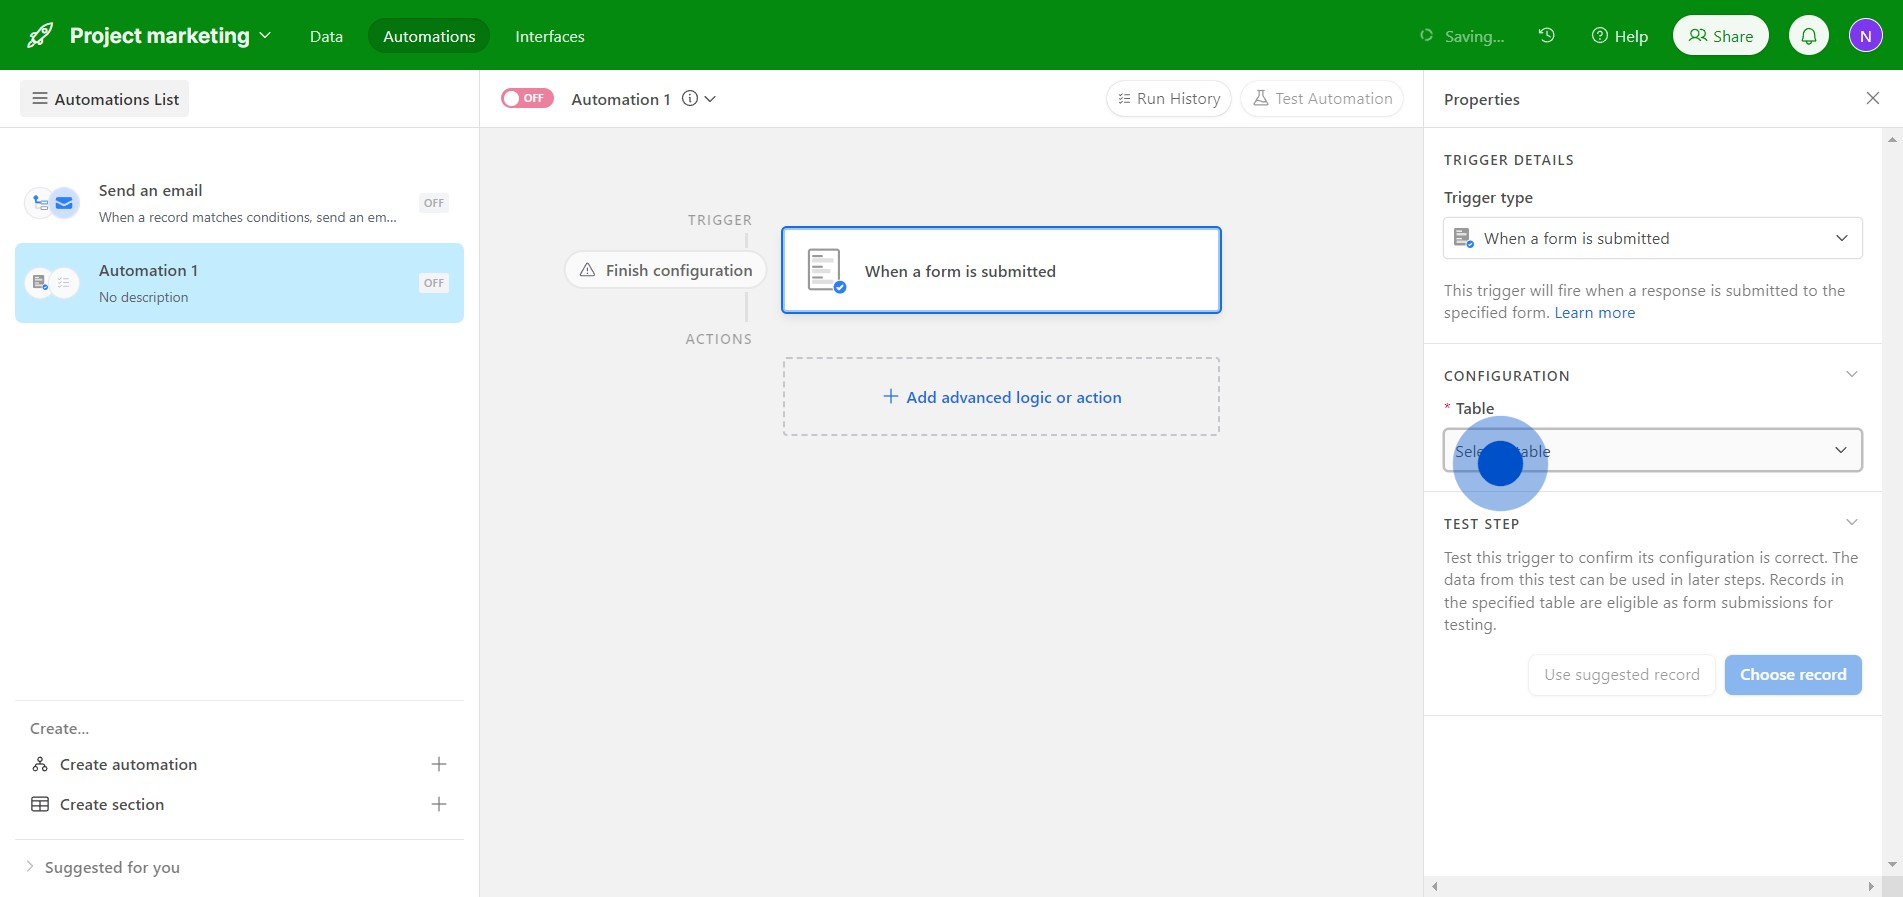
6. Choose a table for the action.
7. Move on to select an appropriate form.
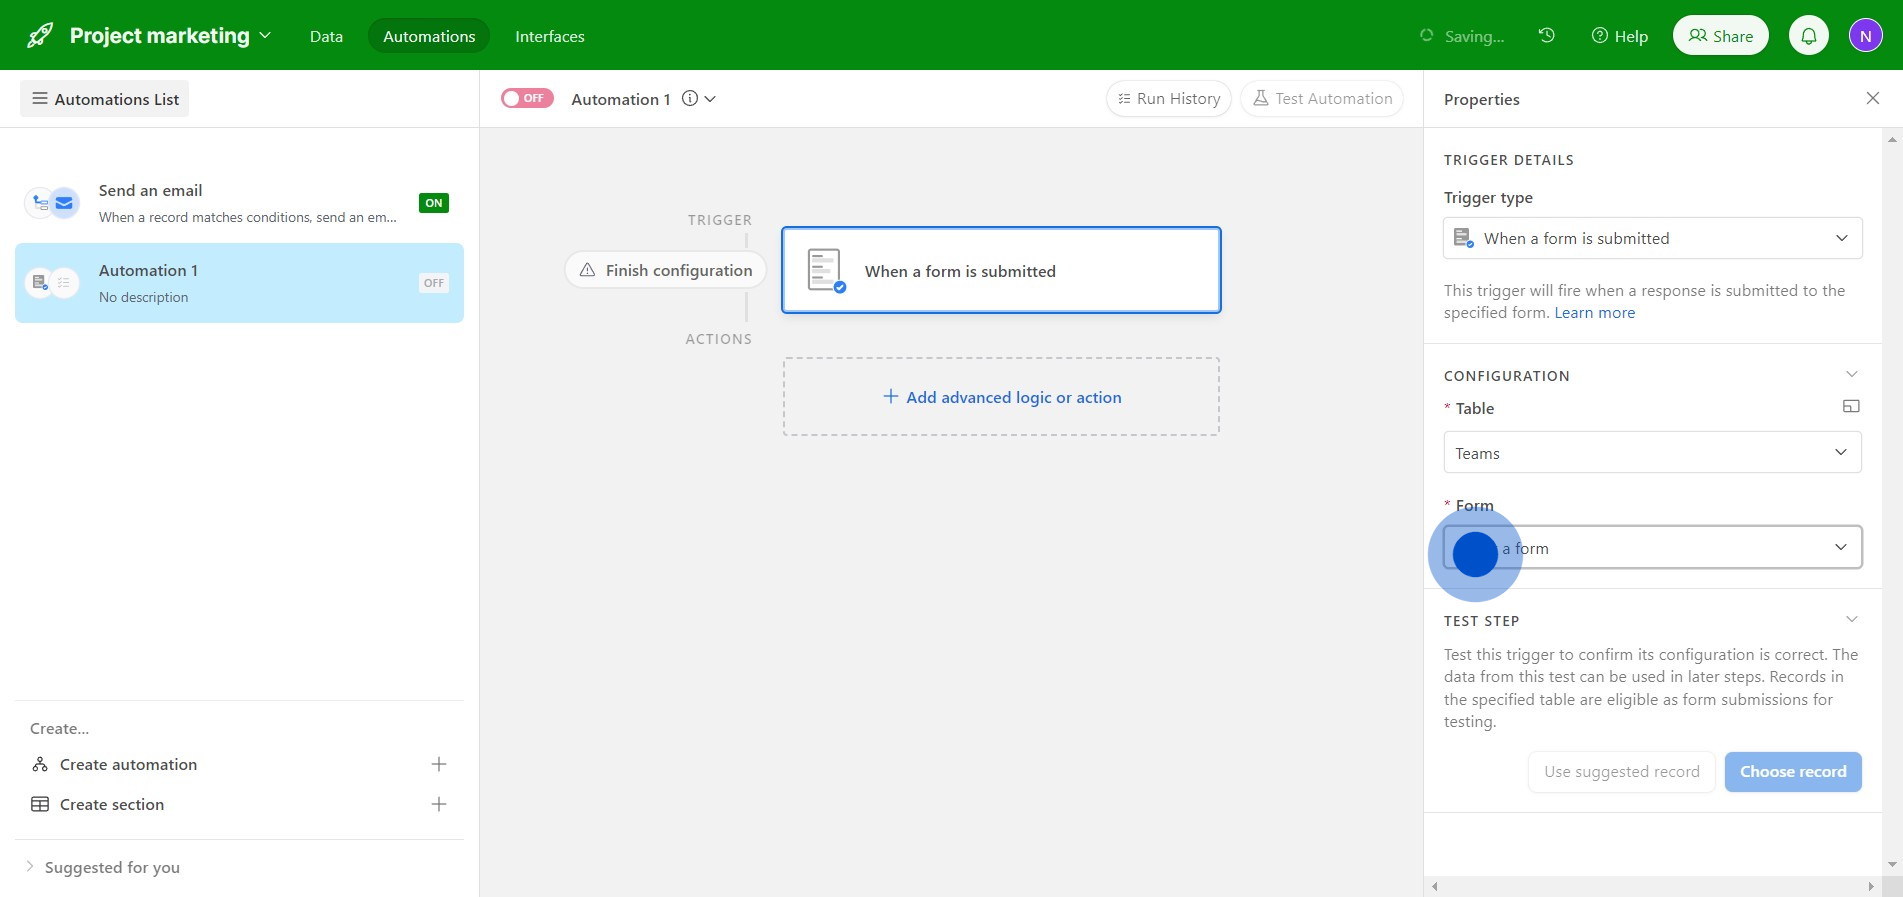
8. Let's tap on 'New Form' for this example.
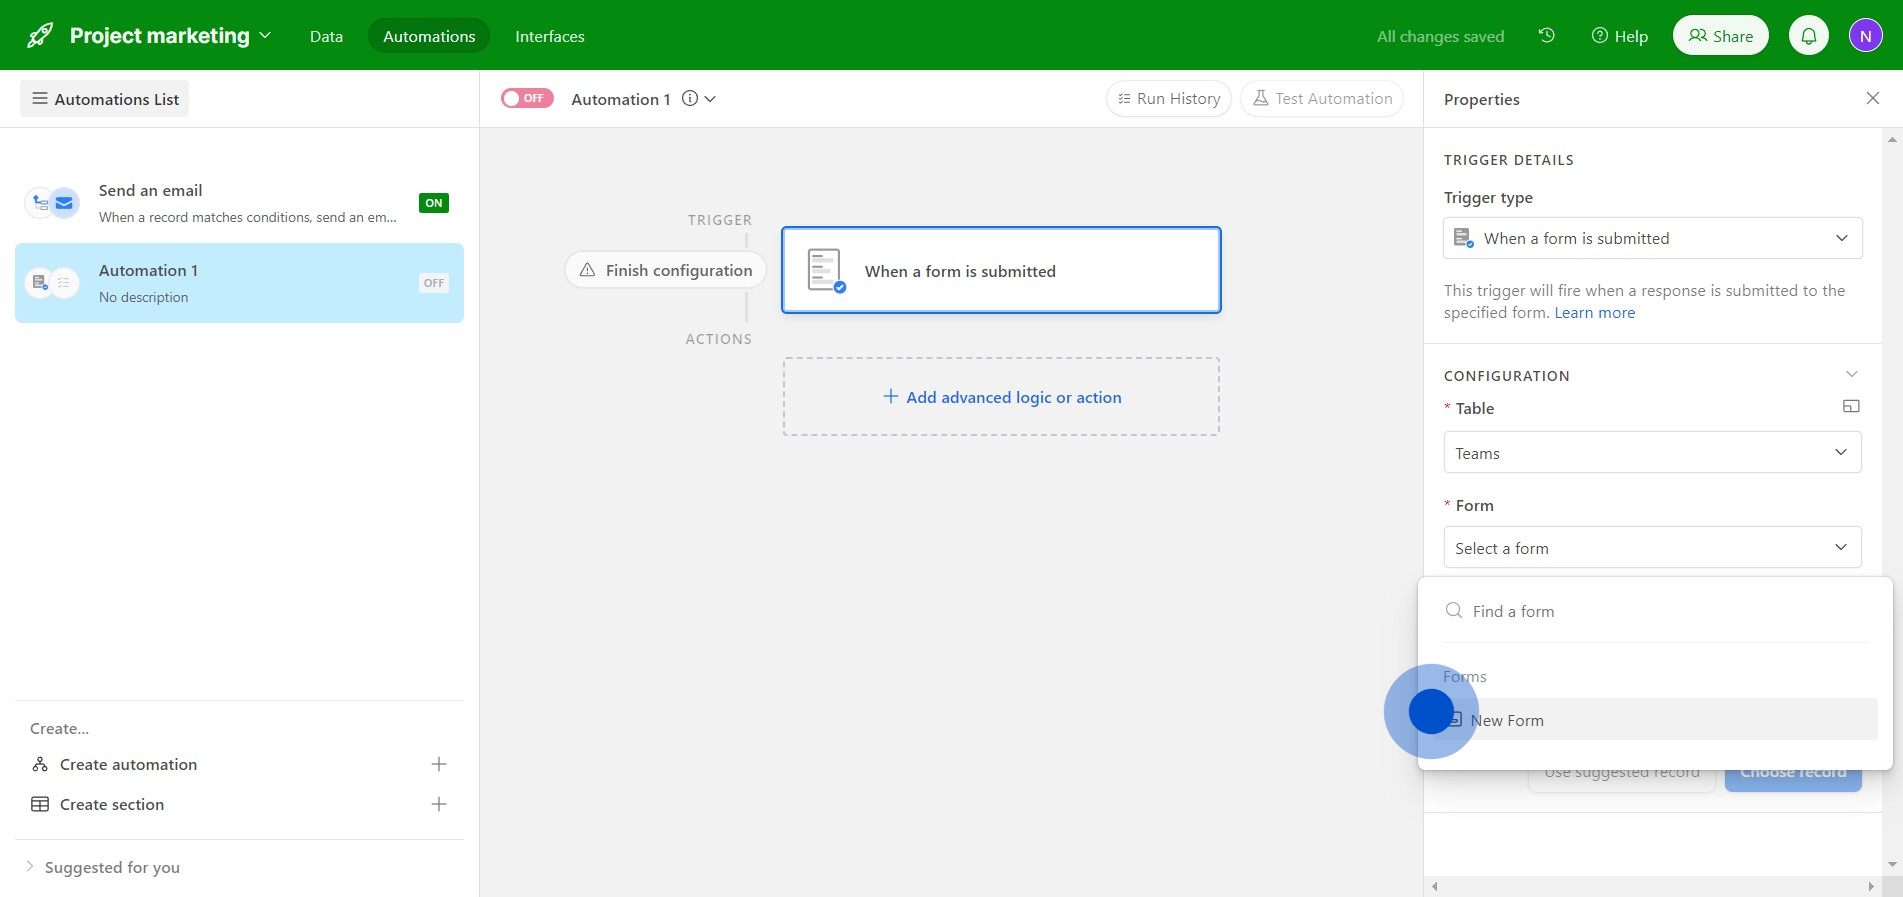
9. Apply the recommended record.
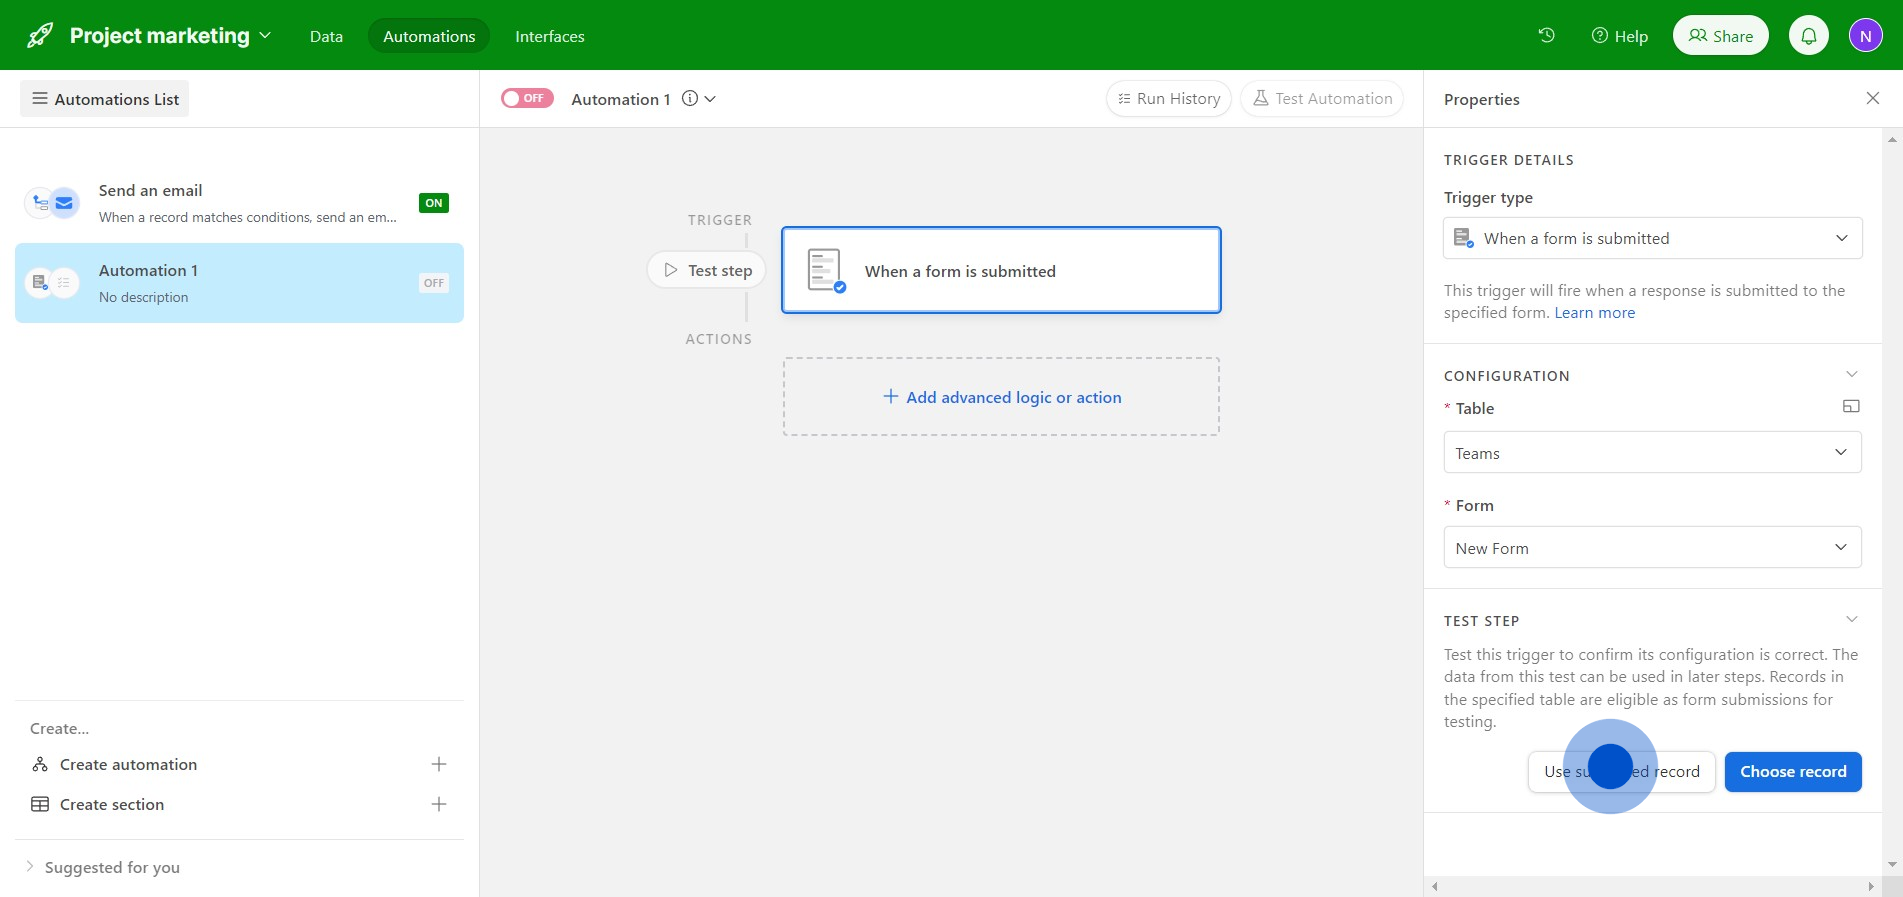
10. Then click here to incorporate some advanced logic or actions.
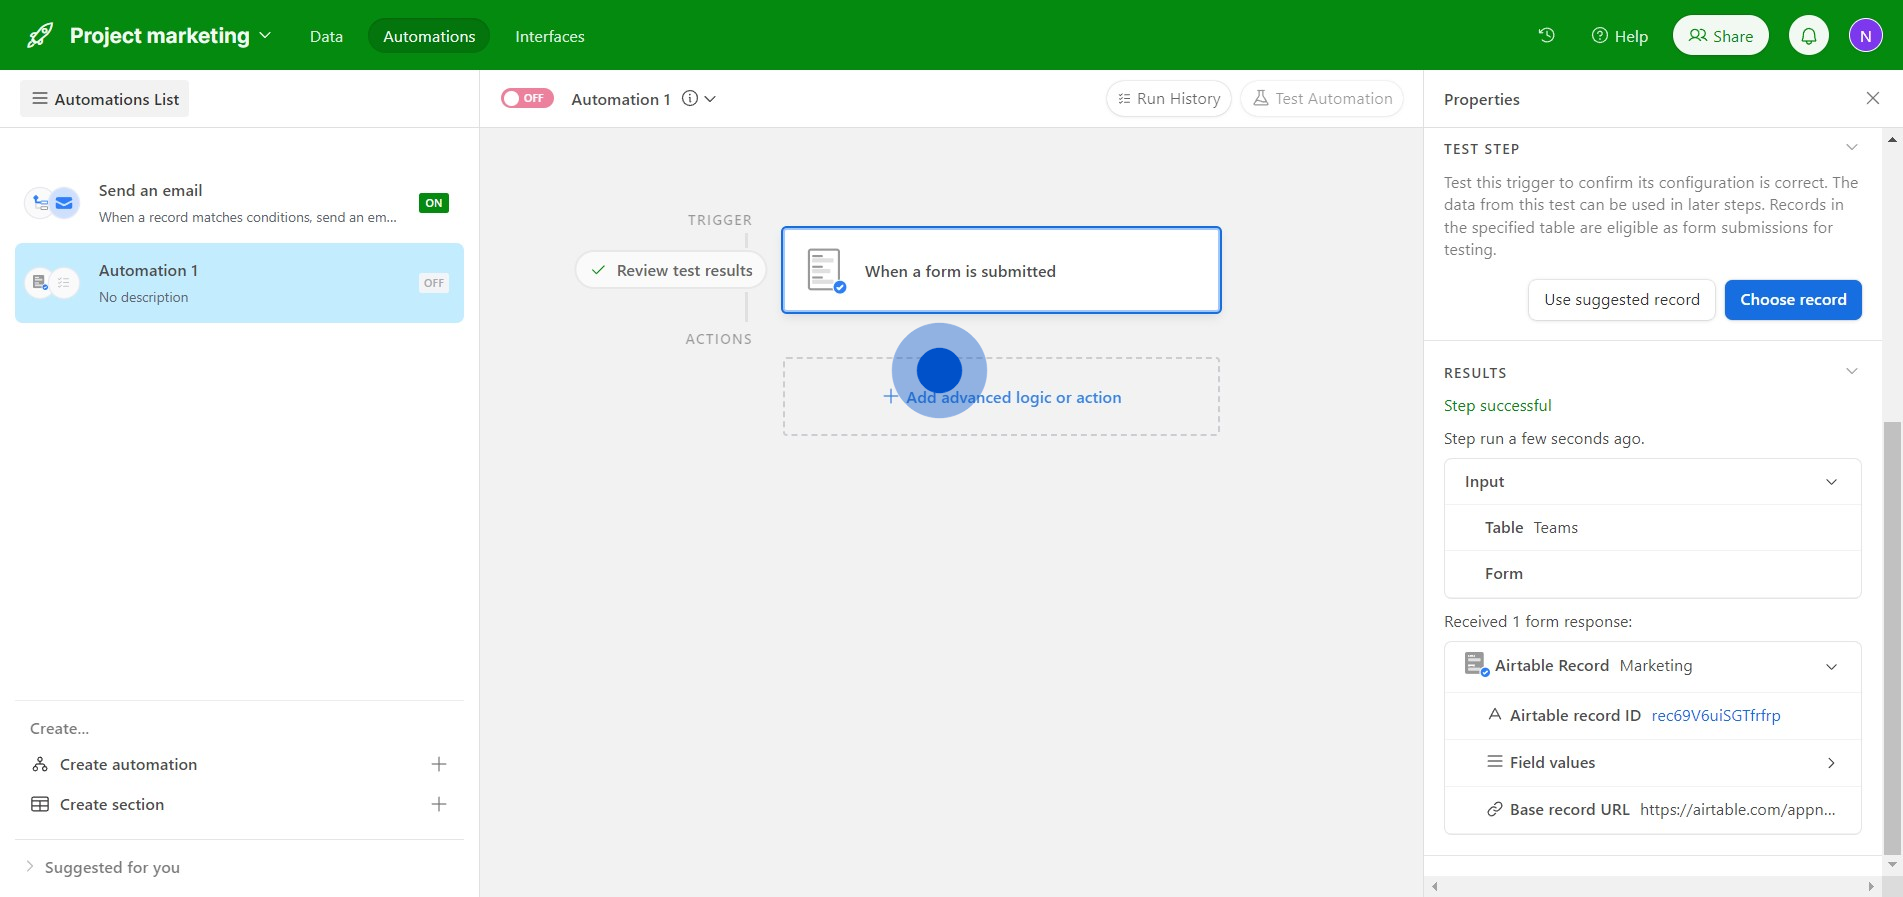
11. Like opting to dispatch a message for updates on Slack.
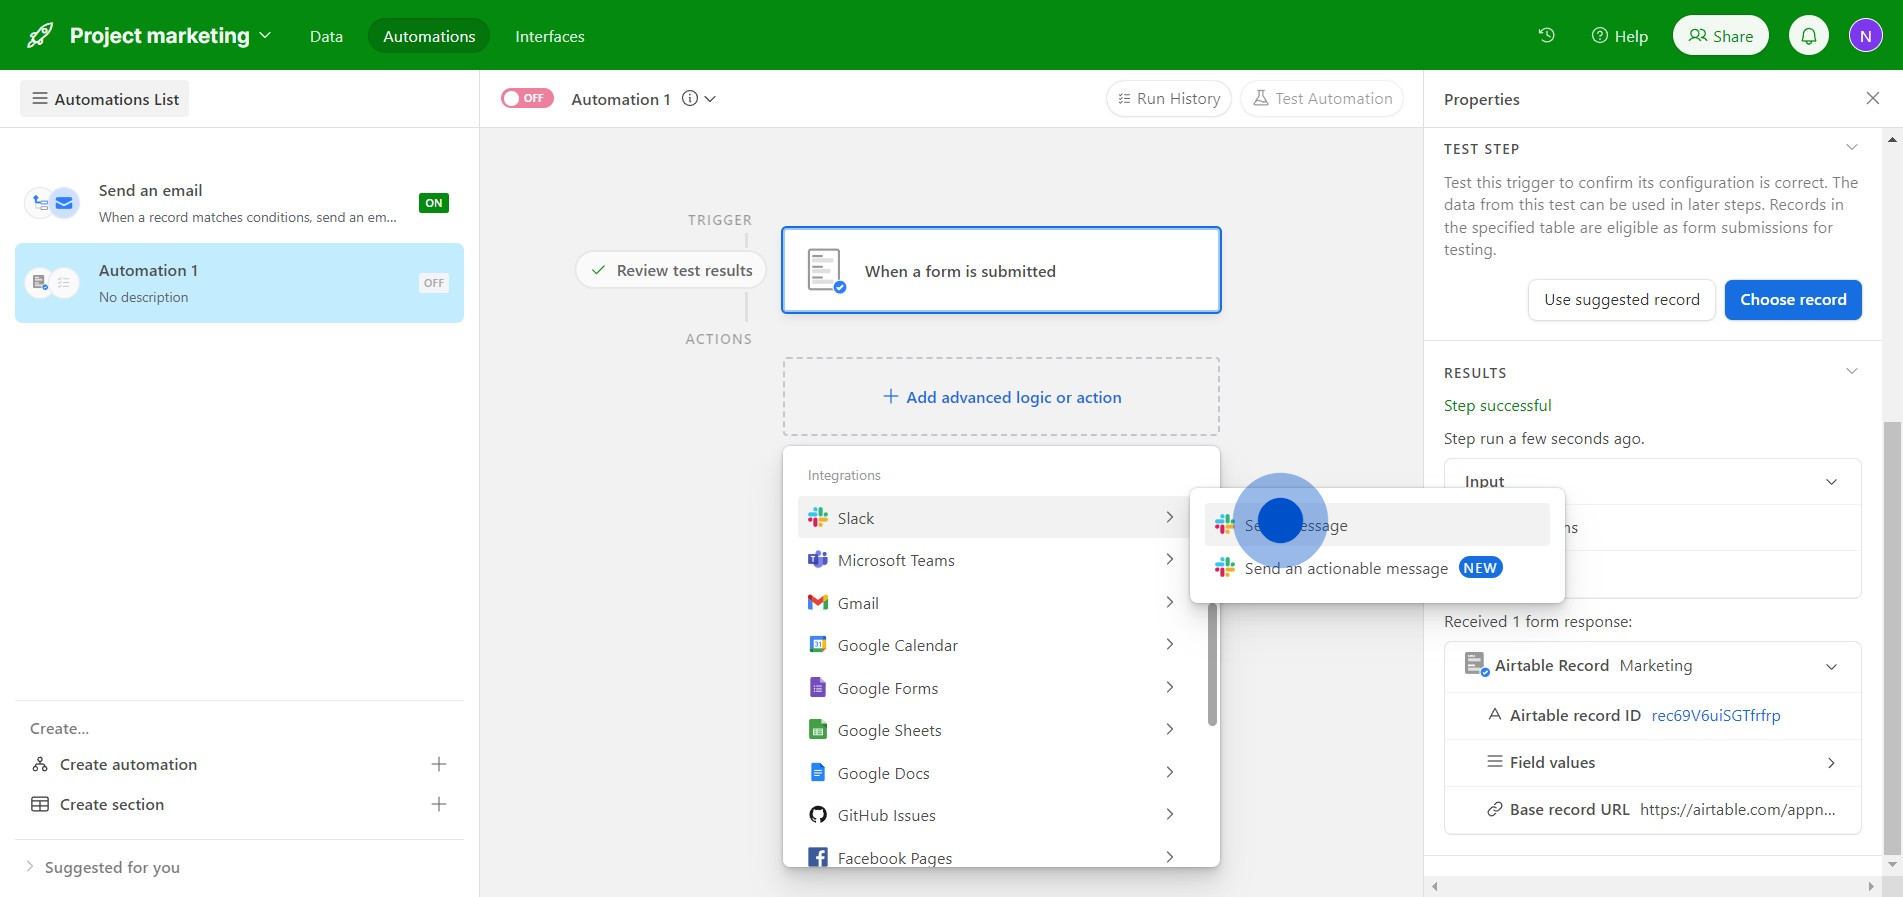
12. Select the designated account for receipt of the message.
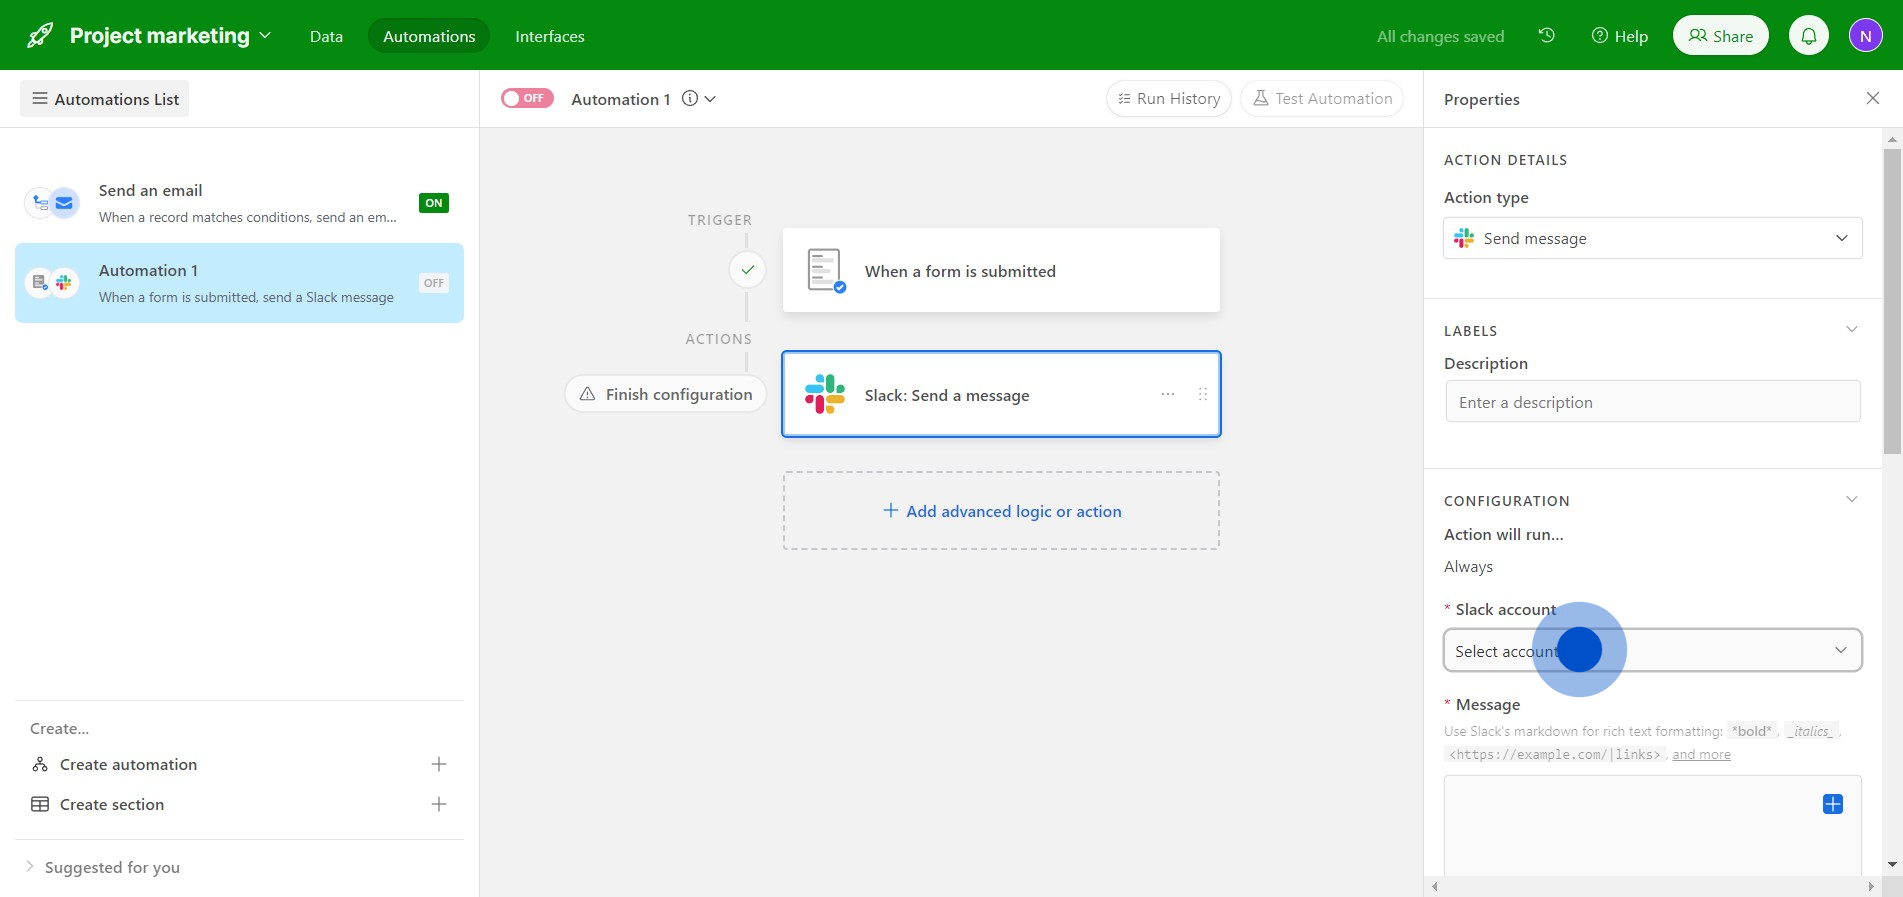
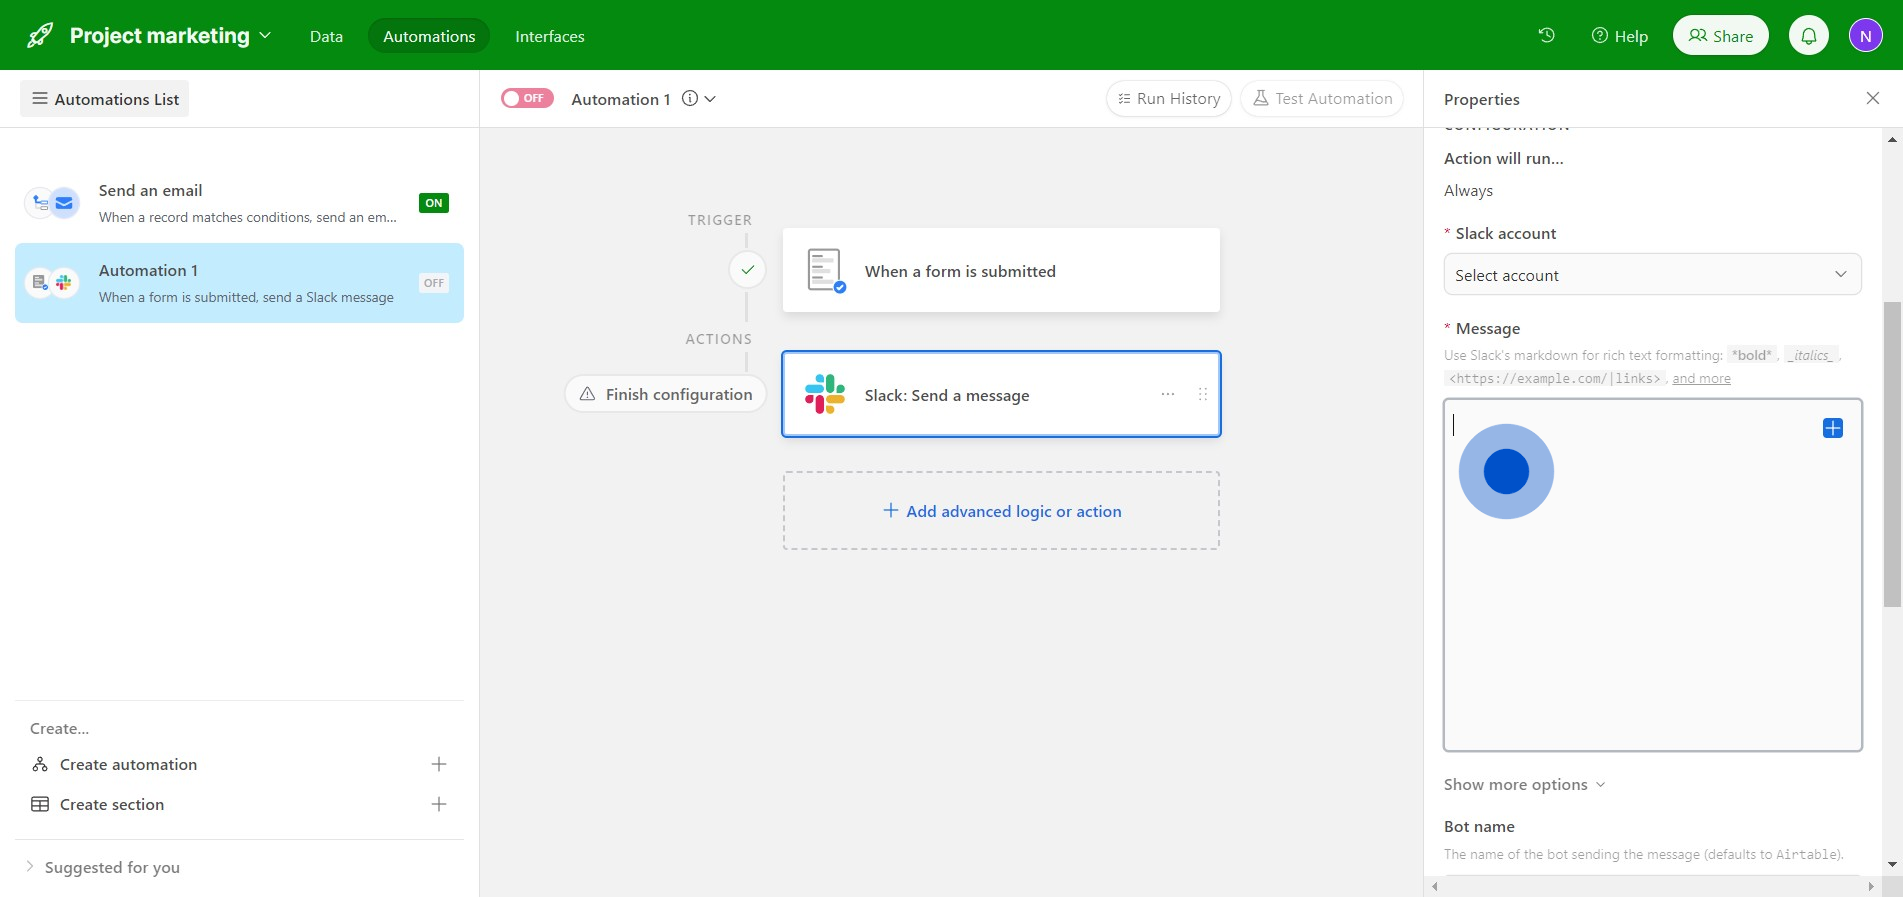
13. Compose the content before final send-off.
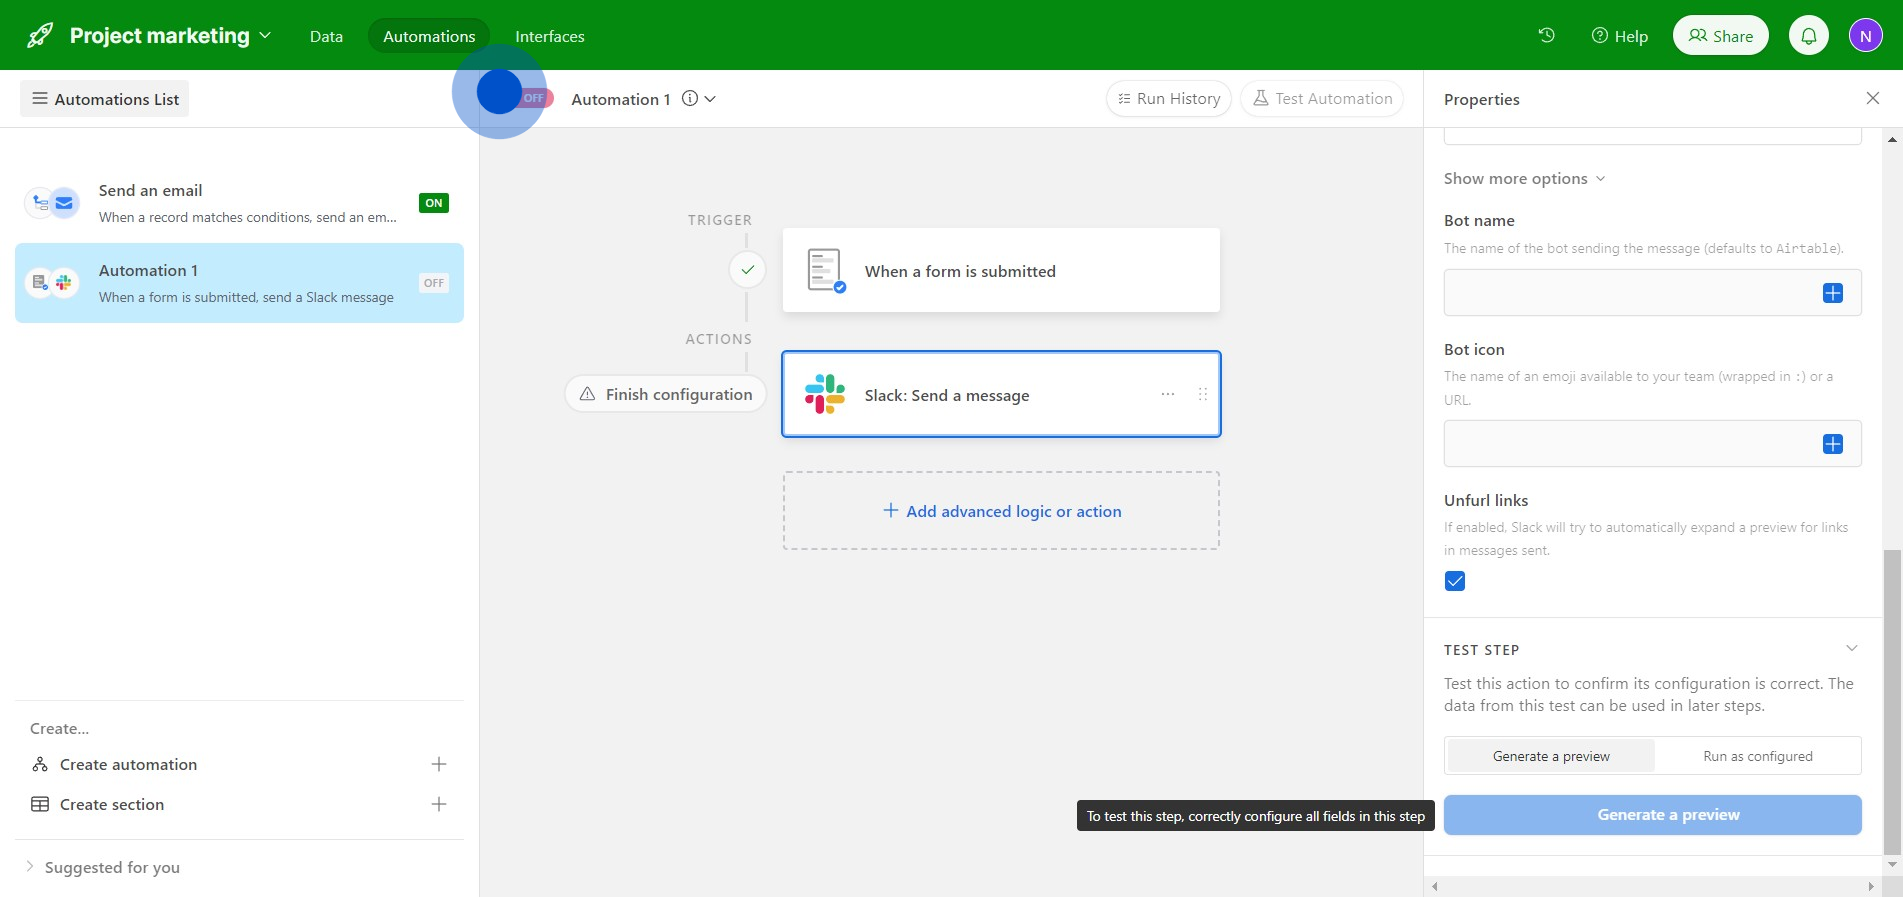
14. Make sure you toggle the button to activate the automation!
Create your own step-by-step demo
Scale up your training and product adoption with beautiful AI-powered interactive demos and guides. Create your first Supademo in seconds for free.
Nithil Shanmugam
Nithil is a startup-obsessed operator focused on growth, sales and marketing. He's passionate about wearing different hats across startups to deliver real value.
