Overview:
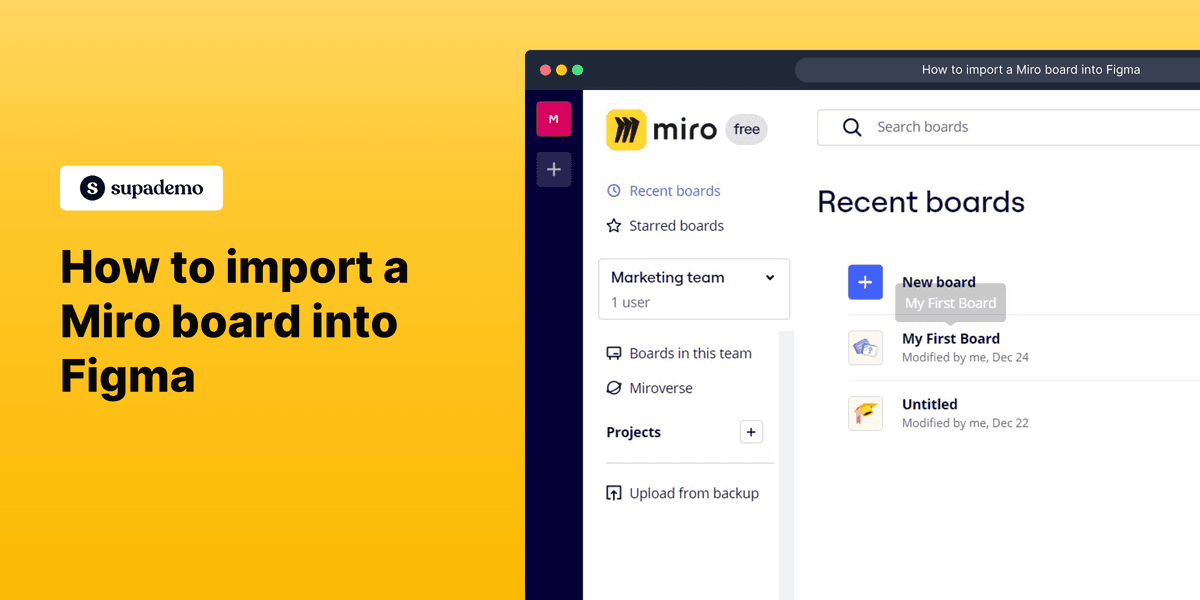
Streamline your design collaboration by seamlessly importing Miro boards into Figma. Enhance your workflow efficiency as you bring together the strengths of both platforms. This guide offers a straightforward process, ensuring a smooth transition and empowering you to integrate Miro boards into your Figma projects effortlessly. Elevate your design process and collaboration capabilities with this comprehensive guide on importing Miro boards into Figma.
Who is Miro best suited for?
Miro is best suited for a wide range of professionals, including UX/UI Designers, Product Managers, and Remote Teams. For example, UX/UI Designers can use Miro for brainstorming and prototyping design concepts, Product Managers can leverage it for mapping out product roadmaps and facilitating team workshops, and Remote Teams can use it for virtual whiteboarding and collaborative project planning, all benefiting from Miro’s interactive and visual collaboration tools.
How to import a Miro board into Figma
1. Select your desired board to export from Miro.
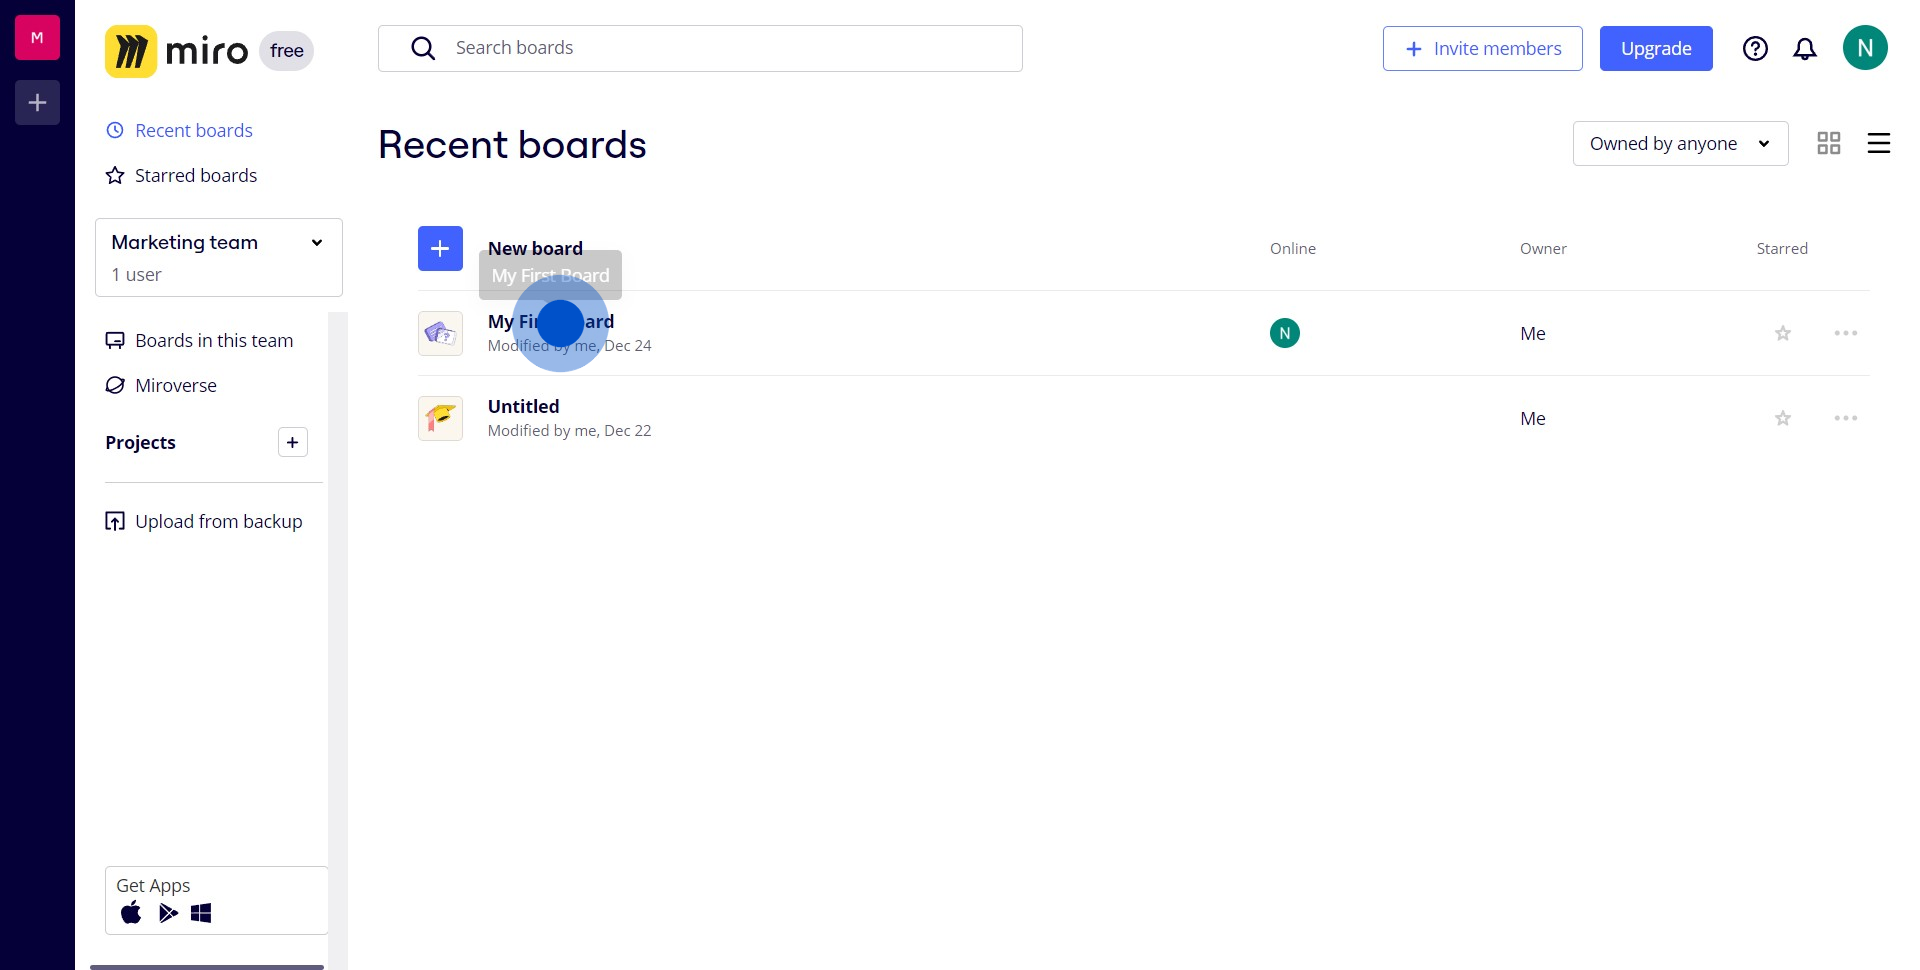
2. Next, select the 'Save as image' option
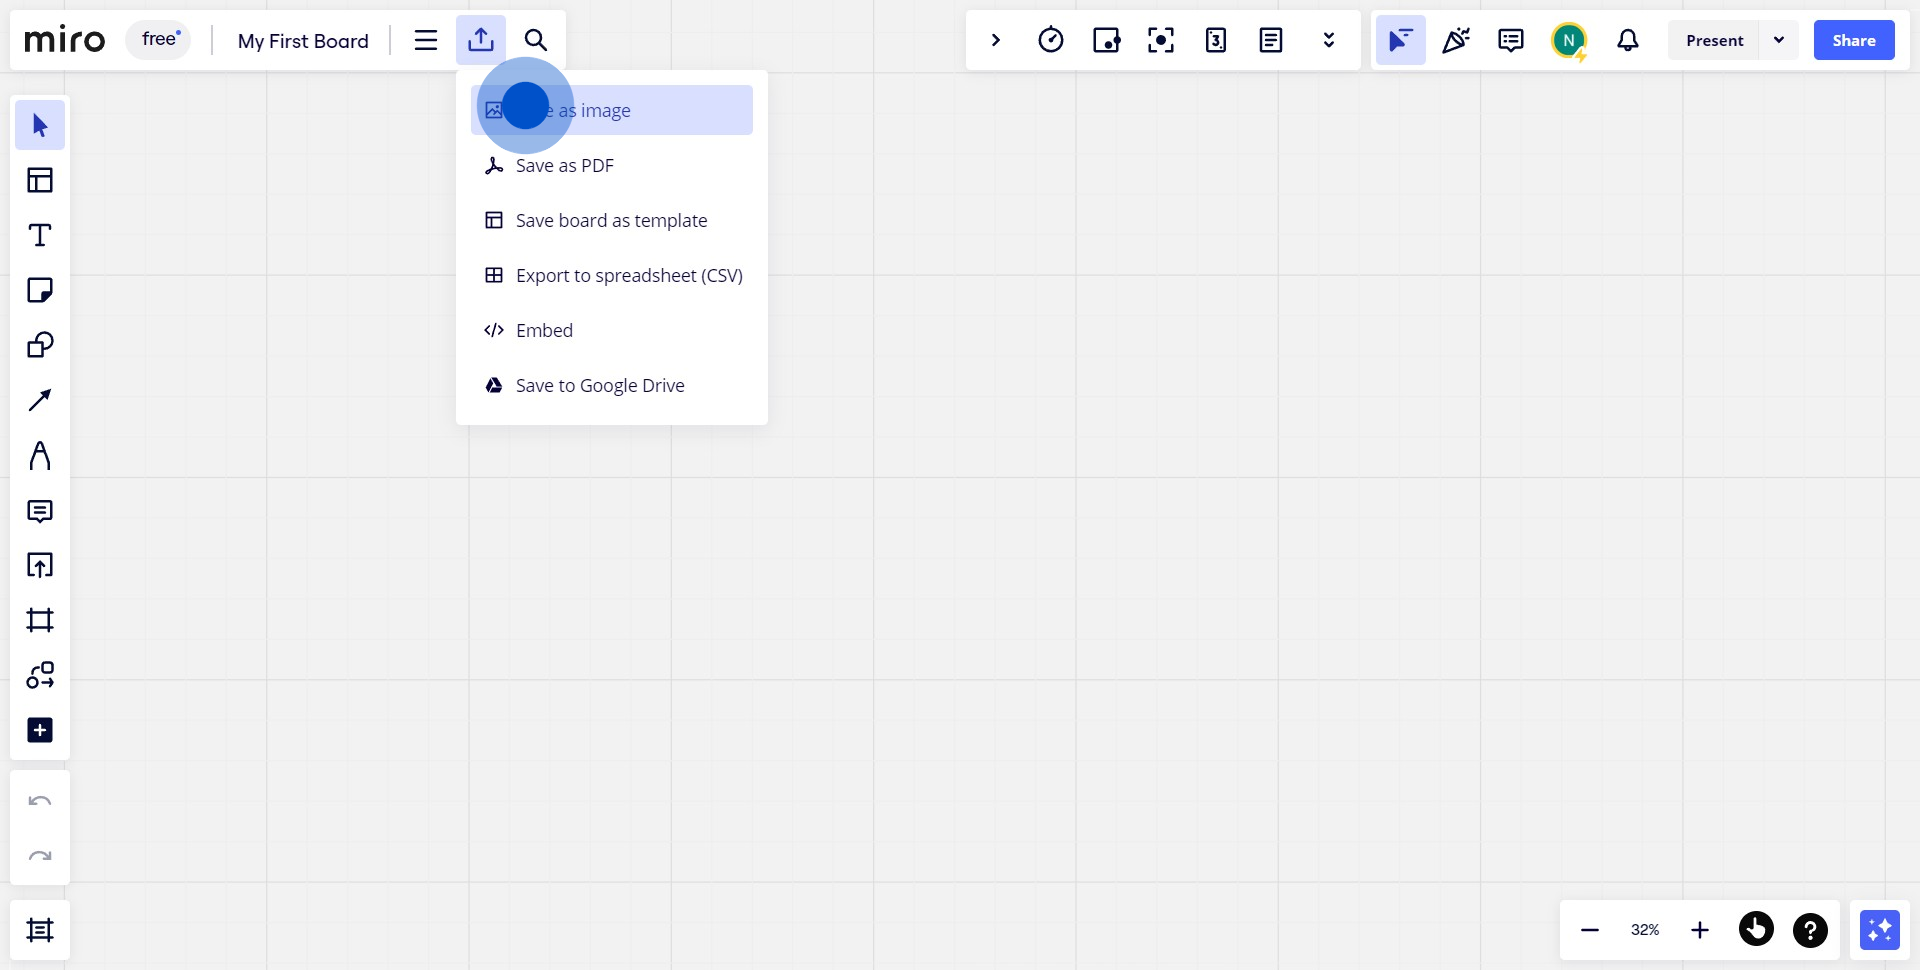
3. Remember to choose the 'Vector' option
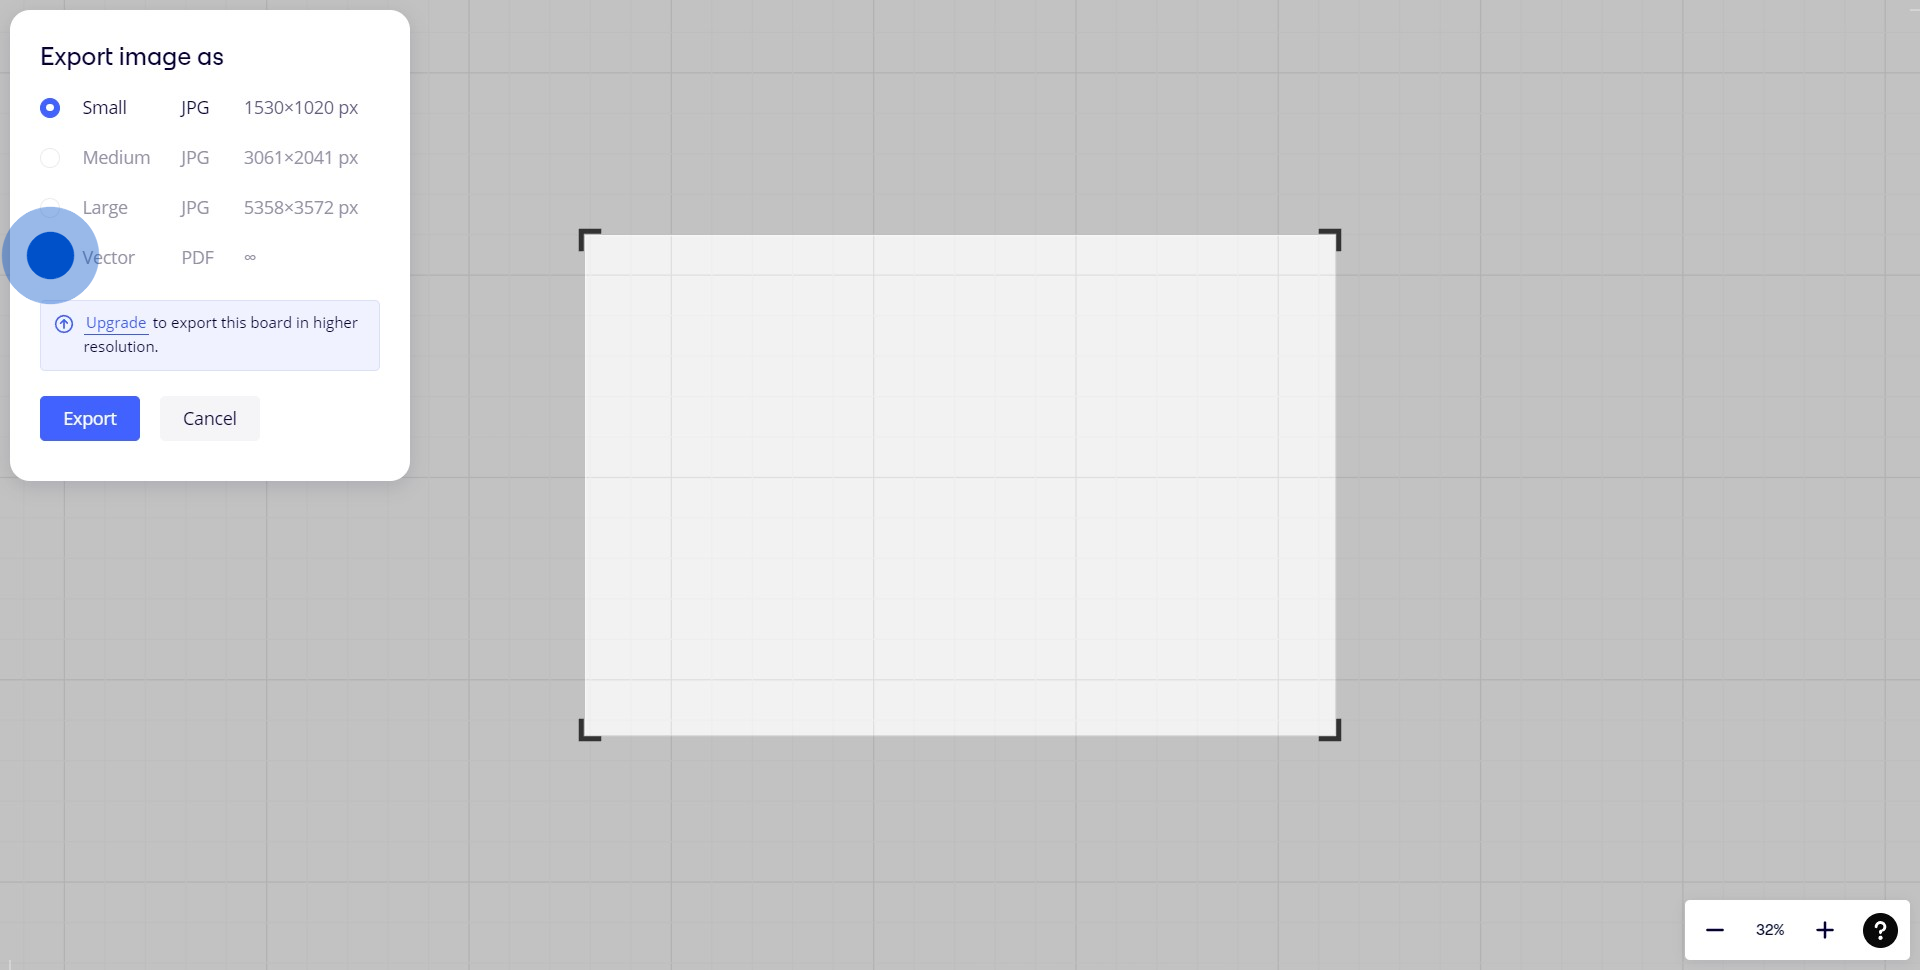
4. Now, hit the 'Export' button
5. Switch to Figma and click 'Import'
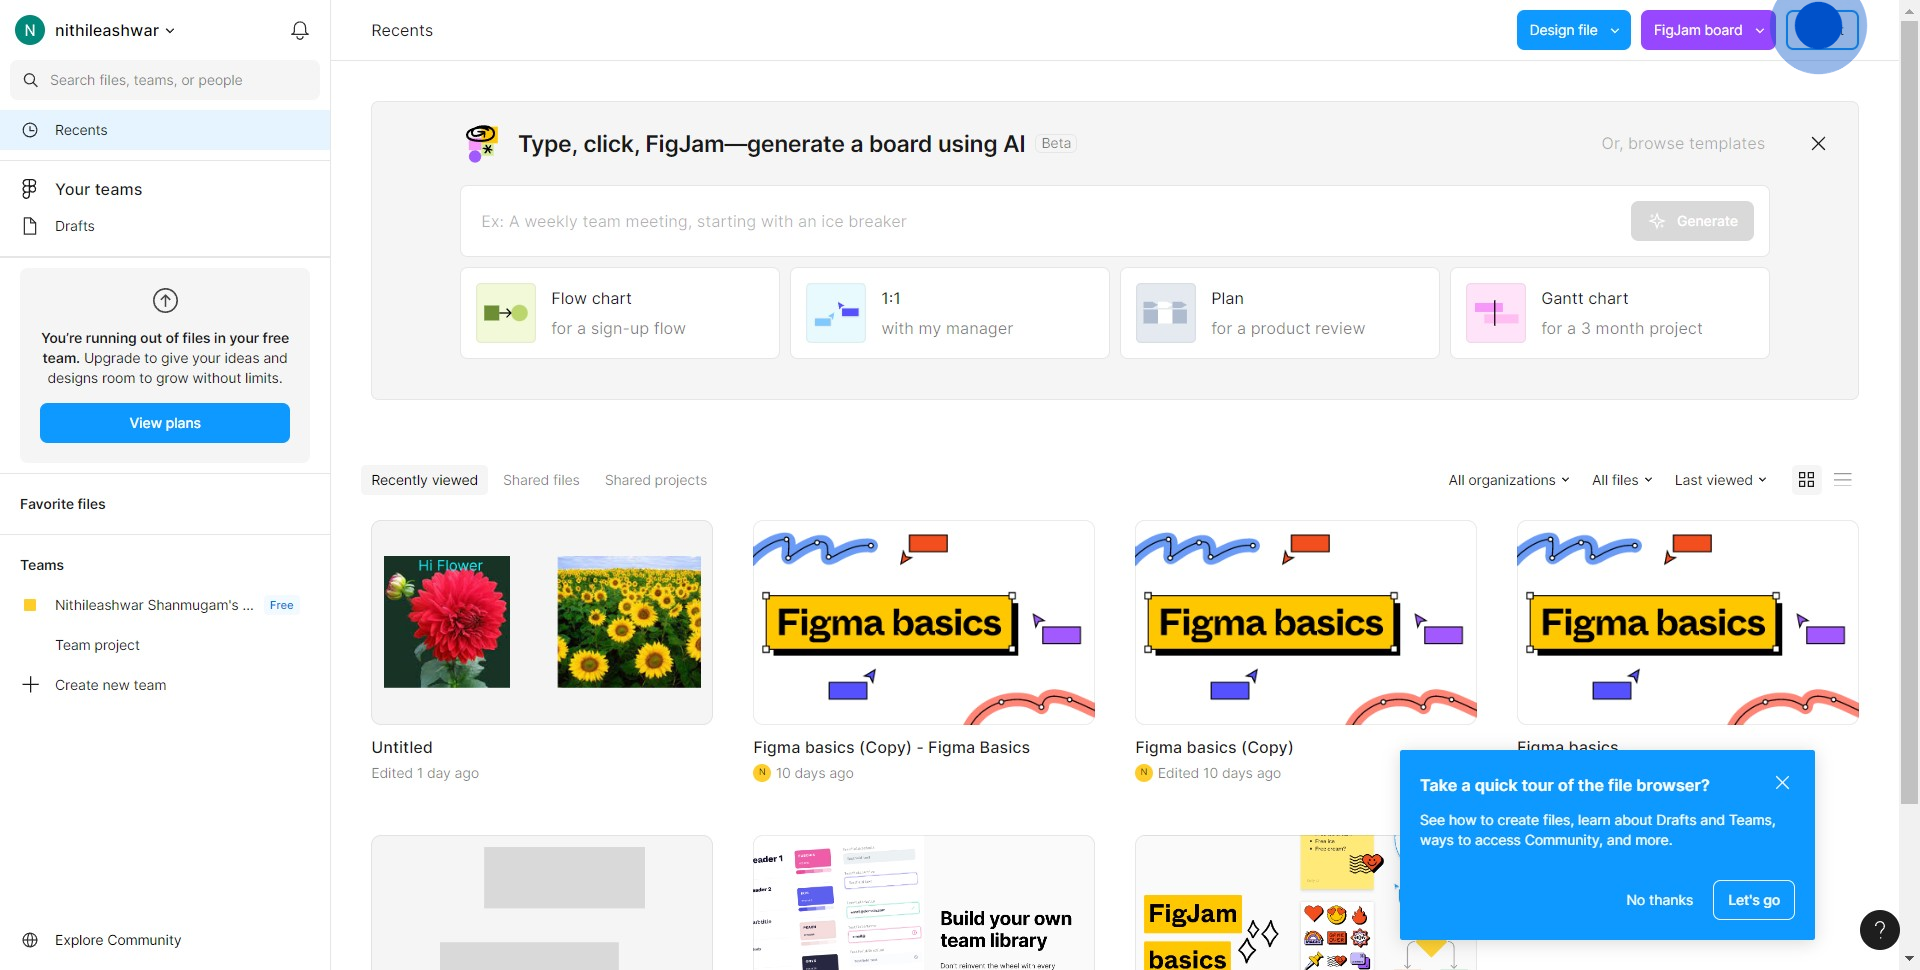
6. Choose files 'From your computer' to upload
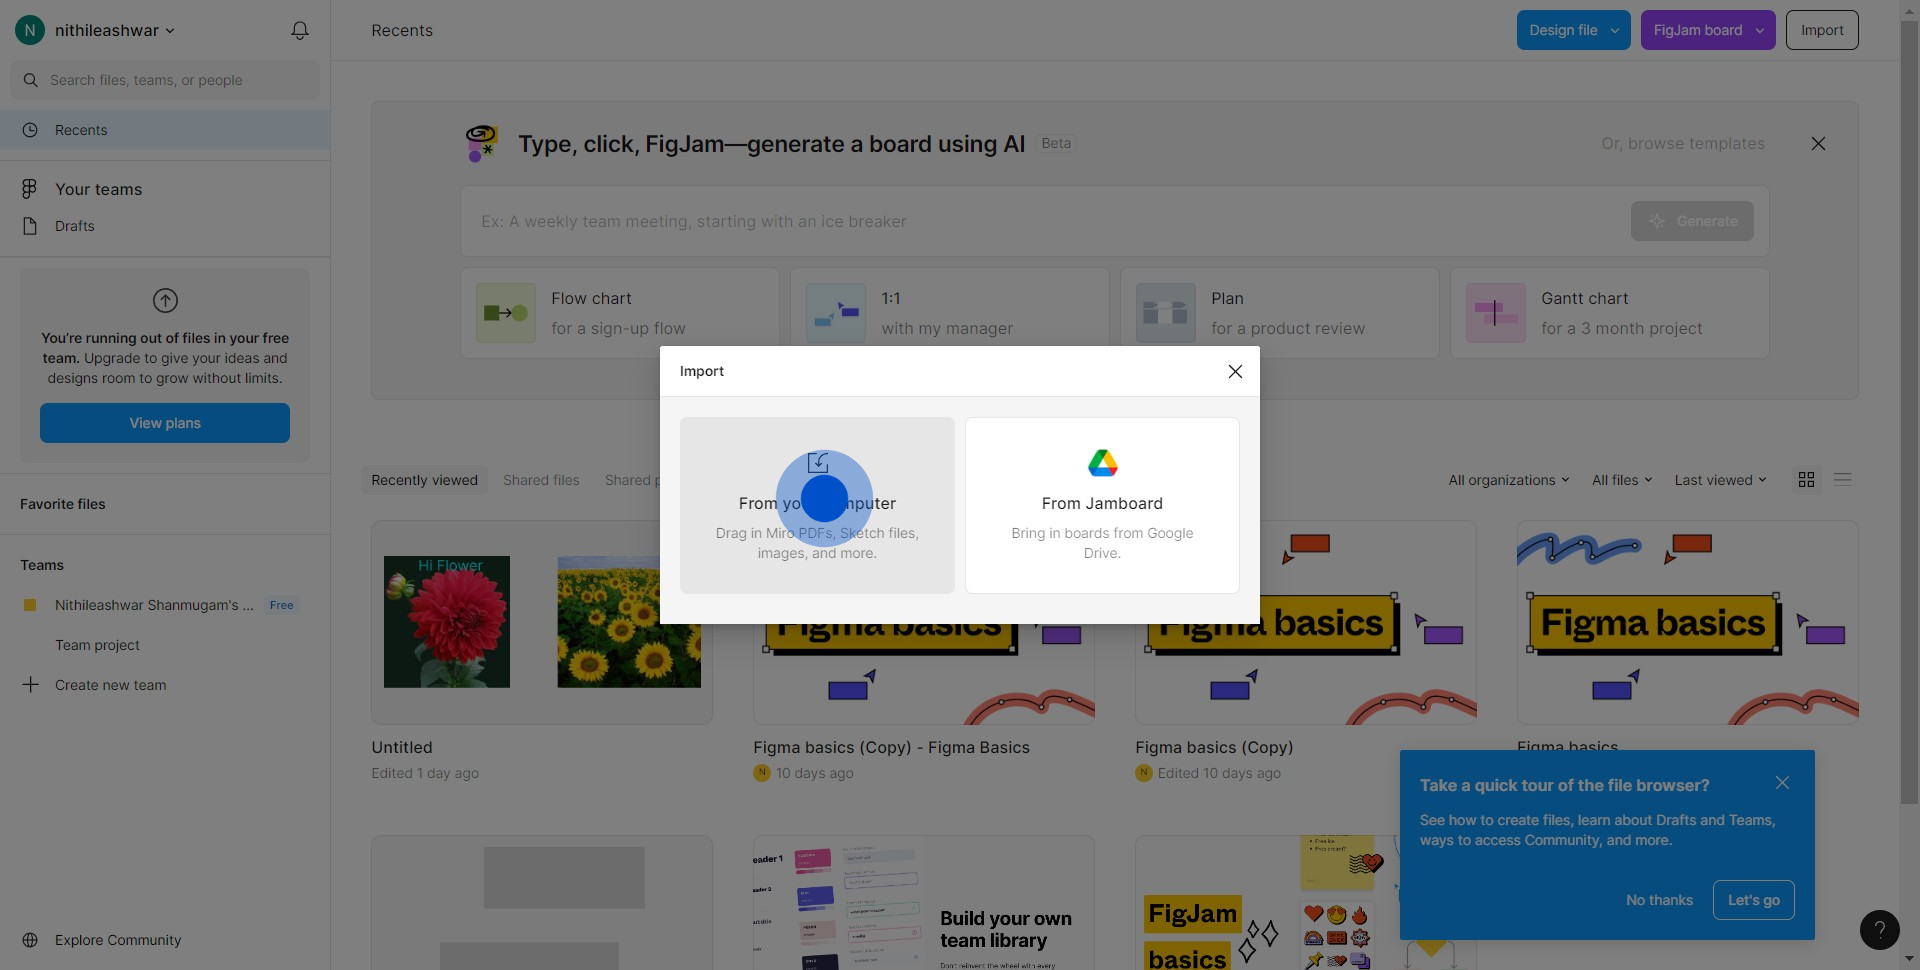
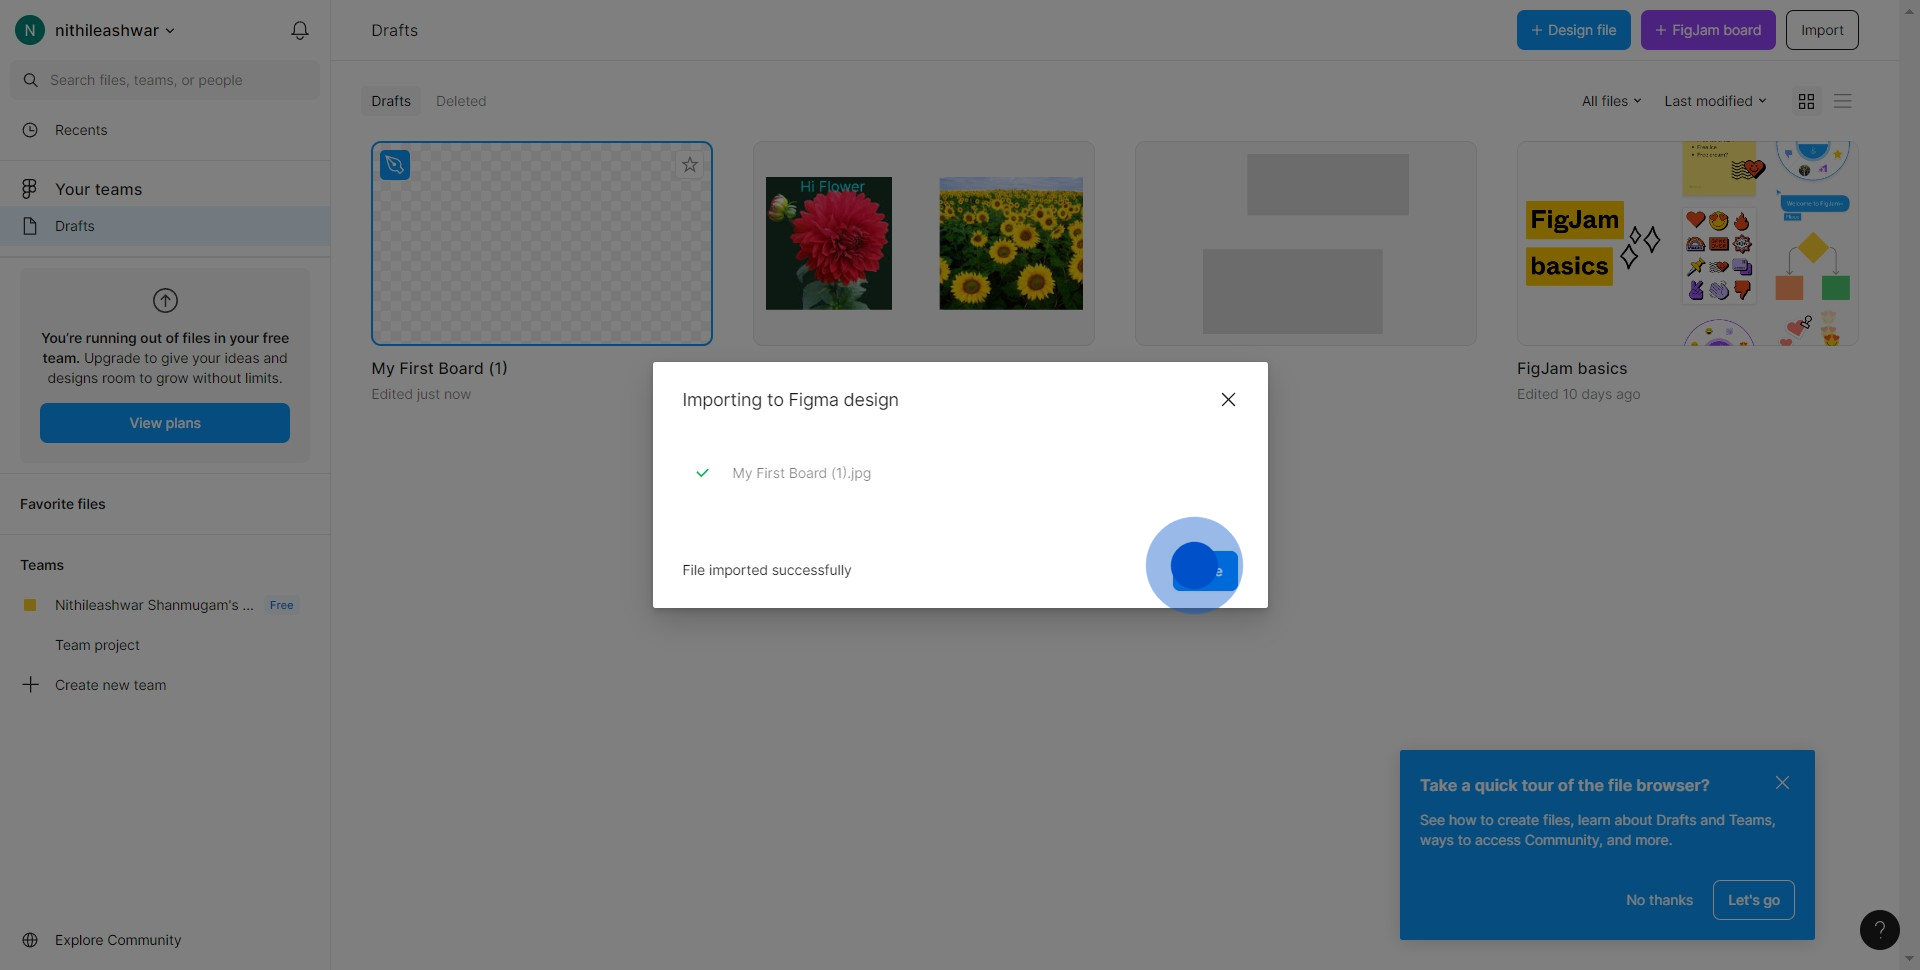
7. Lastly, complete the process by clicking 'Done'
Common FAQs on Miro
Commonly asked questions about this topic.
How do I create and manage a board in Miro?
To create a board in Miro, log in to your Miro account and click the “+ Create New Board” button on your dashboard. You can choose to start with a blank board or use one of the available templates for different use cases, such as brainstorming or project planning. Once your board is created, you can add various elements such as sticky notes, shapes, and text boxes. Organize your board by using frames to group related content, and use tools like zoom and pan to navigate. You can manage board settings and permissions by clicking on the board title or the “Share” button.
How do I integrate Miro with other tools and applications?
To integrate Miro with other tools, go to the “Apps & Integrations” section in your Miro account settings. Miro offers integrations with popular tools like Slack, Microsoft Teams, Google Drive, Trello, and Jira. Click on the tool you want to integrate, and follow the prompts to authorize and configure the connection. These integrations allow you to embed Miro boards into other platforms, sync data, and automate workflows. For example, you can attach Miro boards to Trello cards or Jira issues, share Miro links in Slack channels, and access Miro content directly from Google Drive.
How can I collaborate with others in real-time on Miro?
To collaborate in real-time, share your Miro board with team members by clicking the “Share” button in the top-right corner. Enter their email addresses or generate a shareable link to invite them. You can set permissions for each collaborator, such as Viewer, Commenter, or Editor. Once shared, multiple users can access and work on the board simultaneously. Miro supports real-time updates, allowing you to see changes, comments, and cursor movements from other collaborators as they happen. Use features like chat, comments, and @mentions to communicate and coordinate with your team directly within the board.
Create your own step-by-step demo
Scale up your training and product adoption with beautiful AI-powered interactive demos and guides. Create your first Supademo in seconds for free.
Checkout Supademo Figma Plugin: Create interactive prototypes from frames (beta)

Welcome to the easiest way to create and share interactive prototypes from Figma — for free. With the Supademo Figma Plugin, you can transform your existing Figma frames into elegant, interactive prototypes.
Learn more about the Figma plugin through our
.
Here's how it works
Nithil Shanmugam
Nithil is a startup-obsessed operator focused on growth, sales and marketing. He's passionate about wearing different hats across startups to deliver real value.
