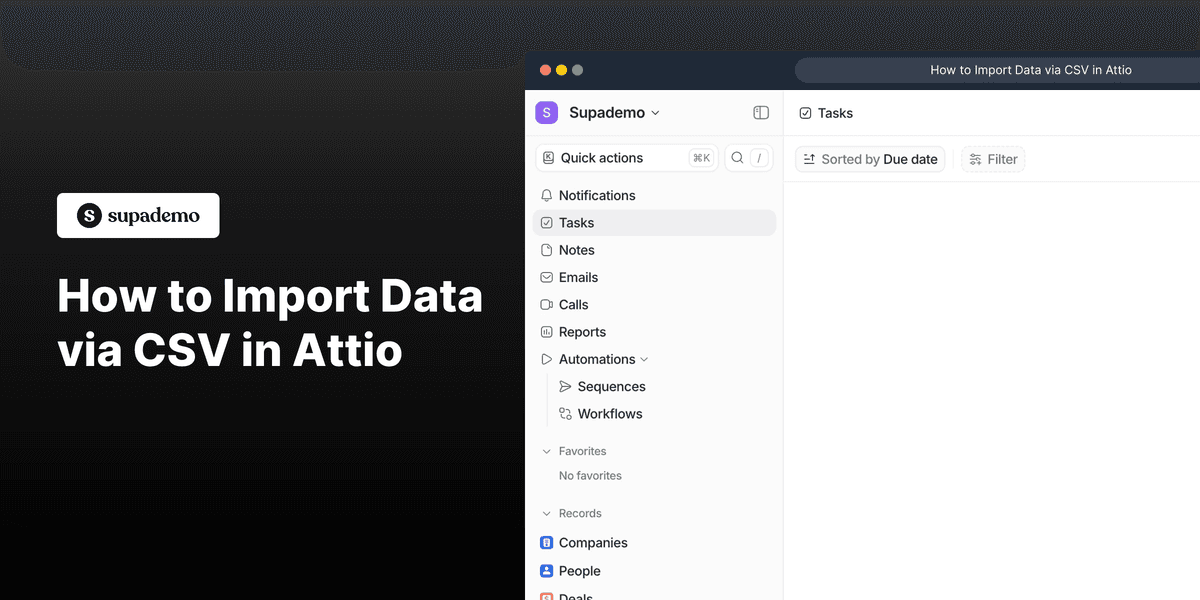
1. Start by opening the Collection where you want to import your data—this could be Companies, people, Deals, or any custom Collection.
2. Let's proceed with Companies.
3. Next, click on "Import / Export".
4. Following that, click on "Import CSV".
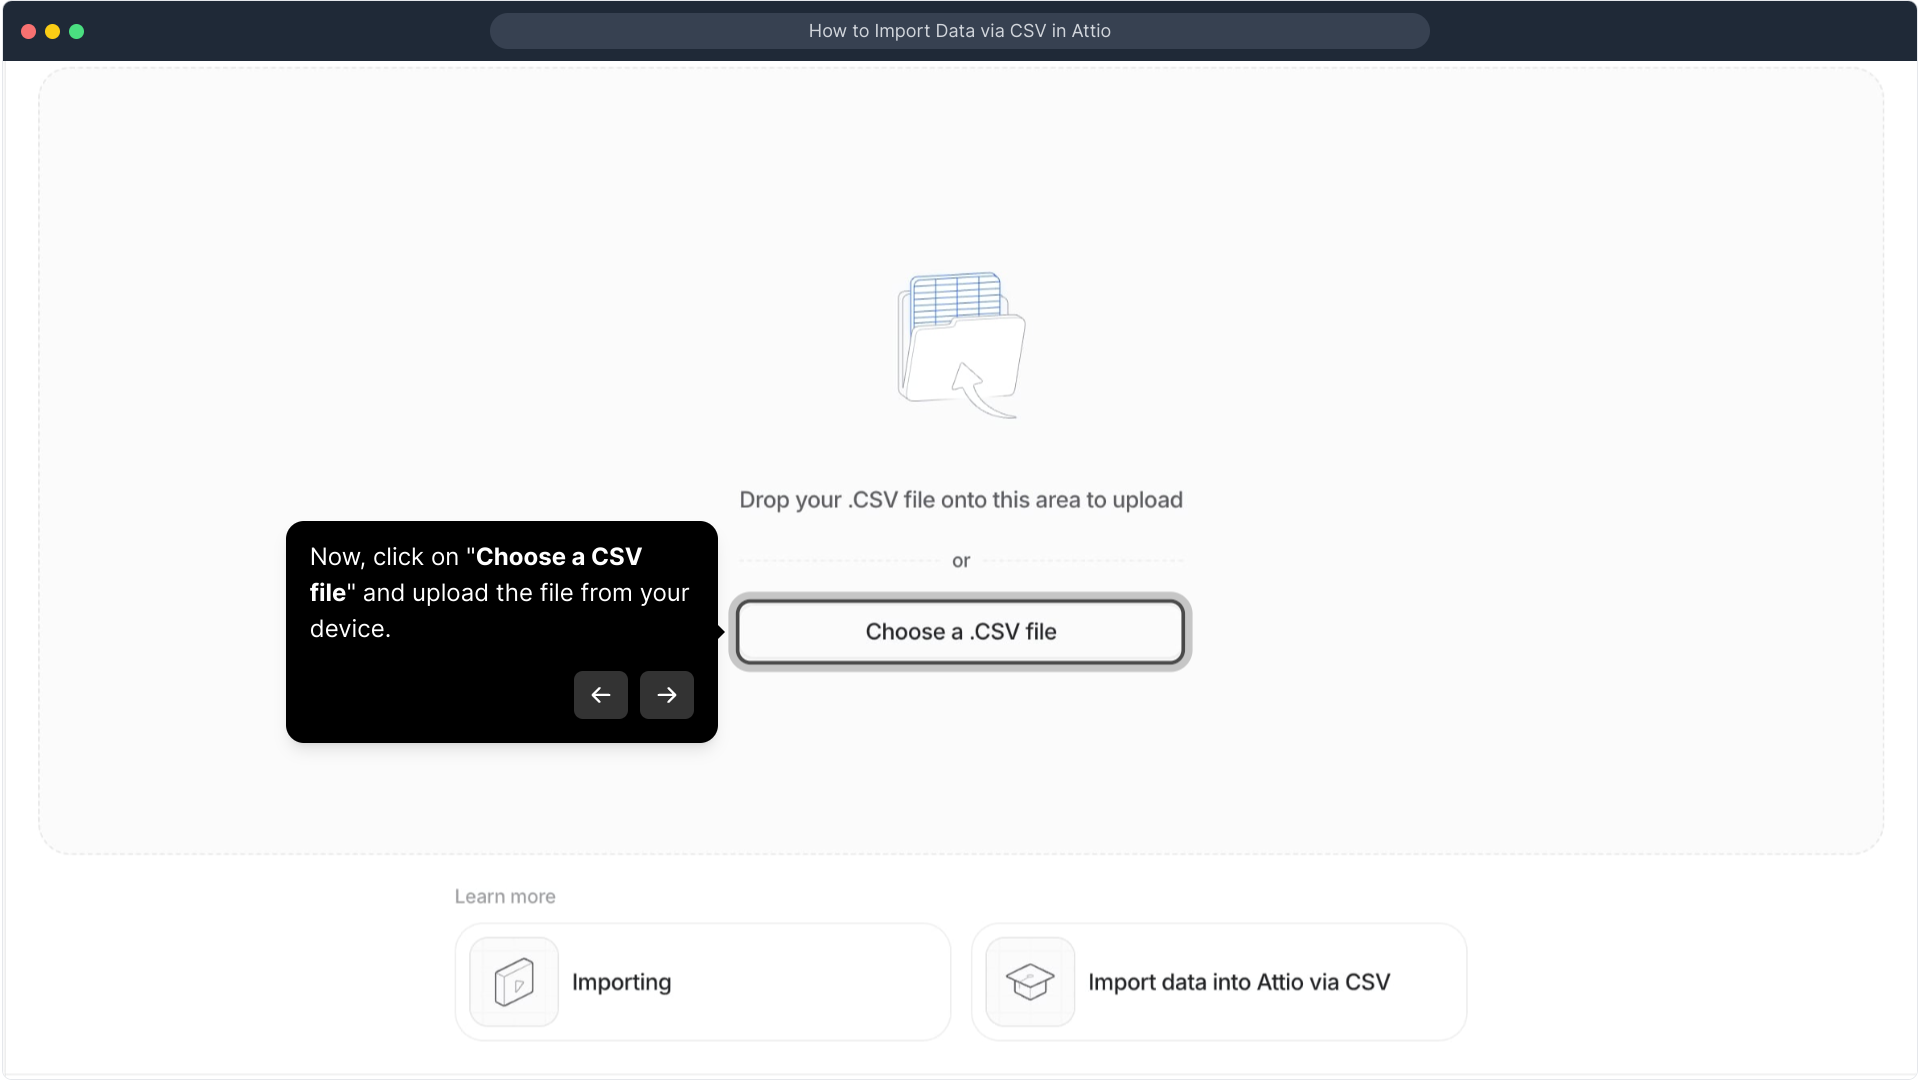
5. Now, click on "Choose a CSV file" and upload the file from your device.
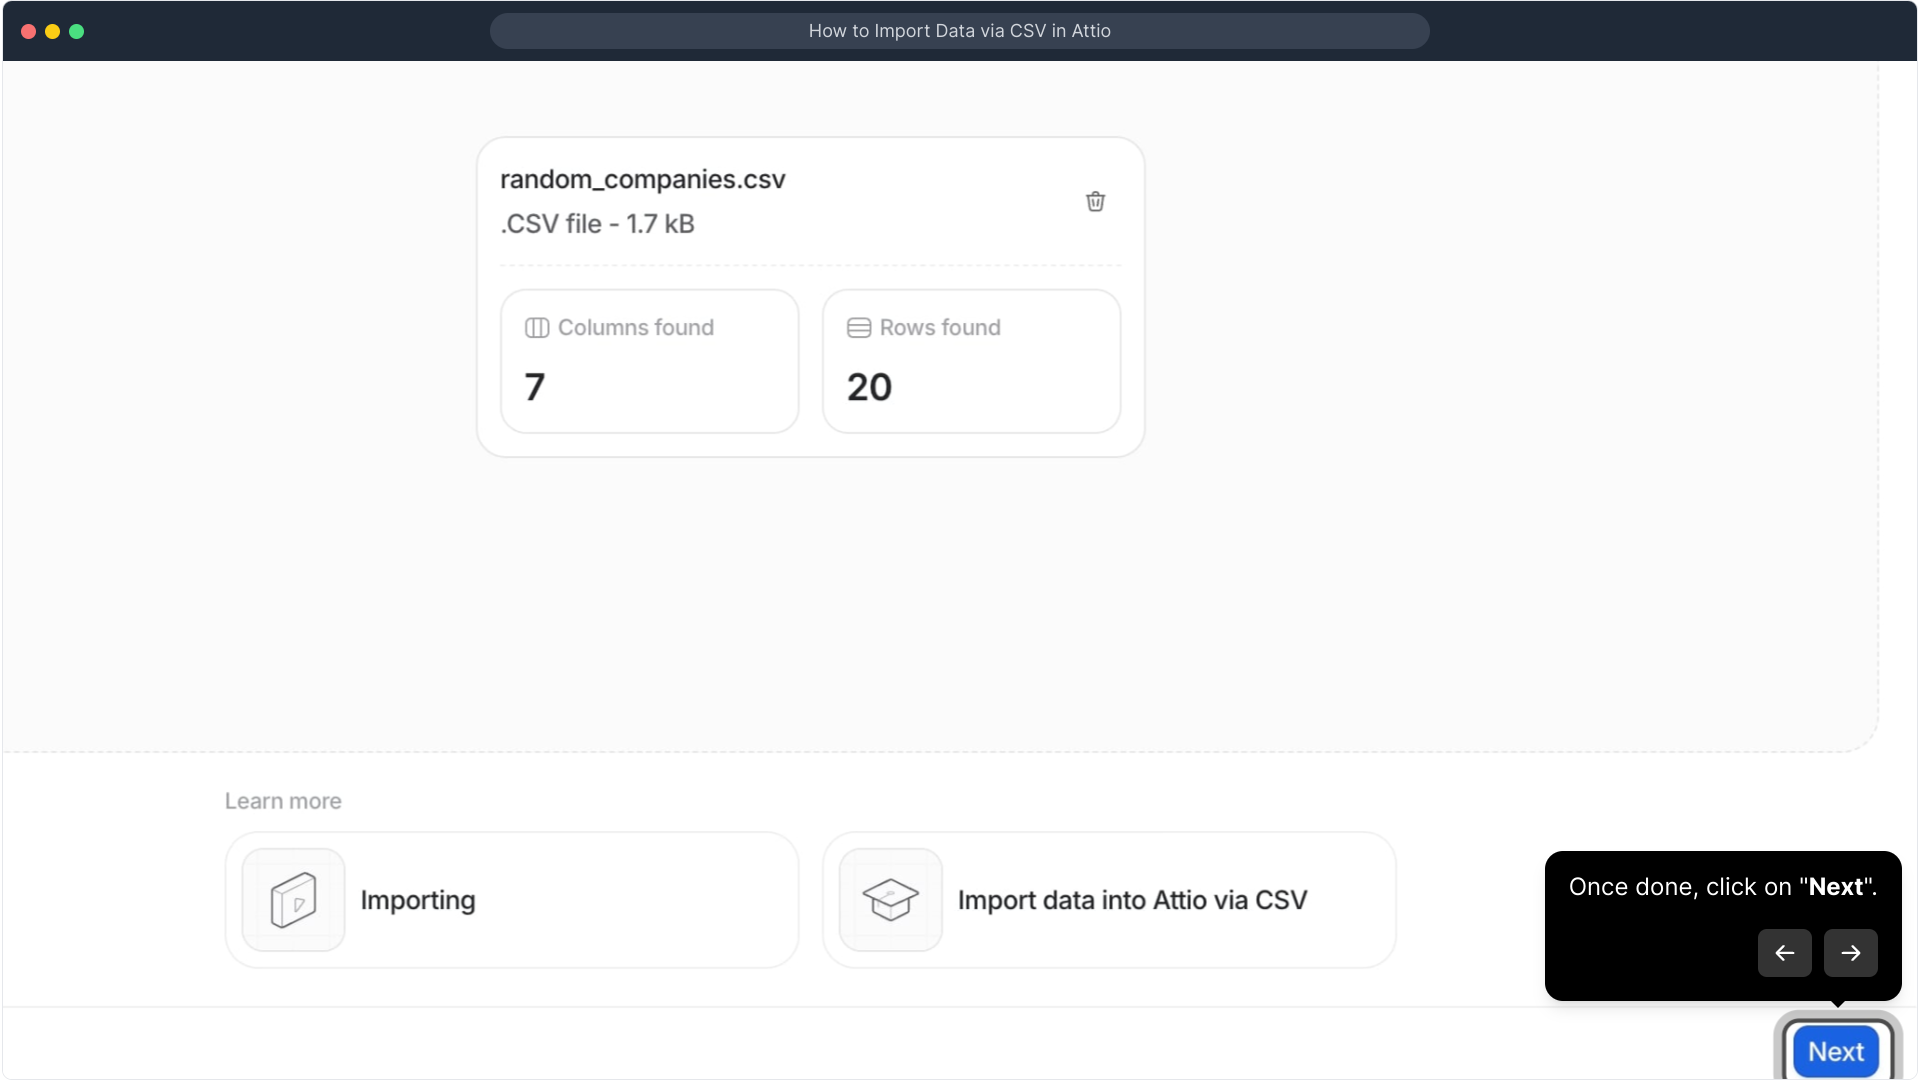
6. Once done, click on "Next".
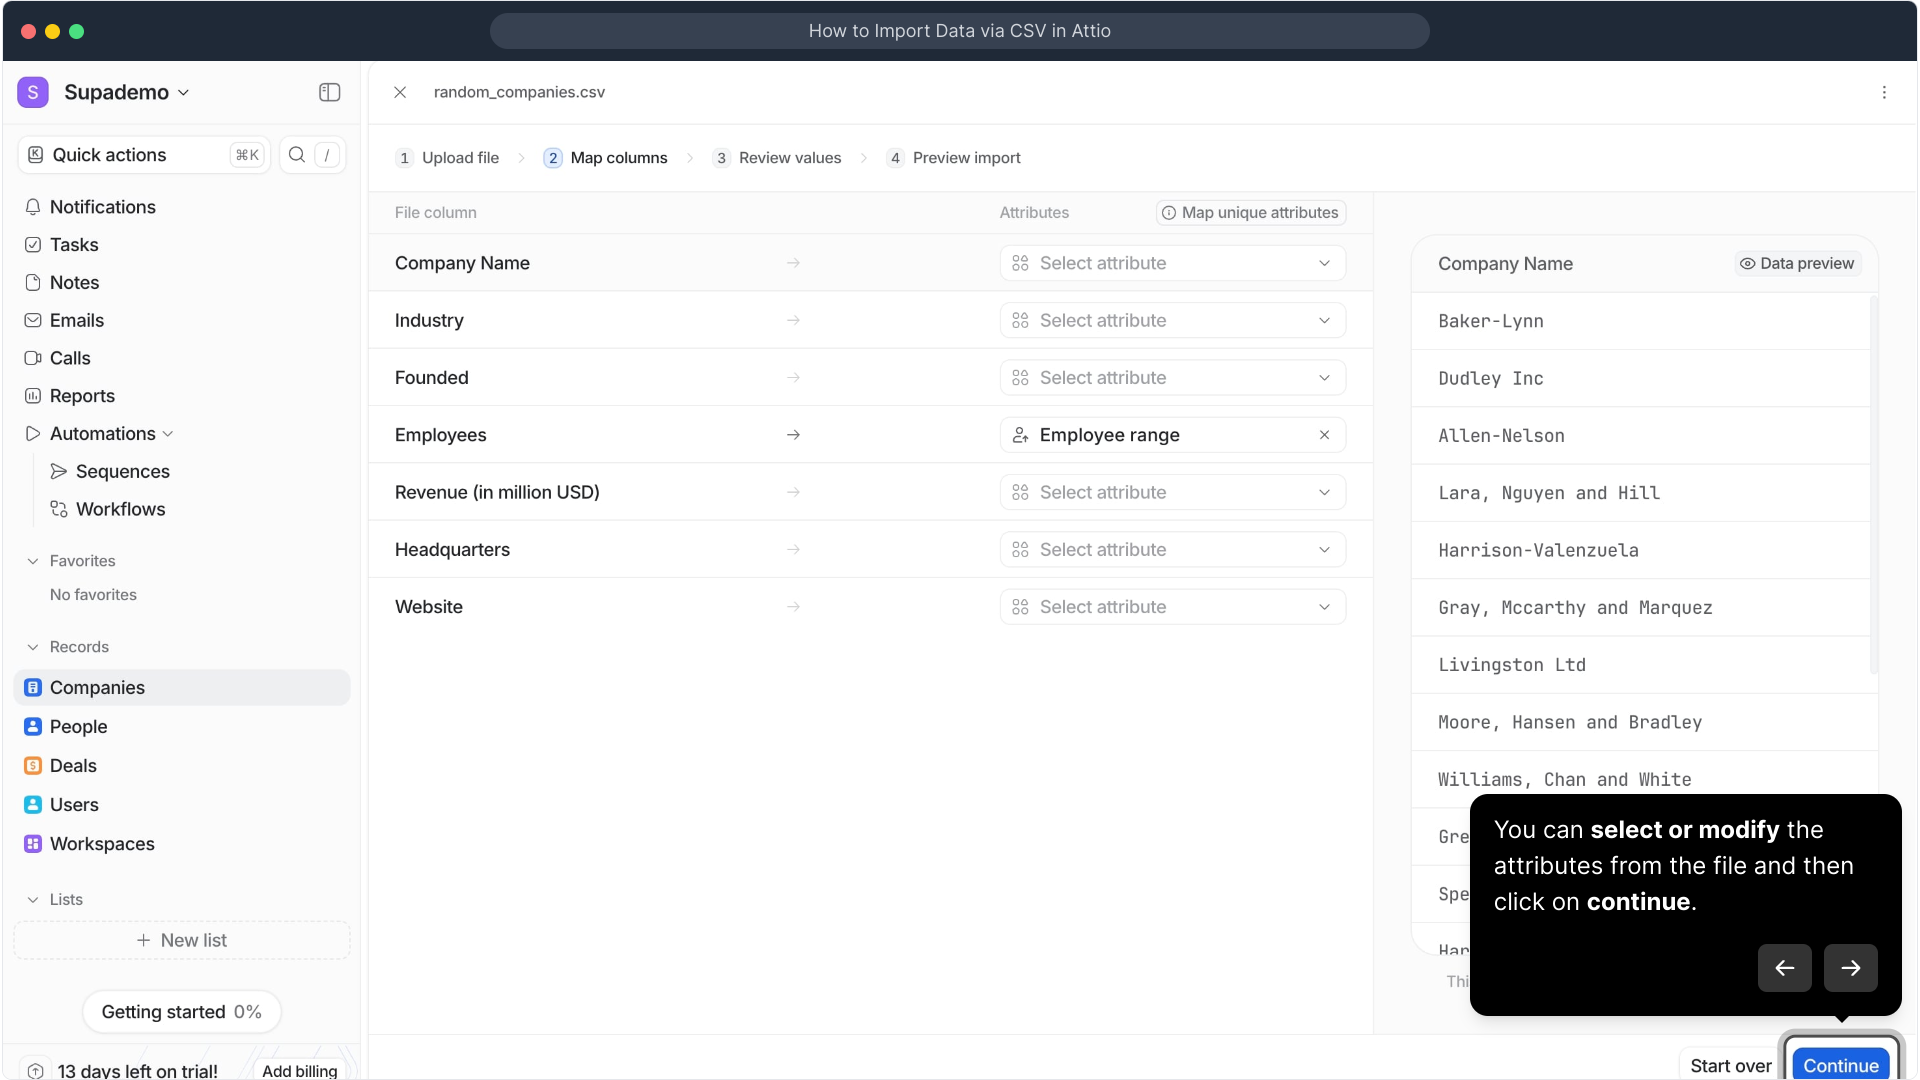
7. You can select or modify the attributes from the file and then click on continue.
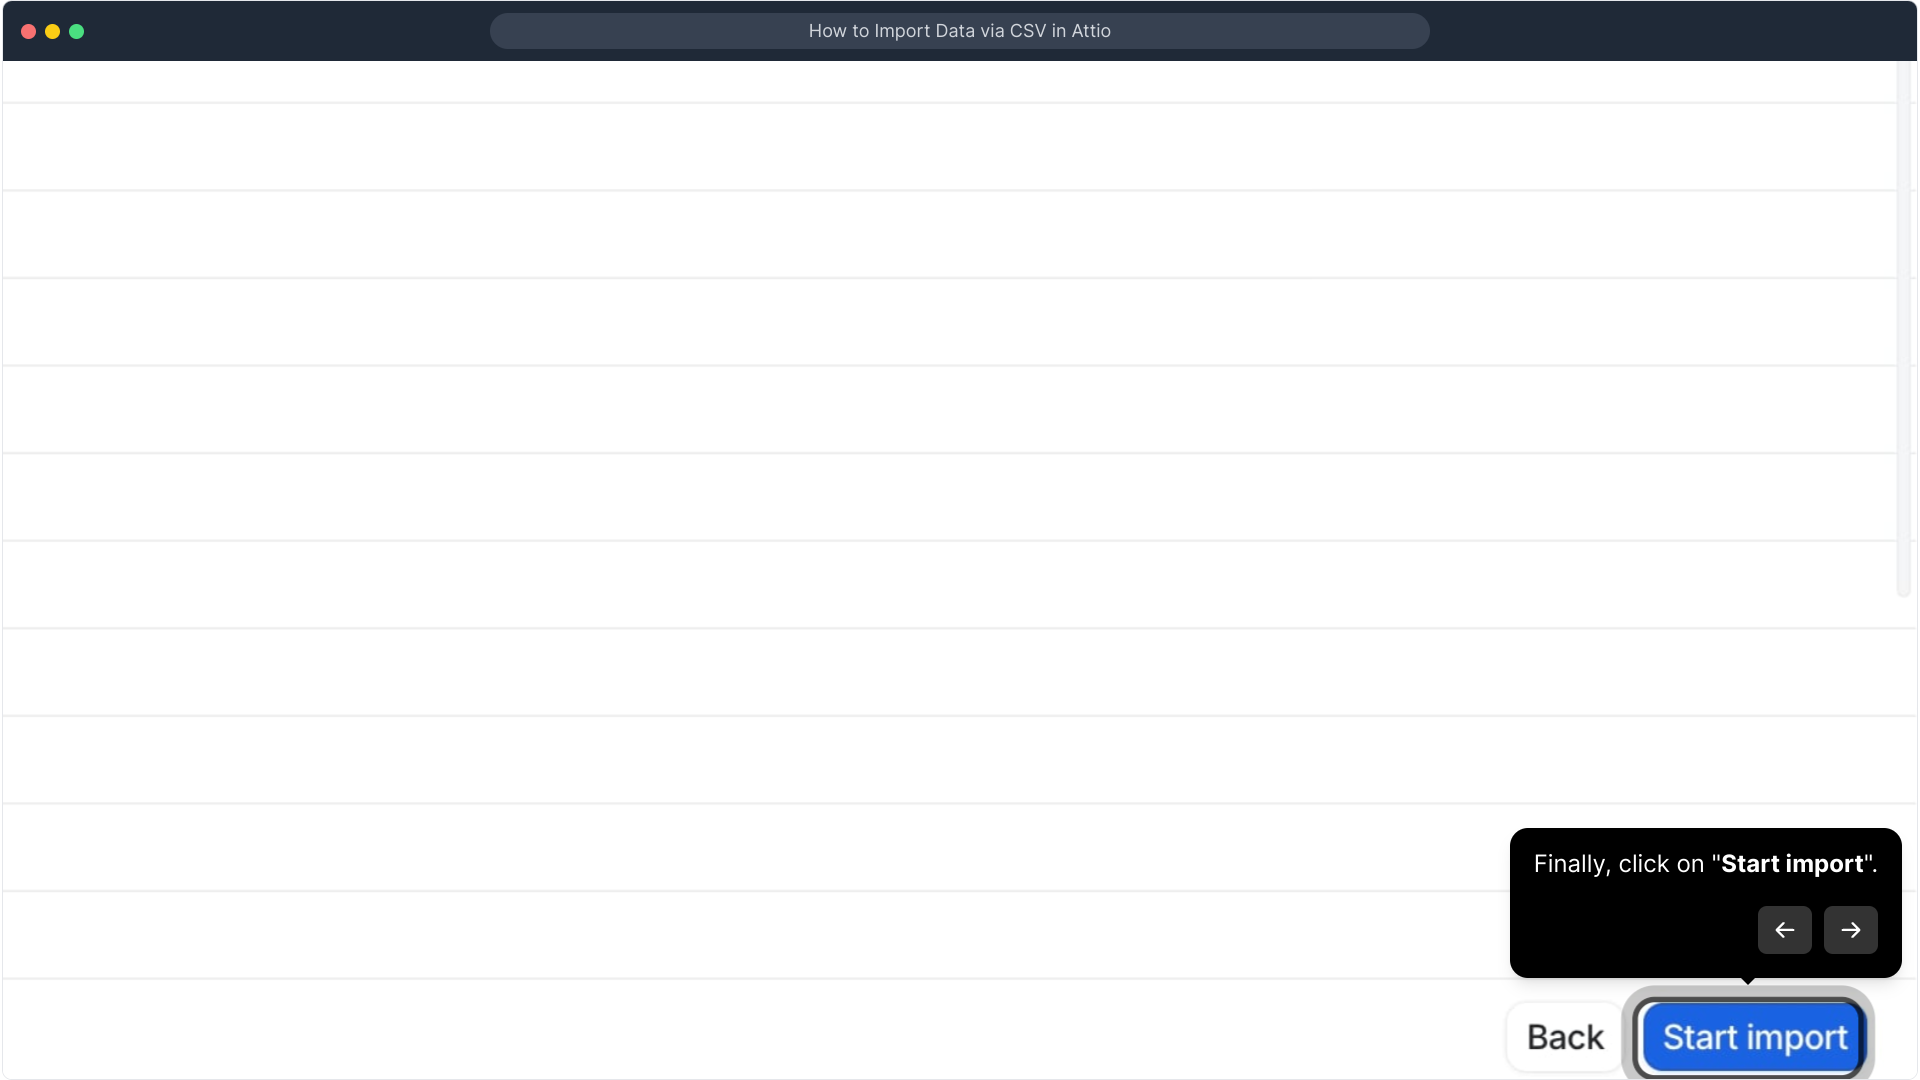
8. Finally, click on "Start import".
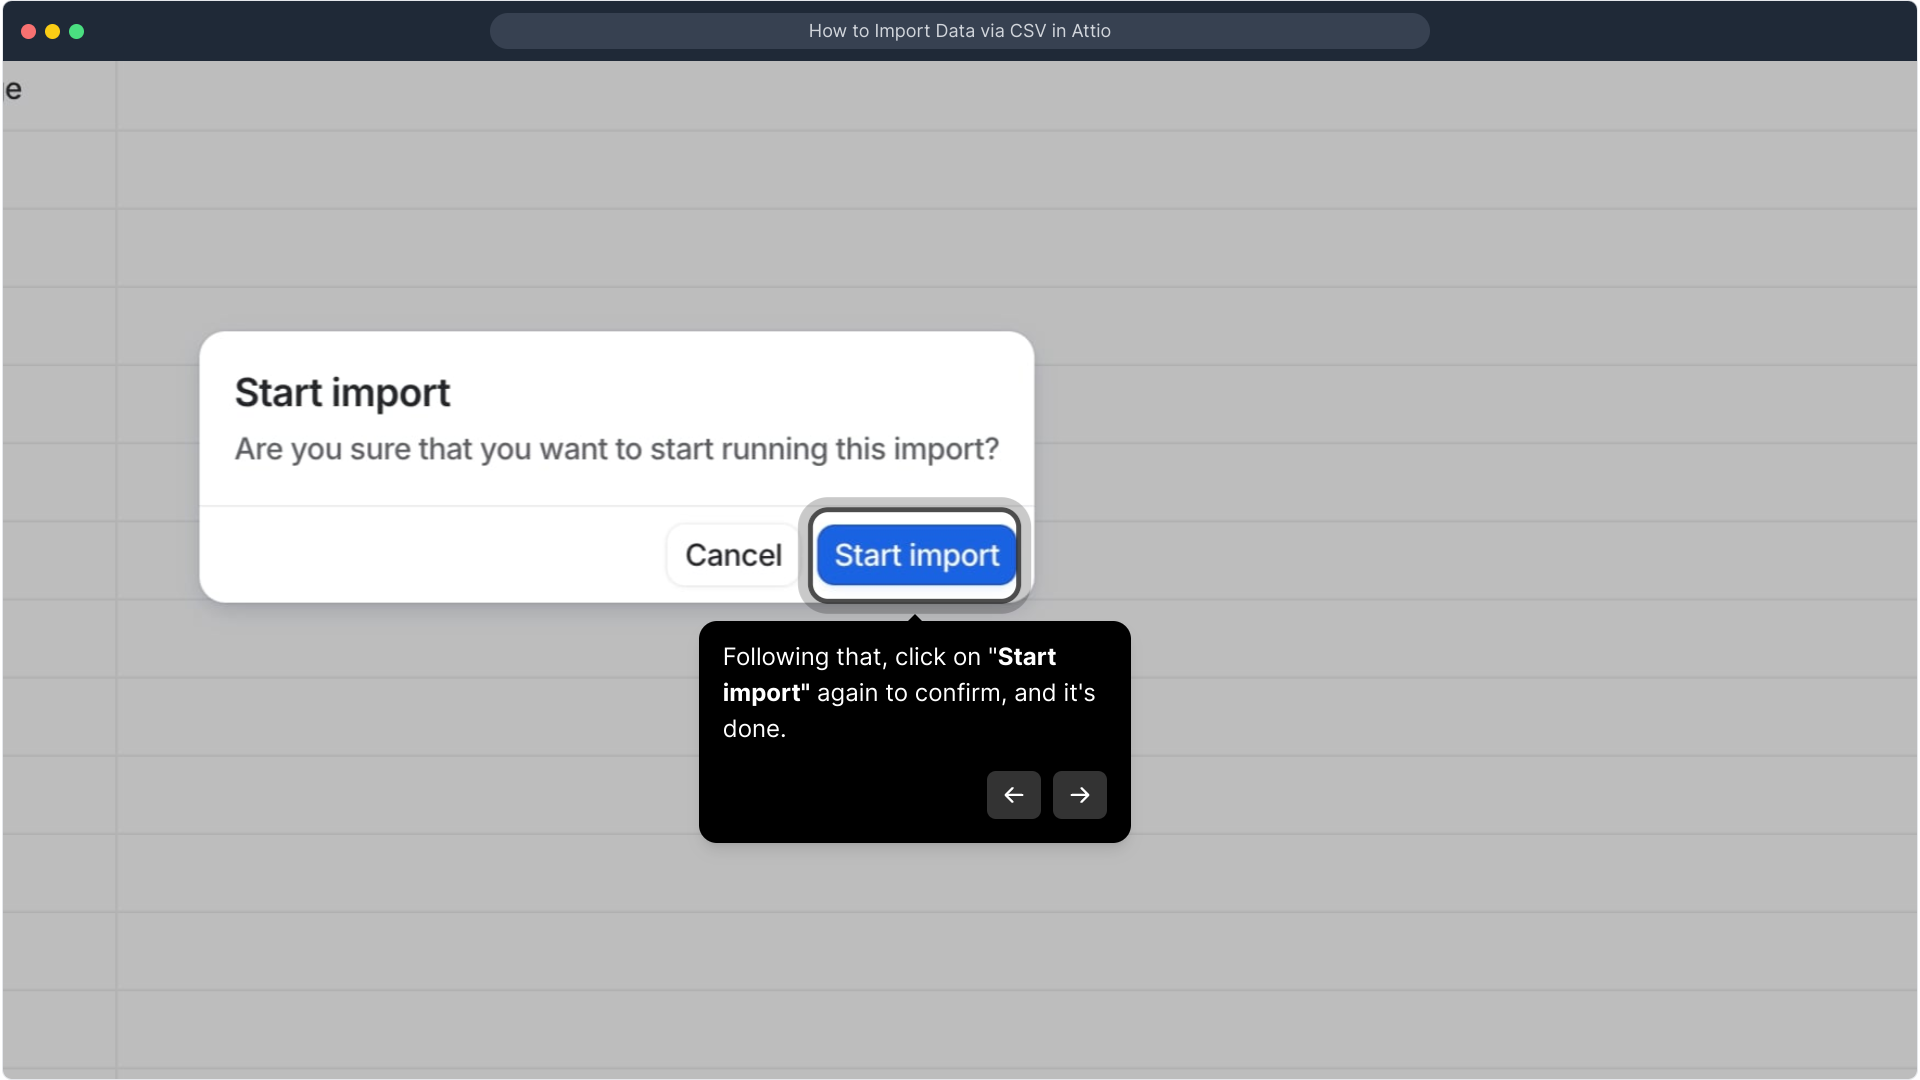
9. Following that, click on "Start import" again to confirm, and it's done.
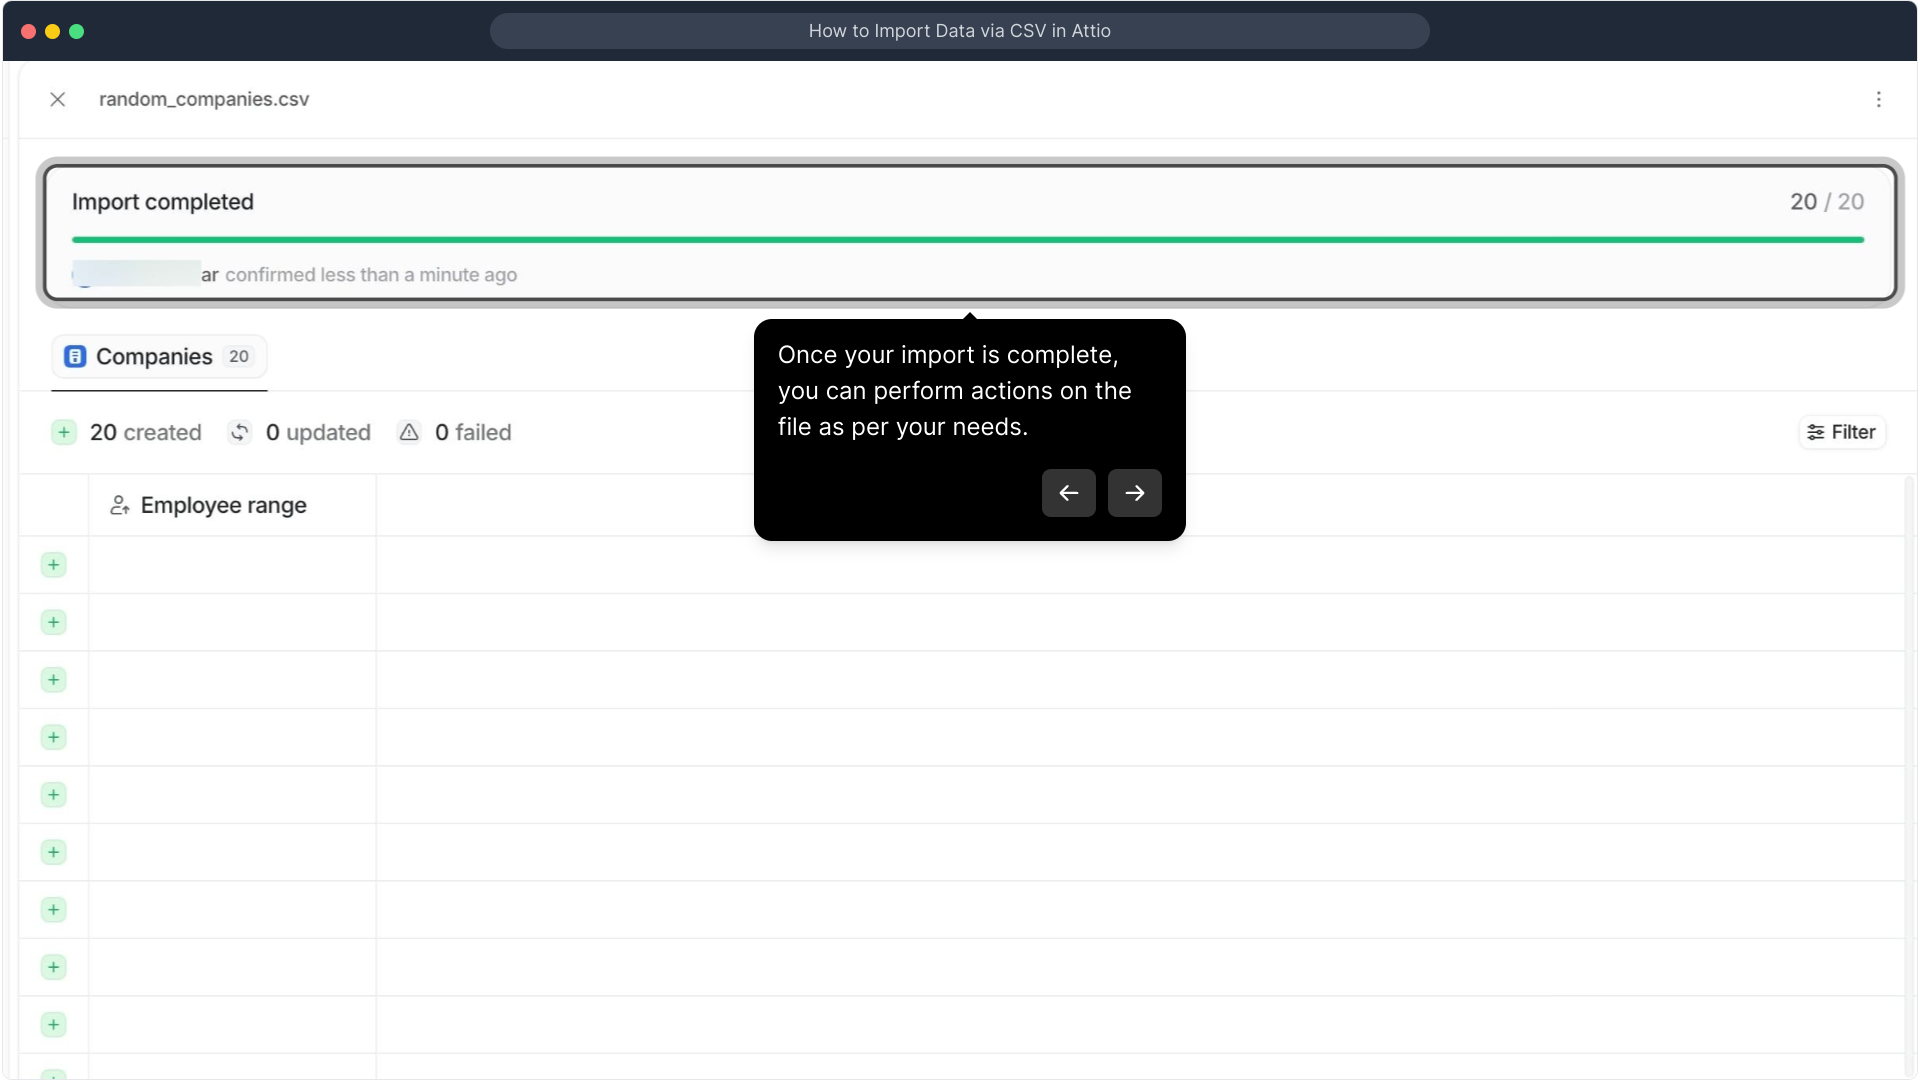
10. Once your import is complete, you can perform actions on the file as per your needs.
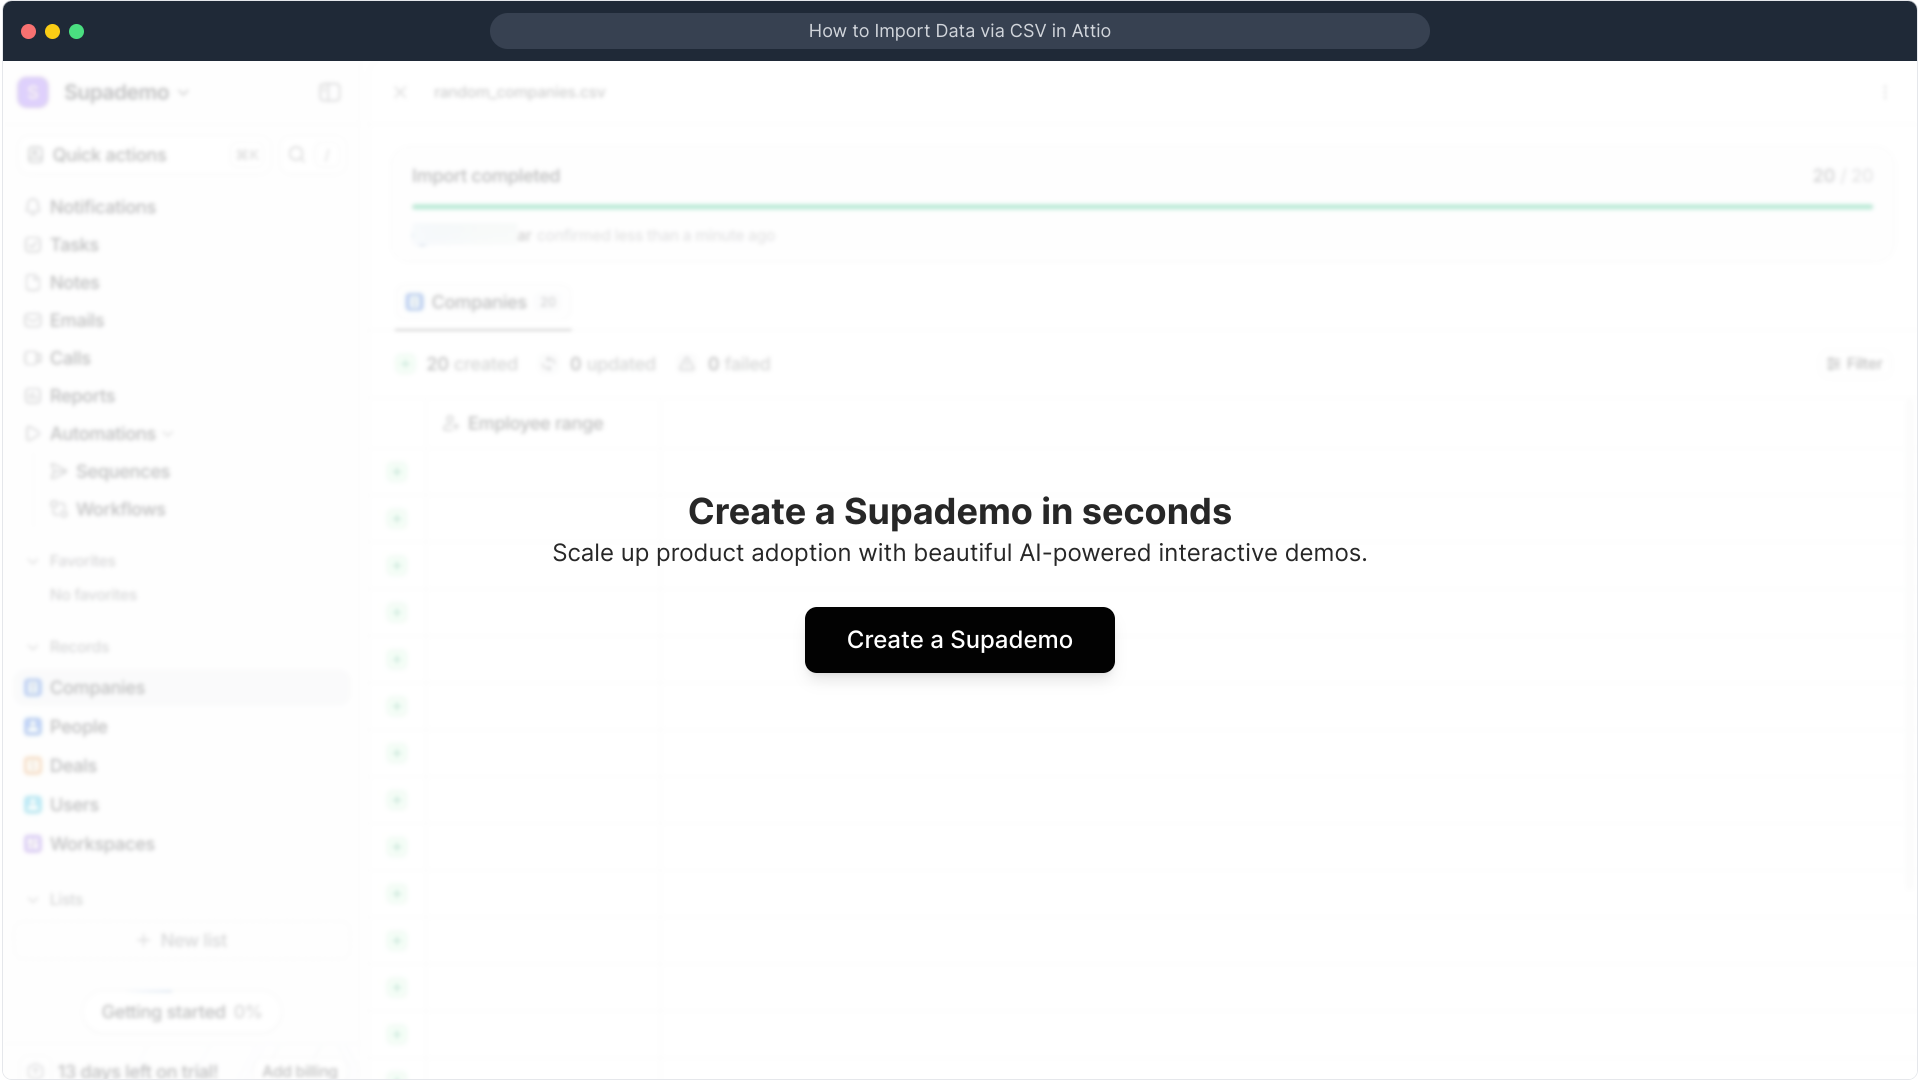
11. Create a Supademo in seconds
This interactive demo/guided walkthrough on How to Import Data via CSV in Attio was created using Supademo.
How to Import Data via CSV in Attio: Step-by-Step Guide
Begin by navigating to the Collection that holds the type of data you want to import. Whether it’s Companies, People, Deals, or a customized Collection, make sure you’re in the right place to keep your information organized effectively.

For this example, we’ll focus on the Companies Collection. Selecting this Collection will ensure your data imports into the correct category, making future management easier.

Within the Companies Collection, look for the option labeled "Import / Export". This is your gateway to managing external data files and syncing information from outside sources.
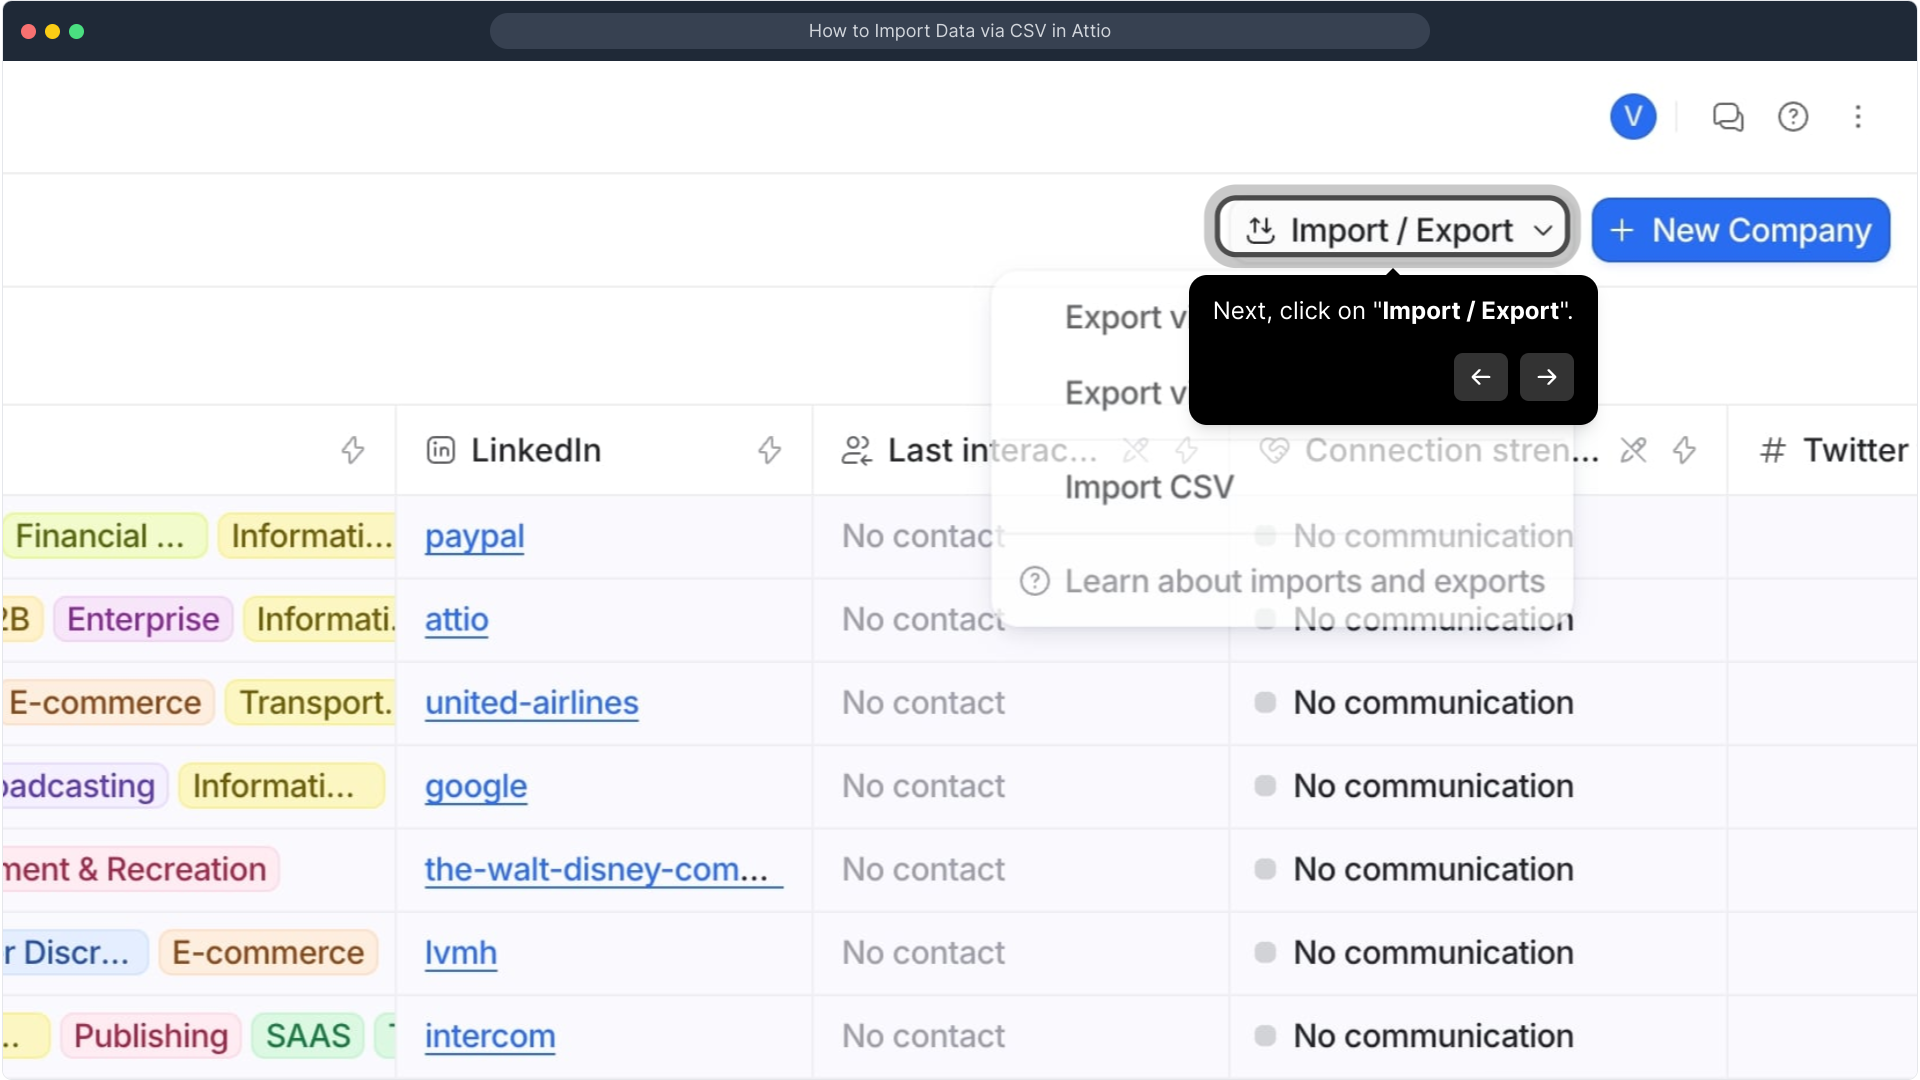
After clicking Import / Export, select "Import CSV". This option allows you to bring in bulk data saved in CSV format—a common spreadsheet type easily exported from many tools.

Next, choose the CSV file from your device by clicking "Choose a CSV file". Make sure you select the file that contains the data you want to add to your Collection.
Once your file is selected and uploaded, move forward by clicking the "Next" button. This will take you to the stage where you can review your data before it’s imported.
Here, you have the opportunity to carefully review and adjust the attributes mapped from your CSV. This ensures each field matches your Collection’s setup. When you’re satisfied, click Continue to proceed.
To kick off the import process, select "Start import". This initiates the transfer of your CSV data into the selected Collection.
For final confirmation, click on "Start import" once again. This double confirmation helps prevent accidental imports and confirms you’re ready to bring your data in.
After the import completes, your data is ready to use. You can now take any necessary actions like editing, sorting, or linking this new information within your Collection to enhance your workflow.
Create a Supademo in moments to get hands-on experience with these features and see how they can streamline your data import process.
Create your own interactive demos in < 5 mins with Supademo
You can create your own interactive product demo in minutes using Supademo. Drive growth, scale enablement, and supercharge product-led onboarding with Supademo. Sign up for free here with no credit card required.
FAQs
Commonly asked questions about this topic.
What types of Collections can I import CSV data into in Attio?
You can import CSV data into various Collections including Companies, People, Deals, or any customized Collection that you have set up in Attio. Make sure to select the Collection that best fits the data you want to import for proper organization.
How do I start the CSV import process in Attio?
Begin by opening the target Collection, then click on "Import / Export" in the menu. From there, select "Import CSV" to upload your file and follow the prompts to complete the import.
What file formats does Attio support for imports?
Attio primarily supports CSV files for bulk data import. Ensure your data is saved in CSV format to enable a smooth import into your Collections.
Can I modify attribute mappings during the import?
Yes, after uploading your CSV, you can select, adjust, or modify how each attribute in your file maps to Collection fields in Attio. This ensures your data aligns correctly with your setup before importing.
Is it possible to confirm the import before it completes?
Yes, Attio asks for a double confirmation before the import begins to prevent accidental uploads. You click "Start import" twice to initiate and confirm the process, giving you control.
What happens after the CSV import is complete?
After completion, your imported data is fully integrated into the selected Collection. You can then edit, sort, link, or manage this new data as needed to fit your workflow.
Are there any size limits for CSV files in Attio?
While Attio supports bulk imports via CSV, extremely large files may affect upload speed or performance. It’s best to check Attio’s documentation or split large datasets for smoother imports.
Can I import custom fields via CSV?
Yes, if your Collection contains custom fields, you can map CSV columns to these fields during the import process. Make sure your CSV headers correspond clearly to the custom attributes.
What should I do if the CSV import shows errors?
Review the error messages carefully, check that your CSV format is correct, and ensure all required fields are included. Correct any issues then retry the import to ensure success.
Can I test the import process before committing to a full data upload?
While Attio doesn’t offer a dedicated test mode, you can import a small portion of your CSV file first to verify attribute mappings and data quality before importing the full set.

Vimal Kumar
Product Operations Associate
Vimal Kumar helps build and grow Supademo’s team and GTM efforts, with a focus on figuring out growth levers and improving product traction.