Overview:
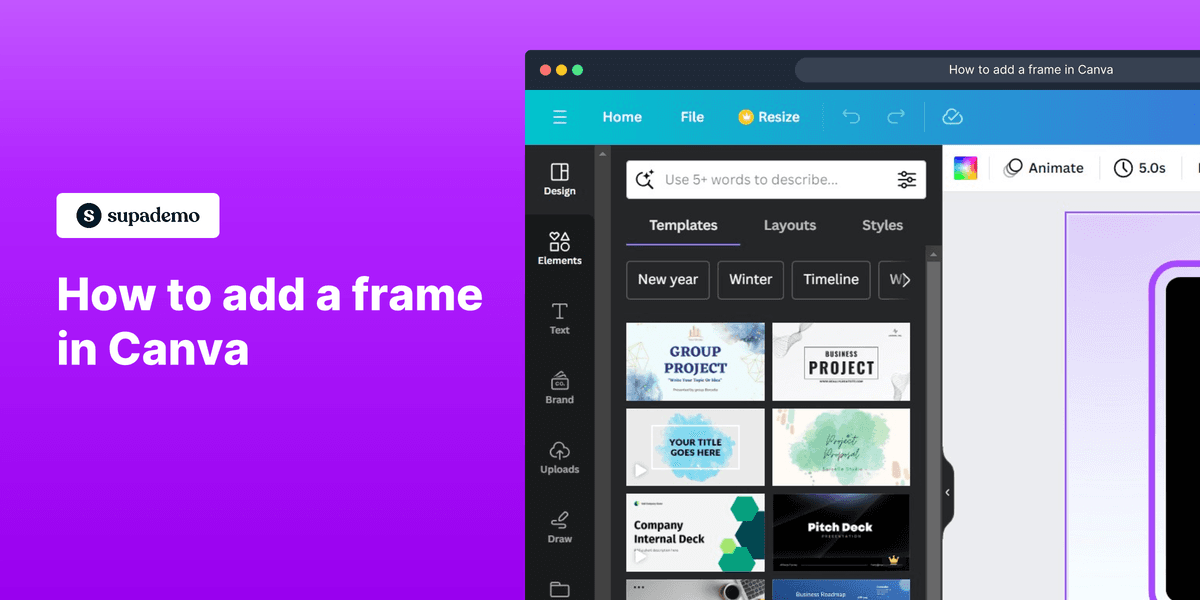
Elevate your Canva design experience with our guide on seamlessly adding frames. Optimize your workflow by organizing and enhancing visuals with ease. This comprehensive tutorial walks you through the simple process of incorporating frames, ensuring efficient and clear design management within the Canva platform. Improve your creative process and bring clarity to your designs with this step-by-step guide.
Who is Canva best suited for?
Canva is best suited for a wide range of professionals, including Marketing Teams, Graphic Designers, and Small Business Owners. For example, Marketing Teams can use Canva for creating engaging social media graphics and promotional materials, Graphic Designers can leverage it for designing visual content and marketing assets, and Small Business Owners can use it for developing brand materials and crafting marketing content, all benefiting from Canva’s easy-to-use design tools and extensive template library.
How to add a frame in Canva
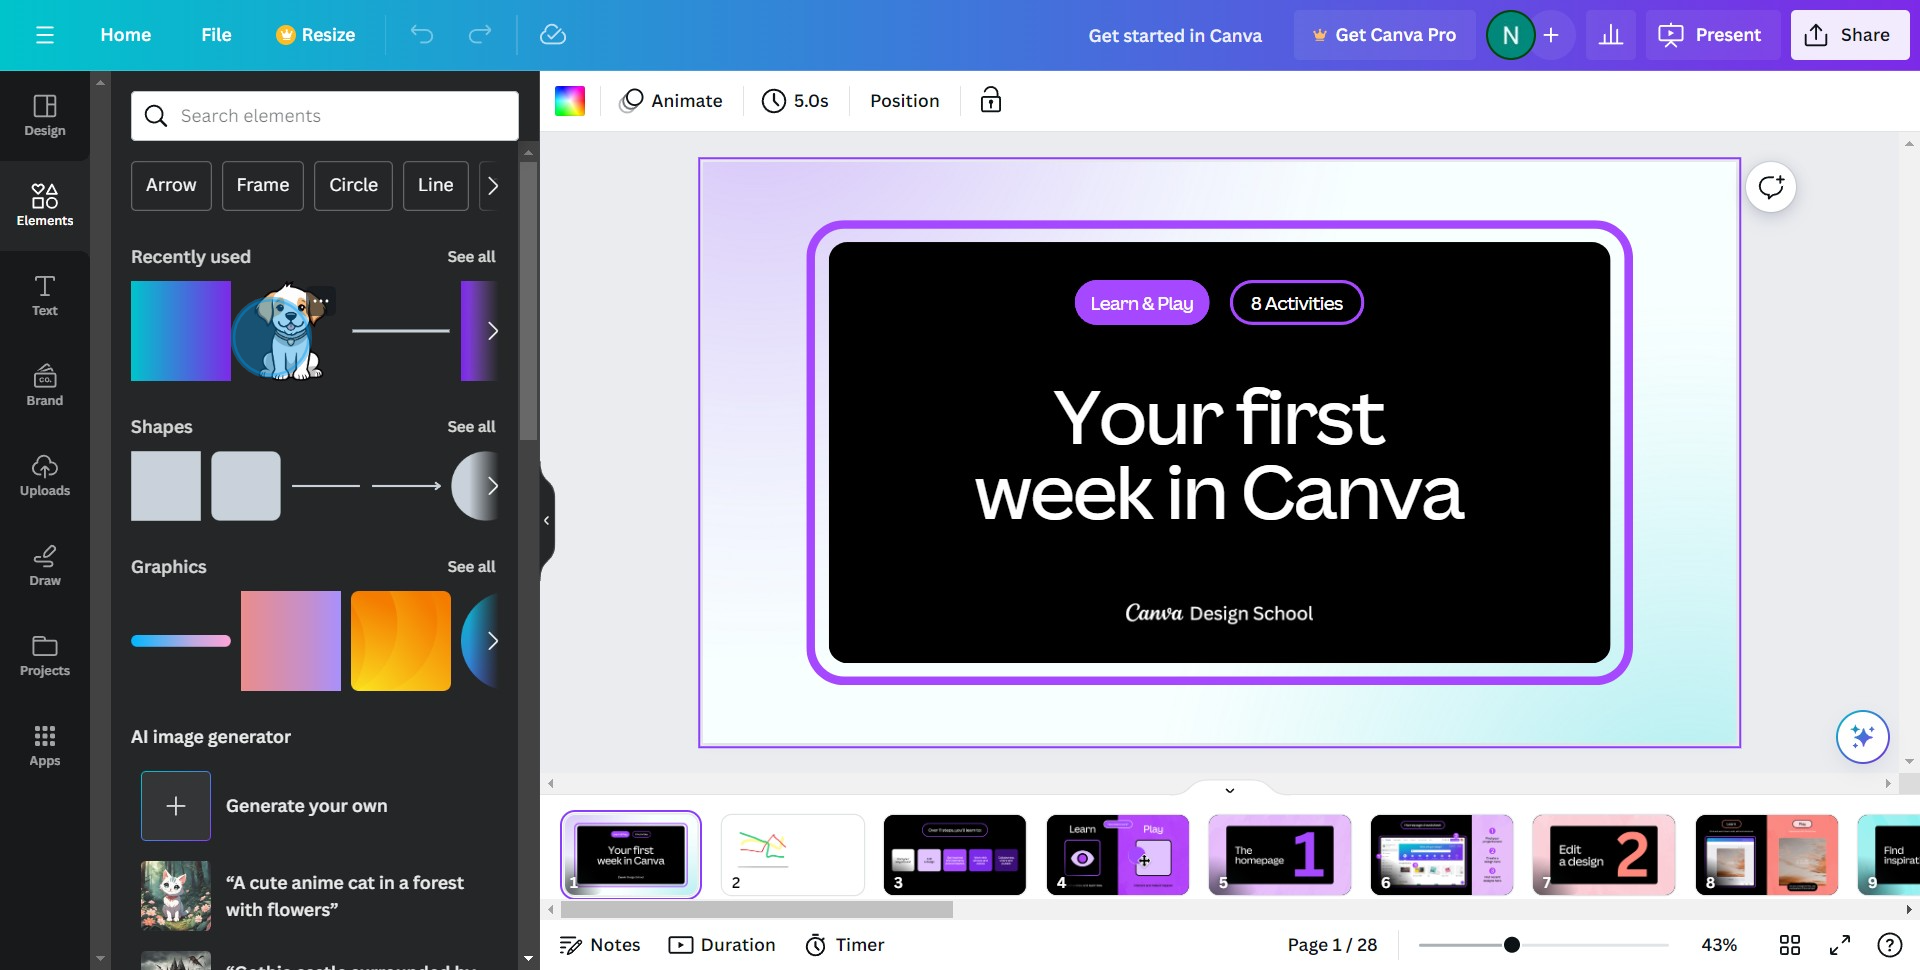
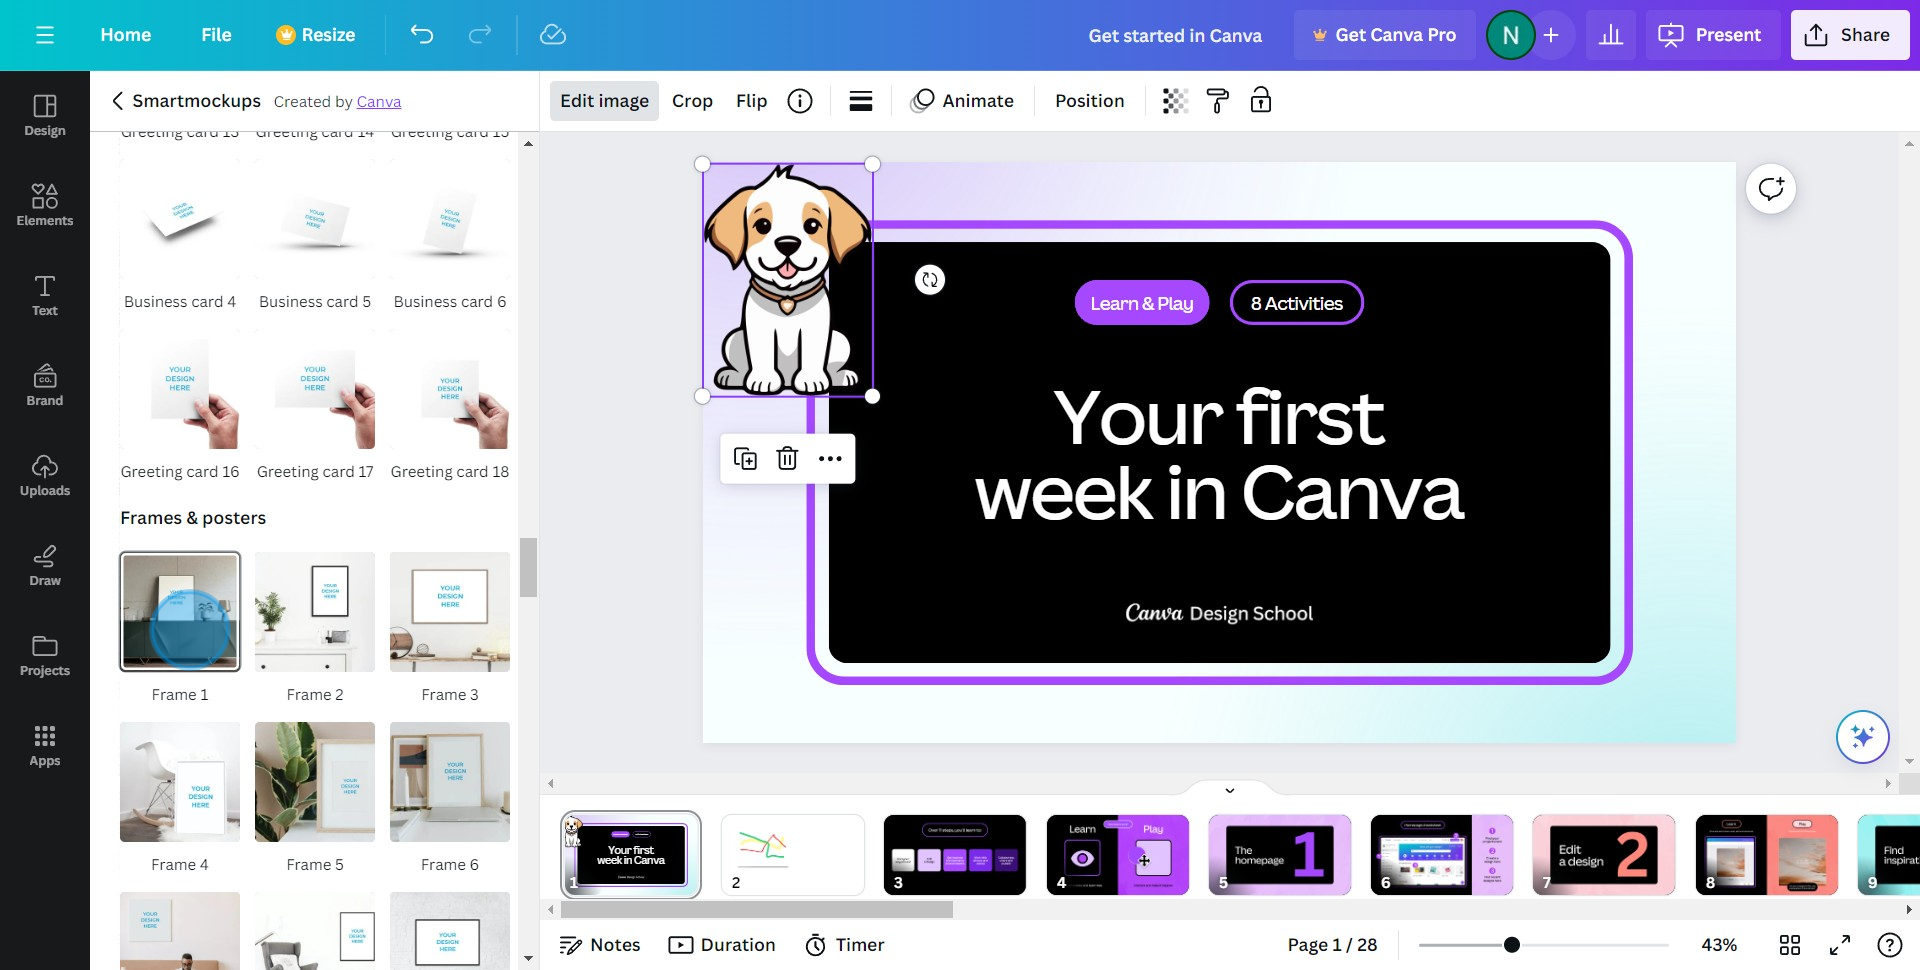
1. Let's get creative! Begin by selecting the Elements option.
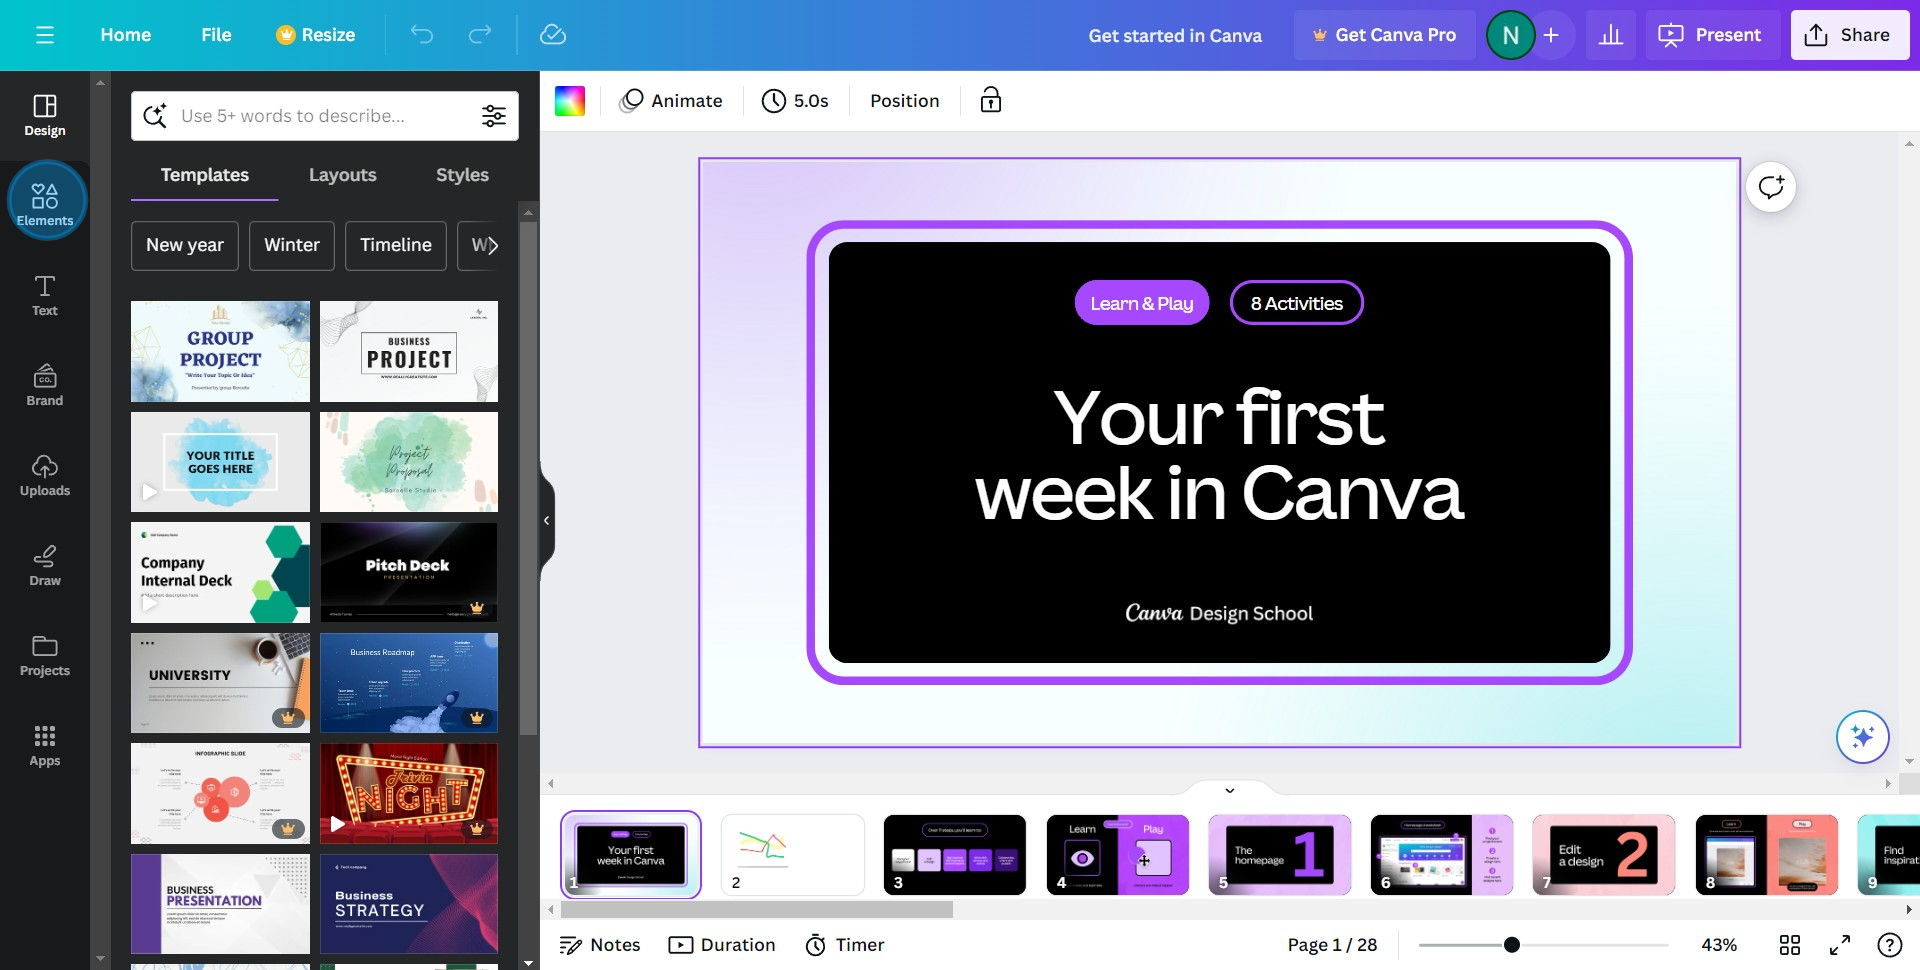
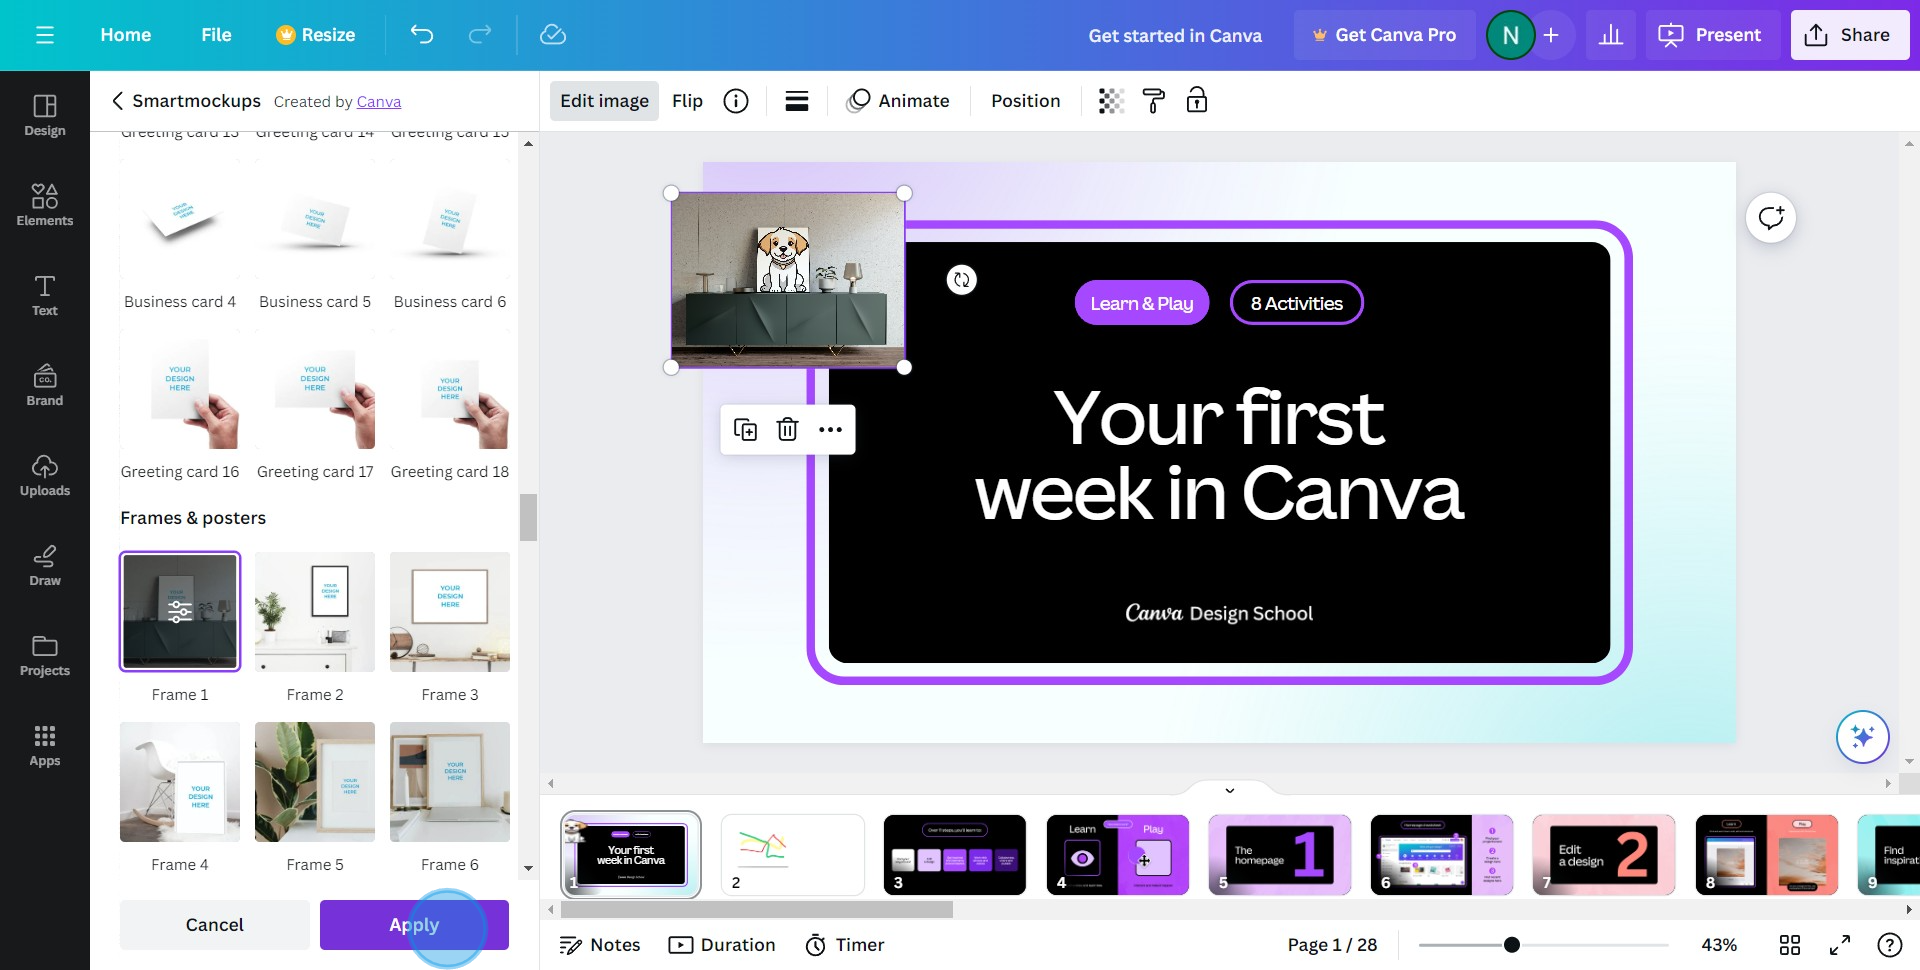
2. Now, it's time to upload or select the picture you'd like to work with.
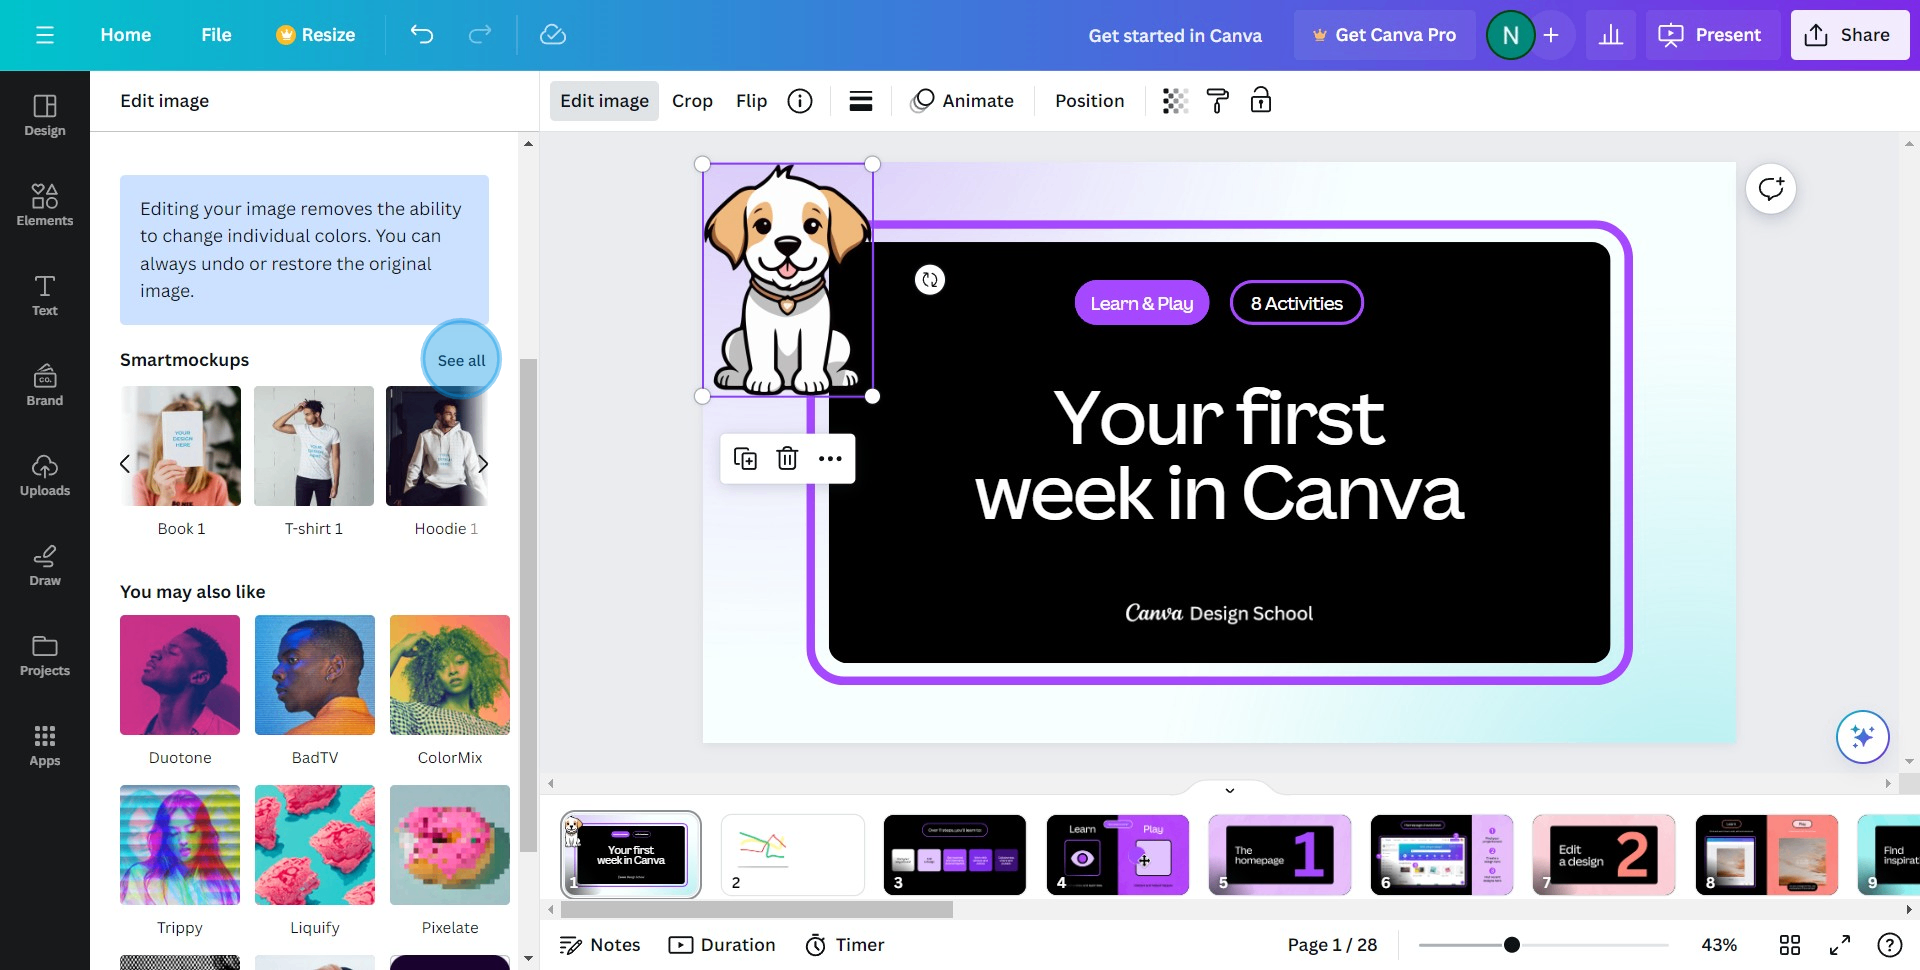
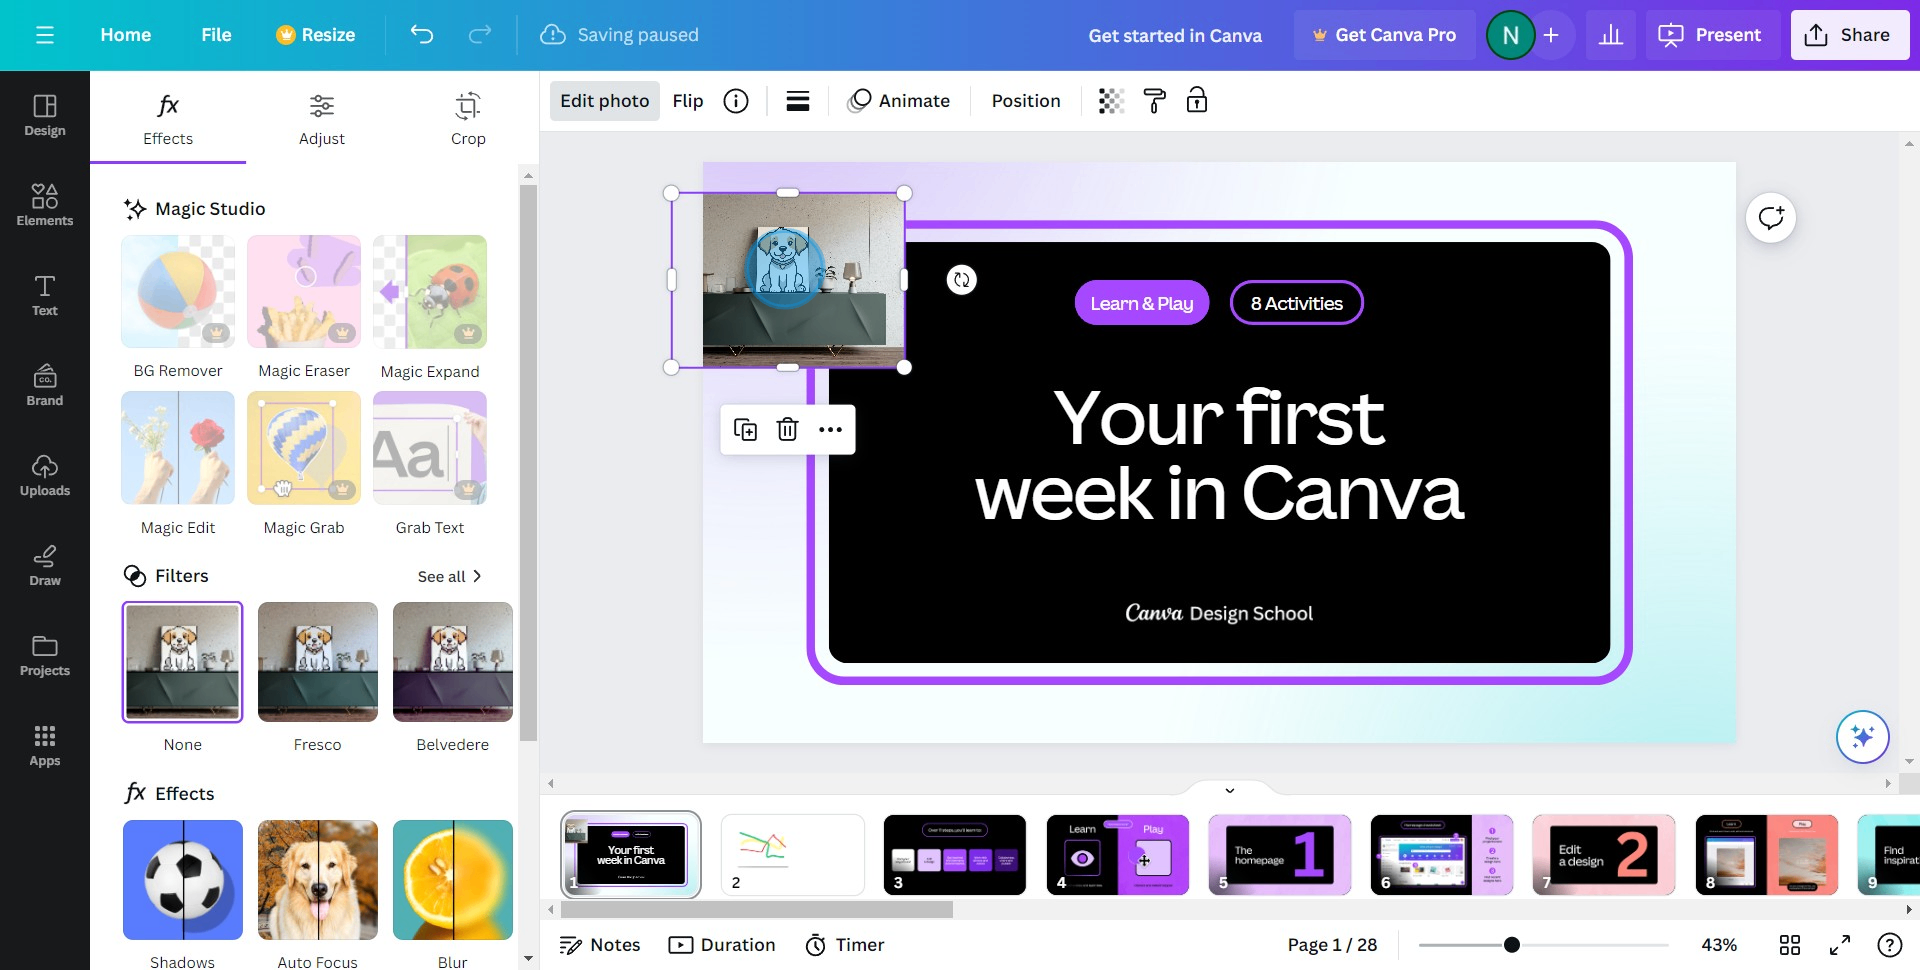
3. You've chosen your image! Proceed by clicking on Edit image.

4. Want more editing options? Simply click on See all.
5. From the options available, choose the filter you'd like to apply to your image.
6. Perfect! Now click Apply to confirm your filter selection.
7. Congratulations! You've successfully edited and applied a filter to your photo
Common FAQs on Canva
Commonly asked questions about this topic.
How do I create and design graphics in Canva?
How can I collaborate with others on a Canva design?
What are Canva’s printing options and how do I order prints?
Create your own step-by-step demo
Content Marketer
Nithil is a startup-obsessed operator focused on growth, sales and marketing. He's passionate about wearing different hats across startups to deliver real value.


