Using Figma to create realistic demos?
Learn how to transform your existing Figma screens into a linkable interactive demo.
Overview
Open the control of plan adaptability with Auto Layout in Figma. With this comprehensive step by step interactive guide consistently organize and adjust components inside your plans, sparing time and exertion whereas guaranteeing steady and responsive formats that bring your inventive dreams to life.
Step by step interactive demo
Steps to How to use Auto Layout in Figma
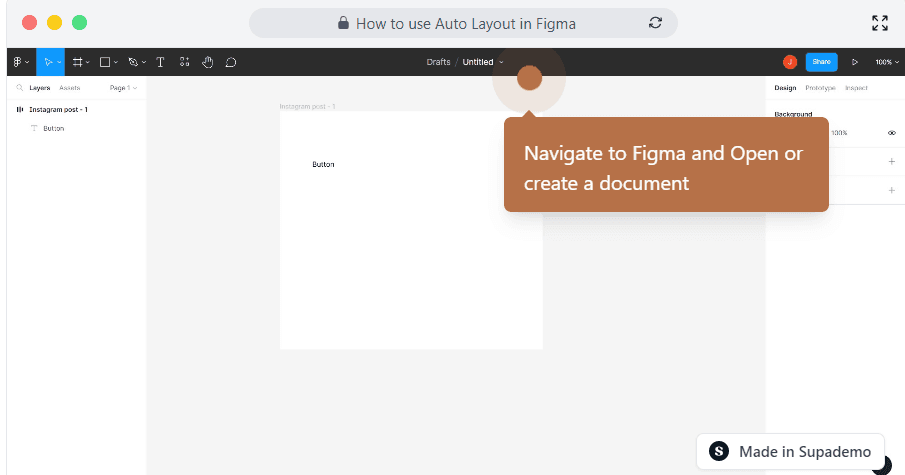
1. Navigate to Figma and Open or create a document
2. select the frame
3. Click on the editing tab and you could see the auto layout settings
4. Edit and customize auto layout according to your need
This workflow was created with Supademo.
Checkout Supademo Figma Plugin: Create interactive prototypes from frames (beta)
Welcome to the easiest way to create and share interactive prototypes from Figma — for free. With the Supademo Figma Plugin, you can transform your existing Figma frames into elegant, interactive prototypes.
Learn more about the Figma plugin through our feature page.
Here's how it works
Learning how to use Figma? See helpful guides below.
Frequently Asked Questions about how to use auto layout in figma
Commonly asked questions about this topic.
How often should I review and update my Auto Layout?
Can I export or share my Auto Layout outside of Figma?
How can I create a step-by-step guide for using Auto Layout in Figma?
What are best practices for using Auto Layout effectively?
Can I collaborate with my team on Auto Layout in Figma?
What common mistakes should I avoid when using Auto Layout?
What's the best way to onboard new team members to using Auto Layout in Figma?

Justin James
Justin is a growth intern focused on content generation and marketing. He's passionate about making an impact across various startup roles.


