Transform your design creations into interactive wonders with Figma’s powerful capabilities to add elements, such as links and interactive prototypes. Enhancing interactivity within Figma designs, this comprehensive guide provides you step by step instructions on how to add links and Insert Links in Figma.
Who is Figma best suited for?
Figma is best suited for a wide range of professionals, including UI/UX Designers, Product Designers, and Creative Teams. User permissions like 'edit access' and 'view access' are crucial for collaboration within Figma, allowing teams to control who can modify or just view shared files.
For example, UI/UX Designers can use Figma for creating and prototyping user interfaces, Product Designers can leverage it for designing and iterating on product features, and Creative Teams can use it for collaborative design work and brainstorming, all benefiting from Figma’s real-time collaboration and design tools.
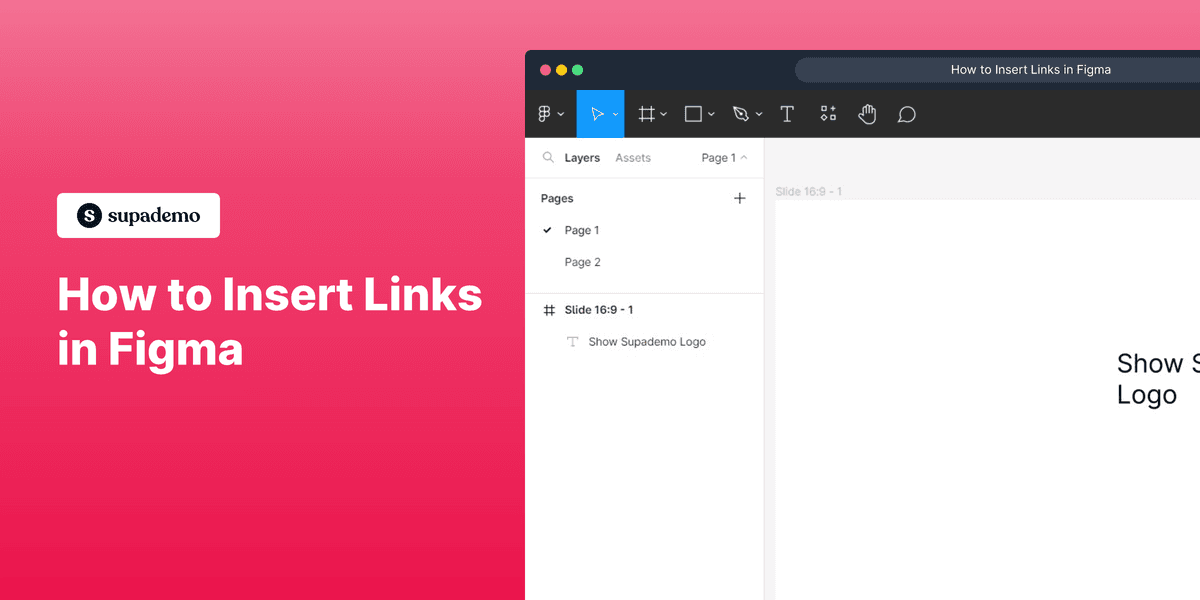
1. Navigate to Figma and create or open a document
2. Click on any text in which you have to attach your link
3. Click on the Link icon
4. Copy any URL from the web and paste it in here.
5. Double click on the text and the link will open!
Common FAQs on Figma
Commonly asked questions about this topic.
How do I create a new design file in Figma?
To create a new design file in Figma, log in to your account and click on the “New File” button in the dashboard. This will open a blank canvas where you can start designing. You can also choose a template or import existing designs if needed.
Can I collaborate with others on a Figma design?
Yes, Figma is built for real-time collaboration. To invite others to collaborate on a design, open your file and click the “Share” button in the top-right corner. Enter the email addresses of the people you want to invite, or generate a shareable link. You can set permissions to control whether they can view or edit the design.
How do I use components and styles in Figma?
To use components and styles, first create a component by selecting elements and using the “Create Component” option from the right-click menu or by pressing Cmd/Ctrl + Alt + K. To create styles, define text, color, or effect styles in the “Styles” panel and apply them to elements. Components and styles help maintain consistency and make updates easier across your designs.
This workflow was created with Supademo.
Checkout Supademo Figma Plugin: Create interactive prototypes from frames (beta)
Welcome to the easiest way to create and share interactive prototypesfrom Figma — for free. With the Supademo Figma Plugin, you can transform your existing Figma frames into elegant, interactive prototypes.
Learn more about the Figma plugin through our feature page.
Frequently Asked Questions about how to add link in figma
Commonly asked questions about this topic.
How do I format links in Figma for better readability?
Use a consistent layout with clear headings, logical groupings, and visual hierarchy. Keep individual items concise — if a link element needs a paragraph of explanation, it probably should be broken into smaller pieces. Color-coding or tagging by category helps teams scan quickly without reading every detail. Learn more about Supademo's features.
Top-performing demos typically have 10-12 steps with 15-18 word hotspots and achieve 80%+ completion rates.
What elements should I include when creating a link in Figma?
A strong link includes clear labels, defined owners, status indicators, and relevant dates or milestones. Avoid including information that belongs elsewhere — keep each element focused on its core purpose. The right level of detail depends on your audience: executives need summaries while team leads need actionable specifics. Learn more about AI-powered demo creation.
For example, VRIFY reduced enablement content production time by 75% using Supademo.
What link features does Figma offer for prototypes?
Figma provides built-in link capabilities including customizable templates, real-time collaboration, and integration with other productivity tools. The exact feature set depends on your plan tier — free plans typically cover basics while paid plans unlock automation, advanced views, and admin controls. Evaluate which features align with your team's actual workflow before committing.
Research confirms this — the State of Interactive Demos 2026 report found that teams that update demos weekly or monthly see ~18% higher impact than those updating only for major releases.
How can I share my Figma linking process with my team?
Capture the end-to-end process with annotated screenshots or clickable walkthroughs — written-only SOPs often go unread. Tools like Supademo let you record the exact steps in Figma, creating a living reference that stays current with UI changes. Store documentation where your team already works, not in a separate wiki they'll forget to check.
Research confirms this — the State of Interactive Demos 2026 report found that teams using interactive demos across 3-5 use cases report up to 29% higher impact scores.
Which third-party tools integrate with Figma links?
Figma typically integrates with popular tools like Slack, Google Workspace, Microsoft 365, and Zapier for cross-platform automation. These integrations help connect adding Link workflows with your existing tech stack. Check Figma's integration marketplace for specific connectors relevant to your use case.
Teams using top Arcade alternatives for 2026s across 3-5 use cases report up to 29% higher impact scores.
How do I control who can access links in Figma?
Most platforms offer role-based permissions that control who can view, edit, or admin your link. Figma typically supports workspace-level, project-level, and item-level permissions. Review your sharing settings before collaborating with external stakeholders — default permissions may expose more data than intended.
Processmaker saved hundreds of hours by replacing manual demo processes with interactive walkthroughs. 81% of teams rate onboarding impact from Supademo as high or very high.
Can I export Figma links to share with external stakeholders?
Most platforms support exporting to CSV, PDF, or through API access for custom integrations. When sharing externally, consider whether the recipient needs a live view or a static snapshot — live links require account access while exports may go stale. For recurring reports, set up automated exports or scheduled summaries.
Teams save an average of 85% of the time previously spent on product demo video maker.
Justin James
Justin is a growth intern focused on content generation and marketing. He's passionate about making an impact across various startup roles.
Learn how to easily remove the 'Powered by Shopify' text from your online store with step-by-step instructions and tips to customize your Shopify storefront.
Learn step-by-step how to add products to your Shopify store effortlessly, including tips on product details, images, pricing, and inventory management to boost your online sales.
Learn step-by-step how to deactivate your Shopify store easily, including important considerations and tips to pause or close your shop without losing data.
Learn how to easily remove the 'Powered by Shopify' text from your online store with step-by-step instructions and tips to customize your Shopify storefront.