Branching allows your viewers to choose their own journey within an interactive demo - ensuring a better interactive and engaging experience.
By letting viewers choose their own viewing path, branching helps create interactive demos that lead to higher engagement, more qualified leads, and personalization at scale.
If you’re just getting started with exploring use cases for interactive demos, you may not realize how different branching is from other interactions. But once you understand the power of branching demos, you’ll better be able to apply the best practices and harness that power to grow and retain more customers.
What is conditional branching?
Conditional branching, or “choose your own adventure” is frequently used across sales enablement, marketing, or onboarding to create a non-linear, multi-path experience.
Unlike a Chapter - which is fixed and linear - Branching allows users to explore a choice of topics based on the choice of what they click or interact with.
Branching sets up a user-driven scenario where viewers can make a choice, and see the results play out. This feature can work within a closed, single-loop interactive demo (jumping to a feature or step within the same demo) or between interactive demos (demo-to-demo branching).
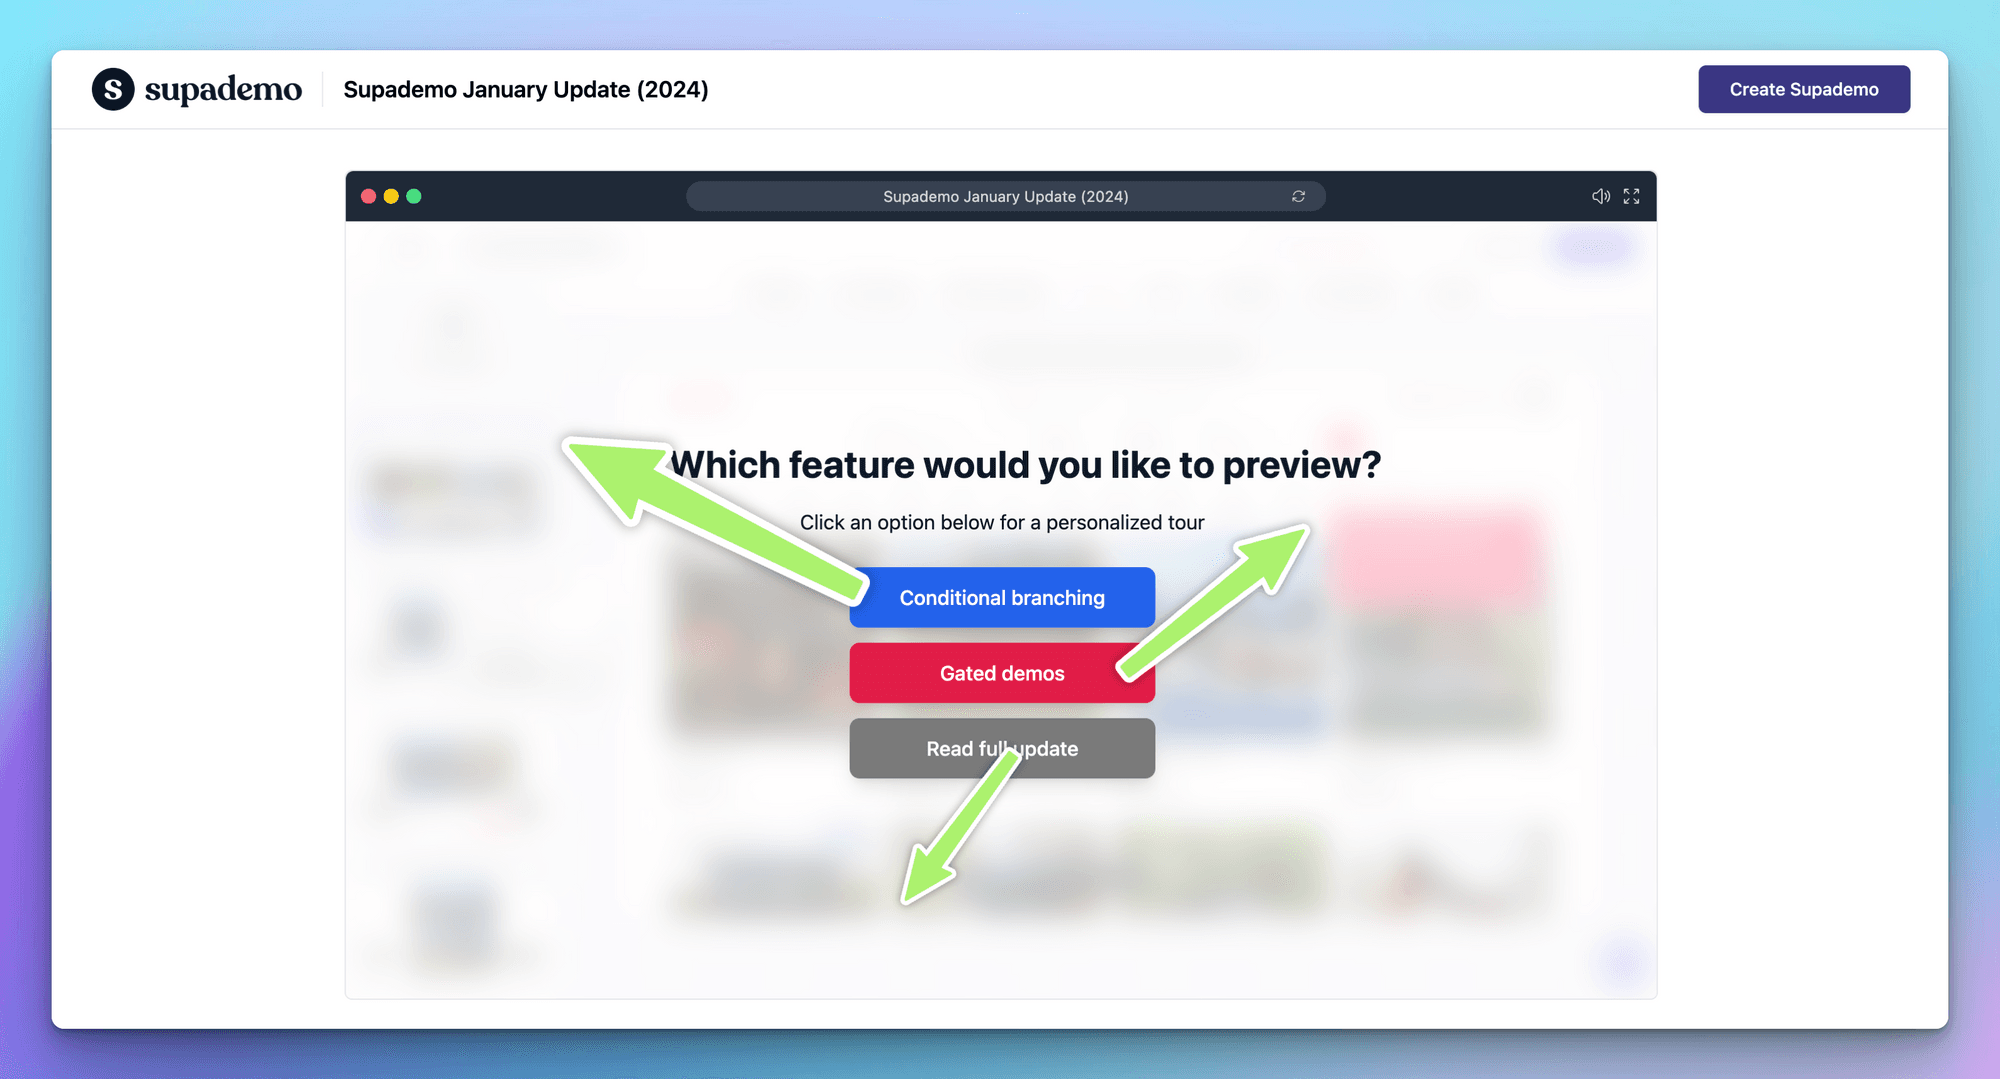
Here's an example of a Supademo with conditional branching👇🏽
Benefits of demo branching
Branching can deliver positive outcomes to both the viewer and creator of the interactive product demo.
For the viewer, it gives them control of the demo experience from the get-go, allowing them to explore features that are relevant or interesting to them. In turn, this means they are more likely to complete the interactive demo, leading to higher engagement. And by completing a demo, they're moving further through the funnel - accelerating decisions and adoption of products and features.
For creators, branching gives them access to more data about what users are actually interested in, which they can use to quickly improve future interactive demos and product features. Essentially, branching provides fresh, actionable insights on what customers like, don’t like, or want to see more of.
Since every viewer comes to the demo with variations on product knowledge, expertise, and goals - branching is an effective means to help them arrive at the 'aha' moment faster and more efficiently.
Five best practices for effective branching
When creating branching demos, it's crucial to incorporate interactivity right from the planning stages. Take into account the following best practices:
1. Visually Plan Ahead
Instead of blindly recording a bunch of interactive demos and merging them into a confusing monolith, try to visually map out the branching options on a notepad.
This allows you to anticipate potential pitfalls, ensure cohesiveness, and ensure there are clear journeys and paths for the customer to embark on.

2. Keep it simple
It's easy to overload each slide with a ton of text or CTAs. Instead of risking information overload, try to limiting choices to two or three per branch.
Try to separate each section of the interactive demo visually - whether you do so with a clearly marked initial chapter description, or by using different hotspot colors and navigation to mark each section.

3. Create multiple entry points
Allow for multiple entry points for viewers to access specific sections of the interactive demo. Essentially, if you have four distinct features or sections within your demo, viewers should be able to access them through multiple paths.
Why? You want to avoid the scenario where one section is missed by 50% of viewers, simply because it's only accessible through one small CTA button.
Thus, it's important to:
- Make the interactive demo flow linearly across all sections;
- Add multiple chapters throughout the demo with an option to choose the next pathway/journey
- Allow viewers to branch into sections from both chapters and hotspots;

4. Focus on converting throughout the demo
Remember - the intend of the interactive demo branching is to increase engagement and convert your viewer to take your intended action.
This may be collecting an email lead, booking a sales demo, or getting them to sign up for your platform. Do achieve your intended outcome, make sure you use Chapters throughout your demo to:
- Check in to see if the current path is the one they want to continue going down;
- Assess whether they're qualified and are now ready to talk to sales or onboarding;
- Convert viewers at their moment of inspiration for higher conversion rates;
5. Don't forget audio
While visuals are crucial, don't neglect audio - which can add additional context without cluttering or overloading the interactive demo.
Utilize features like synthetic AI voiceovers to amplify your messaging and drive higher levels of engagement across your branching demo. However, be mindful of tip #2 and ensure that the audio doesn't take away from the demo's simplicity or distract users from your demo intent.
Joseph Lee
Joseph is the founder and CEO of Supademo. As a two-time startup founder, Joseph is passionate about building zero-to-one products.
